There’s a particular kind of frustration I know well: you’ve planned a location, driven a long way, and the weather is doing everything except cooperating. I’ve stood in that fog more times than I can count, staring at a scene that’s technically there but visually buried. Most photographers pack up. The ones who grow don’t. That tension between expectation and reality is exactly what makes this Thomas Heaton tutorial worth your full attention. Watch the full tutorial on YouTube
In this video, Heaton arrives on the Isle of Skye to overcast skies, near-zero visibility, and the kind of soft wet wind that fogs up your rear element before you’ve even opened your bag. What he does next is the tutorial. He doesn’t wait for perfect conditions to think like a photographer. He works intimate scenes, hikes the trail he needs to know for tomorrow’s sunrise, scouts compositions in pea-soup fog, and talks honestly about the gap between what he hoped for and what the landscape actually gave him. For anyone who treats bad conditions as a reason to stay in the van, this is a direct and practical counter-argument.
I’ve spent twenty years building a practice around the idea that the photograph is rarely the thing you planned. The lucky hat I wear on every shoot isn’t superstition so much as ritual – it reminds me, the moment I put it on, that I’m going to work regardless of what the sky is doing. What Heaton demonstrates here is that discipline in concrete, useful steps.
Step 1: Let Bad Light Push You Toward Intimate Scenes
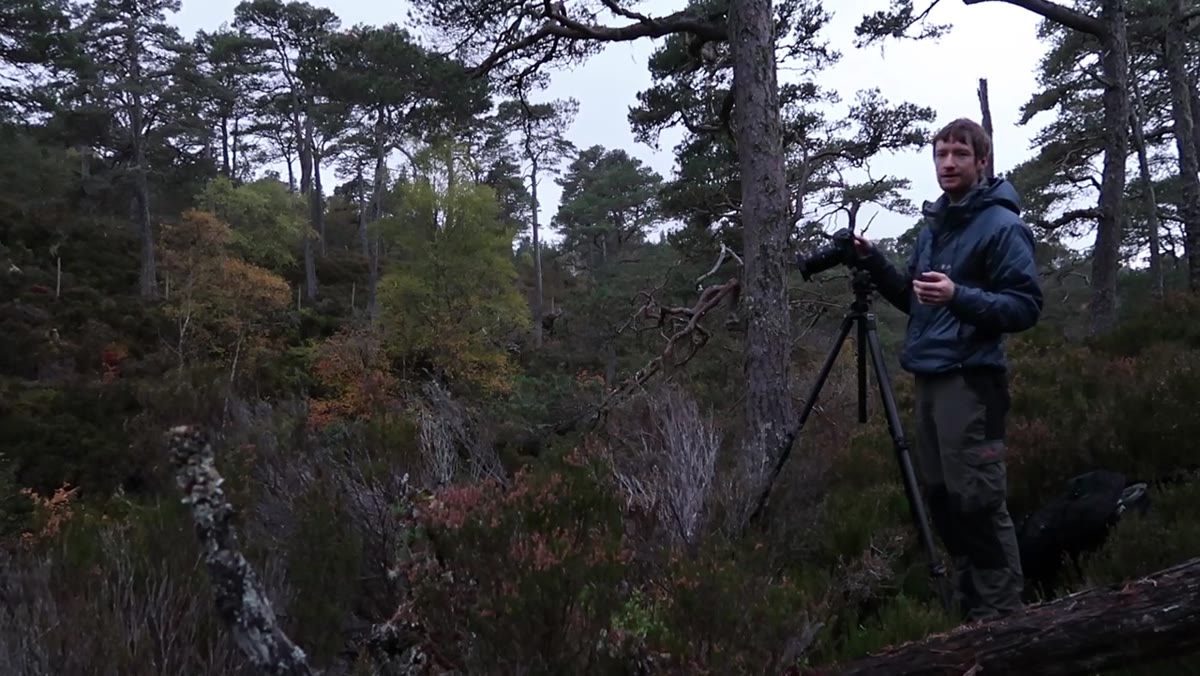
 Heaton shooting fallen tree with golden leaves over swirling water
When wide vistas disappear behind cloud, the instinct is to wait. Heaton redirects that energy into close, detail-driven compositions – a fallen tree still holding its autumn leaves, water curling beneath it, the whole thing sitting within fifty feet of where he shot the previous evening. The scene is small, tactile, and doesn’t require any drama in the sky to work. If you find yourself in flat light, physically lower your sightline. Walk slowly. Look for scenes that are self-contained: a patch of texture, a curve of water, something with natural framing. The grand vista will come back. In the meantime, train your eye on the small stuff.
Heaton shooting fallen tree with golden leaves over swirling water
When wide vistas disappear behind cloud, the instinct is to wait. Heaton redirects that energy into close, detail-driven compositions – a fallen tree still holding its autumn leaves, water curling beneath it, the whole thing sitting within fifty feet of where he shot the previous evening. The scene is small, tactile, and doesn’t require any drama in the sky to work. If you find yourself in flat light, physically lower your sightline. Walk slowly. Look for scenes that are self-contained: a patch of texture, a curve of water, something with natural framing. The grand vista will come back. In the meantime, train your eye on the small stuff.
Step 2: Use a Polarizer to Deepen Water and Lock In Composition
 Polarizer being rotated over stream showing water change from brown to deep black
Heaton demonstrates something here that’s worth pausing on. Without the polarizer, the water beneath the fallen tree reads as a murky, reflective brown – surface glare competing with the tonal structure of the image. He rotates the filter and the water drops to near-black, giving the composition a visual anchor that holds everything together. The lesson isn’t just “use a polarizer on water.” It’s that the filter is a compositional tool, not just a glare reducer. Rotate it slowly and watch how different tones lock or release. On overcast days especially, a polarizer can be the difference between a scene that reads as muddy and one that has genuine depth. Circular polarizers work best when the light source is roughly 90 degrees to your lens axis – even on cloudy days, there’s enough scattered polarization to make a meaningful difference.
Polarizer being rotated over stream showing water change from brown to deep black
Heaton demonstrates something here that’s worth pausing on. Without the polarizer, the water beneath the fallen tree reads as a murky, reflective brown – surface glare competing with the tonal structure of the image. He rotates the filter and the water drops to near-black, giving the composition a visual anchor that holds everything together. The lesson isn’t just “use a polarizer on water.” It’s that the filter is a compositional tool, not just a glare reducer. Rotate it slowly and watch how different tones lock or release. On overcast days especially, a polarizer can be the difference between a scene that reads as muddy and one that has genuine depth. Circular polarizers work best when the light source is roughly 90 degrees to your lens axis – even on cloudy days, there’s enough scattered polarization to make a meaningful difference.
Step 3: Manage Camera Shake on Unstable Ground
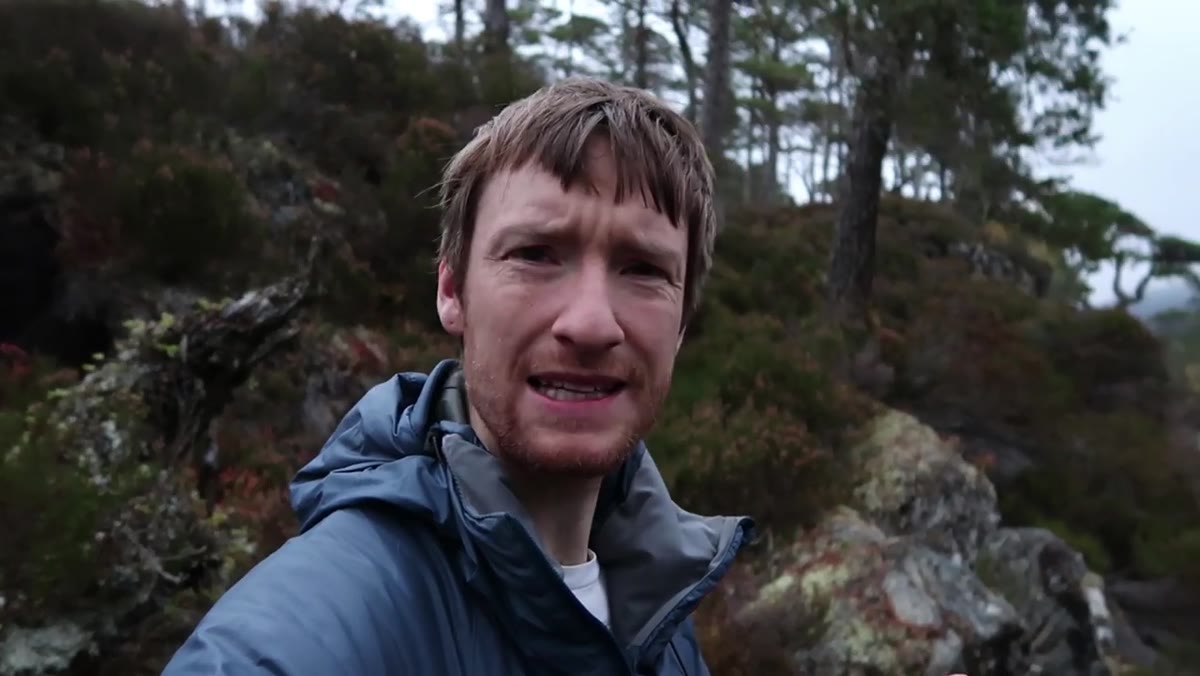 Heaton standing on boggy ground warning about camera shake from movement
This is a field problem nobody talks about enough. Heaton is standing on a boggy, spongy surface and discovers that any movement – even his own breathing – transmits vibration straight through the tripod into the image. His solution is to plant himself, go still, and wait before triggering the shutter. In practice, I’d add a few layers to this: use a remote shutter release or your camera’s two-second self-timer to remove contact vibration, lock up the mirror if you’re shooting on a DSLR, and if the ground is truly unstable, consider spreading your tripod legs wider and lowering the center column to drop the center of gravity. Spongy peat, wet sand, and loose gravel are all tripod killers. Know this before you’re standing on them.
Heaton standing on boggy ground warning about camera shake from movement
This is a field problem nobody talks about enough. Heaton is standing on a boggy, spongy surface and discovers that any movement – even his own breathing – transmits vibration straight through the tripod into the image. His solution is to plant himself, go still, and wait before triggering the shutter. In practice, I’d add a few layers to this: use a remote shutter release or your camera’s two-second self-timer to remove contact vibration, lock up the mirror if you’re shooting on a DSLR, and if the ground is truly unstable, consider spreading your tripod legs wider and lowering the center column to drop the center of gravity. Spongy peat, wet sand, and loose gravel are all tripod killers. Know this before you’re standing on them.
Step 4: Run a Recon Hike Before the Shoot That Matters
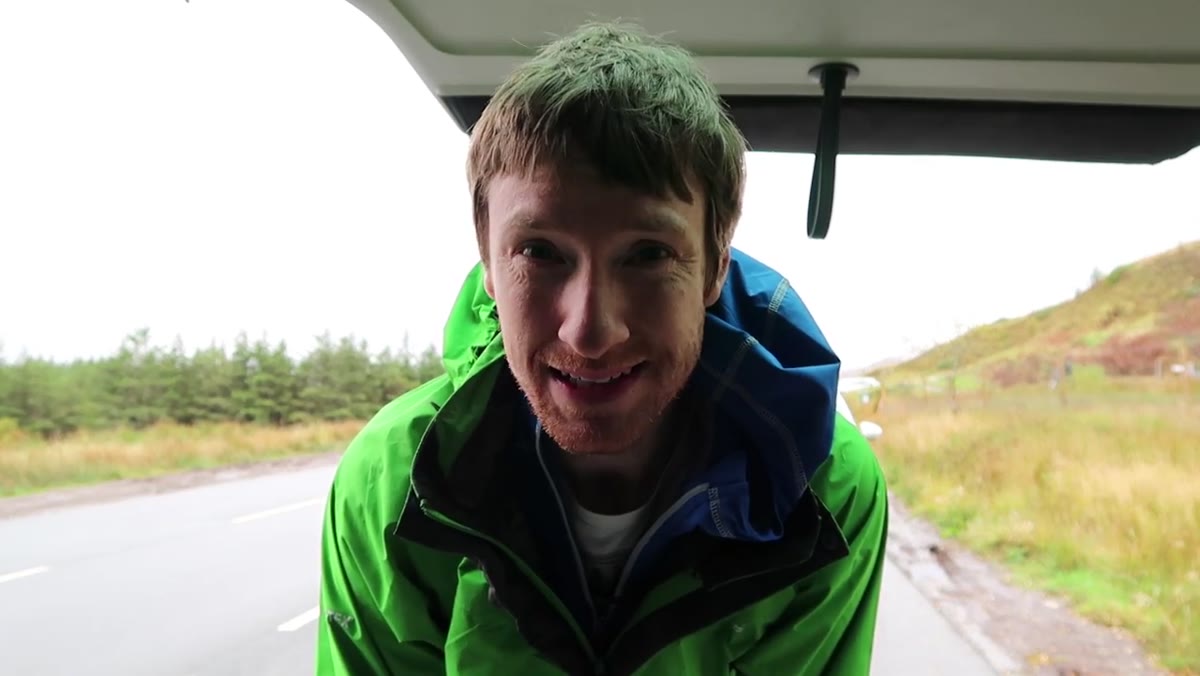 Heaton hiking toward Old Man of Storr in heavy overcast and rain
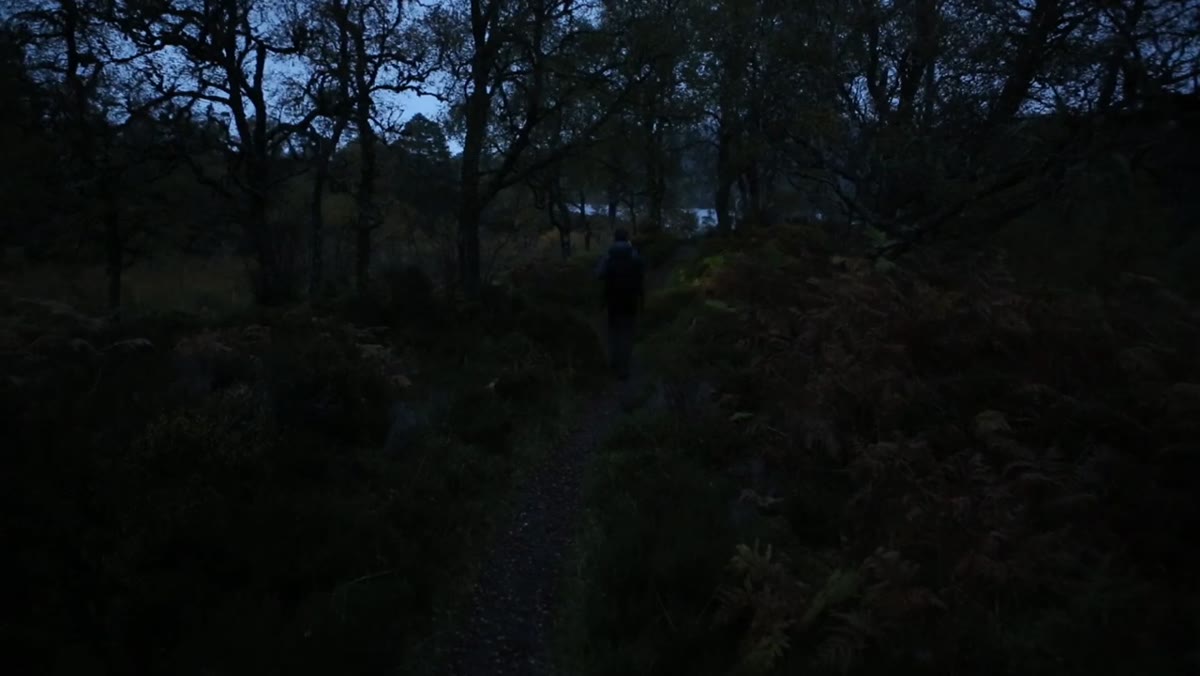
Heaton’s decision to hike to the Old Man of Storr in terrible conditions is deliberate and smart. He times the ascent, clocks the distance (2.2 km, just over 1,000 feet of elevation gain, 33 minutes from the van), and works backward from sunrise time to figure out his departure window. This is how professional location work actually functions. You’re not always trying to make the photograph today. Sometimes the job is to know the ground well enough that tomorrow you can move fast, set up in the dark, and not be guessing at your footing when the light starts to change. If you’re planning a significant shoot, build in a scouting day. Walk it with a light bag. Take notes on where the light will fall, where you can plant a tripod, where the ground gets treacherous.
Heaton hiking toward Old Man of Storr in heavy overcast and rain
Heaton’s decision to hike to the Old Man of Storr in terrible conditions is deliberate and smart. He times the ascent, clocks the distance (2.2 km, just over 1,000 feet of elevation gain, 33 minutes from the van), and works backward from sunrise time to figure out his departure window. This is how professional location work actually functions. You’re not always trying to make the photograph today. Sometimes the job is to know the ground well enough that tomorrow you can move fast, set up in the dark, and not be guessing at your footing when the light starts to change. If you’re planning a significant shoot, build in a scouting day. Walk it with a light bag. Take notes on where the light will fall, where you can plant a tripod, where the ground gets treacherous.
Step 5: Stay on Location Even When Visibility Is Near Zero
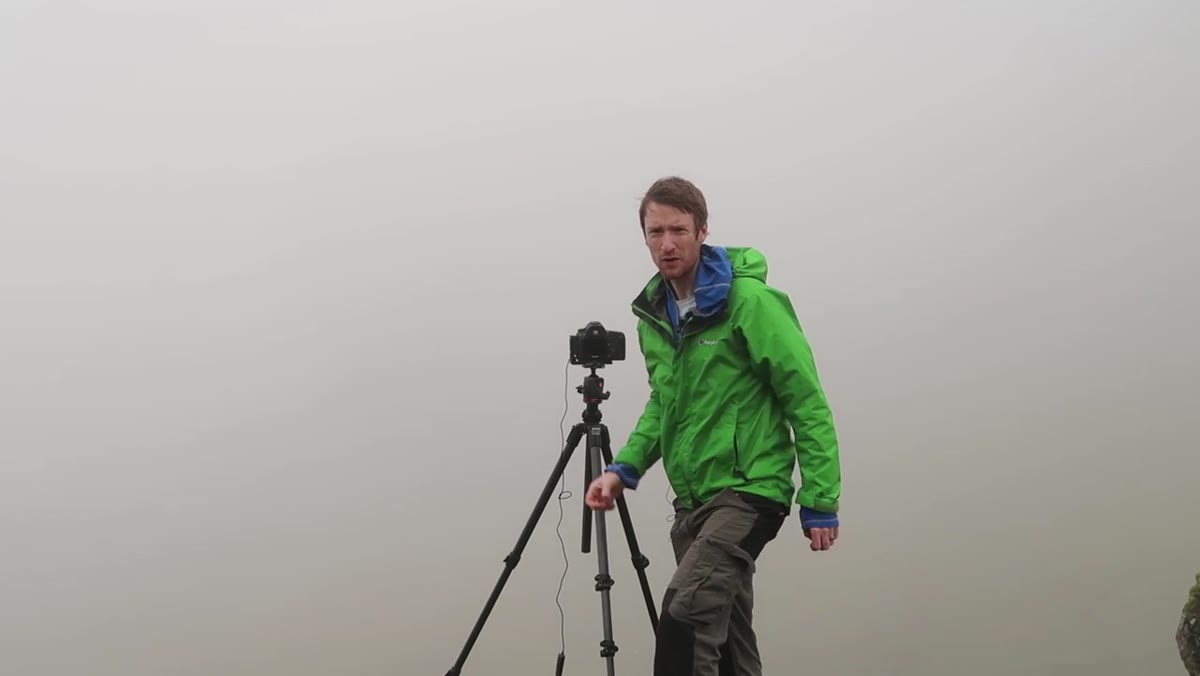 Complete whiteout fog around Old Man of Storr with zero visibility
The clouds keep rolling in and swallowing the landscape entirely. Heaton stays. His reasoning is exact: he’s already seen the composition briefly, he knows it’s there, and the fog is moving. Patience here isn’t passive. It’s strategic. He’s watching the cloud behavior, reading the gaps, staying ready. When a brief window opens he gets to the camera fast, confirms focus, fires without filters, and captures something genuinely moody that he hadn’t planned for. The settings are simple – f/9, no filters – because when the moment comes you don’t have time to second-guess. Keep your camera ready. Know your base exposure before the window opens, not during it.
Complete whiteout fog around Old Man of Storr with zero visibility
The clouds keep rolling in and swallowing the landscape entirely. Heaton stays. His reasoning is exact: he’s already seen the composition briefly, he knows it’s there, and the fog is moving. Patience here isn’t passive. It’s strategic. He’s watching the cloud behavior, reading the gaps, staying ready. When a brief window opens he gets to the camera fast, confirms focus, fires without filters, and captures something genuinely moody that he hadn’t planned for. The settings are simple – f/9, no filters – because when the moment comes you don’t have time to second-guess. Keep your camera ready. Know your base exposure before the window opens, not during it.
Step 6: Question Your Composition Before Committing to Tomorrow’s Shot
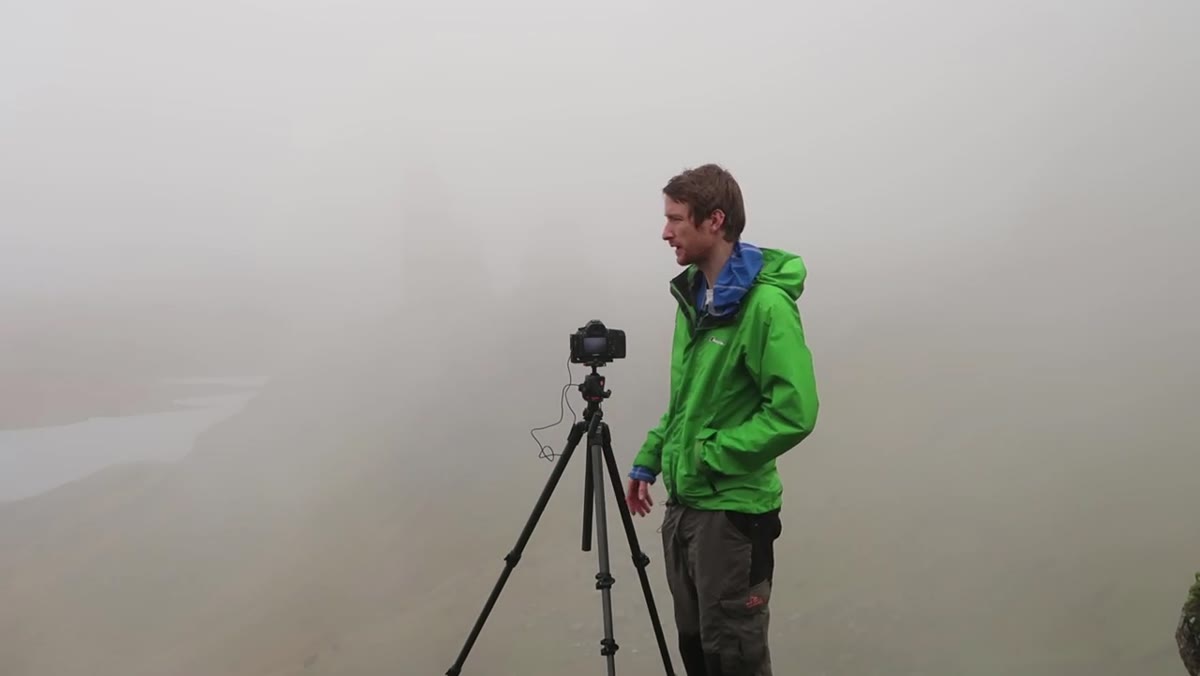 Heaton looking around Old Man of Storr evaluating composition options in fog
Even after capturing a strong moody frame, Heaton holds his conclusion loosely. He says, out loud, that he’s not convinced this is the right composition for sunrise – because good light changes the equation entirely. With drama in the sky, you want foreground interest that earns its place, something that catches the color or reflects the quality of light rather than just sitting there. This kind of compositional humility is underrated. Don’t fall in love with a frame just because it worked in fog. Ask yourself: if the light is extraordinary tomorrow, will this setup let me use it? If the answer is no, keep looking.
Heaton looking around Old Man of Storr evaluating composition options in fog
Even after capturing a strong moody frame, Heaton holds his conclusion loosely. He says, out loud, that he’s not convinced this is the right composition for sunrise – because good light changes the equation entirely. With drama in the sky, you want foreground interest that earns its place, something that catches the color or reflects the quality of light rather than just sitting there. This kind of compositional humility is underrated. Don’t fall in love with a frame just because it worked in fog. Ask yourself: if the light is extraordinary tomorrow, will this setup let me use it? If the answer is no, keep looking.
What I’d Add From My Own Experience
Scouting in bad conditions has a specific advantage Heaton gestures at but doesn’t name directly: you see the landscape without distraction. No golden light pulling your eye toward the obvious foreground. No other photographers crowding the popular viewpoints. Bad weather forces you to read the structure of a place rather than just its surface beauty. Some of my most useful scouting trips have been in rain so heavy I couldn’t see clearly – I came back knowing the bones of a location in a way that a glorious afternoon would never have taught me. There’s a reason the mountain doesn’t care about your schedule. It’s showing you something every time, on every visit. The question is whether you’re paying attention.
The single most important thing to take from this video: conditions are not the photograph. Your job in the field is to stay present, keep working, and stay curious regardless of what the sky is handing you. The photographers who consistently come home with strong work aren’t the ones who get lucky with weather. They’re the ones who know how to work on every kind of day.
Watch the full tutorial on YouTube and watch how Heaton thinks through each decision in real time – the running commentary is where the real education lives.
Comments (2)
This is going in my reference folder. Incredibly useful.
Well explained. I think my audience would really benefit from this — mind if I link to it?
Leave a Comment