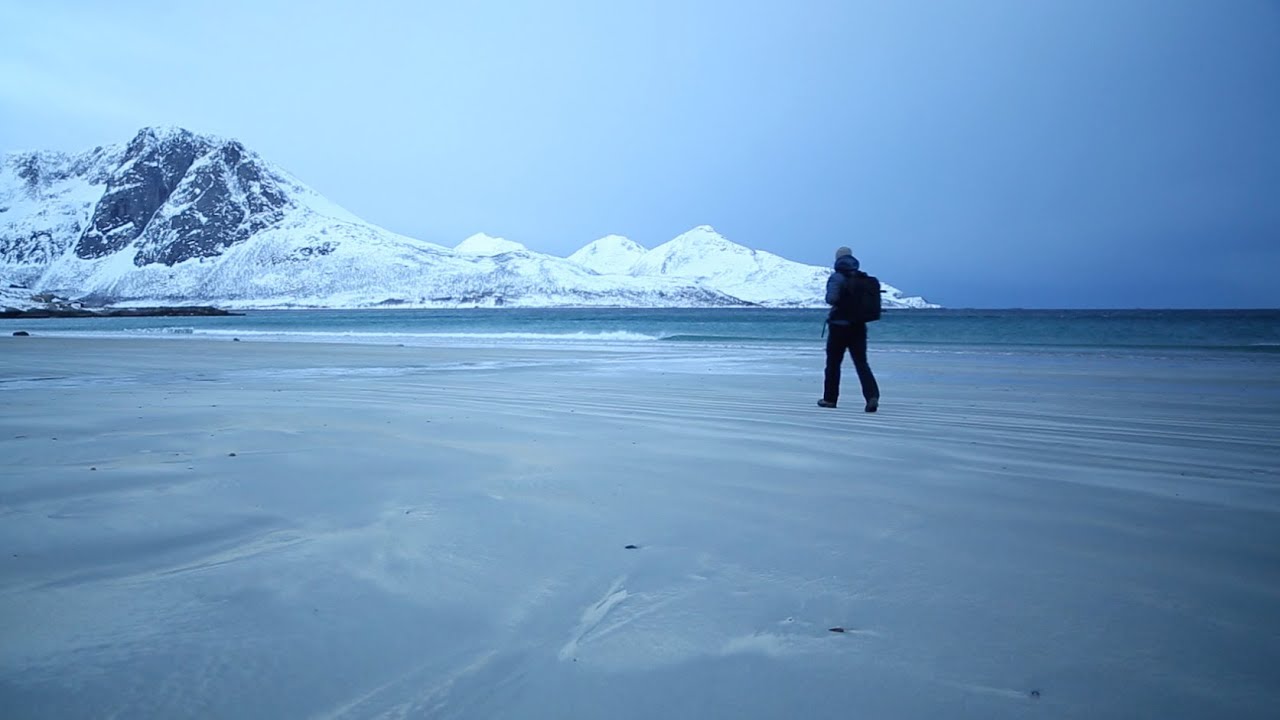
There’s a particular kind of problem that follows you into unfamiliar landscapes: you’ve traveled a long way, you don’t know the terrain, and the light starts moving before you’ve found a single composition. I’ve felt that pressure on the Oregon coast, in Iceland, and high in the Cascades. The scramble is real, and it humbles you every time. That’s exactly why I keep returning to Thomas Heaton’s field vlogs. They don’t show you a polished highlight reel. They show you someone working through the same uncertainty in real time, which is far more useful.
In this Thomas Heaton tutorial, he documents a winter trip to Tromso, Norway, arriving after three connecting flights, renting a car, and heading straight out to shoot the fjord at sunset on his very first afternoon. No scouting days, no safety net. Just a foreign landscape, fading light, and a camera bag. Watch the full tutorial on YouTube - but read through these field notes first so you know exactly what to pay attention to.
What makes this video worth studying isn’t the destination. It’s the decision-making. Heaton narrates his compositional thinking out loud, works with whatever foreground he stumbles across, and reaches for filters at the right moment. All of that translates directly to wherever you’re shooting next.
Step 1: Handle Logistics Efficiently So You Arrive with Energy to Shoot
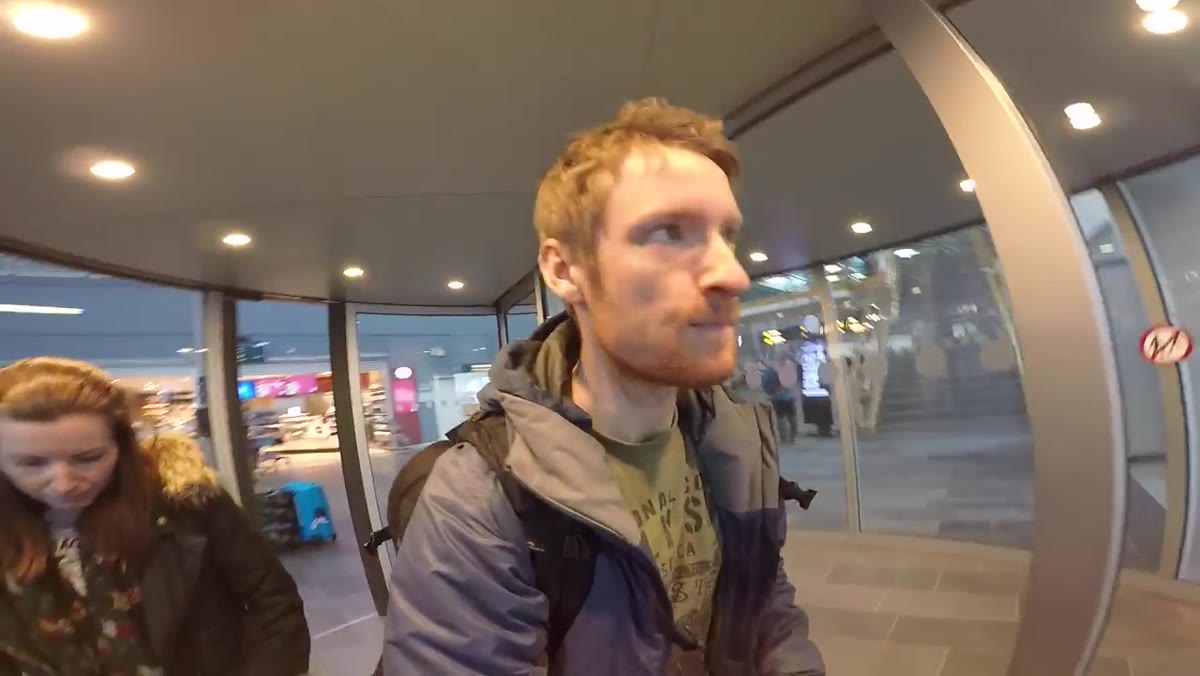 caption: Heaton at car rental counter ahead of baggage queue
Heaton mentions a hard-won travel habit: get your car rental sorted before you collect your luggage. It saves you from standing at the back of a long queue while the light window closes. This isn’t glamorous advice, but after twenty years of shooting trips, I can tell you that logistical friction eats into your shooting time faster than weather ever will. Pre-download offline maps, pre-book accommodation close to your primary location, and keep your camera accessible in your carry-on so the first evening isn’t entirely lost to unpacking.
caption: Heaton at car rental counter ahead of baggage queue
Heaton mentions a hard-won travel habit: get your car rental sorted before you collect your luggage. It saves you from standing at the back of a long queue while the light window closes. This isn’t glamorous advice, but after twenty years of shooting trips, I can tell you that logistical friction eats into your shooting time faster than weather ever will. Pre-download offline maps, pre-book accommodation close to your primary location, and keep your camera accessible in your carry-on so the first evening isn’t entirely lost to unpacking.
The goal is simple: reduce the gap between landing and shooting. Every trip I take, I treat the first sunset as a live scouting session rather than a throwaway. You won’t have your best compositions yet, but you’ll start reading the landscape and you’ll sleep better for having made something.
Step 2: Make a Quick Plan Before You Drive Out
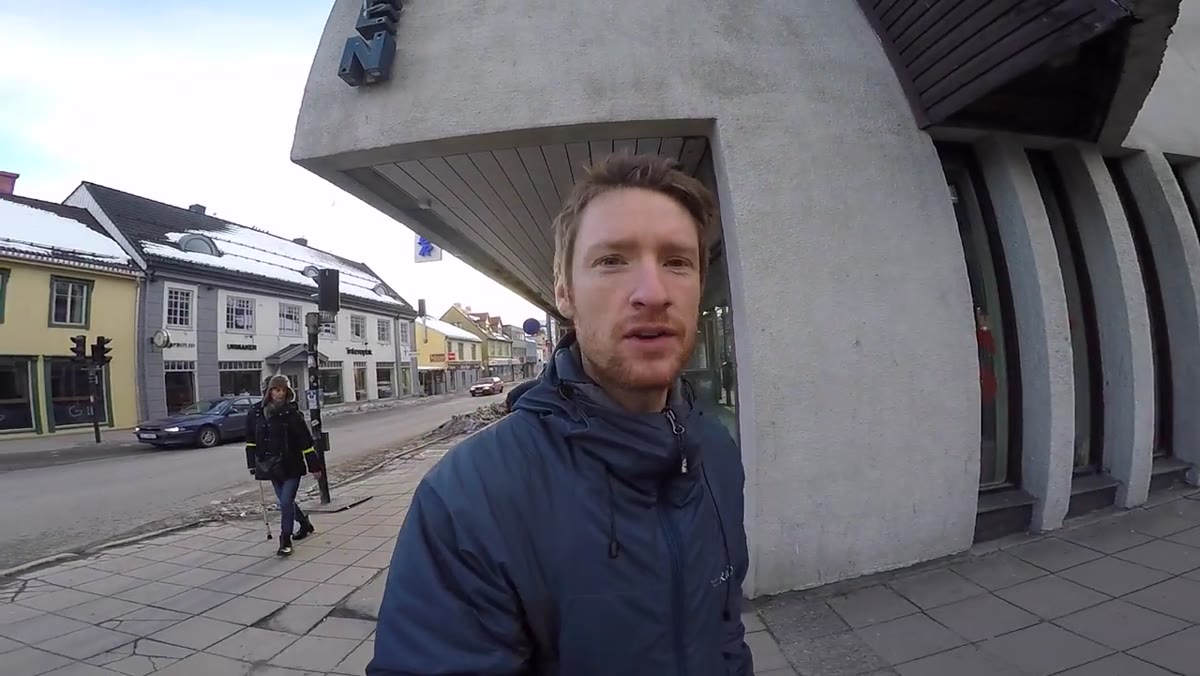 caption: Heaton drinking coffee, discussing first-day approach
On arrival in Tromso, before heading out, Heaton takes a few minutes to get coffee and talk through the plan for the afternoon. It sounds minor, but having a rough direction for your first session prevents decision paralysis when you’re standing in front of a beautiful scene and can’t remember whether you wanted wide or telephoto. I keep a running note on my phone for each trip: two or three locations ranked by light direction and accessibility, plus a reminder of what focal lengths I want to prioritize.
caption: Heaton drinking coffee, discussing first-day approach
On arrival in Tromso, before heading out, Heaton takes a few minutes to get coffee and talk through the plan for the afternoon. It sounds minor, but having a rough direction for your first session prevents decision paralysis when you’re standing in front of a beautiful scene and can’t remember whether you wanted wide or telephoto. I keep a running note on my phone for each trip: two or three locations ranked by light direction and accessibility, plus a reminder of what focal lengths I want to prioritize.
For a winter Arctic environment specifically, you’re working with a low sun that moves quickly across the horizon. The golden hour isn’t an hour. It’s a narrow band of time, and you want your feet moving before it starts, not during it.
Step 3: Read the Light Before You Commit to a Composition
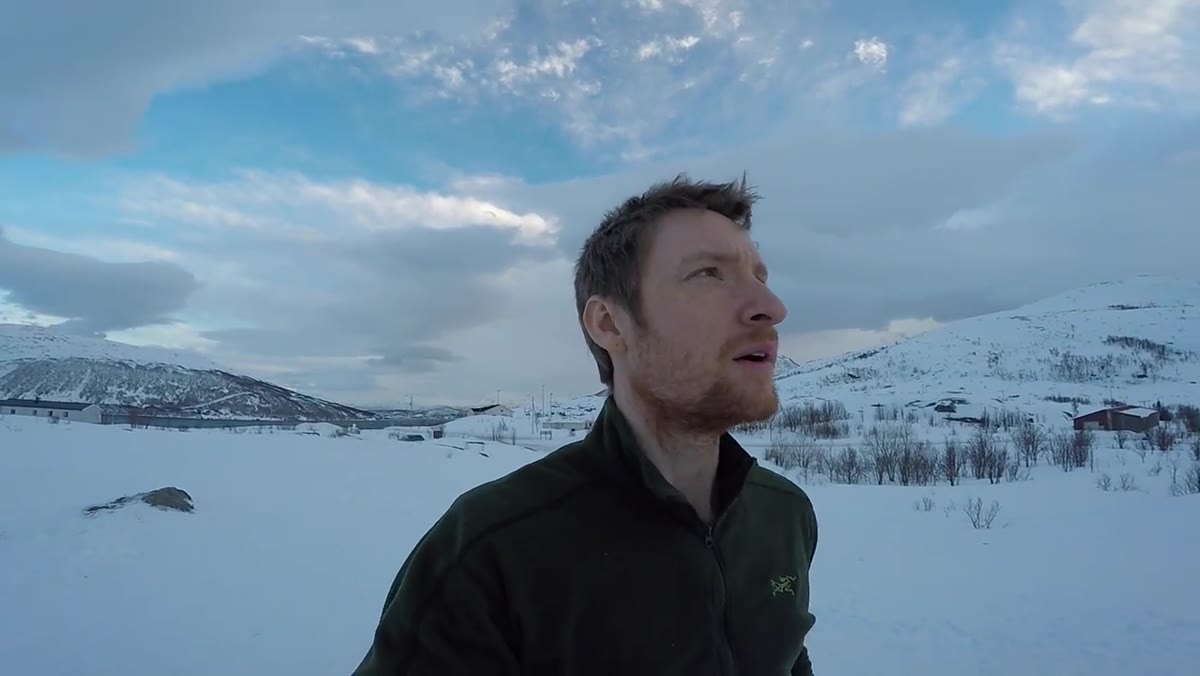 caption: Wide fjord view, dramatic red sky over mountains
Arriving at the fjord, Heaton immediately starts reading the sky rather than setting up. He identifies warm light catching the mountain peaks against dark clouds behind them, and he flags this as the kind of contrast that tends to produce strong images. This is a habit worth ingraining. Before you extend a tripod leg, spend sixty seconds looking. Where is the light actually falling? Where is it headed? What’s the darkest part of the frame and what’s the brightest? The answers shape every compositional decision that follows.
caption: Wide fjord view, dramatic red sky over mountains
Arriving at the fjord, Heaton immediately starts reading the sky rather than setting up. He identifies warm light catching the mountain peaks against dark clouds behind them, and he flags this as the kind of contrast that tends to produce strong images. This is a habit worth ingraining. Before you extend a tripod leg, spend sixty seconds looking. Where is the light actually falling? Where is it headed? What’s the darkest part of the frame and what’s the brightest? The answers shape every compositional decision that follows.
He debates going wide to include the full mountain range and sky, or reaching for a longer lens to compress and isolate the light patch on a single peak. Both are legitimate choices. The key is recognizing that you’re choosing a story, not just a shot.
Step 4: Move Toward Interesting Foreground Before the Color Peaks
 caption: Heaton walking fjord edge searching for foreground elements
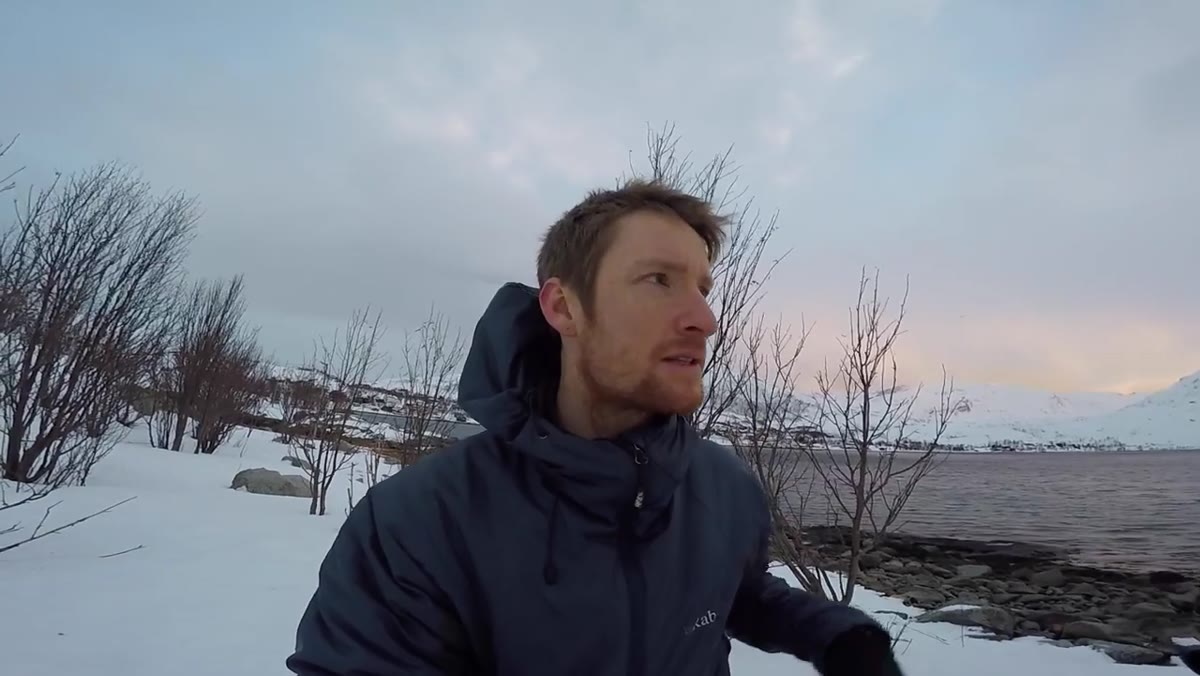
Heaton knows the sky is building and he moves quickly toward the water’s edge to find something to anchor his foreground. He says it directly: he needs foreground and he needs it now. This is a reflex every landscape photographer has to develop. A dramatic sky with nothing in the foreground is a postcard. A dramatic sky reflected in a tidal pool with a textured rock in the lower third is a photograph.
caption: Heaton walking fjord edge searching for foreground elements
Heaton knows the sky is building and he moves quickly toward the water’s edge to find something to anchor his foreground. He says it directly: he needs foreground and he needs it now. This is a reflex every landscape photographer has to develop. A dramatic sky with nothing in the foreground is a postcard. A dramatic sky reflected in a tidal pool with a textured rock in the lower third is a photograph.
Don’t wait for the light to peak before you start looking. Scout the foreground while the color is still building, so when the sky fires up you already know exactly where to put your feet and your tripod.
Step 5: Use a Rock Pool as a Natural Reflector
 caption: Small rock pool reflecting colored sky, wide angle lens
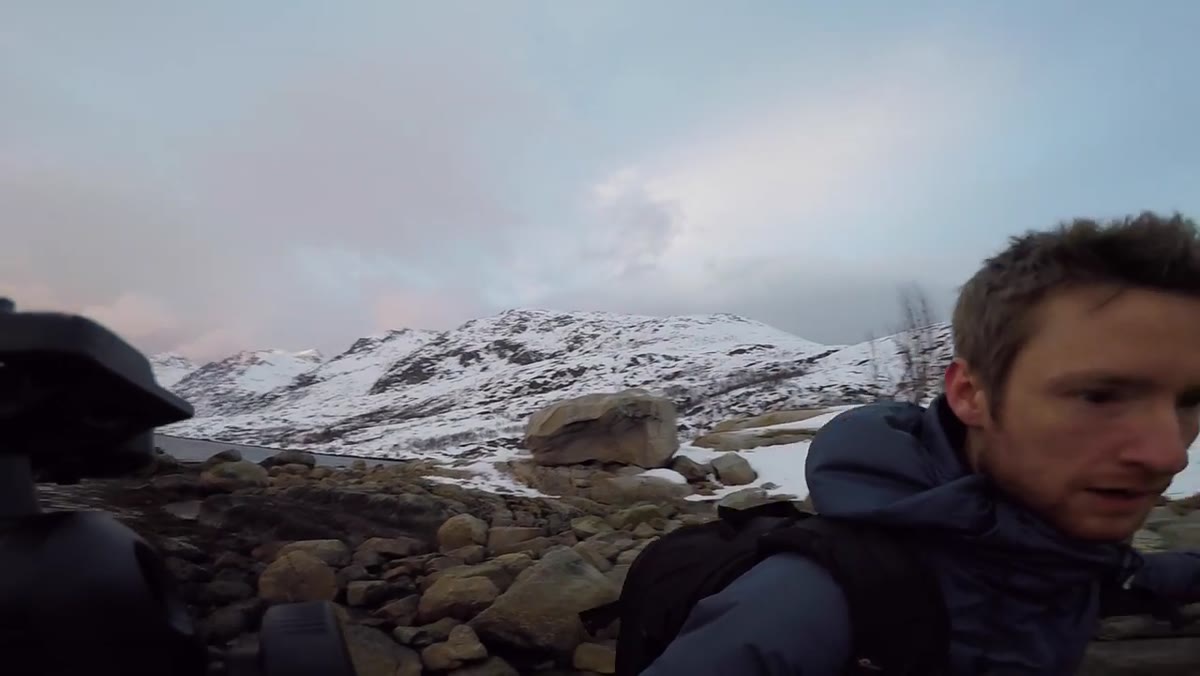
Heaton finds a flat rock with a shallow pool sitting on its surface and locks in at 21mm. The pool mirrors the color in the sky and creates a second light source within the frame, which is exactly what a wide foreground needs to justify its inclusion. He’s shooting at 21mm, which keeps both the pool and the sky in the frame with enough depth to make the relationship feel connected rather than cramped.
caption: Small rock pool reflecting colored sky, wide angle lens
Heaton finds a flat rock with a shallow pool sitting on its surface and locks in at 21mm. The pool mirrors the color in the sky and creates a second light source within the frame, which is exactly what a wide foreground needs to justify its inclusion. He’s shooting at 21mm, which keeps both the pool and the sky in the frame with enough depth to make the relationship feel connected rather than cramped.
If you’re shooting in a coastal or fjord environment, these micro-pools are everywhere after tide or rain. Look down as much as you look up. The shot often lives at your feet.
Step 6: Stack a Polarizer and ND Filter to Control Moving Water
 caption: Heaton attaching polarizer and ND filter to lens
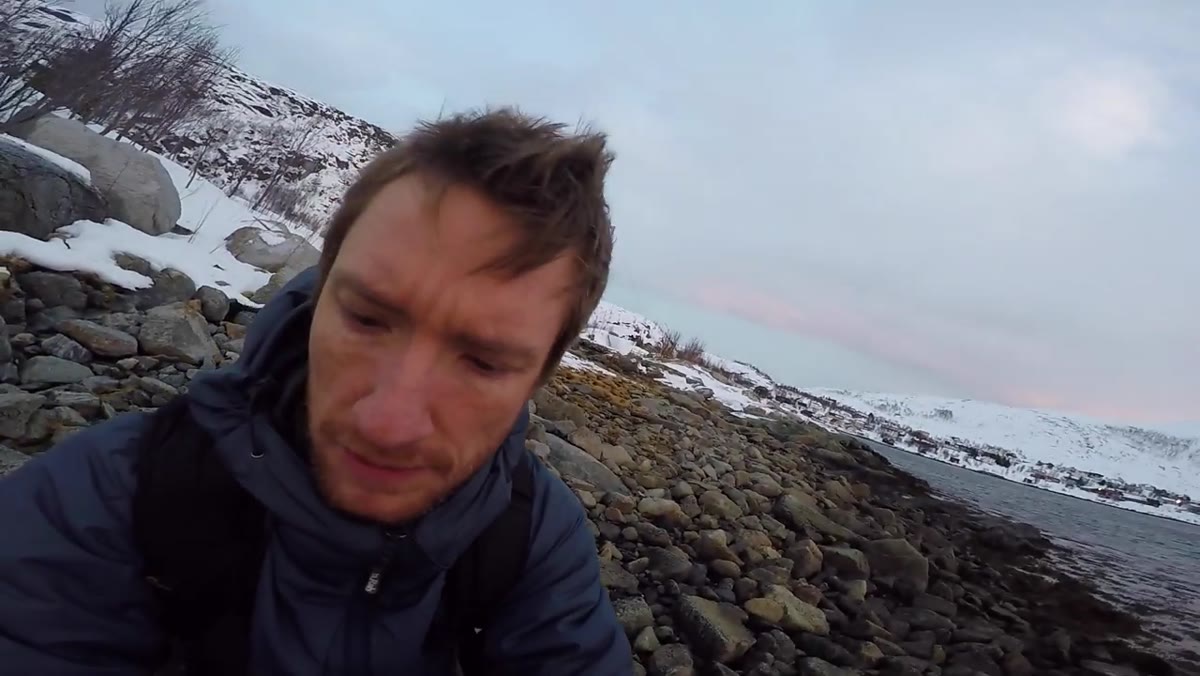
Heaton combines a polarizer with a three-stop ND filter to manage the wind-agitated water in the pool. The polarizer reduces surface glare and deepens the reflection. The ND extends the exposure long enough to smooth the water’s movement without killing the reflection entirely. He notes that slightly softened water reads better in the frame than a sharp chop, and I’d agree - it integrates the foreground into the image rather than making it a distraction.
caption: Heaton attaching polarizer and ND filter to lens
Heaton combines a polarizer with a three-stop ND filter to manage the wind-agitated water in the pool. The polarizer reduces surface glare and deepens the reflection. The ND extends the exposure long enough to smooth the water’s movement without killing the reflection entirely. He notes that slightly softened water reads better in the frame than a sharp chop, and I’d agree - it integrates the foreground into the image rather than making it a distraction.
The practical setup here: polarizer goes on first, closest to the lens, then the ND. Dial in your composition, set your polarizer rotation while looking through the viewfinder, then add the ND and calculate your exposure from there. In low winter light you may find even a three-stop ND gives you exposures in the ten-to-thirty second range, which is plenty for water smoothing.
What I’d Add from My Own Kit
Working in the Pacific Northwest, I’ve learned to also carry a small headlamp and a dry bag for my filters when I’m shooting anywhere near water at dusk. Wet filters at golden hour are the fastest way to ruin what took three hours of hiking to reach. I also never rely on a single foreground option. If I find a pool, I spend two minutes circling it before I commit to an angle. Sometimes the reflection is better from three feet to the left. Patience in the setup phase pays off in the edit.
Heaton’s approach in Tromso is a good reminder of something a mentor once told me: the mountain doesn’t care about your schedule. You work with what the light gives you, and you stay curious about the ground under your feet. The photographers who bring home strong images from unfamiliar places aren’t the ones who planned the most. They’re the ones who stayed flexible and kept moving until something clicked.
The single most important lesson in this video is to trust the process of wandering with intention. Find the light, find the foreground, control the water. It works at the Arctic Circle and it works in your backyard. Watch the full tutorial on YouTube to see Heaton work through each of these decisions in real time.
Comments (3)
Simple but effective. Sometimes that's all you need.
Shared this with my photography group. Everyone loved it.
Couldn't agree more. I've seen this make a huge difference in gear work specifically.
Leave a Comment