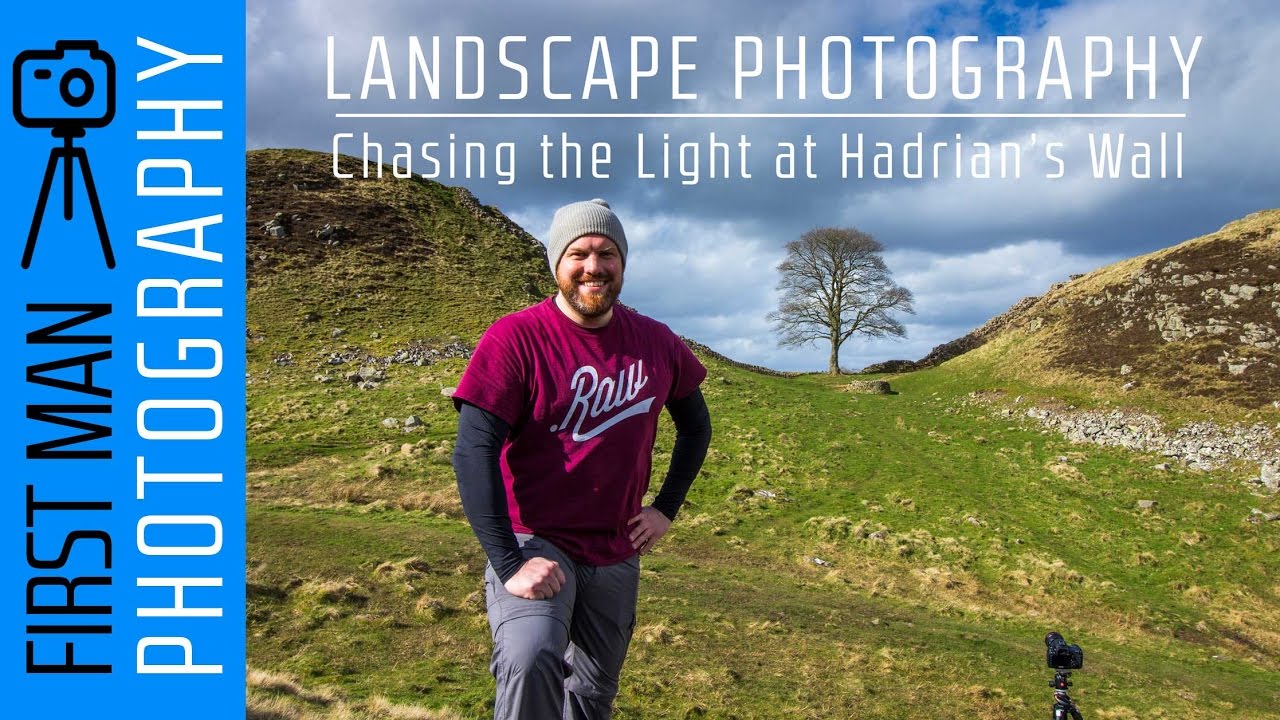
There’s a particular kind of frustration that comes with arriving at a famous landscape location in the middle of a bluebird afternoon. The light is flat, the shadows are nonexistent, and every other photographer who has ever stood in that spot has already done it better under better conditions. I’ve been there more times than I’d like to admit across twenty years of shooting landscapes. The question is never whether the conditions are perfect. The question is what you do with what you have, and how well you’ve prepared for the moment when the light finally shows up.
That exact challenge is at the heart of a tutorial I came back to recently. In this First Man Photography tutorial, the creator drives north to Hadrian’s Wall in Northumberland with a clear plan: scout early, find compositions, and be positioned perfectly for sunset. Watch the full tutorial on YouTube before or after reading this breakdown. What I appreciate about this video is that it doesn’t pretend every moment in the field is magic. It shows the unglamorous middle hours of a long shooting day, and that honesty is more useful to working photographers than a highlight reel.
Step 1: Choose Your Location Based on Conditions, Not Convenience
 Photographer explains the day’s plan to camera
The creator had been meaning to visit Hadrian’s Wall for a while, but he waited until the forecast justified the trip. That discipline matters more than most beginners realize. Iconic locations don’t reward impatience. If you drive six hours to a place and the weather is wrong, you may come home with nothing usable. Checking detailed forecasts, not just the general daily outlook, before committing to a long journey is one of the most important pre-shoot habits you can build. Look at cloud cover percentages, wind speed, and the timing of any clearing if weather is moving through.
Photographer explains the day’s plan to camera
The creator had been meaning to visit Hadrian’s Wall for a while, but he waited until the forecast justified the trip. That discipline matters more than most beginners realize. Iconic locations don’t reward impatience. If you drive six hours to a place and the weather is wrong, you may come home with nothing usable. Checking detailed forecasts, not just the general daily outlook, before committing to a long journey is one of the most important pre-shoot habits you can build. Look at cloud cover percentages, wind speed, and the timing of any clearing if weather is moving through.
Step 2: Arrive Early and Capture a Time-Lapse While You Orient Yourself
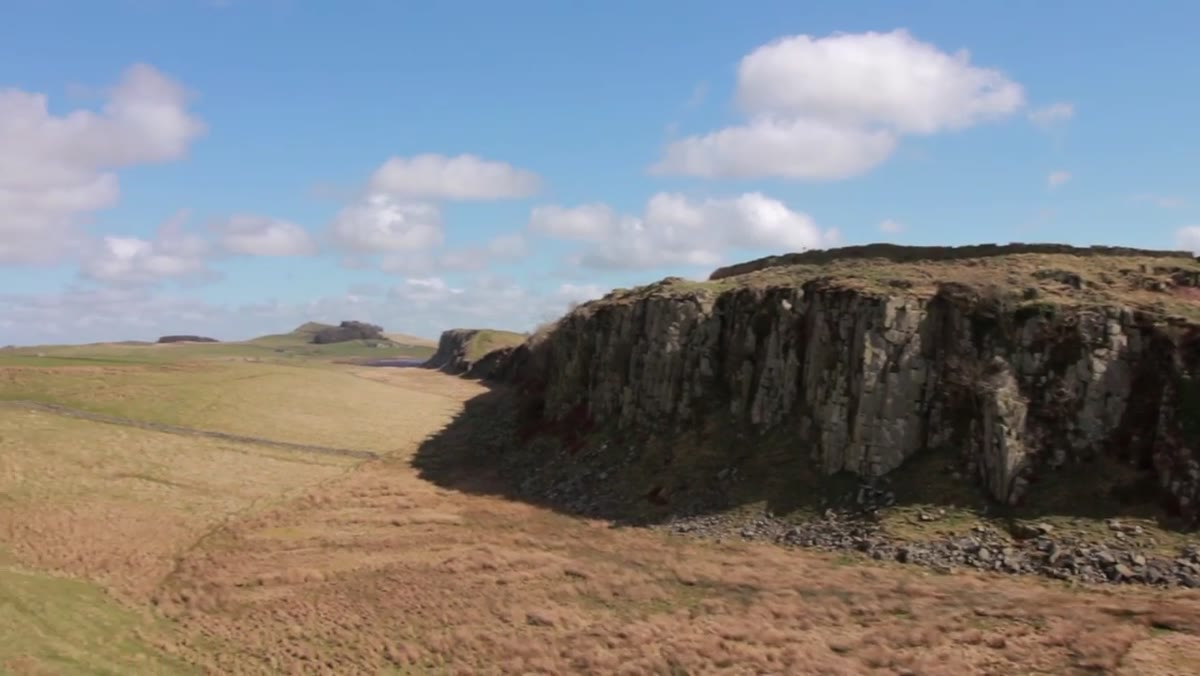 Camera on tripod capturing time-lapse of the wall
Arriving well before golden hour gives you time to do two things at once: gather useful footage and learn the geography of the place. The creator sets up a time-lapse as soon as he arrives, even though the midday light is harsh and the conditions aren’t ideal for stills. This is smart field practice. A time-lapse during the middle hours costs you almost nothing while you’re exploring on foot, and it can reveal how the clouds are moving and where the light is tracking across the landscape. Set your interval based on how fast conditions are changing. For fast-moving clouds, something in the range of 3-5 seconds between frames works well. For slower, more static skies, you can stretch that out to 10-15 seconds.
Camera on tripod capturing time-lapse of the wall
Arriving well before golden hour gives you time to do two things at once: gather useful footage and learn the geography of the place. The creator sets up a time-lapse as soon as he arrives, even though the midday light is harsh and the conditions aren’t ideal for stills. This is smart field practice. A time-lapse during the middle hours costs you almost nothing while you’re exploring on foot, and it can reveal how the clouds are moving and where the light is tracking across the landscape. Set your interval based on how fast conditions are changing. For fast-moving clouds, something in the range of 3-5 seconds between frames works well. For slower, more static skies, you can stretch that out to 10-15 seconds.
Step 3: Scout on Foot Before You Commit to a Composition
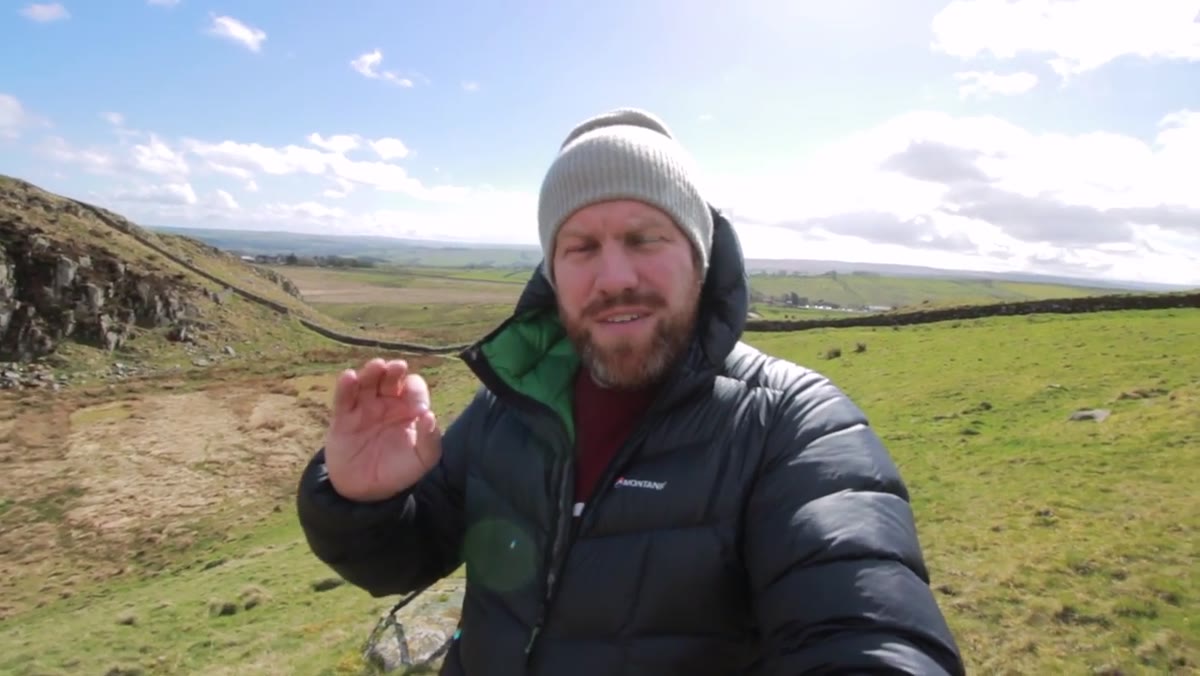 Creator walking and exploring the area on foot
With the time-lapse running, the creator spends a couple of hours walking the area and identifying compositions he wants to return to at sunset. This is the step most photographers skip when they’re eager to start shooting, and it’s the step that separates good landscape images from great ones. You’re not just looking for a pretty scene. You’re identifying foreground interest, sightlines, where the light will fall at a specific time of day, and whether there are any obstacles, fences, crowds, or terrain issues that will affect your positioning later. Walk further than feels necessary. The best composition is rarely the first one you see from the car park.
Creator walking and exploring the area on foot
With the time-lapse running, the creator spends a couple of hours walking the area and identifying compositions he wants to return to at sunset. This is the step most photographers skip when they’re eager to start shooting, and it’s the step that separates good landscape images from great ones. You’re not just looking for a pretty scene. You’re identifying foreground interest, sightlines, where the light will fall at a specific time of day, and whether there are any obstacles, fences, crowds, or terrain issues that will affect your positioning later. Walk further than feels necessary. The best composition is rarely the first one you see from the car park.
Step 4: Recognize Cliche Shots and Decide Deliberately Whether to Shoot Them
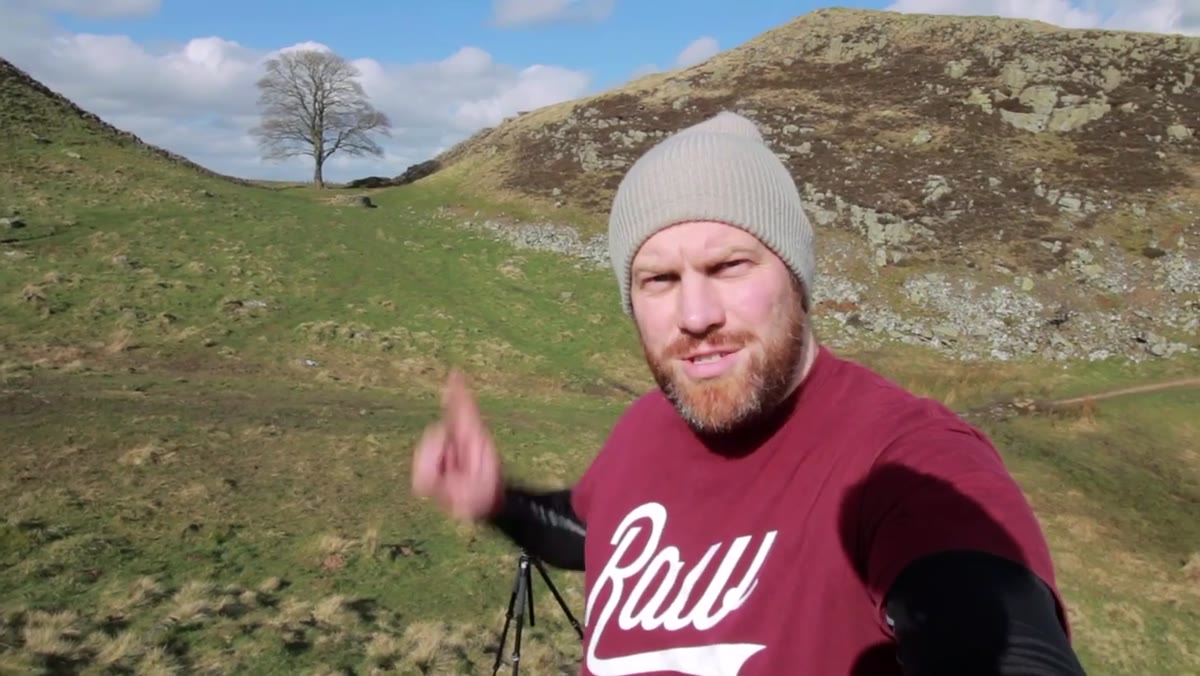 Camera set up facing the Sycamore Gap tree
The creator reaches the famous Sycamore Gap tree, widely recognized from film and a well-worn subject for landscape photographers. Rather than dismissing it or over-romanticizing it, he’s honest: it’s a cliche shot, it’s been done thousands of times, and the light at midday is not in his favor. He shoots it anyway, and his reasoning is sound. If you sell prints, iconic images from well-loved locations move. Having a strong version of a famous composition in your portfolio is not a creative failure. The key word is strong. Shooting a cliche doesn’t excuse lazy execution. Bring something to it, whether that’s a distinctive treatment in post, a long exposure, or an angle that isn’t the default.
Camera set up facing the Sycamore Gap tree
The creator reaches the famous Sycamore Gap tree, widely recognized from film and a well-worn subject for landscape photographers. Rather than dismissing it or over-romanticizing it, he’s honest: it’s a cliche shot, it’s been done thousands of times, and the light at midday is not in his favor. He shoots it anyway, and his reasoning is sound. If you sell prints, iconic images from well-loved locations move. Having a strong version of a famous composition in your portfolio is not a creative failure. The key word is strong. Shooting a cliche doesn’t excuse lazy execution. Bring something to it, whether that’s a distinctive treatment in post, a long exposure, or an angle that isn’t the default.
Step 5: Stack ND Filters for Long Exposures in Harsh Midday Light
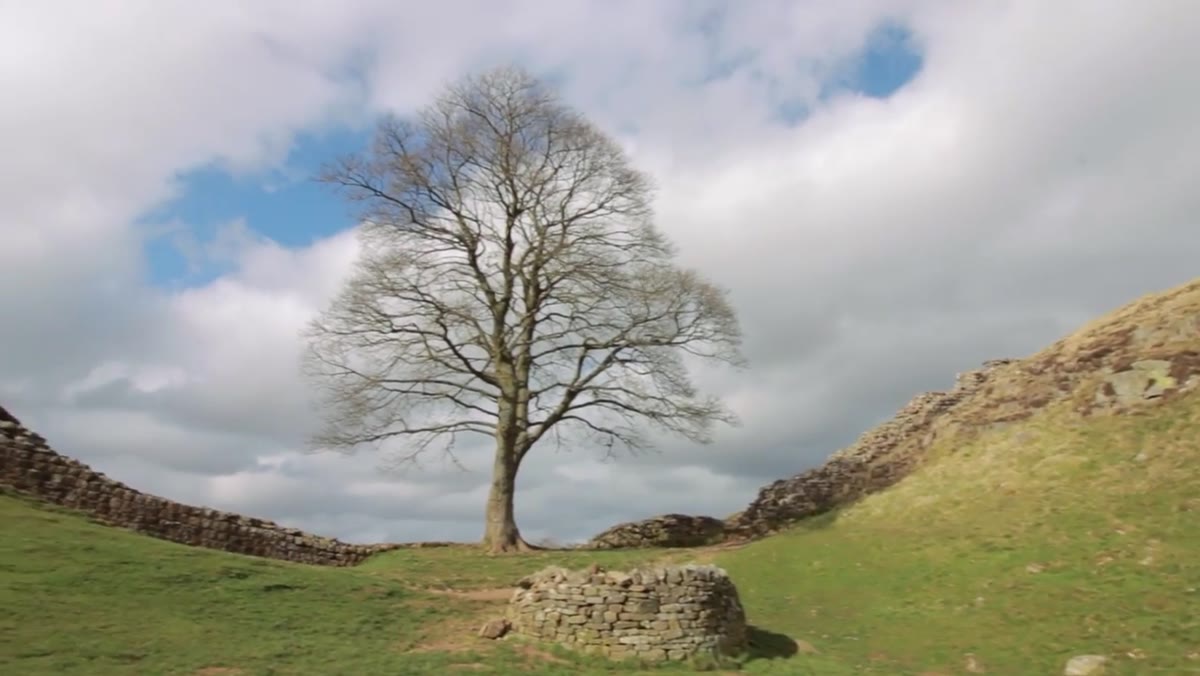 ND filters stacked on the front of the lens
To make the Sycamore Gap shot worthwhile in flat midday light, the creator stacks a 10-stop and a 6-stop ND filter together, giving him 16 stops of light reduction total. This allows him to shoot a 5.5-minute exposure at f/8 in conditions that would otherwise force a fast shutter speed and produce a static, unremarkable image. The long exposure smooths cloud movement into silky streaks across the sky and adds a sense of motion and drama that the static midday scene couldn’t offer on its own. He also uses the surrounding terrain as natural leading lines, with hills framing the composition on both sides and rock forms in the foreground adding depth.
ND filters stacked on the front of the lens
To make the Sycamore Gap shot worthwhile in flat midday light, the creator stacks a 10-stop and a 6-stop ND filter together, giving him 16 stops of light reduction total. This allows him to shoot a 5.5-minute exposure at f/8 in conditions that would otherwise force a fast shutter speed and produce a static, unremarkable image. The long exposure smooths cloud movement into silky streaks across the sky and adds a sense of motion and drama that the static midday scene couldn’t offer on its own. He also uses the surrounding terrain as natural leading lines, with hills framing the composition on both sides and rock forms in the foreground adding depth.
When stacking filters at this level, check carefully for vignetting, especially with wide-angle lenses. Mount each filter squarely and shoot a test frame before committing to a multi-minute exposure. Losing a 5-minute shot to a filter that slipped is a maddening way to spend an afternoon.
Step 6: Find the Highest Vantage Point for 360-Degree Context
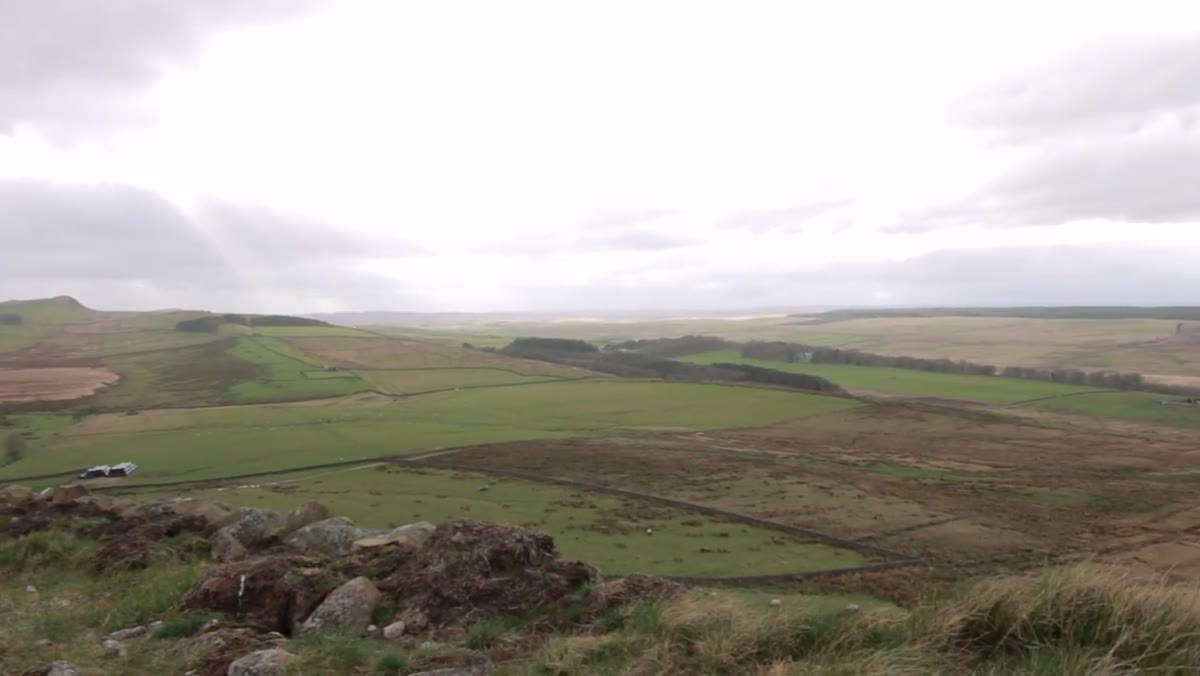 Standing at highest point of the wall with panoramic views
Later in the shoot, the creator reaches the highest point of the wall and notes the full panoramic views available from that elevation. Gaining height changes everything about how a landscape reads in a frame. At ground level you’re embedded in the scene. From elevation you can show the relationship between elements, the scale of the terrain, and the sweep of light across a wider area. At locations like Hadrian’s Wall, taking the time to physically walk to the highest accessible point before you settle on your final shooting position can reveal compositions that are simply invisible from the path most visitors take.
Standing at highest point of the wall with panoramic views
Later in the shoot, the creator reaches the highest point of the wall and notes the full panoramic views available from that elevation. Gaining height changes everything about how a landscape reads in a frame. At ground level you’re embedded in the scene. From elevation you can show the relationship between elements, the scale of the terrain, and the sweep of light across a wider area. At locations like Hadrian’s Wall, taking the time to physically walk to the highest accessible point before you settle on your final shooting position can reveal compositions that are simply invisible from the path most visitors take.
What I’d Add From My Own Experience
The creator’s approach here is fundamentally about patience and preparation, and those are the two things I come back to constantly in my own work. A mentor once told me that the mountain doesn’t care about your schedule, and that framing changed how I approach every shoot. I’d extend his scouting advice one step further: visit a location more than once before you expect to make your best image there. My first visit is almost always reconnaissance. I take notes, I shoot loosely, and I leave knowing where I’ll set up next time. The image I’m after usually comes on the second or third trip, when the light finally agrees with the composition I’ve already worked out on the ground.
The single most important technique in this entire video is the deliberate pairing of ND filter stacking with long-exposure shooting during off-peak light conditions. It’s a reminder that the camera sees differently than your eye does, and sometimes the tool itself is what transforms an ordinary scene into something worth printing. Don’t wait for perfect conditions. Learn to engineer them.
Watch the full tutorial on YouTube to see the complete shoot unfold, including the scouting walk and the final golden-hour results along the wall.
Comments
Leave a Comment