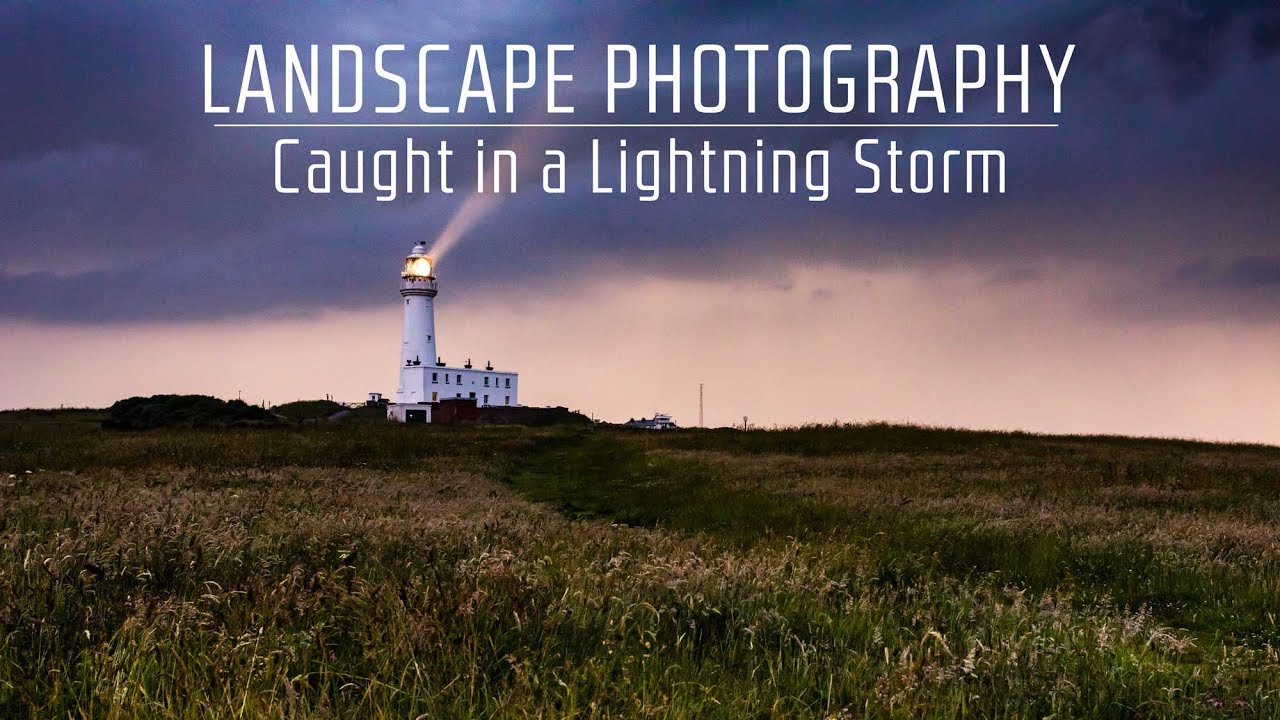
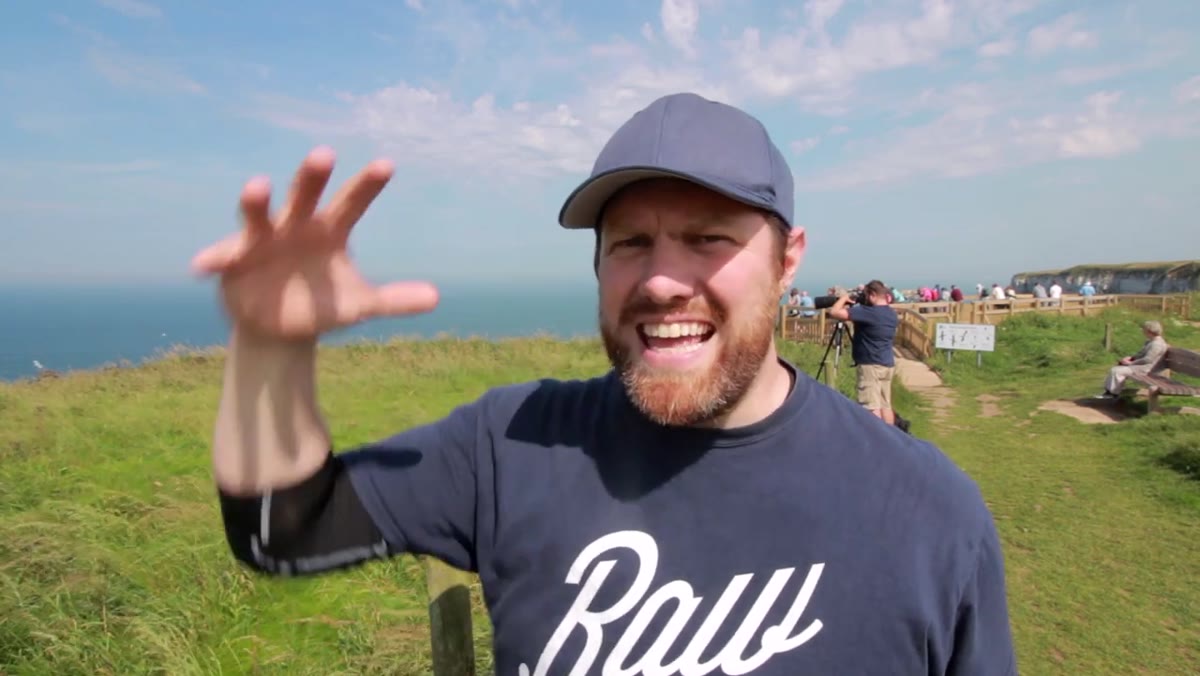
There’s a particular kind of day in field photography that teaches you more than any workshop ever could. It’s the day where you start with a plan, the weather dismantles it piece by piece, and you either adapt or you go home empty. I’ve had hundreds of those days over the past twenty years. They’re the ones I remember most. In this First Man Photography tutorial, Watch the full tutorial on YouTube, the photographer sets out for a full day along the Yorkshire coast, starting with seabird photography at Bempton Cliffs and ending with a coastal sunset attempt at Flamborough Head that gets interrupted by a full-on lightning storm. It’s chaotic, honest, and loaded with practical thinking that any working landscape or wildlife photographer can use.
What drew me to this video is how naturally it captures the decision-making process in the field. Not just the gear settings, but the reasoning behind them. Why this composition over that one. Why these shutter settings for this bird versus the last shoot. That kind of thinking is what separates photographers who grow from photographers who plateau. My mentor used to say the mountain doesn’t care about your schedule, and this video embodies that idea from start to finish.
Step 1: Choose a Location With Layered Opportunities
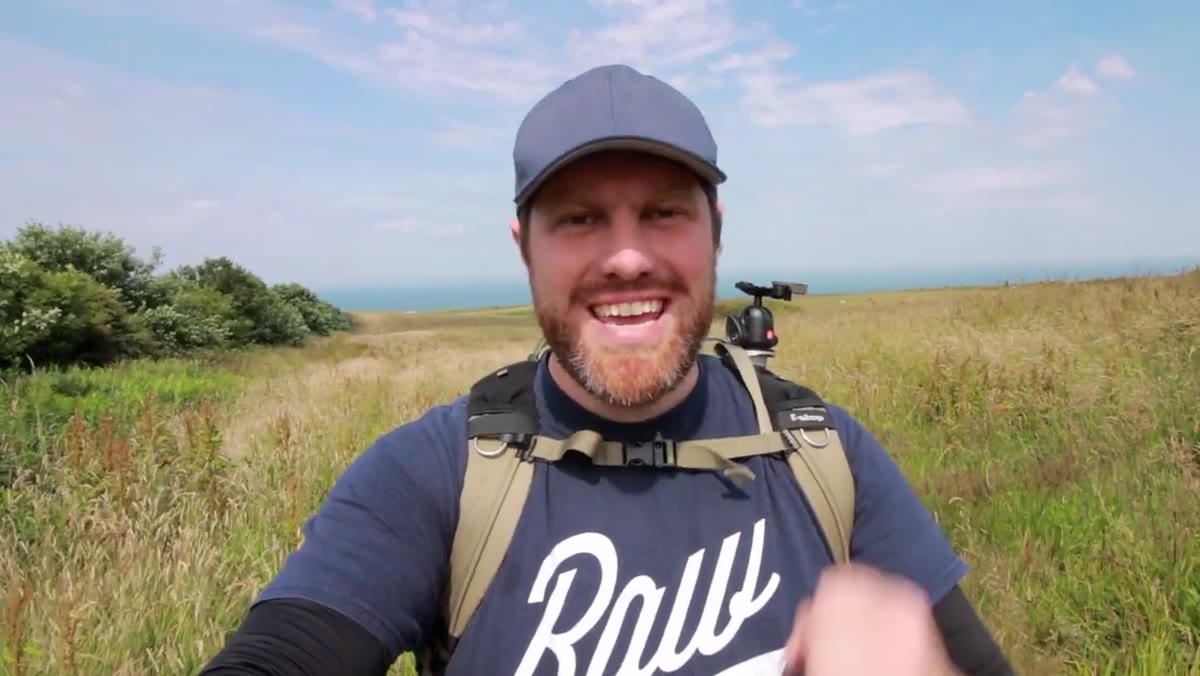 Bempton Cliffs coastal landscape with seabirds visible overhead
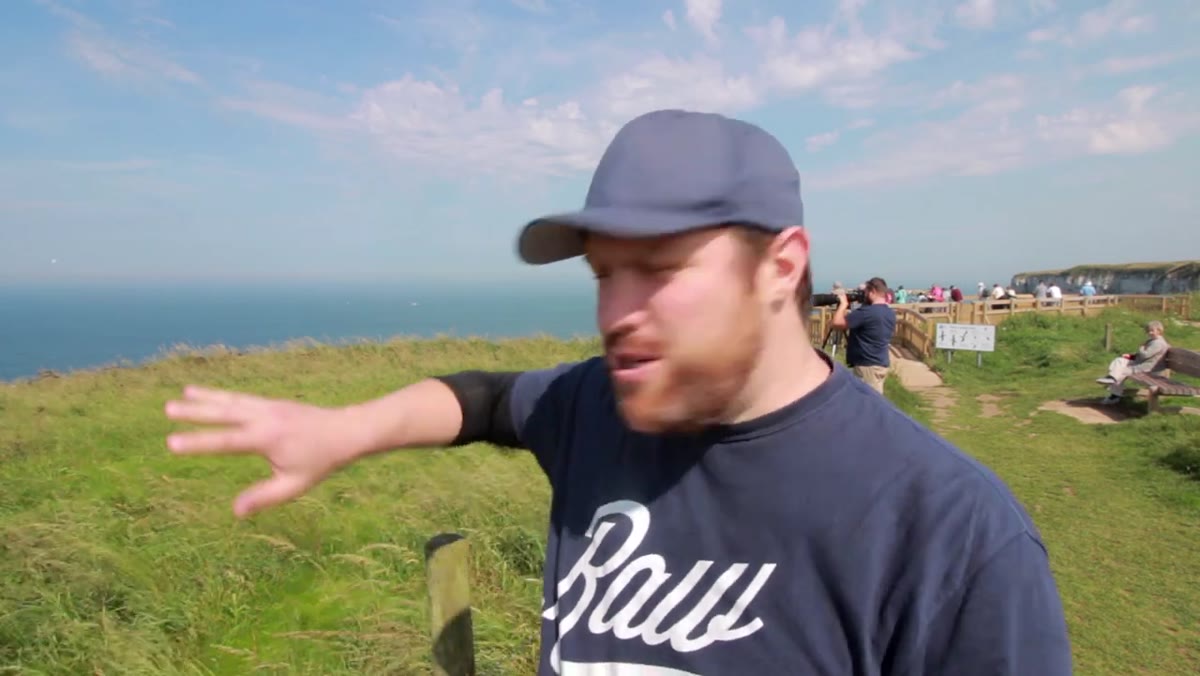
The video opens at Bempton Cliffs in Yorkshire, a spot chosen specifically because it offers multiple subjects and angles within a small area. The photographer plans to shoot seabirds in the morning, then transition to landscape work at Flamborough Head for the sunset window. This kind of location stacking is worth building into your own planning. When you travel to a spot, whether it’s two hours or six hours away, identify at least two distinct shooting opportunities that let you use both the morning and evening light. Dedicating a full day to one narrow subject in one fixed spot is a gamble. Layering your locations gives you more shots at something meaningful coming home with you.
Bempton Cliffs coastal landscape with seabirds visible overhead
The video opens at Bempton Cliffs in Yorkshire, a spot chosen specifically because it offers multiple subjects and angles within a small area. The photographer plans to shoot seabirds in the morning, then transition to landscape work at Flamborough Head for the sunset window. This kind of location stacking is worth building into your own planning. When you travel to a spot, whether it’s two hours or six hours away, identify at least two distinct shooting opportunities that let you use both the morning and evening light. Dedicating a full day to one narrow subject in one fixed spot is a gamble. Layering your locations gives you more shots at something meaningful coming home with you.
Step 2: Build Compositions That Tell a Story, Not Just Isolate the Subject
 Gannet hovering near cliff edge with reeds visible in foreground
One of the strongest points in this video comes early, when the photographer explains why he avoids isolating birds against a blank sky. A bird floating in white nothing doesn’t tell you anything about where it is, what it’s doing, or why it matters. Instead, he uses reeds in the foreground to anchor the shot and provide context, showing the gannets returning to the cliffs to feed their young. This is compositional storytelling, and it applies equally to landscape photography. Ask yourself what the supporting elements in your frame are doing. If they’re not reinforcing the story of the main subject, they’re either clutter or they’re a missed opportunity. A foreground element doesn’t have to be dramatic. It just has to be purposeful.
Gannet hovering near cliff edge with reeds visible in foreground
One of the strongest points in this video comes early, when the photographer explains why he avoids isolating birds against a blank sky. A bird floating in white nothing doesn’t tell you anything about where it is, what it’s doing, or why it matters. Instead, he uses reeds in the foreground to anchor the shot and provide context, showing the gannets returning to the cliffs to feed their young. This is compositional storytelling, and it applies equally to landscape photography. Ask yourself what the supporting elements in your frame are doing. If they’re not reinforcing the story of the main subject, they’re either clutter or they’re a missed opportunity. A foreground element doesn’t have to be dramatic. It just has to be purposeful.
Step 3: Match Your Shutter Speed and Aperture to the Subject’s Movement, Not Just the Light
 Camera settings displayed while gannet approaches cliff in background
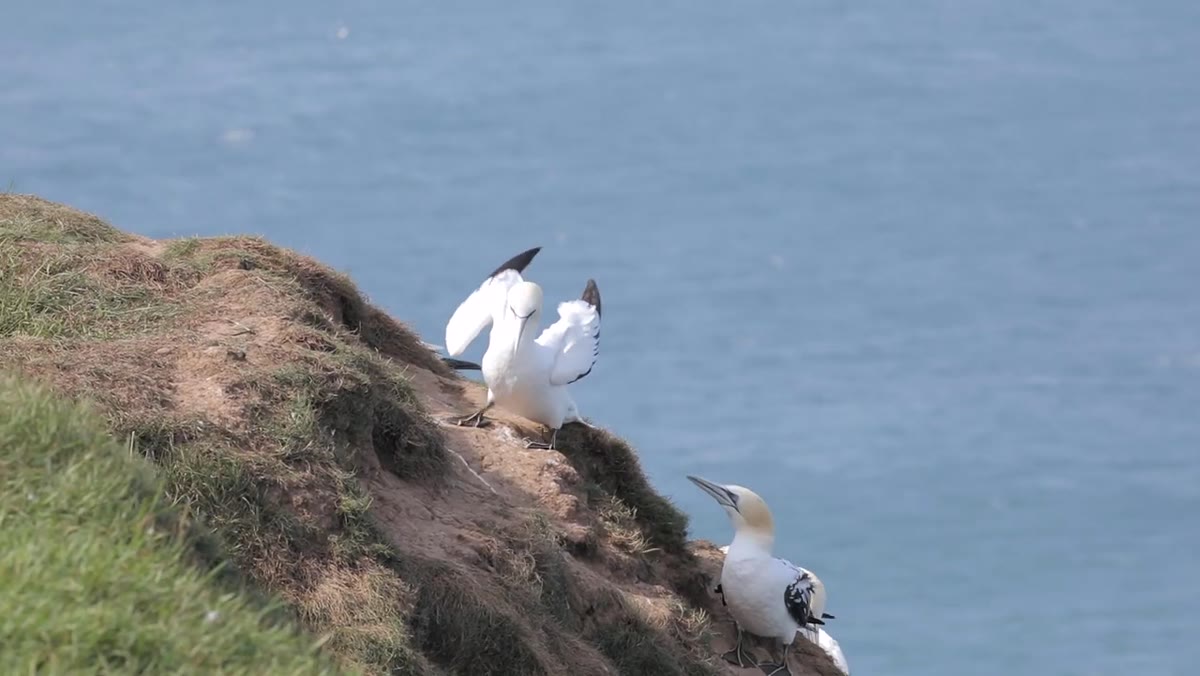
The photographer shoots the hovering gannets at 1/2000th of a second, f/5.6, and ISO 320. He’s deliberate about explaining why these settings differ from his puffin shoot. Puffins are small and erratic. Gannets are large, slower, and more predictable as they hang in the wind above the cliff edge. Because the subject is more controlled, he can open up slightly to f/5.6 rather than stopping down for a wider depth of field buffer. He also doesn’t need the extreme shutter speeds you’d use on fast-moving birds in unpredictable flight. The lesson here is that wildlife camera settings aren’t a fixed recipe. They’re a response to the specific behavior of the animal in front of you at that moment. When conditions and subject behavior change, your settings should follow.
Camera settings displayed while gannet approaches cliff in background
The photographer shoots the hovering gannets at 1/2000th of a second, f/5.6, and ISO 320. He’s deliberate about explaining why these settings differ from his puffin shoot. Puffins are small and erratic. Gannets are large, slower, and more predictable as they hang in the wind above the cliff edge. Because the subject is more controlled, he can open up slightly to f/5.6 rather than stopping down for a wider depth of field buffer. He also doesn’t need the extreme shutter speeds you’d use on fast-moving birds in unpredictable flight. The lesson here is that wildlife camera settings aren’t a fixed recipe. They’re a response to the specific behavior of the animal in front of you at that moment. When conditions and subject behavior change, your settings should follow.
Step 4: Capture the Moment Just Before the Action Peaks
 Gannet hovering at cliff edge preparing to land on nest
The shot the photographer is after isn’t the gannet in full flight. It’s the gannet in that held moment just before landing, suspended in the updraft, wings spread. That’s where the image lives. This principle of anticipating the peak moment rather than reacting to it is one of the hardest things to train, and one of the most valuable. Study your subject’s behavior before you start shooting. With gannets rising on cliff wind, you’ll see a pattern. With a wave breaking on a rock shelf, you’ll feel the rhythm. Once you know what’s coming, you can frame and pre-focus, then time your shutter to the moment just before the action completes. Reaction photography is harder and less consistent than anticipation photography.
Gannet hovering at cliff edge preparing to land on nest
The shot the photographer is after isn’t the gannet in full flight. It’s the gannet in that held moment just before landing, suspended in the updraft, wings spread. That’s where the image lives. This principle of anticipating the peak moment rather than reacting to it is one of the hardest things to train, and one of the most valuable. Study your subject’s behavior before you start shooting. With gannets rising on cliff wind, you’ll see a pattern. With a wave breaking on a rock shelf, you’ll feel the rhythm. Once you know what’s coming, you can frame and pre-focus, then time your shutter to the moment just before the action completes. Reaction photography is harder and less consistent than anticipation photography.
Step 5: Scout New Compositions Even at Familiar Locations
 Flamborough Head coastline with dramatic storm clouds building overhead
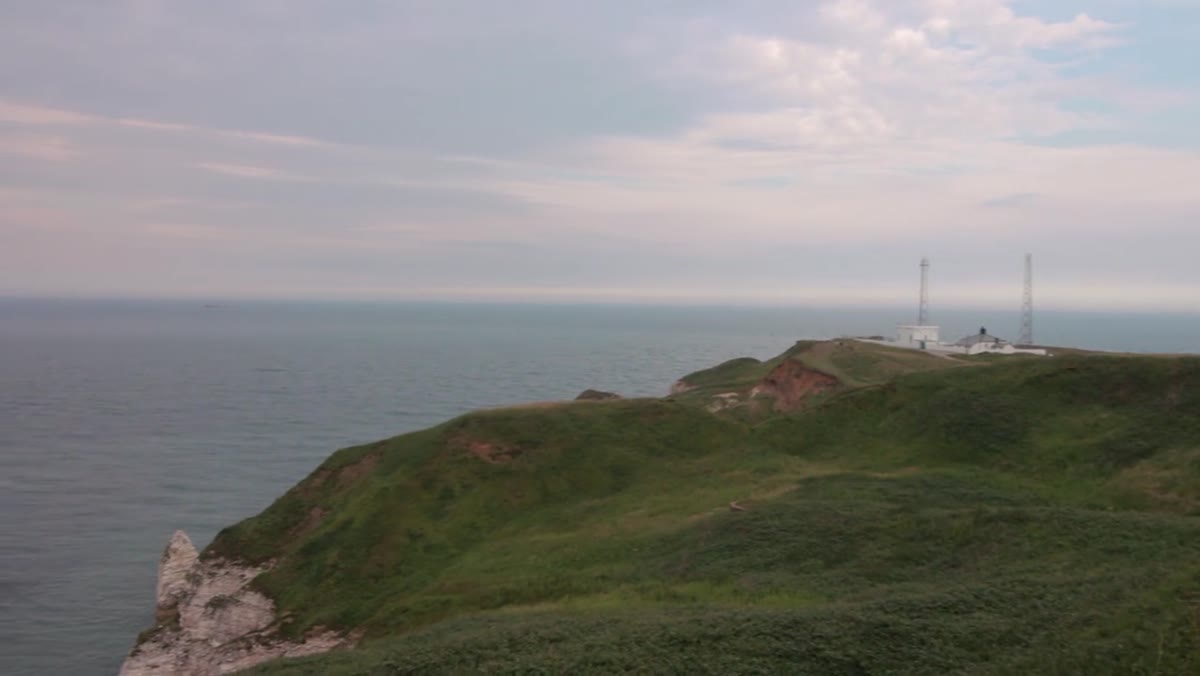
When the photographer arrives at Flamborough Head, he acknowledges he’s shot here before. Rather than defaulting to the same viewpoints, he makes a point of heading into the coves to search for something different. This matters more than it sounds. Familiarity breeds visual laziness. When you know a location well, you tend to walk straight to the shot you already have in your head, which is often a shot you’ve already taken. The discipline of scouting, even somewhere you’ve been a dozen times, keeps your eye honest. Explore lower angles, tighter coves, different foreground textures. Locations change with seasons, tides, and erosion. There’s almost always something you haven’t tried yet.
Flamborough Head coastline with dramatic storm clouds building overhead
When the photographer arrives at Flamborough Head, he acknowledges he’s shot here before. Rather than defaulting to the same viewpoints, he makes a point of heading into the coves to search for something different. This matters more than it sounds. Familiarity breeds visual laziness. When you know a location well, you tend to walk straight to the shot you already have in your head, which is often a shot you’ve already taken. The discipline of scouting, even somewhere you’ve been a dozen times, keeps your eye honest. Explore lower angles, tighter coves, different foreground textures. Locations change with seasons, tides, and erosion. There’s almost always something you haven’t tried yet.
Step 6: Stay in the Field When Weather Turns Uncertain
 Storm clouds gathering over Flamborough Head with visible darkening sky
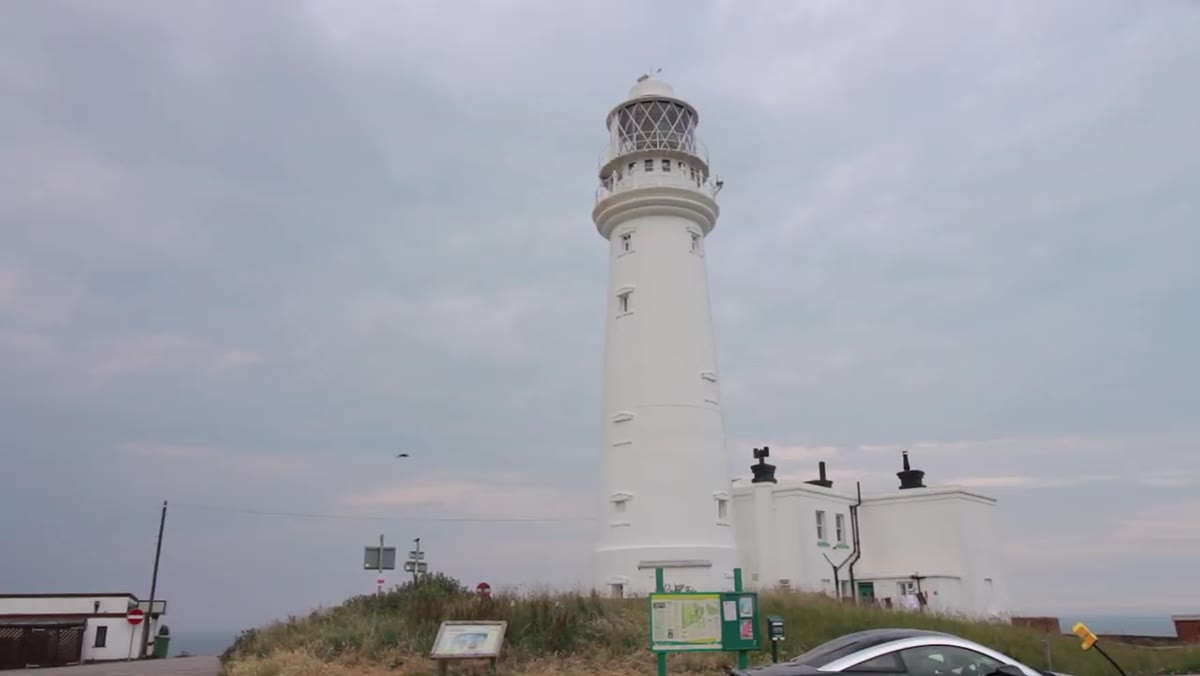
The storm rolling in at Flamborough is what gives this video its name and its most memorable footage. Instead of packing up and leaving at the first rumble of thunder, the photographer and his companion stay, explore, and keep shooting. Obviously there’s a sensible limit to this, and the video doesn’t shy away from that, but the broader principle stands. Uncertain weather produces extraordinary light. The minutes before a storm, or the gap between squalls, can deliver some of the most dramatic skies you’ll ever shoot. I’ve lost count of how many times the best light I’ve ever seen at a location came wrapped inside weather I almost drove away from. Prepare for the rain, know your safety limits, and then stay as long as it’s reasonable to do so.
Storm clouds gathering over Flamborough Head with visible darkening sky
The storm rolling in at Flamborough is what gives this video its name and its most memorable footage. Instead of packing up and leaving at the first rumble of thunder, the photographer and his companion stay, explore, and keep shooting. Obviously there’s a sensible limit to this, and the video doesn’t shy away from that, but the broader principle stands. Uncertain weather produces extraordinary light. The minutes before a storm, or the gap between squalls, can deliver some of the most dramatic skies you’ll ever shoot. I’ve lost count of how many times the best light I’ve ever seen at a location came wrapped inside weather I almost drove away from. Prepare for the rain, know your safety limits, and then stay as long as it’s reasonable to do so.
My Caveat: Know When the Story Changes
Twenty years of shooting has taught me that sometimes the photograph you planned to make gets replaced by a better one you didn’t plan at all. The lightning storm at Flamborough didn’t deliver the quiet sunset the photographer was after, but it delivered something rawer and more alive. I keep a second mental frame running whenever conditions shift: not “how do I salvage the original plan” but “what is actually in front of me right now?” That shift in perspective is what turns a failed sunset shoot into an image you’re still talking about years later. The camera doesn’t know what you intended. It only records what’s there.
The single most important takeaway from this tutorial is this: bring a plan, but hold it loosely. Your location choices, your settings, your compositions, your timing, all of it needs to be responsive to what the day actually gives you. That’s not a failure of preparation. That’s field photography working exactly as it should.
Watch the full tutorial on YouTube to see the full day unfold, including the lightning sequence that makes the opening seconds of this video impossible to forget.
Comments
Leave a Comment