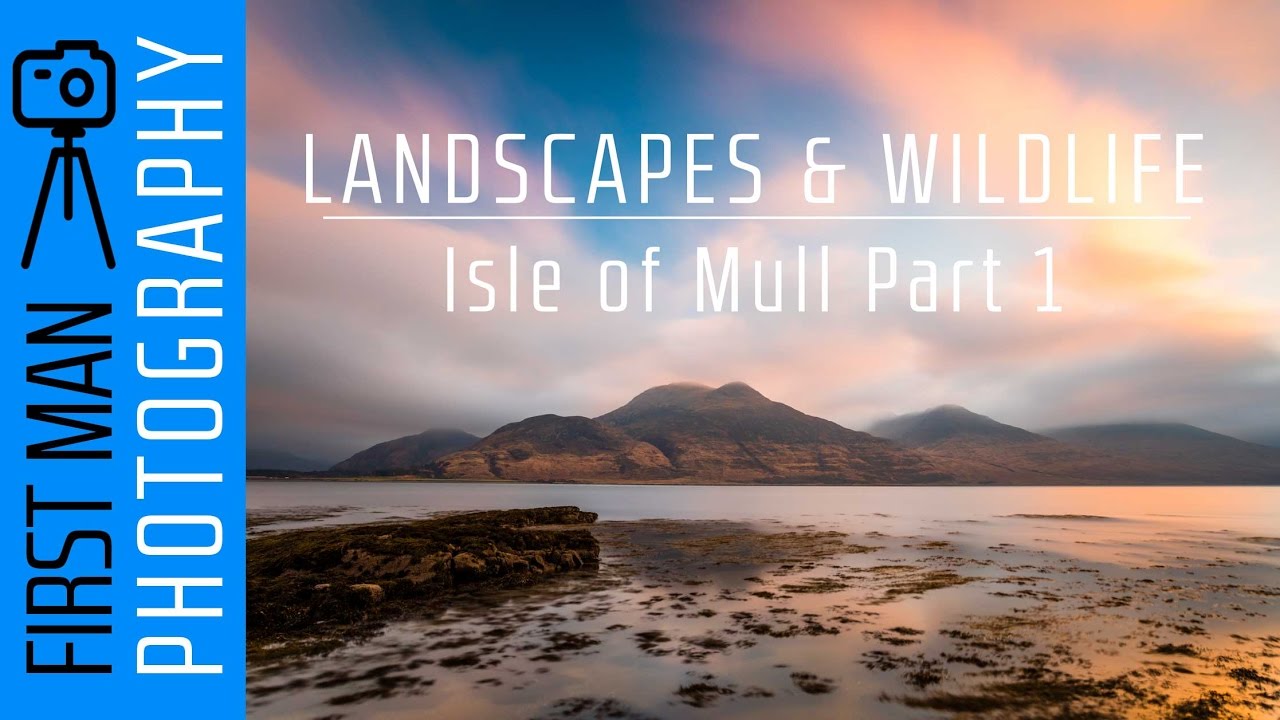
There’s a particular kind of day I know well — overcast, flat, the light doing nothing dramatic — where less experienced photographers pack up and go home. I’ve learned, sometimes the hard way, that those are the days you lean into mood rather than fight it. Cloudy skies aren’t a failure condition. They’re an invitation to work differently. That lesson came back to me watching this tutorial from First Man Photography, shot over a week on the Isle of Mull in the Scottish Inner Hebrides in January. Watch the full tutorial on YouTube before or after reading this — it’s worth your time either way.
What struck me immediately about this video is how honest it is about the unglamorous reality of field photography. Long travel days, unpredictable weather, crawling along a beach on your stomach hoping a wild otter doesn’t bolt. The creator arrives with a plan and spends most of the first day improvising around conditions he didn’t control. That’s the job. I’ve driven six hours to a location, sat in thick fog for two days, and come home with a single usable frame — which turned out to be my best-selling print. The lesson from that trip, and the lesson woven through this tutorial, is that you show up anyway and you stay curious.
The video covers a full day of mixed shooting: impromptu landscape compositions, a sustained wildlife pursuit, and deliberate use of black-and-white processing when the light refuses to cooperate. Here’s how to apply each piece.
Step 1: Treat the Journey as Part of the Shoot
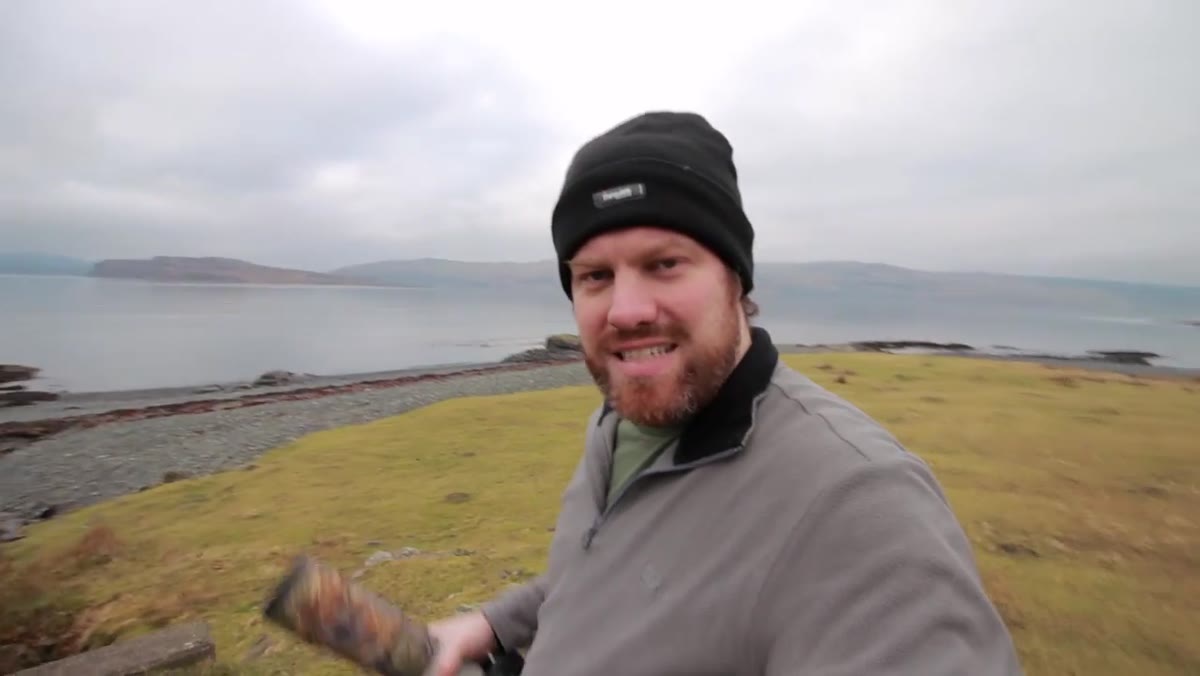
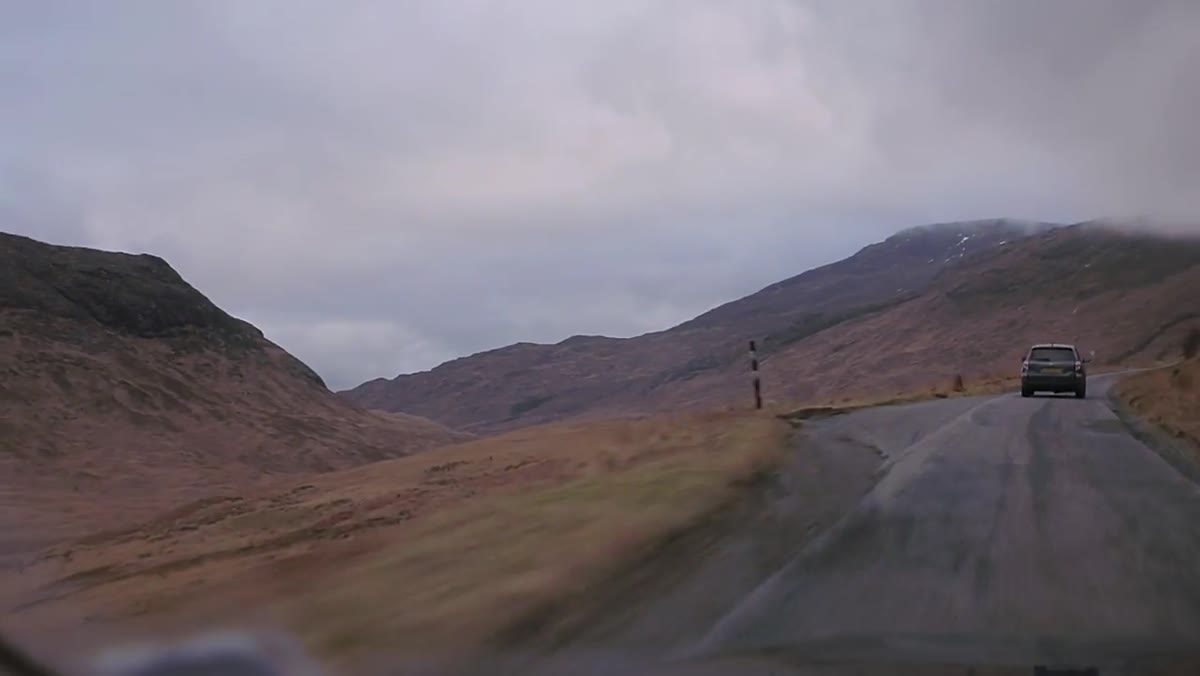 Photographer arriving on Mull after a long travel day
Most photographers mentally begin the shoot when they arrive at their primary location. The tutorial opens with a reminder that this is a mistake. Images were captured during the journey to Mull itself — frames that weren’t planned and wouldn’t have existed if the camera had stayed in the bag during travel. Keep your eye active during transits. Rest stops, ferry crossings, roadside pullouts, the view from a car window at a compelling angle — these all count. Have a camera accessible, not buried in a checked bag. The shots you aren’t expecting are often the ones that earn the most.
Step 2: Read Overcast Light as a Black-and-White Signal
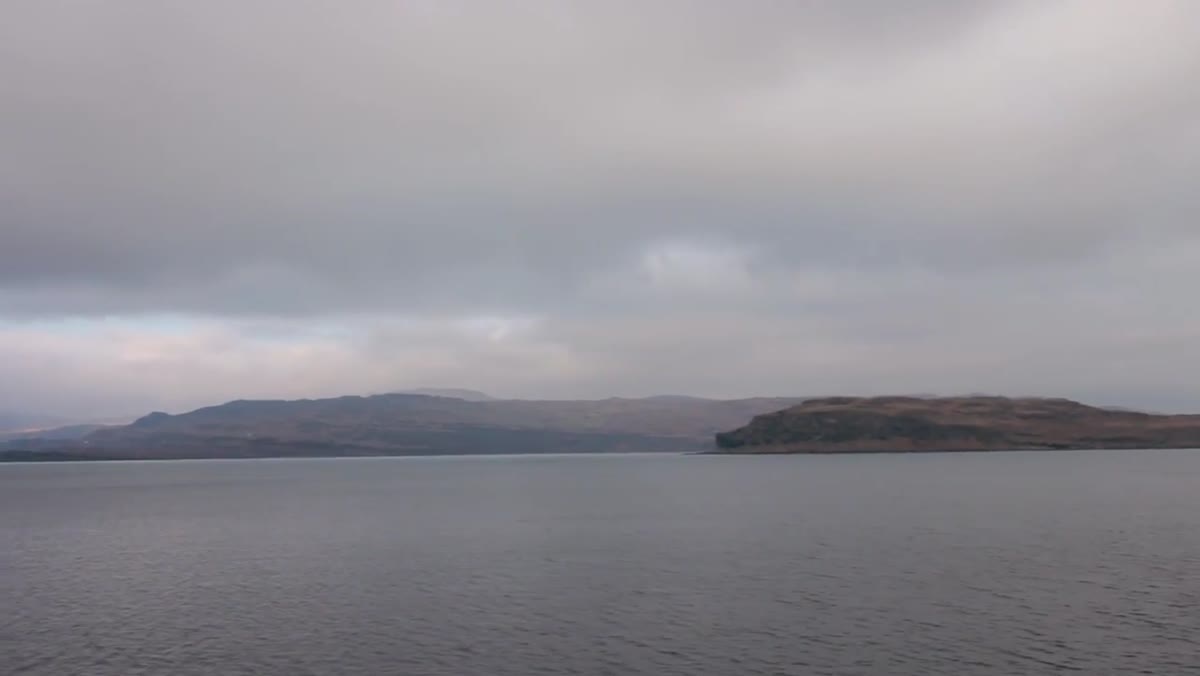
 Grey January sky over Mull landscape, cloudy and flat
When color is flat and skies are blank white, the natural palette of a scene works against you. The tutorial’s response is deliberate: treat the day as a black-and-white day from the start, not as a fallback in post. This changes how you see foreground texture, tonal contrast between land and water, and the weight of shadows. On a grey January morning, a cliff face against an overcast sky reads as near-nothing in color. Convert that same frame to monochrome and suddenly the tonal separation between rock, mist, and water becomes the whole story. When you’re in the field on a dull day, ask yourself: would this scene work if I stripped every color out? If yes, commit to that vision before you even raise the camera.
Step 3: Work a Lone Subject Until the Composition Earns Its Place
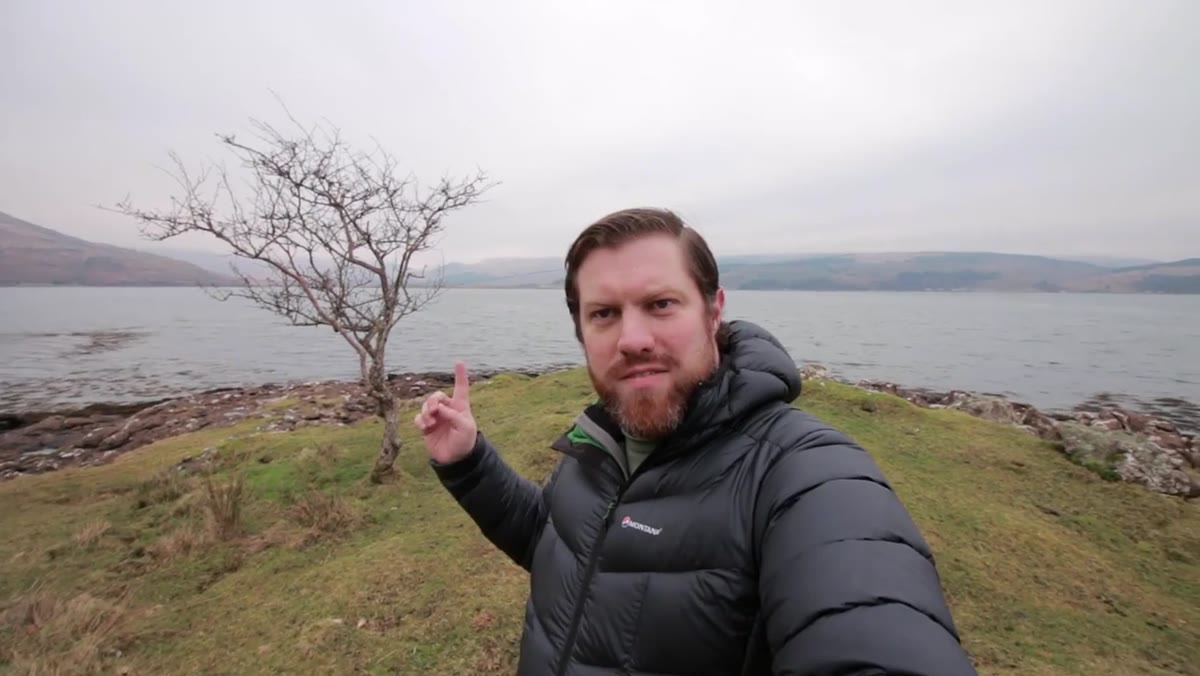 Single tree beside water with mountains in background
Stopping for a lone tree beside the water sounds straightforward. It isn’t. The tutorial is candid that this location resisted easy composition for several minutes. The instinct was to get the tree above the horizon line, which meant getting physically low. But the surrounding ground offered no foreground interest to anchor the frame. This is a problem worth sitting with rather than forcing a mediocre shot and moving on. Getting low, moving laterally, changing focal length slightly, waiting to see if light shifts across the mountains in the background — all of these are legitimate tools before you decide a scene isn’t working. Sometimes a location just doesn’t give you what you want. But you don’t know that until you’ve genuinely worked it.
Step 4: Scout with Google Maps Before You Arrive
 Discussion of pre-scouted sunset location using maps
The team had a specific end-of-day location already identified via satellite imagery before setting foot on the island. This is standard practice for me now, and it should be for anyone doing location photography. Google Maps and Google Earth let you identify potential viewpoints, assess terrain difficulty, check compass orientation for golden hour angles, and plan approach routes. This prep work doesn’t remove spontaneity from a shoot — it creates a reliable anchor at each end of the day so your spontaneous discoveries happen in the middle rather than eating into your best light windows.
Step 5: Pursue Wildlife as a Team with Defined Roles
 Otter spotted near shoreline, photographer moving into position
Wildlife photography is a different discipline than landscape work, and the tutorial handles the crossover honestly. When an otter is spotted swimming near the shoreline, the two photographers divide the work immediately. One moves to get low and close for stills, crawling along the beach to avoid spooking the animal. The other sets up with a long lens on a tripod for video footage, staying at distance. Having pre-defined roles prevents the chaos of two people making competing decisions in a situation that moves fast. If you shoot wildlife with a partner, talk through roles before you’re in the field. Who takes stills? Who manages approach? This coordination is what turns a sighting into usable images.
Step 6: Use the 400mm for Wildlife and Stay Patient
 400mm lens on tripod tracking otter in water
For the video coverage of the otter, the choice was a 400mm lens on a tripod. At that focal length, any vibration is amplified significantly, so the tripod is non-negotiable. For wildlife at unpredictable distances, a long telephoto lets you work from a respectful distance without influencing the animal’s behavior. The otter in this scene carries a large fish and forages without awareness of the photographers. That footage exists because they approached slowly and kept distance. Set your shutter speed high enough to freeze erratic movement, at least 1/1000s for a swimming mammal, and use continuous autofocus tracking if your system supports it. Then wait. A mentor once told me the mountain doesn’t care about your schedule, and that applies equally to otters.
A Note from Twenty Years of Working in Low Light
Mull in January is cold, grey, and wet. I shoot frequently in winter in the high desert of central Oregon and the conditions have enough overlap that I recognize the instinct to pack up early and get warm. The photographers in this tutorial stay out. That choice is what separates the images you show people from the ones that never happen. Technically, overcast light is diffuse, even, and forgiving in ways that harsh midday sun isn’t. Black-and-white processing thrives on it because contrast becomes something you build in post rather than something you survive in the field. If you haven’t made a dedicated black-and-white shoot your entire intention for a day, try it. It retrains how you see tonal relationships in a way that improves your color work too.
The single most important takeaway from this tutorial is not a camera setting or a composition trick. It’s the attitude that every part of a photography day counts, from the drive in to the grey mid-morning to the crawl across a cold beach. Opportunities don’t announce themselves. They appear to people who stayed ready.
Watch the full tutorial on YouTube to see the otter footage and the finished black-and-white frames from the day. The images speak for themselves.
Comments
Leave a Comment