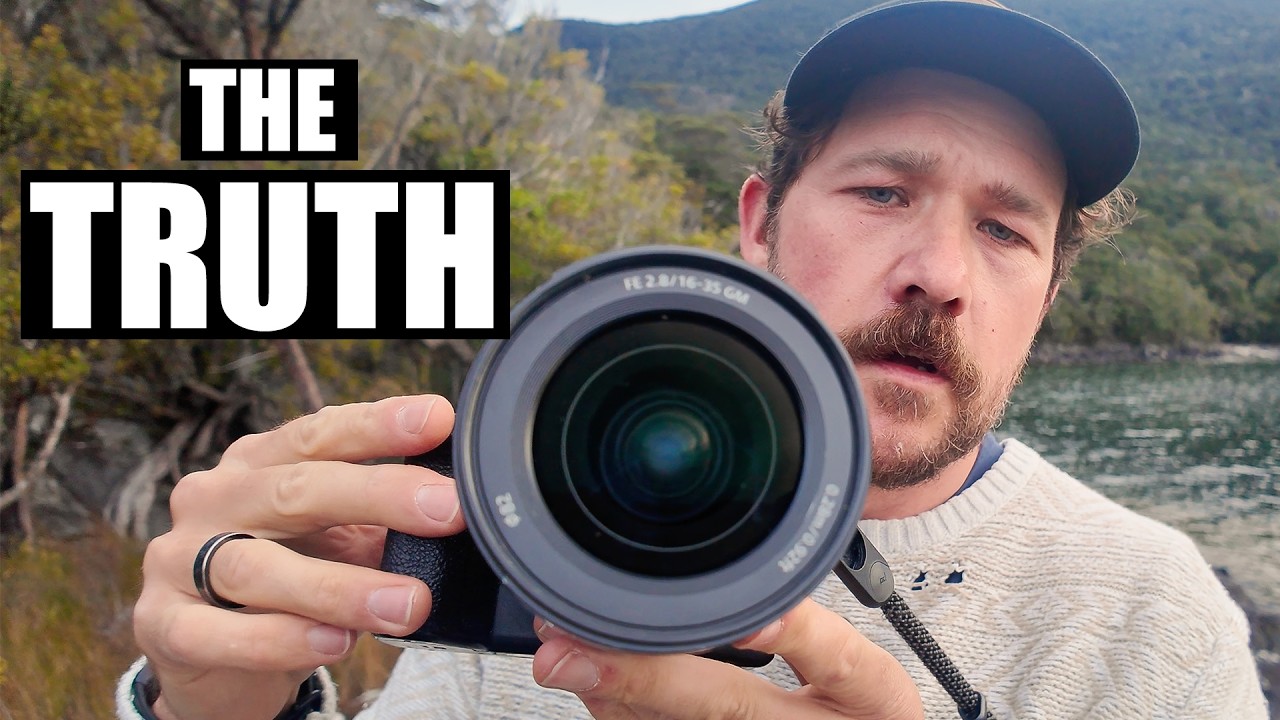
There’s a version of this job that people imagine when they find out what I do for a living. Epic light, every time. Walk to the edge of something magnificent, press the shutter, go home. Twenty years in, I can tell you that version is fiction. The real job is closer to this: you read the sky all day, you make a call, you move fast, and sometimes the light just doesn’t cooperate. What separates the photographers who build a sustainable practice from the ones who burn out is what they do with that outcome.
That’s why this tutorial from William Patino landed so hard for me. Watch the full tutorial on YouTube – he filmed a Fiordland sunset session that didn’t deliver the shot he went after, then published it anyway. The whole thing is a clinical, honest look at field decision-making when the conditions are working against you. No ego. No manufactured drama. Just the actual process, start to finish, including the part where you sit with raw files that disappoint you and figure out what you’re going to take forward.
I’ve broken the session into the core steps he works through. Whether you’re heading to a lake, a coastline, or a mountain range, the framework applies.
Step 1: Read the Sky Before You Leave the Truck
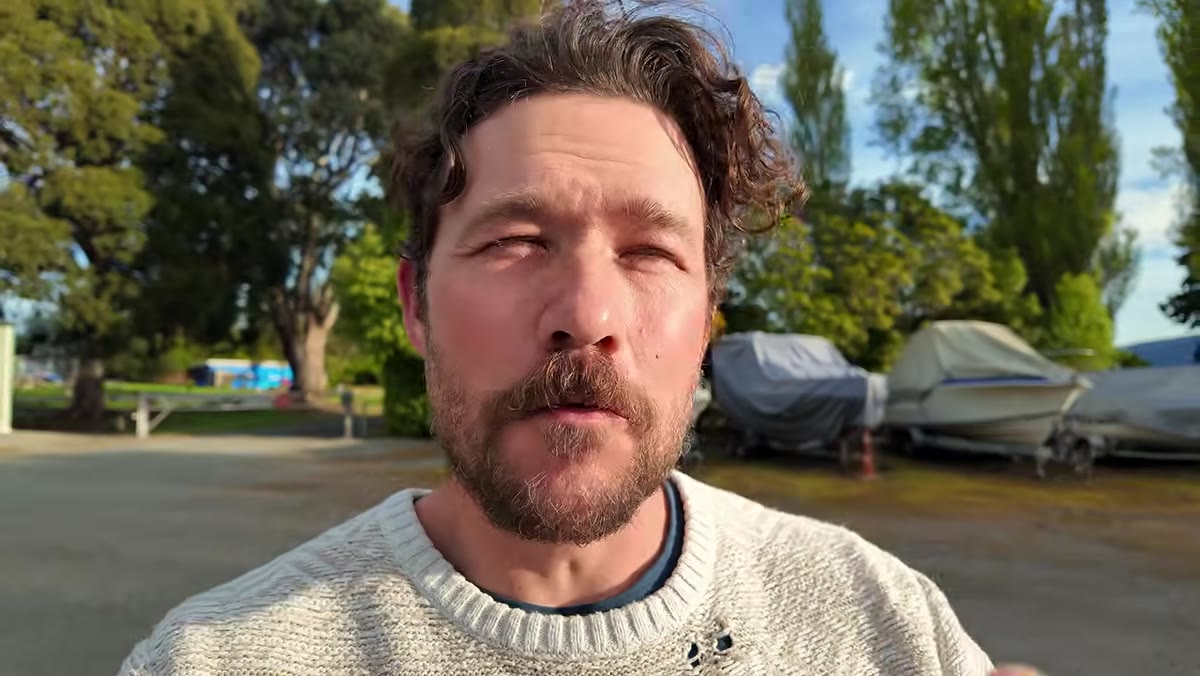 High clouds visible over lake, golden pre-sunset light
Before Patino even launches the boat, he’s already done his homework. He checked satellite imagery earlier in the day and identified a clearing developing to the west. This is the detail that separates reactive photographers from deliberate ones. Cloud coverage to the east and overhead is not the problem. What matters is whether there’s open sky near the horizon in the direction the sun is setting. High clouds with a western clearing is one of the best setups you can hope for, because those clouds will catch color long after the sun drops. The window is roughly the hour before sunset and 15 to 20 minutes after. That’s your working time, and you need to be in position before it opens, not scrambling during it.
Step 2: Scout from the Water, Not the Shore
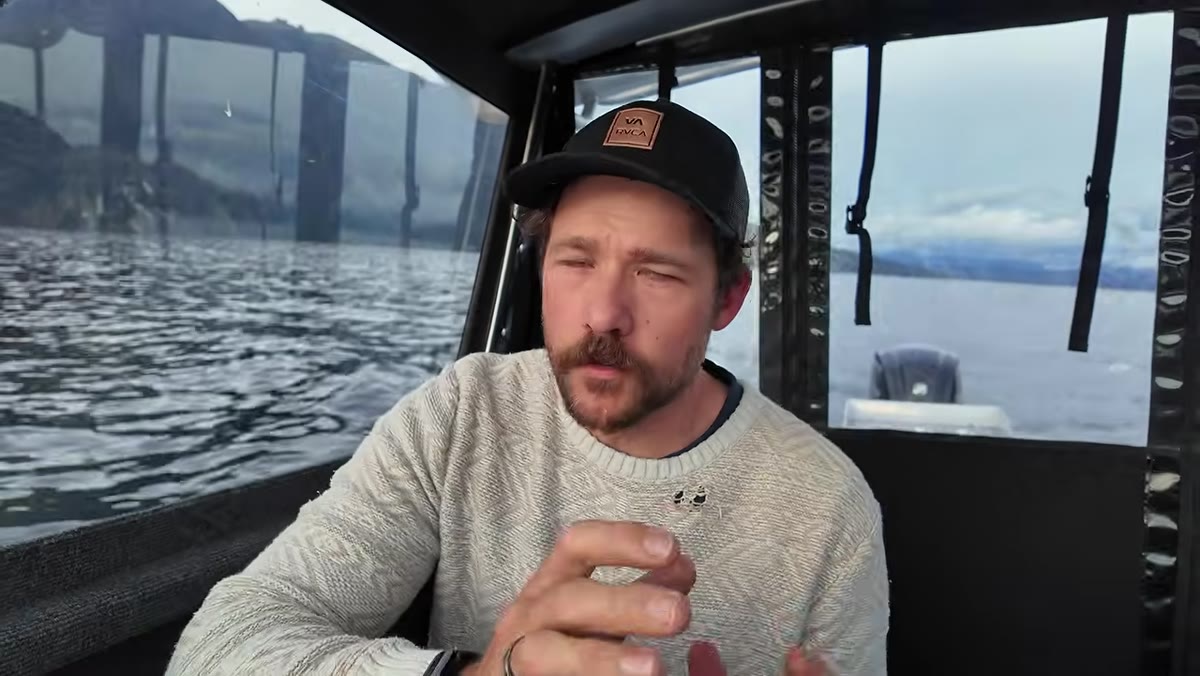 Boat moving along rocky shoreline, scouting for landing spots
Patino uses a small boat to explore the southern arm of the lake, and what he’s doing visually is something most photographers skip: he’s pre-rendering compositions from water level before committing to a landing spot. He’s looking at foreground elements – small trees, clearings, vegetation – and mentally placing himself there, turned back toward the mountains, with the sky overhead. The question he’s asking is not “is this a pretty view?” It’s “if I were standing there with a wide-angle lens, what would I actually be working with?”
This applies whether you’re on water or not. When I’m scouting on foot, I’ll stand 50 feet back from where I think I want to shoot and look at the scene as if through a wider lens than I’m holding. What’s in the near foreground? What does the background relationship look like at that distance? Scouting is compositional problem-solving, not sightseeing.
Step 3: Identify the Direction of Peak Color and Work Backward
 Patino pointing toward sunset direction from the boat
One of the clearest pieces of field craft in this tutorial is how Patino identifies where the strongest light will fall – in this case, on a specific peak – and then positions himself so that feature becomes the anchor of the frame. He’s not picking a pretty spot and hoping the light lands somewhere useful. He’s finding the spot where the light he expects will hit the subject he wants, and placing himself with intention.
This requires knowing your location before the light happens. If you arrive during golden hour with no plan, you spend the best 20 minutes walking around reacting. If you’ve already identified which peak catches the last direct sun, which foreground works with a 16mm or 24mm lens, and roughly where you need to stand, you can be on the tripod and thinking about exposure before the sky starts to move.
Step 4: Accept the Difficulty of the Landing and Problem-Solve in Real Time
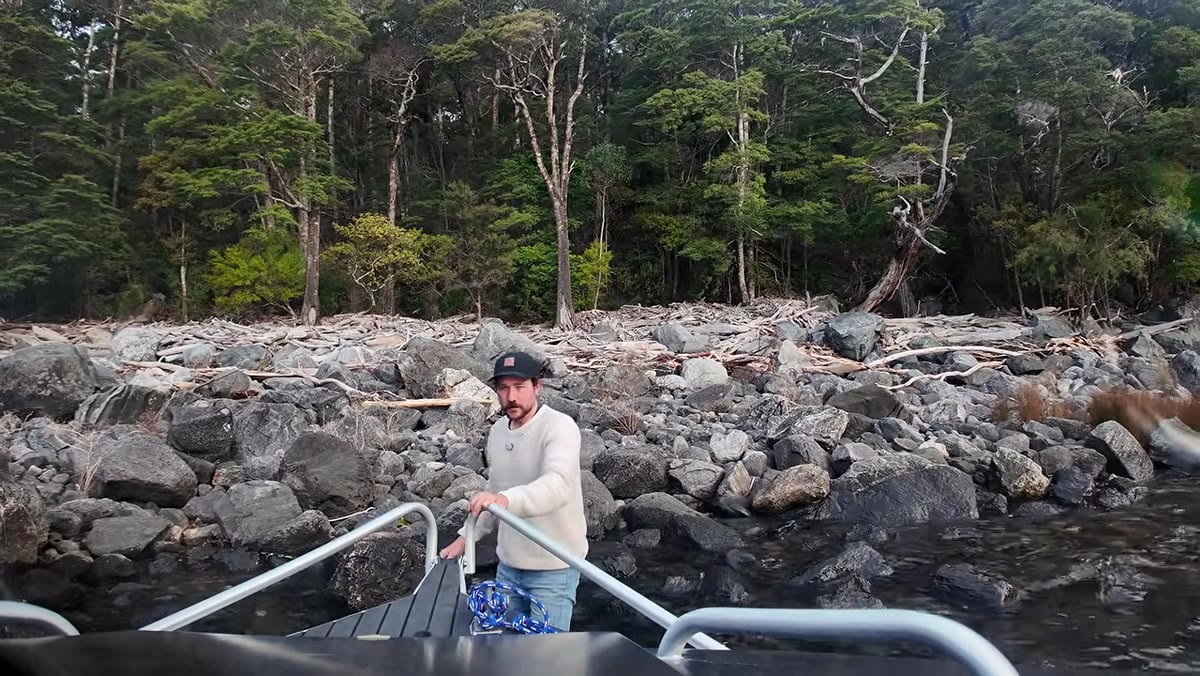 Patino carefully mooring the boat on rocky shore
The shoreline he wants has no beach. Rocky, steep, awkward to moor. He does it anyway, slowly and carefully, because the composition he’s after requires that specific position. This is a small moment in the video but an important one. Field photography constantly presents physical inconveniences that feel like reasons to give up and find something easier. Usually, easier means worse.
The lesson isn’t that you should take risks with safety – it’s that the logistical difficulty of reaching a location is often exactly why the composition hasn’t been worked to death by everyone who came before you. Effort is a filter. The harder spots stay fresher, longer.
Step 5: Shoot Anyway, Then Analyze Honestly
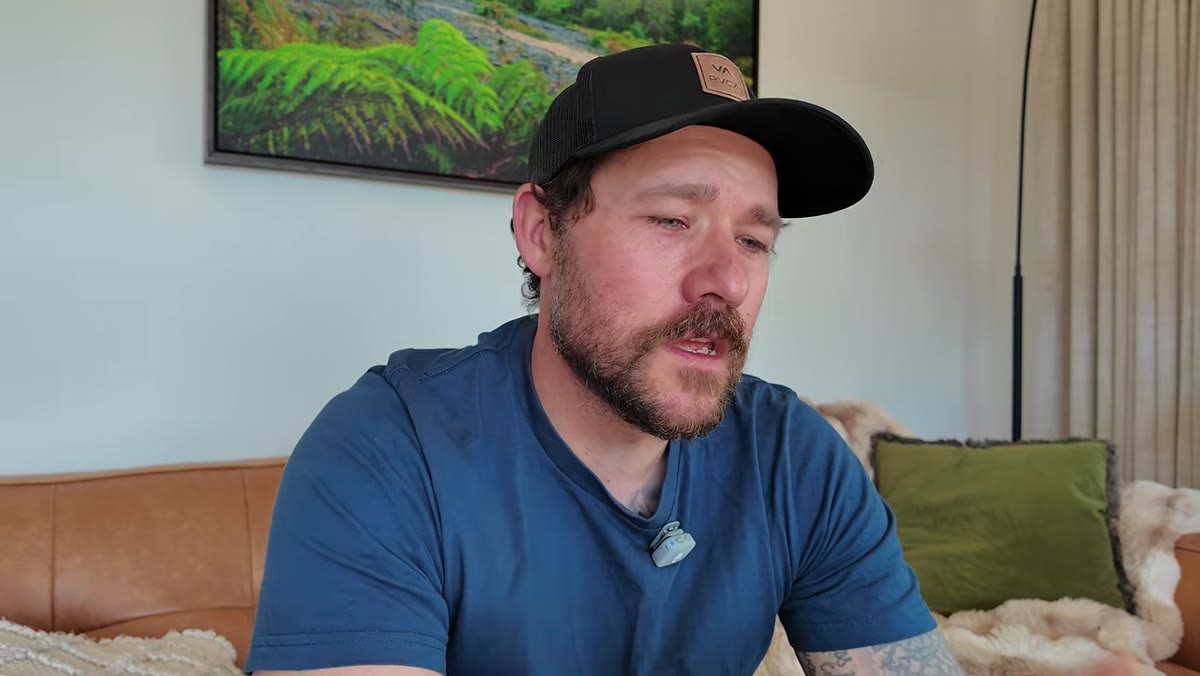 Patino reviewing raw files on screen at home
The sunset doesn’t deliver what the sky promised. Patino shoots regardless, comes home, and reviews the files without flattering himself. This section of the tutorial is where most photographers would just cut to their best frame and call it a session. He doesn’t. He looks at what he got, identifies why the shots aren’t working – the light was too flat, the sky didn’t fire the way the cloud structure suggested it might – and treats the files as data rather than failure.
Raw file review after a disappointing shoot is one of the highest-value habits you can build. You’re looking at two things: what the camera saw versus what you expected, and whether your positioning choices held up even if the light didn’t. Sometimes the composition was right and the light let you down. Sometimes both were off. Knowing which is which improves your next session.
What I’d Add From My Own Experience
A mentor told me once that the mountain doesn’t care about your schedule. I’ve thought about that line hundreds of times – usually while standing somewhere cold and spectacular, waiting for light that may or may not show up. The sessions that go sideways, the ones where you pack out with nothing publishable, are not wasted time. They’re navigation. You learn the shape of a location differently when you’re not distracted by exceptional light. You notice the foreground more. You remember where the shadows fall. You come back better prepared.
I’ve had shoots that produced nothing I’d ever print that directly led to my best-selling work, because I understood the location well enough on the second trip to put myself in exactly the right place at exactly the right time. The empty-handed sessions are part of the process, not interruptions to it.
The single most important takeaway from this tutorial is deceptively simple: showing up and working through a session that doesn’t deliver is not failure – it’s how the job actually works. Every experienced landscape photographer has a catalog of sessions like this one. The ones who last are the ones who keep those sessions in the rotation instead of only going out when conditions look perfect.
Watch the full tutorial on YouTube and pay particular attention to the final 15 minutes where Patino walks through the raw files. That section alone is worth the watch.
Comments
Leave a Comment