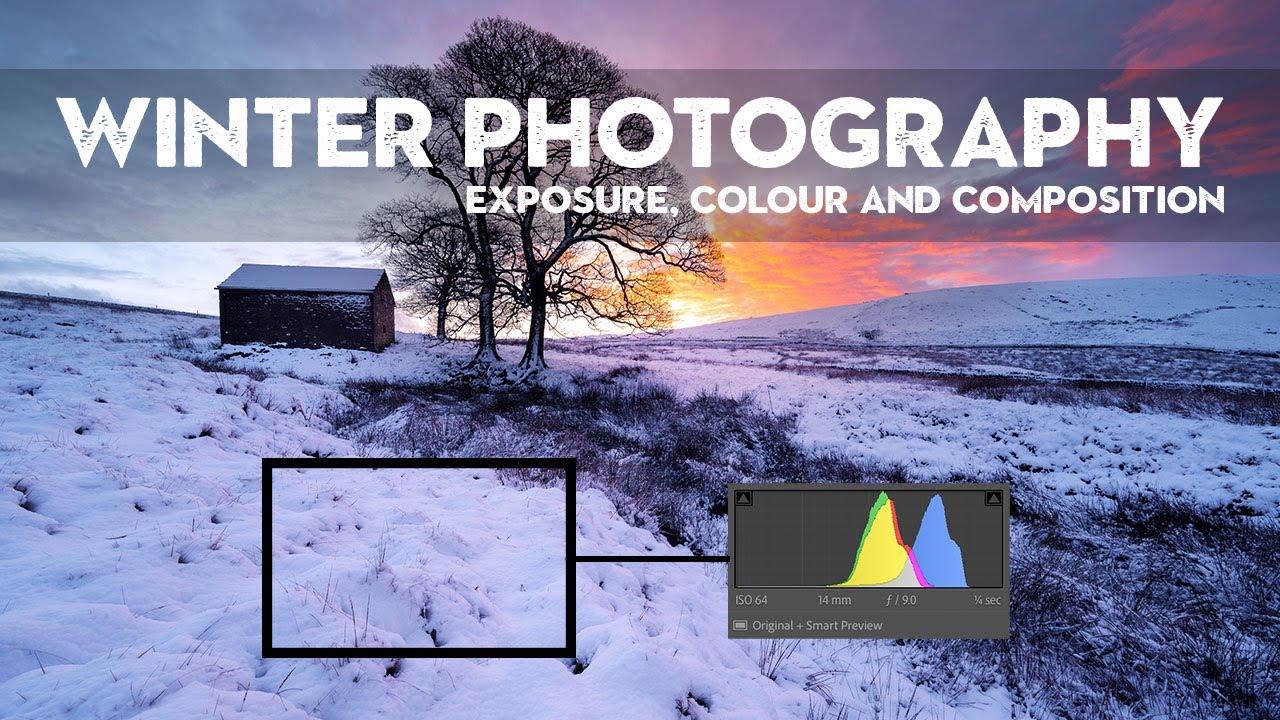
Snow is unforgiving. It shows every footprint, every shadow, every lazy compositional choice you made in a hurry. I’ve been shooting landscapes for twenty years, and I still find winter mornings to be the most demanding conditions I work in regularly. The light moves fast, the cold numbs your fingers before your brain catches up, and the temptation to rush a shot before the color fades is real. What snow gives you is simplicity. What it takes away is your margin for error.
In this Nigel Danson tutorial, filmed on location in the Peak District during a heavy winter snowfall, Danson walks through a real shoot in real time, including the decisions he makes on the fly, the compositional thinking behind each frame, and the one mistake most photographers make without even realizing it. Watch the full tutorial on YouTube if you want to see the conditions firsthand. But if you want to understand the technique well enough to apply it on your next frozen morning, read through these steps first.
What struck me watching this wasn’t a single trick or setting. It was how methodically Danson moves through a scene that most of us would either rush or freeze up in front of. This is the kind of field discipline that takes years to internalize, and he lays it out clearly enough that you can start practicing it on your next shoot.
Step 1: Dress for the Long Game Before You Worry About the Shot
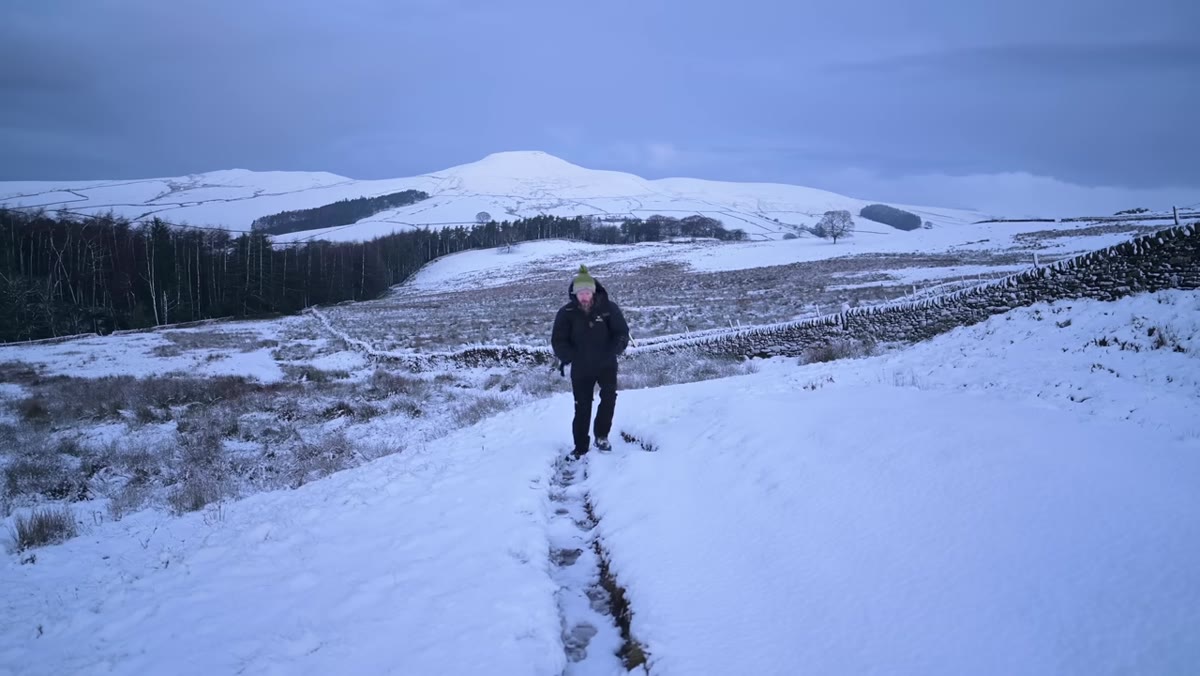 Danson walking through snowy Peak District hillside in layered gear
Cold is the enemy of patience, and patience is everything in winter landscape photography. Danson is explicit about this early in the video: if you’re uncomfortable, you start rushing, and rushed winter shots look rushed. His approach is a merino wool base layer, mid-layers for insulation, and a wind-blocking outer shell. The order matters. Wind chill drops effective temperature fast, and a good outer layer buys you time.
Danson walking through snowy Peak District hillside in layered gear
Cold is the enemy of patience, and patience is everything in winter landscape photography. Danson is explicit about this early in the video: if you’re uncomfortable, you start rushing, and rushed winter shots look rushed. His approach is a merino wool base layer, mid-layers for insulation, and a wind-blocking outer shell. The order matters. Wind chill drops effective temperature fast, and a good outer layer buys you time.
I keep a kit bag packed specifically for cold-weather shoots. Merino base, fleece mid, waterproof shell, hand warmers in the outer pockets, and an extra set of glove liners in the bag. The glove liners are the detail most people skip. When you need to operate dials in sub-zero temps, thin liner gloves let you do that without pulling your hands out into the cold completely. Comfort extends your time in the field, and more time in the field means more opportunity to find the right frame.
Step 2: Scout First, Shoot Second
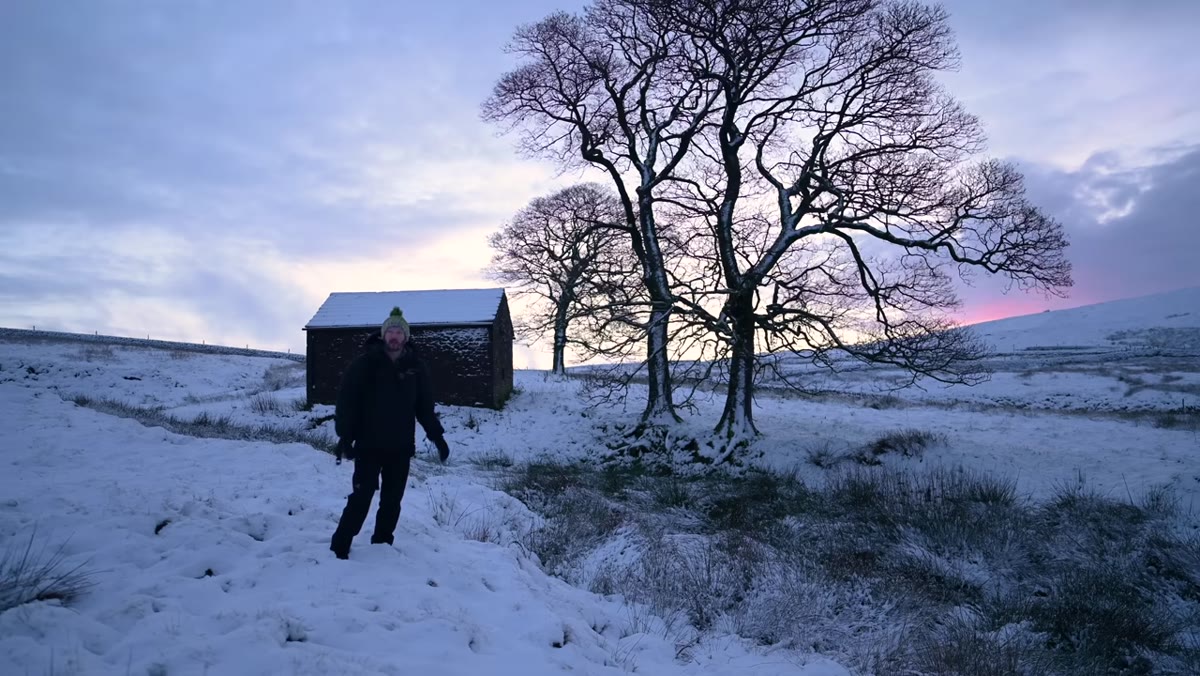 Danson approaching stone barn in snowy field, assessing scene
Danson arrives at a barn he’s photographed before, but he doesn’t immediately set up his tripod. He walks the scene, checking where the sunrise is tracking, identifying which hillside will catch first light, and mentally mapping his options before committing to a position. This is a discipline I had to learn the hard way. My mentor used to say the mountain doesn’t care about your schedule, and he was right. The shot reveals itself on its own timeline. Your job is to be in the right place when it does.
Danson approaching stone barn in snowy field, assessing scene
Danson arrives at a barn he’s photographed before, but he doesn’t immediately set up his tripod. He walks the scene, checking where the sunrise is tracking, identifying which hillside will catch first light, and mentally mapping his options before committing to a position. This is a discipline I had to learn the hard way. My mentor used to say the mountain doesn’t care about your schedule, and he was right. The shot reveals itself on its own timeline. Your job is to be in the right place when it does.
In practical terms, this means arriving with more buffer time than you think you need, ideally 30 to 45 minutes before the light event you’re targeting. Walk the area with just your camera, no tripod, no bag. Look for the relationships between elements: where does the foreground lead, what’s the background doing, where will shadow fall. Make mental notes or quick phone snaps as placeholders. Set up only once you’ve made a considered decision about where to plant your feet.
Step 3: Protect the Snow Surface You Plan to Shoot
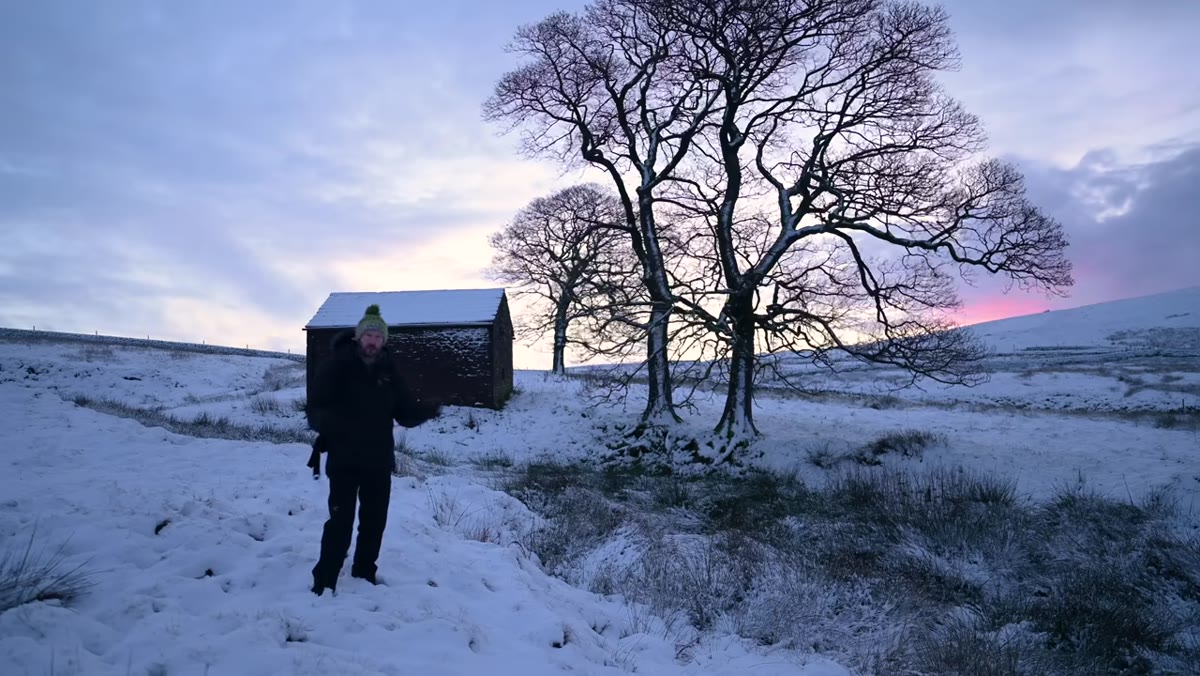 Danson carefully positioning himself to avoid footprints in clean snow
This is the mistake Danson calls out directly, and it’s the one I see constantly in workshop participants. People walk straight through the most beautiful part of the scene to set up their shot, then wonder why the foreground looks flat. Untracked snow is a compositional asset. It reads as clean, cold, and vast. Once you’ve put boots through it, that’s gone.
Danson carefully positioning himself to avoid footprints in clean snow
This is the mistake Danson calls out directly, and it’s the one I see constantly in workshop participants. People walk straight through the most beautiful part of the scene to set up their shot, then wonder why the foreground looks flat. Untracked snow is a compositional asset. It reads as clean, cold, and vast. Once you’ve put boots through it, that’s gone.
Danson scouts from the edges and commits to a camera position before entering any clean snow area. If you do need to move through the frame, plan your footprint path so it falls outside the area your lens will capture. Check your intended framing before you step forward. This sounds obvious but takes real conscious effort in the field when you’re cold, excited, and the light is changing fast.
Step 4: Use Contrast as Your Primary Compositional Tool
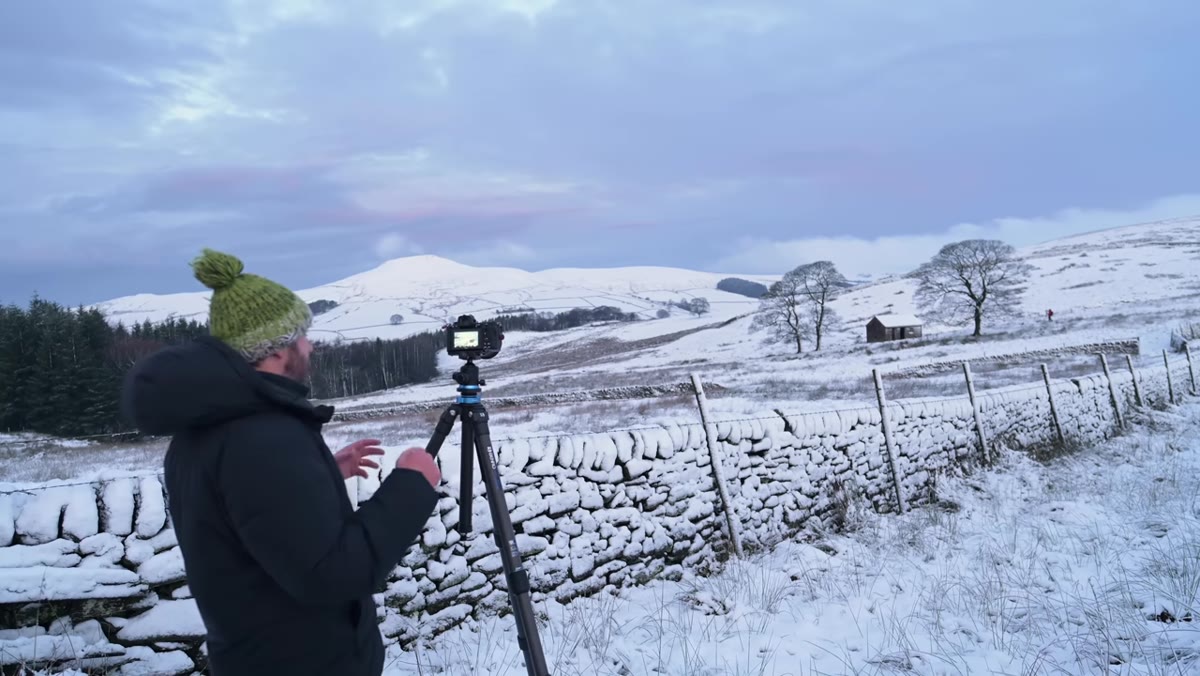 Wide shot showing white snow against dark stone walls and hillside
Snow simplifies a scene by neutralizing color and texture variation. What you’re left with is tonal contrast, and that becomes your main compositional lever. Danson positions himself to work the relationship between white snow surfaces and the darker tones of stone walls, bare trees, and shadowed hillsides. He’s deliberate about separating elements so they don’t bleed into each other visually.
Wide shot showing white snow against dark stone walls and hillside
Snow simplifies a scene by neutralizing color and texture variation. What you’re left with is tonal contrast, and that becomes your main compositional lever. Danson positions himself to work the relationship between white snow surfaces and the darker tones of stone walls, bare trees, and shadowed hillsides. He’s deliberate about separating elements so they don’t bleed into each other visually.
The practical version of this is to look through your viewfinder and ask: can I clearly distinguish each major element in this frame? In a snow scene, a white barn against a white hill disappears. The same barn against a dark storm cloud or shadowed slope reads immediately. Move your position until the tonal separation between your key subjects is clear. Sometimes that’s a matter of moving a meter left or right. Sometimes it means waiting for the light to shift.
Step 5: Use Leading Lines to Pull Depth Through the Frame
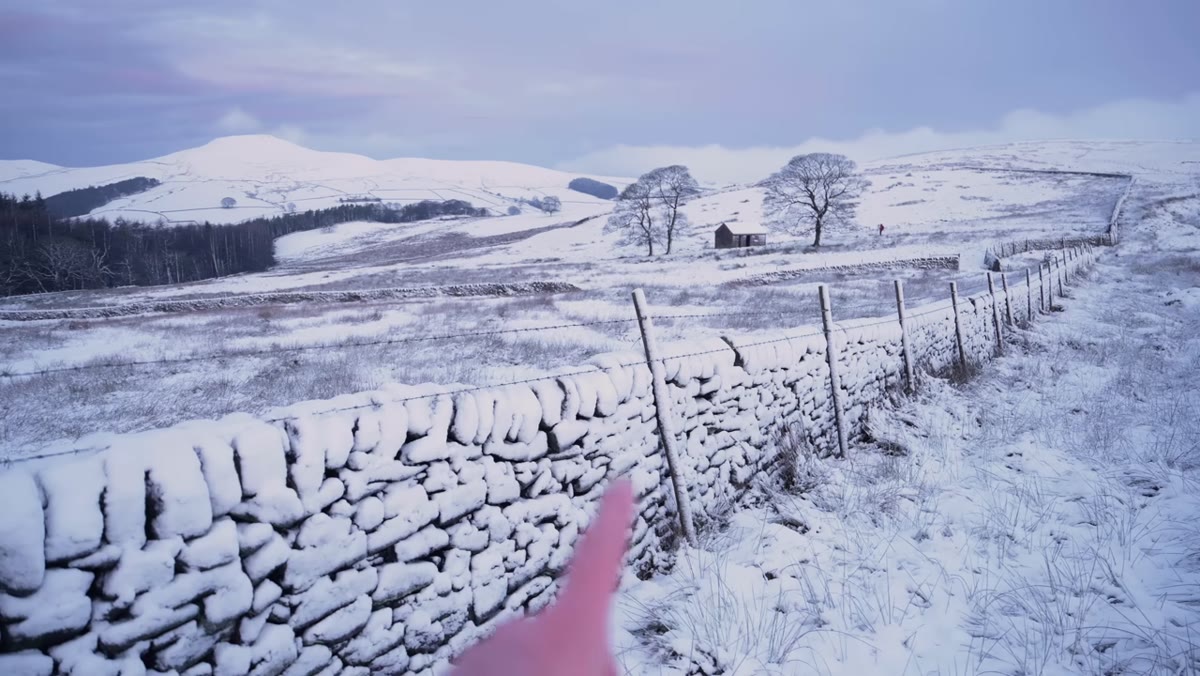 Stone wall line extending into snowy landscape toward background hill
Once Danson settles on his primary composition, he locks onto a leading line running from foreground toward the background hill. Snow actually enhances leading lines because it clarifies edges. A stone wall becomes a sharp graphic element. A fence line punches through the frame with contrast on both sides.
Stone wall line extending into snowy landscape toward background hill
Once Danson settles on his primary composition, he locks onto a leading line running from foreground toward the background hill. Snow actually enhances leading lines because it clarifies edges. A stone wall becomes a sharp graphic element. A fence line punches through the frame with contrast on both sides.
At 24mm, Danson notes he’ll likely achieve sufficient depth of field naturally, but he plans for a focus stack to guarantee sharpness from the foreground element to the distant hill. If you’re working at wider focal lengths in good light, shoot a test frame and zoom into the near foreground at 100 percent on the rear LCD. If it’s soft, shoot two frames focused at different distances and blend them in post. In conditions like these, one strong foreground element connected to a strong background by a clean line is all you need.
Step 6: Expose Carefully for Bright Snow
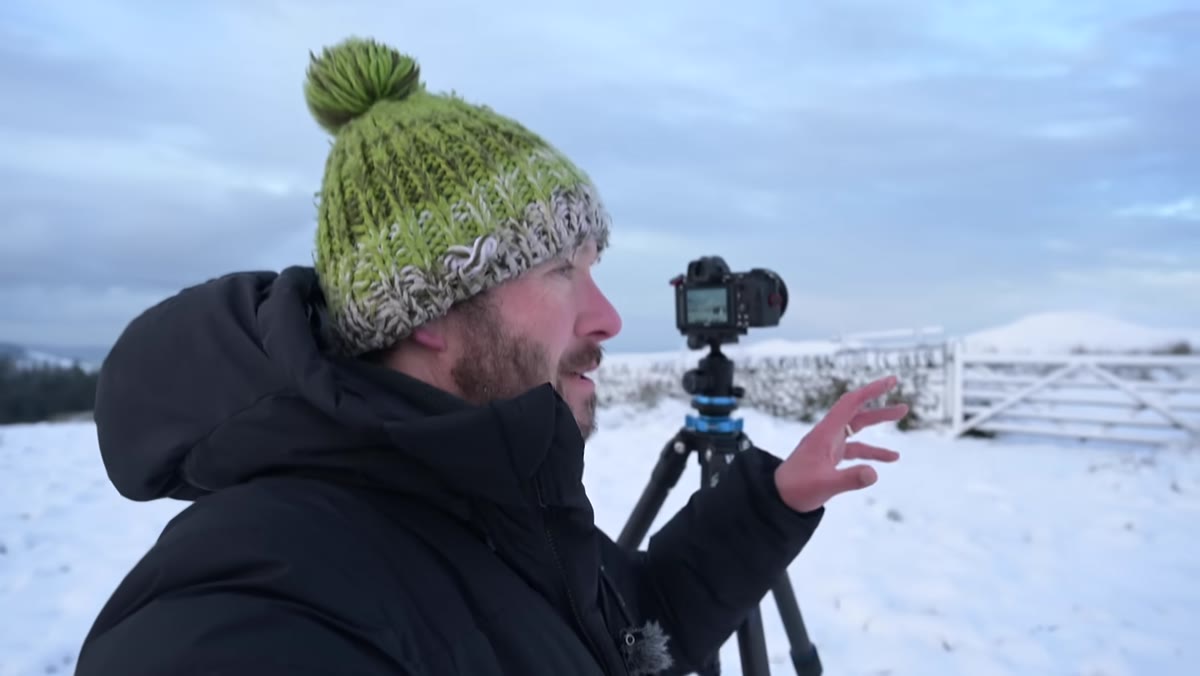 Danson reviewing exposure on camera LCD in snowy field
Danson begins addressing exposure toward the end of the segment, and it’s worth pausing on this. Snow is a classic exposure trap. Your camera’s metering reads the bright white surface and tries to bring it down to middle gray, which results in underexposed, muddy-looking snow. The fix is to expose to the right: dial in positive exposure compensation, typically between plus one and plus two stops depending on your metering mode and how dominant the snow is in the frame.
Danson reviewing exposure on camera LCD in snowy field
Danson begins addressing exposure toward the end of the segment, and it’s worth pausing on this. Snow is a classic exposure trap. Your camera’s metering reads the bright white surface and tries to bring it down to middle gray, which results in underexposed, muddy-looking snow. The fix is to expose to the right: dial in positive exposure compensation, typically between plus one and plus two stops depending on your metering mode and how dominant the snow is in the frame.
Check your histogram, not your LCD preview. The LCD will look fine in cold air when it isn’t. You want your whites sitting near the right edge of the histogram without clipping. Blown whites in snow look harsh and artificial. Slightly underexposed snow loses its luminosity. Take an extra moment to get this right in camera, because recovering muddy snow in post rarely looks as good as a properly exposed original.
From My Own Kit Bag: Arrive Twice
I’ve developed a habit I call arriving twice. The first arrival is the scout, no tripod, camera on a strap, just walking. The second arrival is where I actually set up and shoot. In winter especially, this has saved me from the most common field mistake of all: making a permanent decision with incomplete information. The fifteen minutes you spend walking before committing will come back to you in better images more often than any piece of gear you could carry instead.
The single most valuable lesson in this tutorial is the snow surface one. Protect what you haven’t shot yet. That clean, untracked foreground is a resource, and once it’s gone it’s gone for the session. Think like someone who’s been stung by it before, because the shot you ruin in the first thirty seconds is usually the best frame you would have made.
Watch the full tutorial on YouTube to see Danson work through this in real conditions. Watching someone else make calm, methodical decisions during a fast-moving winter shoot is its own kind of education.
Comments
Leave a Comment