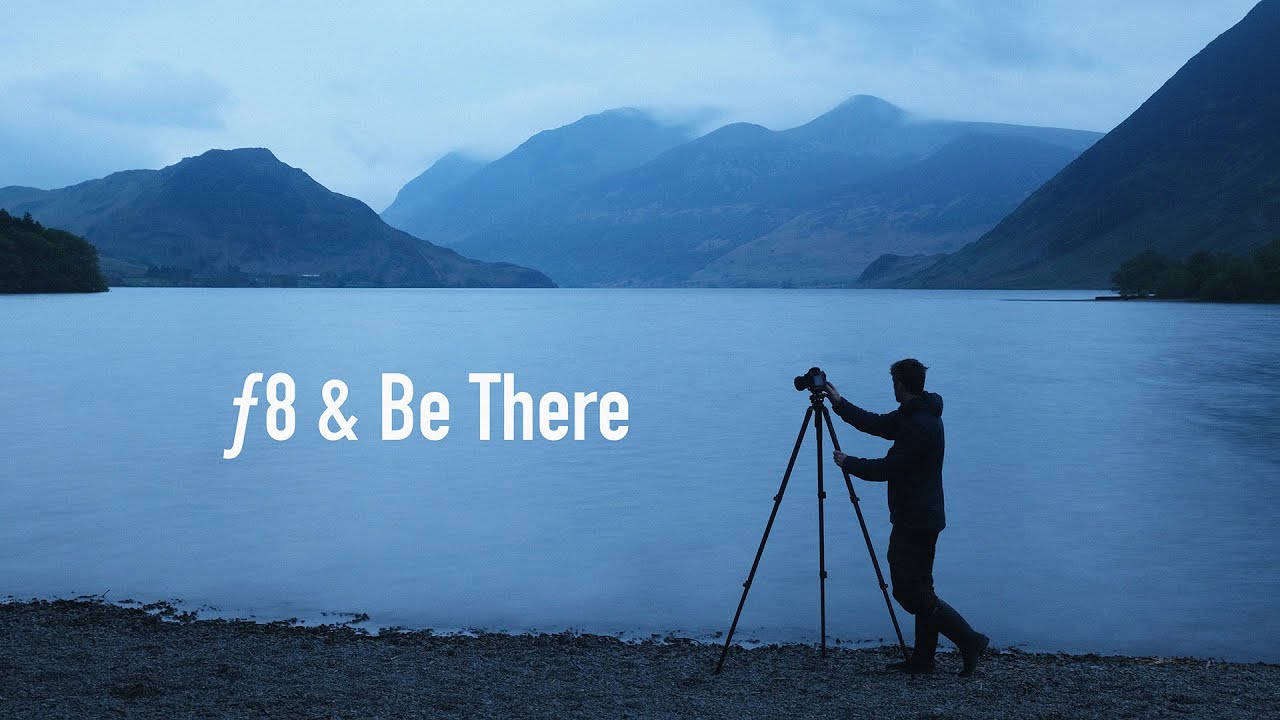
There’s a particular kind of paralysis that hits on a gray Tuesday afternoon. You’re watching the weather app refresh, checking forecasts for the weekend, scrolling through Instagram at shots from locations you’ve been meaning to visit for two years. I’ve been shooting landscape photography full-time for two decades and I still catch myself doing it. The conditions aren’t quite right. The light isn’t forecast to cooperate. Maybe next week. And next week becomes next month, and the camera stays in the bag.
That’s exactly why a phrase I encountered in this Thomas Heaton tutorial stopped me cold. In the video, Heaton shares something he picked up from photographers Tony and Chelsea Northrup: “F8 and be there.” Four words. It sounds almost too simple to matter, and that’s precisely why it does. Heaton breaks it down across a real shooting day, moving through locations spontaneously, making images with no grand plan, and the results speak directly to the tension every serious landscape photographer carries between preparation and presence.
The tutorial isn’t a technical deep-dive. It’s something rarer: an honest field diary built around a philosophical anchor. Here’s how to extract every practical lesson from it.
Step 1: Internalize the Mantra Before You Leave the House
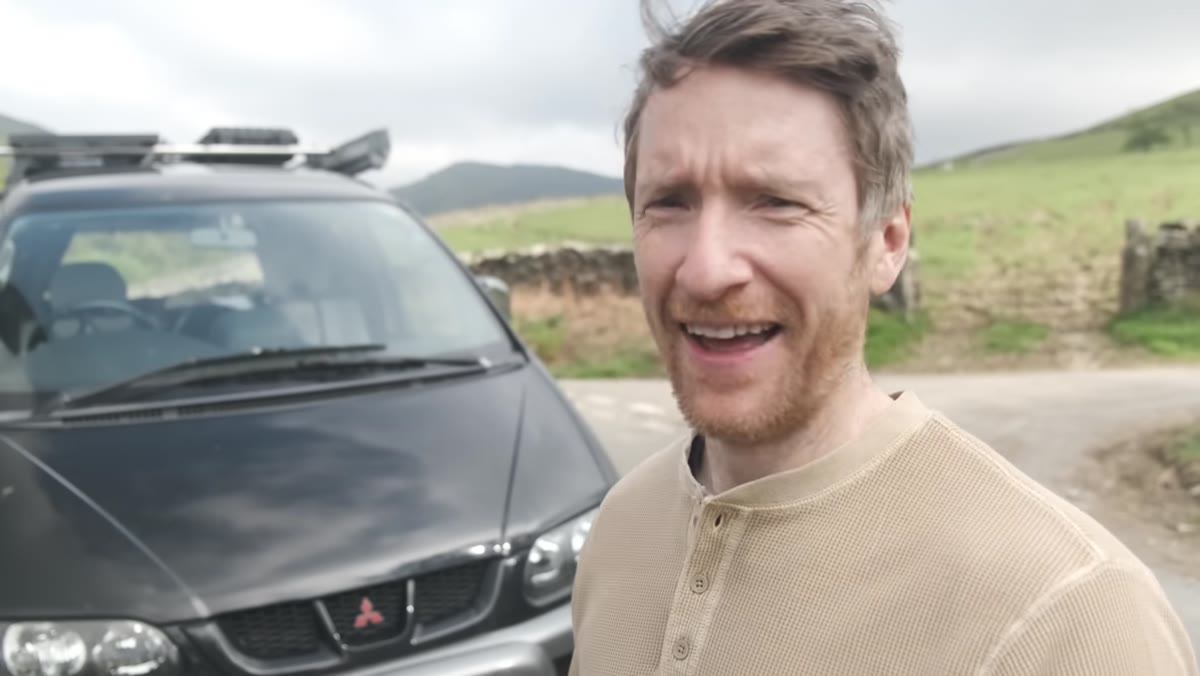 Thomas Heaton speaking directly to camera outdoors
The phrase “F8 and be there” collapses a lot of overthinking into one instruction. F8 is a solid, versatile aperture for landscape work, deep depth of field, forgiving focus, sharp from foreground to horizon in most situations. It’s not always the right choice, but it’s rarely the wrong one. The more important half of the phrase is “be there.” Heaton is candid that he’s rarely shooting at F8 specifically, but he is always working on being there. The technical setting is shorthand for “don’t overcomplicate the camera side of things.” The presence is the actual work.
Before your next shoot, make a decision: pick a direction and go. Not a fully scouted, GPS-pinned, golden-hour-timed expedition. Just go somewhere you haven’t been, or somewhere familiar at an unexpected time. The goal is to remove the barrier of perfect conditions as a prerequisite for showing up.
Step 2: Make a Spontaneous Stop and Shoot What Catches Your Eye
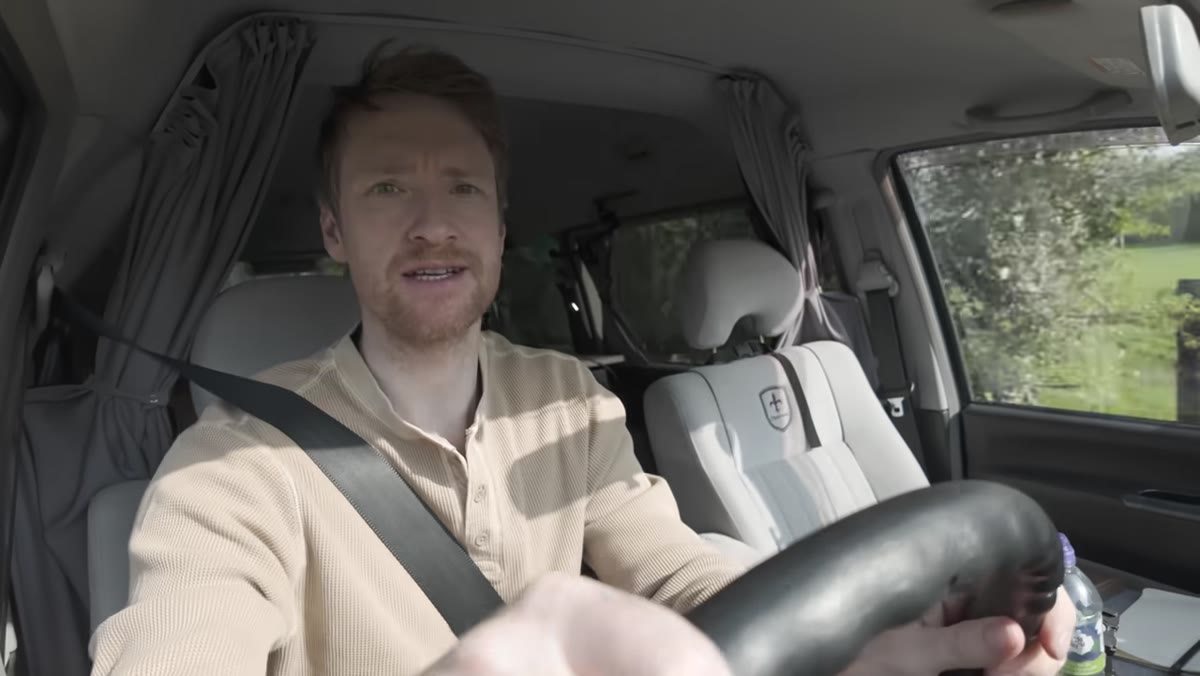 Heaton stopping roadside, camera raised toward a scene
Heaton pulls over on a road he’s driven before and photographs something he noticed because of an artist he’d been studying. That’s the detail worth sitting with. He’d been looking closely at the graphic, repetition-heavy work of photographer Andreas Gursky, and that visual education sharpened his eye to a roadside scene he would have driven past a month earlier. What you’re feeding your eyes between shoots directly influences what you see when you’re standing in the field.
When you stop somewhere unplanned, resist the urge to dismiss the scene because it isn’t Instagram-worthy on first glance. Walk around it. Look for graphic elements: repeating lines, strong shapes, contrast between textures. Give yourself five minutes before you decide there’s nothing there. More often than not, the image reveals itself once you commit to looking.
Step 3: Carry a Second Camera Body for a Different Rendering
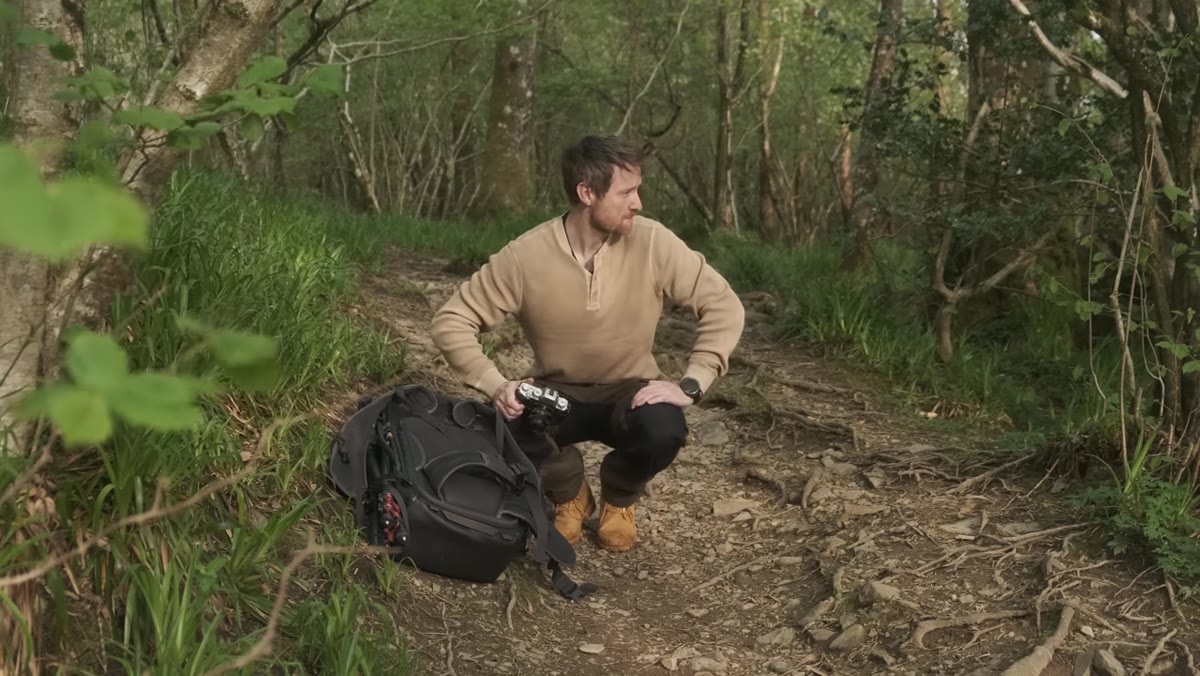 Heaton holding infrared-converted Fuji XT3 near a river
Heaton pulls out an infrared-converted Fuji XT3 along a river path and explains why spring is the best season to use it. Fresh green foliage reflects infrared light strongly, while water absorbs it, so you get a dramatic tonal separation: glowing white canopy against dark, almost black water. Even on a flat, overcast day without direct sun, this conversion produces results a standard sensor simply cannot replicate.
You don’t need to convert a camera yourself. Many services will convert a used body for a reasonable fee, and older APS-C bodies are ideal candidates since you’re not sacrificing your primary kit. If you shoot near rivers, forests, or any scene that mixes vegetation and water, an infrared body in your bag opens up entirely new images from locations you’ve already visited dozens of times.
Step 4: Respect the In-Between Time - Eat, Rest, Observe
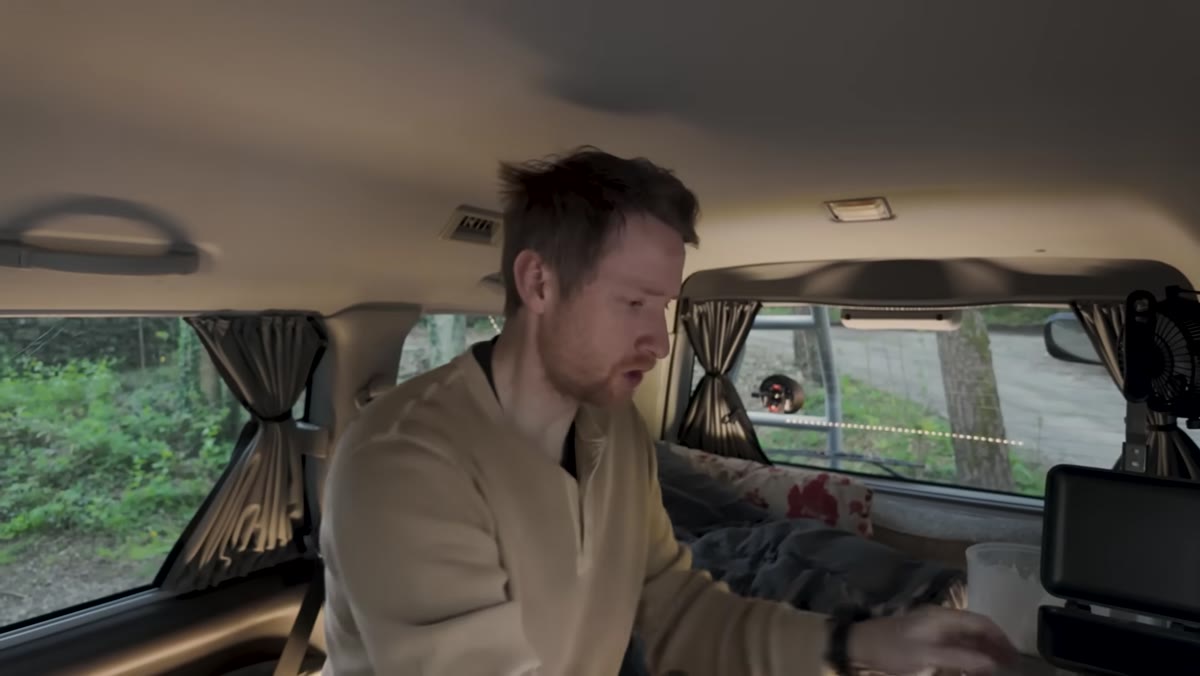 Heaton walking back toward his van in afternoon light
With an hour and a half until sunset and unfavorable wind, Heaton doesn’t force it. He goes back to the van for lunch. This is a discipline that took me years to build. Early in my career I would spend every available minute with the camera up, grinding away at mediocre light because I’d driven that far and I felt obligated to shoot. The images from those sessions were almost always forgettable.
The in-between hours are for watching. Notice how the light is moving, where the wind is coming from, whether the clouds are building or clearing. When you’re rested and observant, you’re ready to react when conditions shift. When you’re exhausted and frustrated, you miss the moment even when it arrives.
Step 5: Let Lowered Expectations Open the Frame
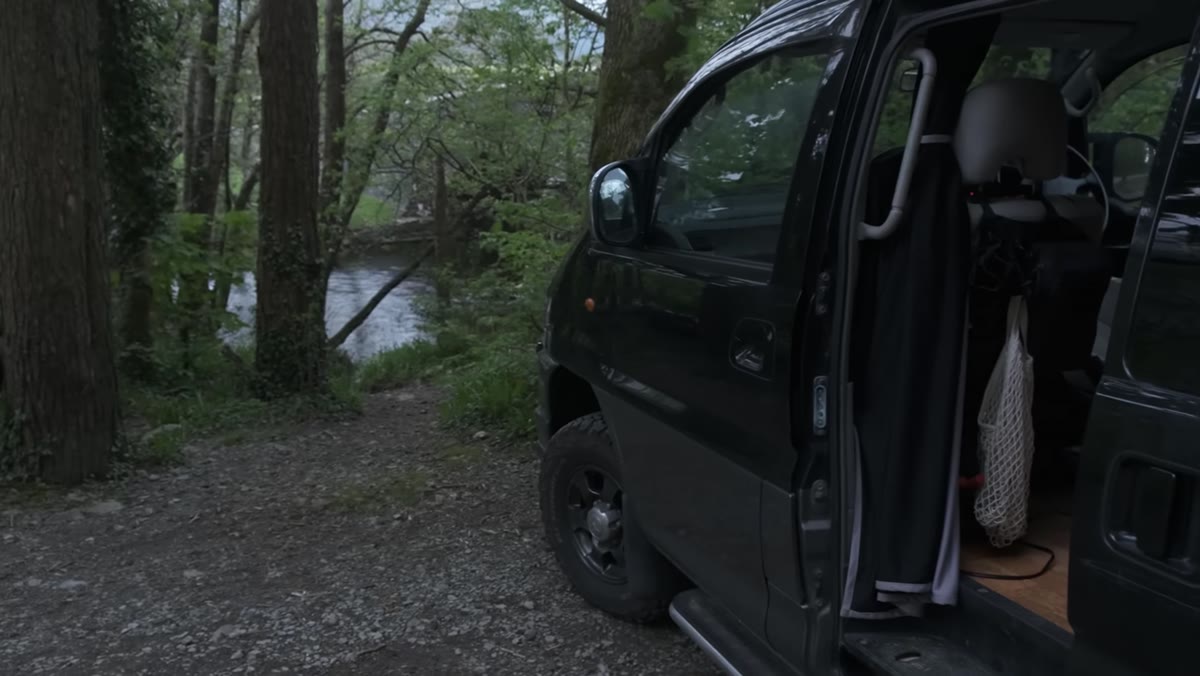 Heaton at open van door, river visible in soft evening light
Heaton describes sitting with his van door open, watching the river, full from dinner, with no particular shot in mind. He makes the point that high expectations are one of the most reliable ways to ruin a shoot. You build a mental image of what you’re going to come home with, and when reality doesn’t match it, the whole day feels like a failure even if something genuinely interesting happened.
Walk into every outing with a question instead of an expectation. “What’s here that I haven’t noticed before?” is a more productive frame than “I need a hero shot for my portfolio.” The latter puts pressure on the light to perform. The former puts responsibility on you to look harder, which is something you can actually control.
Step 6: Recognize When You’ve Actually Made the Image
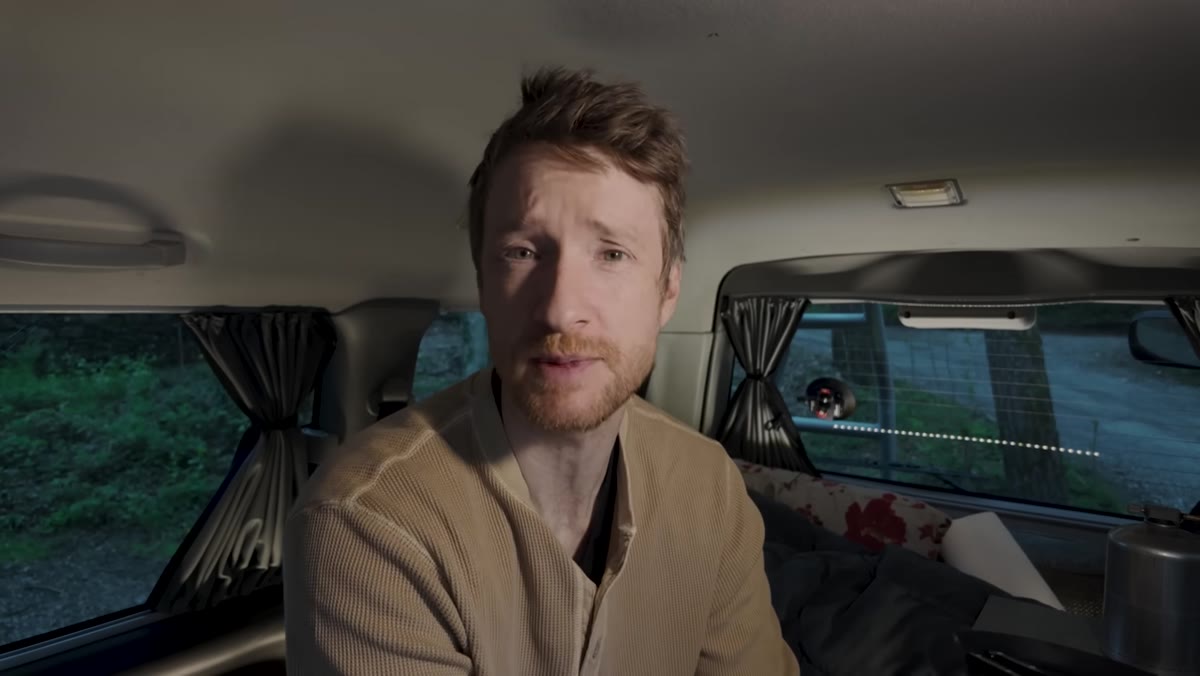 Heaton reflecting on the day’s shooting in evening calm
There’s a moment Heaton describes where he knows he has something worth keeping. He isn’t frantic about it. He doesn’t immediately start editing or posting. He simply acknowledges it and keeps moving through the day. Learning to recognize a genuine image, as opposed to a hopeful one, is a skill that develops with practice and honest self-assessment.
After each shoot, before you open editing software, write down in one sentence what the strongest image of the day was and why. Not the most technically perfect file, the one that made you feel something when you pressed the shutter. That habit builds the internal calibration you need to make faster, better decisions in the field.
A Note From Twenty Years of Showing Up
I once drove six hours to shoot a location I’d been planning for months. Sat in heavy fog for two days. Came home with one exposure. That single image, almost entirely abstract, nothing like what I’d imagined, became the best-selling print I’ve ever made. The fog wasn’t the plan. The fog was what was there. All I did was stay.
A mentor once told me that the mountain doesn’t care about your schedule, and he was right. The landscape operates on its own timeline. Your job isn’t to show up when everything is perfect. Your job is to show up consistently enough that you’re present when perfection occasionally, unexpectedly arrives.
The single most important thing Heaton’s tutorial puts into practice is this: the photographers who make the most compelling work aren’t the ones with the best gear or the most elaborate pre-shoot research. They’re the ones who leave the house. Set your aperture somewhere sensible, pick a direction, and go. Everything else is secondary.
Watch the full tutorial on YouTube and pay attention to how Heaton’s energy changes from the first stop to the evening by the river. That shift is the whole lesson.
Comments (2)
Tried this technique this morning. Game changer for real.
Love this. I referenced a similar technique in one of my recent posts. Always good to see other perspectives.
Leave a Comment