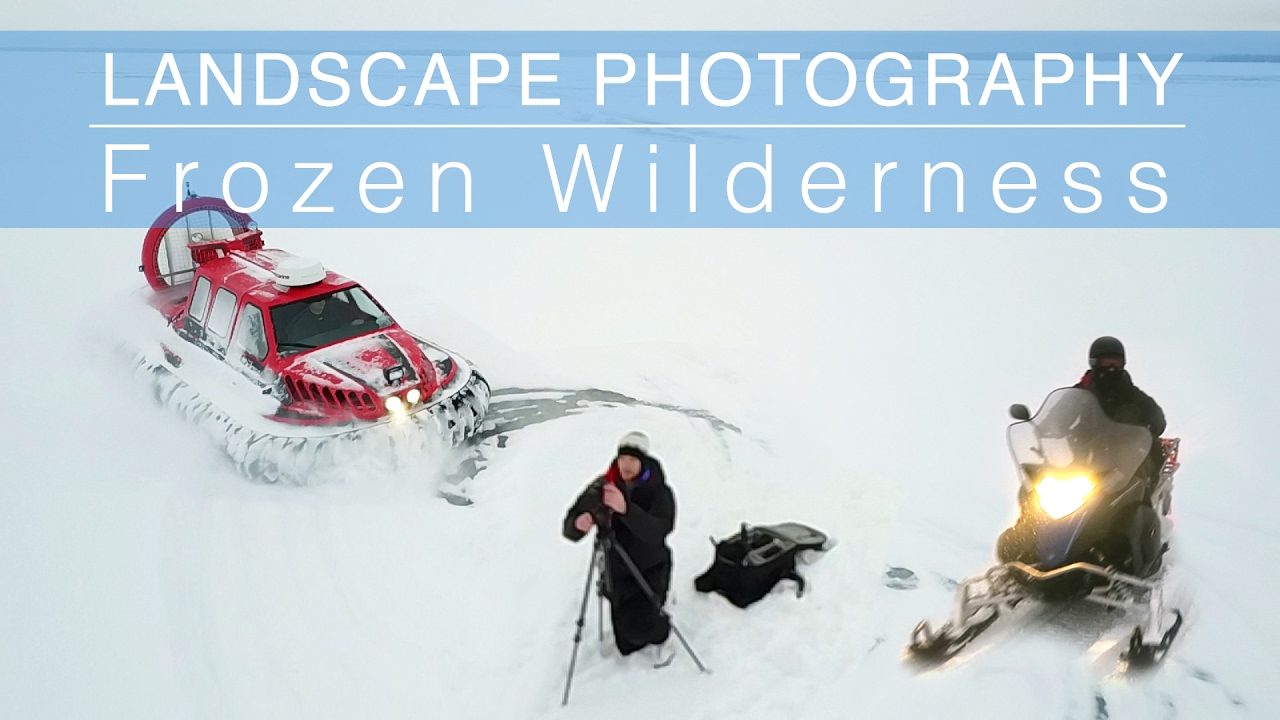
Some locations hand you the shot. Golden hour rolls in, the mist sits perfectly in the valley, and even a mediocre composition looks like a painting. Those days are gifts. But they’re not the ones that teach you anything. The days that teach you are the ones where you show up and the landscape looks like a blank piece of paper — flat, featureless, and apparently empty of anything worth pointing a lens at.
I’ve been chasing light for twenty years, and I still find the “nothing locations” the hardest to work. They expose every gap in your compositional thinking because there’s no dramatic light or grand scenery to lean on. That’s exactly why I kept coming back to this Thomas Heaton tutorial, Watch the full tutorial on YouTube, where he lands in northern Sweden expecting to photograph the aurora borealis and gets grey skies, flat frozen lakes, and boreal forest in every direction. No drama. No easy wins. Just the discipline of making something from nothing.
What follows is a breakdown of how he works through it, with the field techniques pulled out so you can apply them the next time your own location refuses to cooperate.
Step 1: Accept the Constraints and Reset Your Expectations
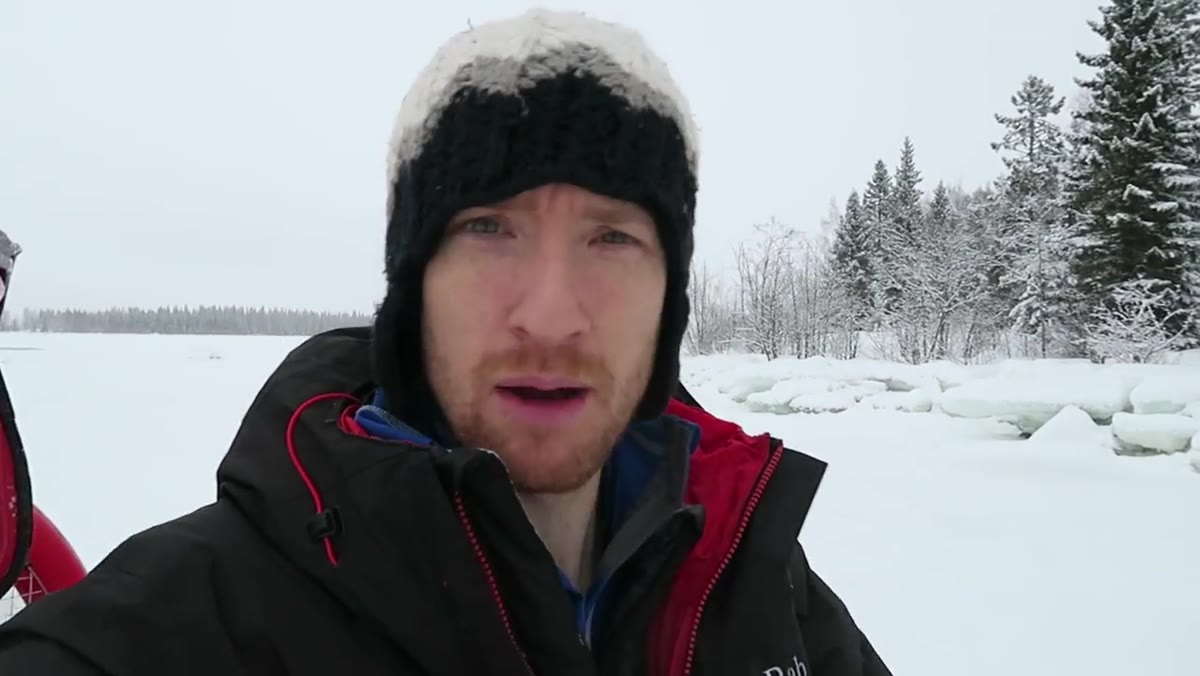
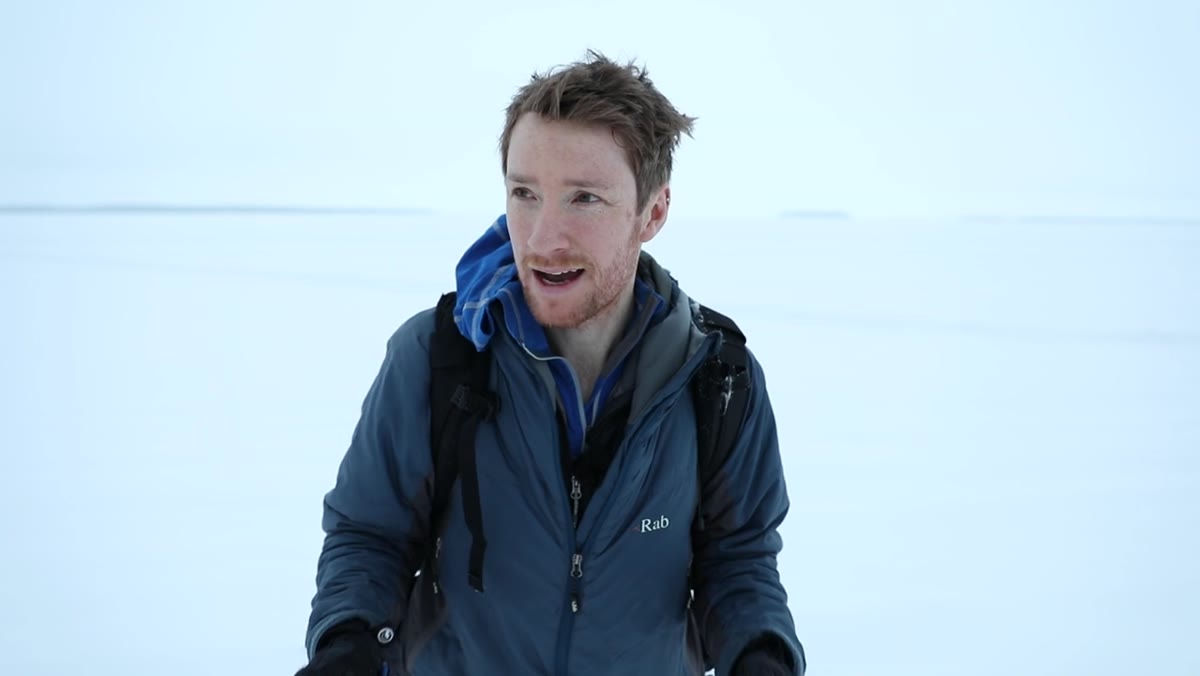 Heaton standing in grey flat landscape describing the challenge
Heaton is direct about it early on. He’s there for northern lights photography, the sky won’t deliver, and the terrain is not what most people would call “scenic.” Rather than lamenting that, he frames the whole shoot as a creative problem to solve. That reframe is the first technique, and it’s a practical one. When a location disappoints, your first job is to abandon the shot list you arrived with and start observing what’s actually in front of you.
Heaton standing in grey flat landscape describing the challenge
Heaton is direct about it early on. He’s there for northern lights photography, the sky won’t deliver, and the terrain is not what most people would call “scenic.” Rather than lamenting that, he frames the whole shoot as a creative problem to solve. That reframe is the first technique, and it’s a practical one. When a location disappoints, your first job is to abandon the shot list you arrived with and start observing what’s actually in front of you.
Before you touch your camera, walk the location without it. Leave the bag on your shoulder or back at the car. Spend ten minutes just moving through the landscape with your eyes, not your viewfinder. You’re looking for anything with shape, edge, contrast, or natural leading lines. In a featureless white environment, that means looking small: reed stems breaking through snow, the curve of a frozen shoreline, the texture difference between packed ice and fresh fall.
Step 2: Tune In to the Landscape While Walking
Heaton describes a specific mental mode he enters while exploring on foot. He calls it getting “in the zone” where you’re walking and actively tuned into the landscape so that details begin to stand out. This isn’t mystical. It’s the result of moving slowly and looking at one thing at a time instead of scanning for a postcard view.
In practice, slow your walking pace by half. Make deliberate stops every few meters and look close, then look far. In winter environments especially, the tendency is to look for big scenes when the real images are often within ten feet of you. Heaton’s discovery in this section, a cluster of reeds rising from snow, is a perfect example. It’s not spectacular. But it has structure, and structure is what a featureless location needs most.
Step 3: Use a Mist Filter to Handle a Blown-Out White Background
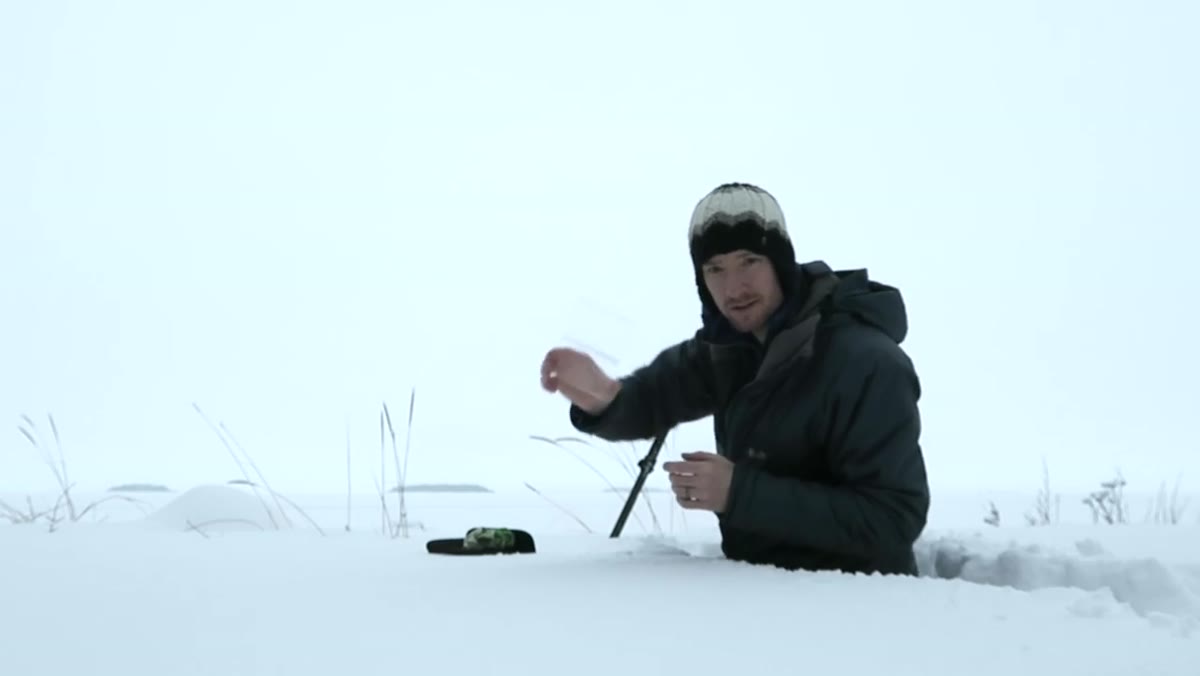 Heaton holding Lee Mist Stripe filter up to camera
This is the most technically specific moment in the video. Heaton pulls out a Lee Mist Stripe filter, a filter with a diffusion band running horizontally through the center. In a snow-heavy environment where the background is a wall of white, this filter softens and slightly hazy the rear of the frame, reducing the harsh contrast between your subject and a completely overexposed sky or background.
Heaton holding Lee Mist Stripe filter up to camera
This is the most technically specific moment in the video. Heaton pulls out a Lee Mist Stripe filter, a filter with a diffusion band running horizontally through the center. In a snow-heavy environment where the background is a wall of white, this filter softens and slightly hazy the rear of the frame, reducing the harsh contrast between your subject and a completely overexposed sky or background.
He’s using no other filters. No ND, no polarizer. His reasoning is correct: there’s no motion to slow, no harsh light to balance. The mist stripe does one focused job, pulling the background away from the subject. If you’re shooting reeds, bare branches, or any thin vertical subject against a white sky or snow field, this filter keeps your subject from competing with a blown-out background. It creates a gentle separation without heavy post-processing.
Step 4: Set a Conservative Aperture and Use Your Camera’s Timer
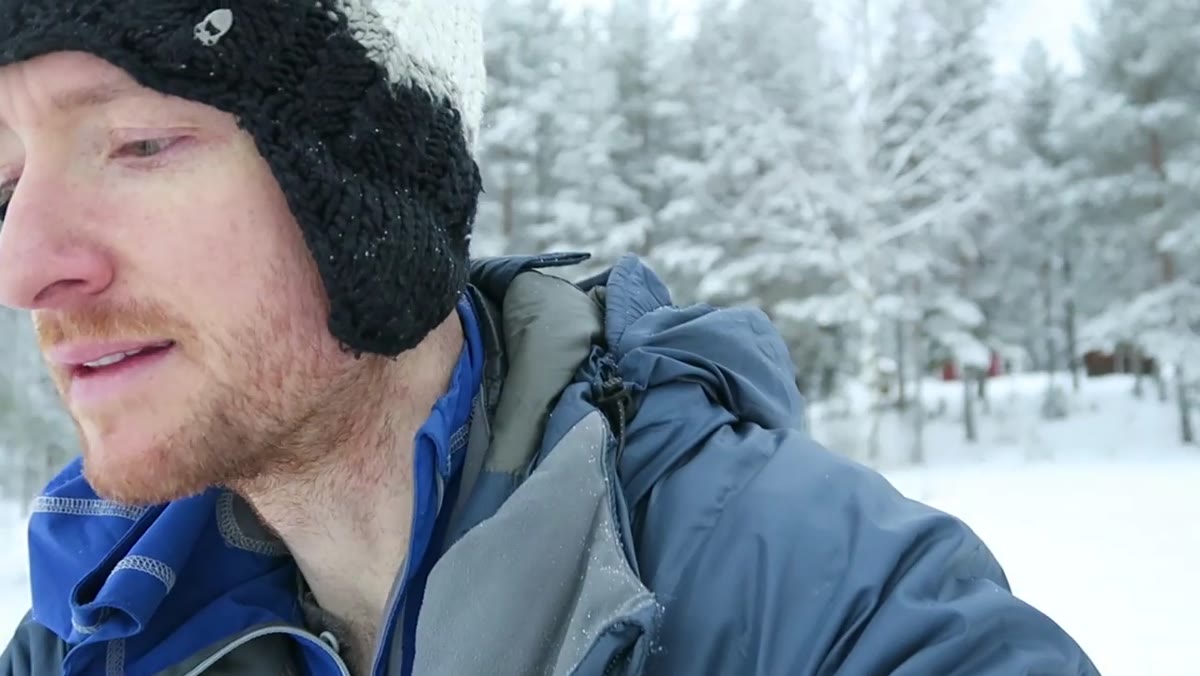 Camera display showing 55mm f/10 settings on frozen lake
Heaton shoots the reed composition at 55mm and f/10. That aperture choice is deliberate. You want enough depth of field to keep the reeds sharp from front to back, without stopping down so far that diffraction softens the image. In flat winter light, f/8 to f/11 is the practical sweet spot for most compositions with a moderate amount of depth.
Camera display showing 55mm f/10 settings on frozen lake
Heaton shoots the reed composition at 55mm and f/10. That aperture choice is deliberate. You want enough depth of field to keep the reeds sharp from front to back, without stopping down so far that diffraction softens the image. In flat winter light, f/8 to f/11 is the practical sweet spot for most compositions with a moderate amount of depth.
Rather than wading back to his bag for a cable release, he uses the camera’s 2-second self-timer. This is worth noting because a lot of photographers carry a cable release and then fumble for it in cold conditions, or they use mirror lockup but forget the timer. In light wind and on a solid tripod, the 2-second timer eliminates camera shake reliably. Simple, fast, and no gear digging required.
Step 5: Adapt When Your Shooting Environment Changes Completely
 Hovercraft moving across pack ice toward frozen trees
The second half of the shoot puts Heaton on a hovercraft, photographing ice formations and frost-covered trees. He’s honest that it doesn’t go well. The vehicle can’t be positioned with the precision a tripod shooter needs, he can’t step off onto the ice, and he can’t work the scene slowly. His takeaway is an important one: some environments are genuinely hostile to the deliberate pace that produces strong landscape images.
Hovercraft moving across pack ice toward frozen trees
The second half of the shoot puts Heaton on a hovercraft, photographing ice formations and frost-covered trees. He’s honest that it doesn’t go well. The vehicle can’t be positioned with the precision a tripod shooter needs, he can’t step off onto the ice, and he can’t work the scene slowly. His takeaway is an important one: some environments are genuinely hostile to the deliberate pace that produces strong landscape images.
The lesson here is knowing when to document rather than create. If you’re on a boat, a hovercraft, or any moving platform, switch your mindset from “finding the definitive composition” to “collecting raw material.” Shoot more frames. Work with the movement. Look for images that embrace the restriction rather than fight it. A slightly motion-blurred ice formation can be more interesting than a technically perfect but static one.
What I’d Add from My Own Experience
The hardest thing Heaton demonstrates in this video isn’t a technique. It’s the willingness to work hard on an image that might only be “pretty good.” The reeds-in-snow shot is not a showstopper. But he finishes it anyway. He works it seriously. He filters it, times his shutter, and treats it with the same care he’d give a once-in-a-decade aurora.
My mentor used to say the mountain doesn’t care about your schedule. Neither does the light, the weather, or the location. What you can control is whether you stay engaged when the conditions disappoint. I keep a print of a fog-shrouded coastal shot on my office wall, taken after a six-hour drive and two days of sitting in grey weather. It’s the image that sells most consistently in my print shop. I almost didn’t bother making it. That’s a mistake I try not to repeat. Show up for the difficult days. Work the modest scene. Some of those images turn out to matter more than the ones you drove yourself crazy to chase.
The single most important thing this tutorial reinforces is this: a compelling image comes from your response to the landscape in front of you, not from the landscape itself. Heaton lands in a flat, snowy, auroras-free corner of Sweden and comes home with images. The location didn’t give them to him. He found them.
Watch the full tutorial on YouTube to see how he handles the hovercraft sequence and how the final reed composition comes together in camera.
Comments
Leave a Comment