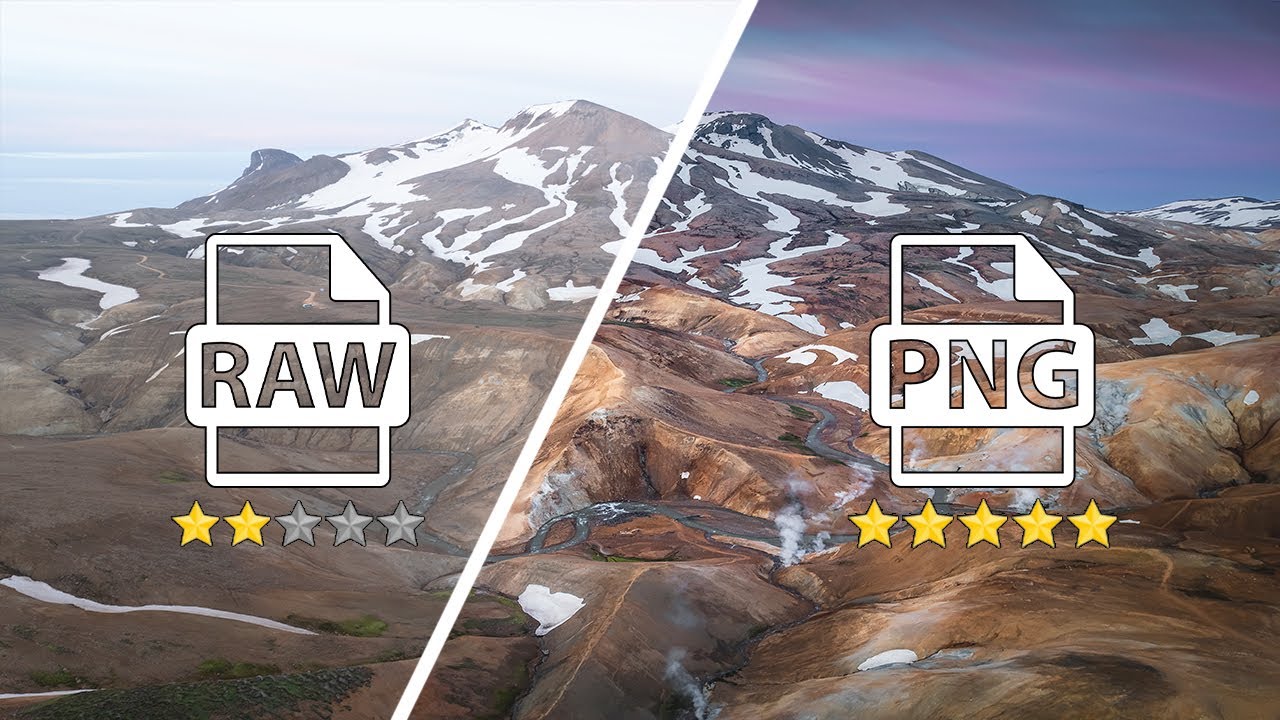
There is a specific kind of frustration that every landscape photographer knows. You are standing in front of something genuinely extraordinary. The light is doing things you could not have planned. You fire off a bracket sequence, drive home satisfied, and then open your files to find that no single frame holds what your eyes saw. The sky is blown out in the exposure that saved the foreground. The foreground goes to mud in the frame that held the clouds. This is not a failure of technique. It is simply the reality of shooting high-contrast scenes, and it has been part of my working life for two decades shooting out of Bend, Oregon.
The fix is HDR merging done right, which is a tool I relied on for years without ever feeling like I fully understood my own decisions inside it. That changed when I sat down with Watch the full tutorial on YouTube from Mark Denney, shot on location during a trip to the Icelandic highlands. He works through a five-frame bracket of a geothermal steam field, a scene with an enormous dynamic range challenge, and his process is methodical in a way that makes the reasoning behind each setting visible. What follows is my breakdown of that workflow, with the notes I would add from my own time behind the camera.
What struck me most about Mark’s approach is how little he forces. His editing philosophy treats the merge as a foundation, not a finished product, and that restraint is something I had to learn the hard way myself. A mentor once told me that the mountain does not care about your schedule. I would add that the histogram does not care about your intentions. You have to work with what the light actually gave you.
Step 1: Select Your Bracket Sequence and Open the HDR Merge Dialog
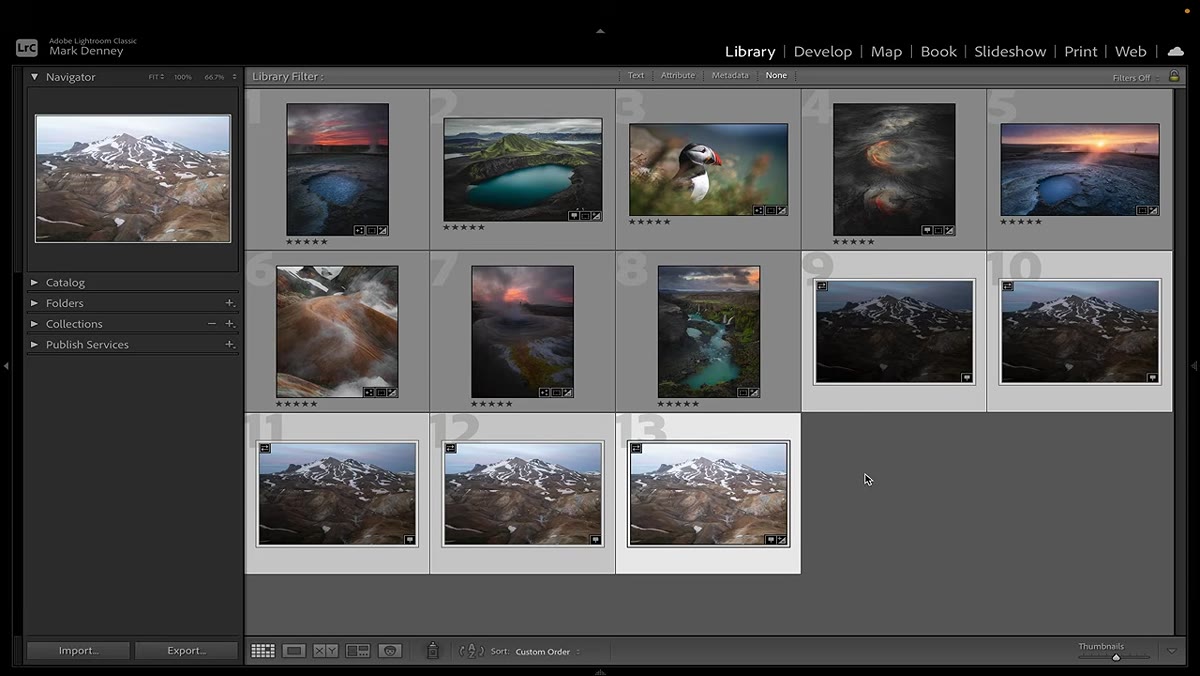
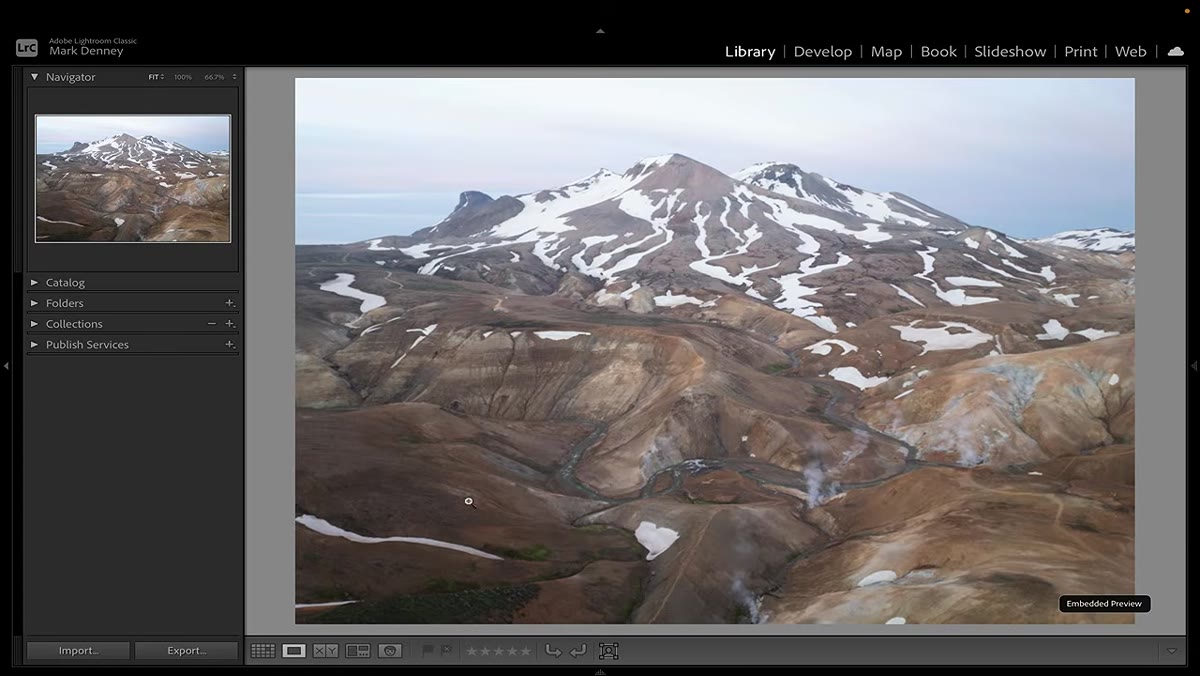 Five bracketed RAW files selected in Lightroom grid
In Lightroom Classic, select all the frames from your bracket sequence in the grid view. Mark is working with five images here, ranging from a heavily underexposed frame that protects the brightest sky detail all the way to an overexposed frame that opens up the darkest shadow areas in the foreground. Once selected, right-click on any of the highlighted files, navigate to Photo Merge, and choose HDR. The order you click does not matter. Lightroom reads the exposure metadata from each file and sorts the blend accordingly.
The HDR merge dialog will open with a preview of the combined file. Take a moment here before you touch anything. Look at where the merge is landing tonally. That preview is telling you something about how much dynamic range you actually captured, and it sets your expectations for what the editing sliders can realistically do afterward.
Step 2: Set Deghosting and Auto Align Options
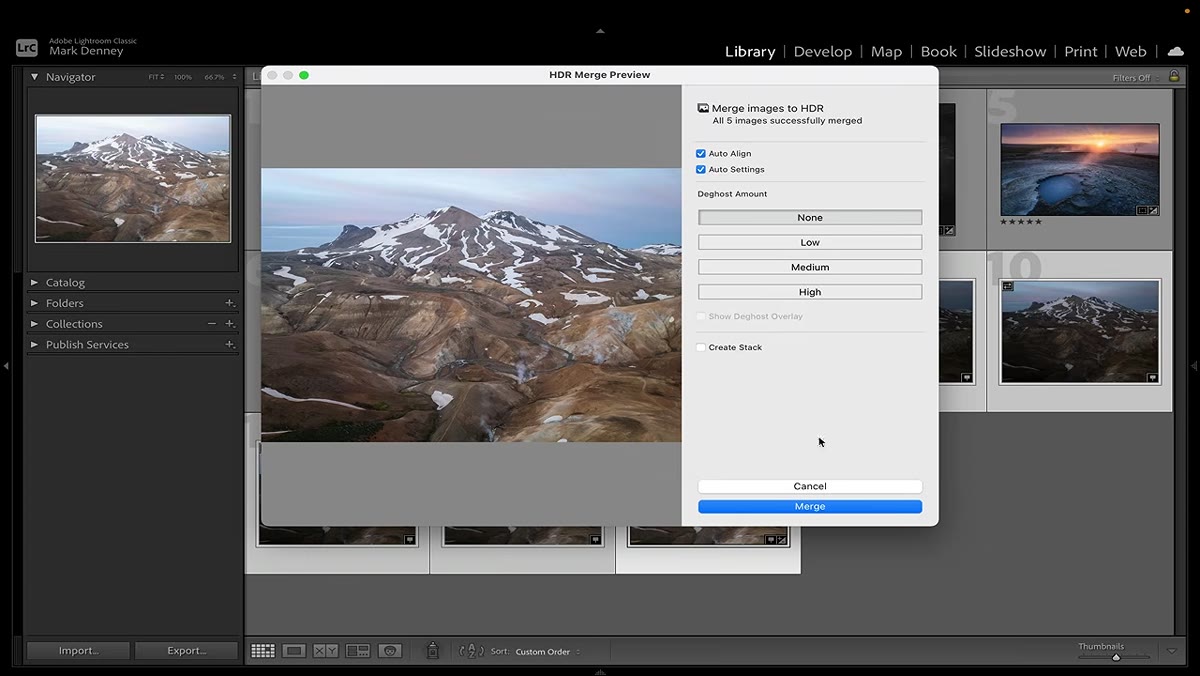 HDR merge dialog open with deghosting set to None
Mark leaves the deghosting setting at None for this particular scene, and that is the right call when your subject is largely static. Deghosting is designed to handle movement between frames, things like water, blowing grass, or clouds that have shifted position across your exposure sequence. If you apply deghosting to a scene that did not need it, Lightroom will sometimes make decisions about which frame to prioritize in those zones, and those decisions are not always the ones you would make yourself.
Auto Align should stay checked unless you shot on a tripod with a cable release and you are completely certain there was zero camera movement. Even on a sturdy tripod, mirror slap or a slight wind gust can introduce enough micro-shift between frames to create fringing in the final merge. Letting Lightroom align the frames costs you nothing and prevents a problem that is tedious to correct later.
Step 3: Click Merge and Let Lightroom Build the DNG
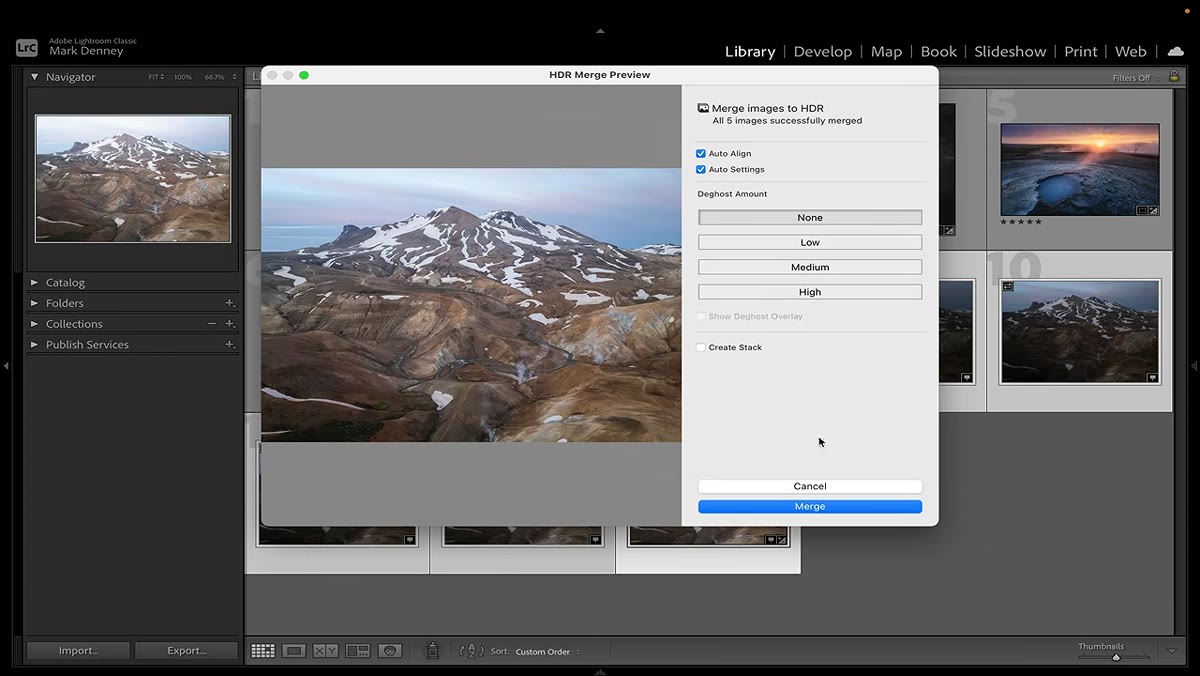 Clicking the Merge button in the HDR dialog
Click Merge and step away. Lightroom will render a 32-bit DNG file and place it in your catalog next to the source frames. On a modern machine this usually takes thirty seconds to two minutes depending on file size and the number of frames. The resulting DNG is a floating-point file with a dynamic range ceiling that far exceeds what any single RAW frame can hold. That is the whole point. You are not creating a tone-mapped HDR look here. You are creating a file that is more like what your eye actually recorded in the field.
When the DNG appears in your grid, it will look flat and low-contrast. That is correct behavior. Resist the impulse to immediately push the contrast slider. The file needs to be developed, not corrected.
Step 4: Begin Development with Exposure and White Balance
 Merged HDR DNG open in Lightroom Develop module
Open the merged DNG in the Develop module. Mark’s first moves are to establish a neutral baseline before doing anything creative. Set white balance to match the mood of the light you remember, not necessarily the camera’s reading. The HDR merge can sometimes average the white balance across frames in a way that feels slightly off. A small manual correction here, just a few hundred Kelvin warmer or cooler, can shift the emotional register of the image before you have touched a single tonal slider.
For exposure, your goal in this first pass is to find where the image wants to sit, not to push it toward a predetermined look. If the sky feels too bright, pull the Highlights slider rather than dropping overall exposure. If the foreground is still murky, lift the Shadows. Work the extremes of the tonal range before you touch the midtones.
Step 5: Refine with Local Adjustments
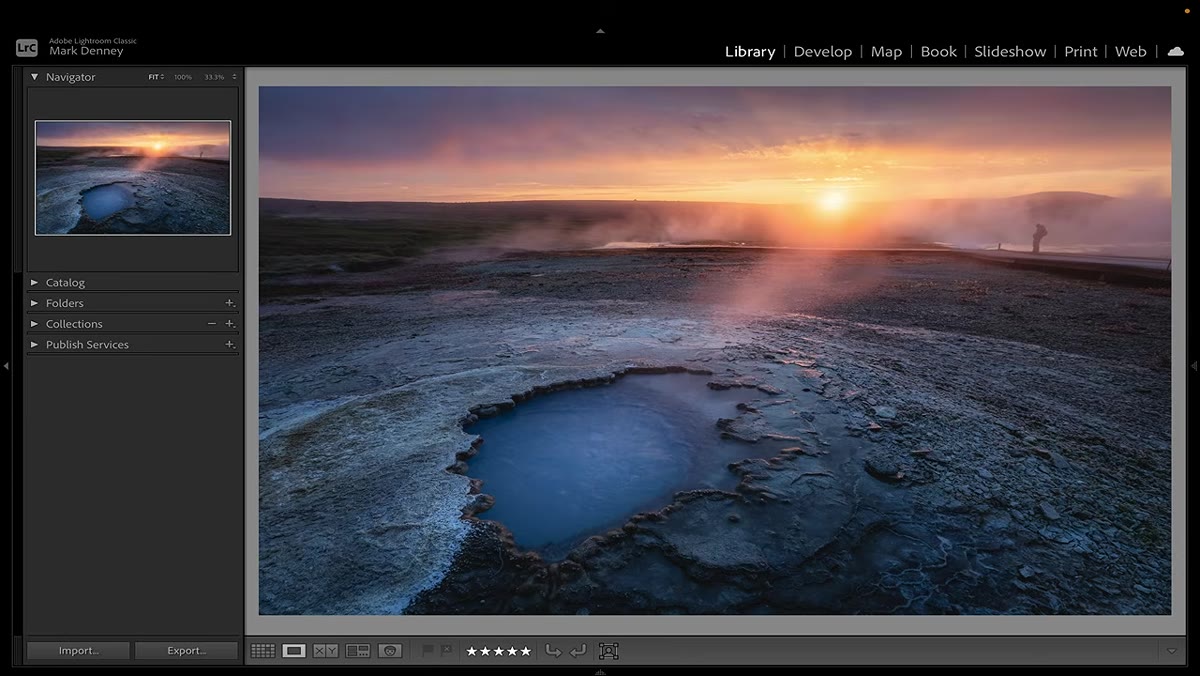 Final edited image showing tonal separation between sky and foreground
The merge handles the technical dynamic range problem. Local adjustments are where the image becomes a photograph. Mark uses gradient masks and radial filters to separate the treatment of the sky from the foreground, which lets him apply completely different tonal and color corrections to each zone. In a scene like his Icelandic steam field, the steam itself becomes a third region worth treating separately, since it is both bright and soft-edged and needs careful handling to hold texture without blowing out.
Use the Range Mask tool inside your gradient or brush adjustments to isolate edits by luminosity or color. This keeps your sky adjustments from bleeding into clouds, and your foreground adjustments from darkening the steam where it catches the light.
A Note from My Own Experience: Bracket Width Matters More Than Frame Count
Five frames sounds thorough, and often it is. But I have found that the gap between your darkest and lightest frame matters more than how many frames you shoot in between. In very high-contrast scenes like alpine backlit ridgelines or coastal sunrises, I often shoot just three frames but push the bracket spread to plus and minus three stops rather than the default two. This gives Lightroom more usable information at the extreme ends of the range, which is exactly where the merge earns its keep. Too many frames with too narrow a spread gives you redundant data and larger file sizes without improving the result.
The single most important thing I took from Mark’s tutorial is this: treat the HDR merge as raw material, not a finished image. The merge solves the technical problem of dynamic range. Everything after that is craft. If you let the merge do its job and then develop the resulting DNG with the same care you would give any other RAW file, you will have more creative latitude than you will know what to do with.
Watch the full tutorial on YouTube to follow Mark’s complete editing session and see how the final image comes together from start to finish.
Comments (2)
Printing this out and pinning it next to my monitor. That good.
Would love to see a follow-up going deeper into this topic.
Leave a Comment