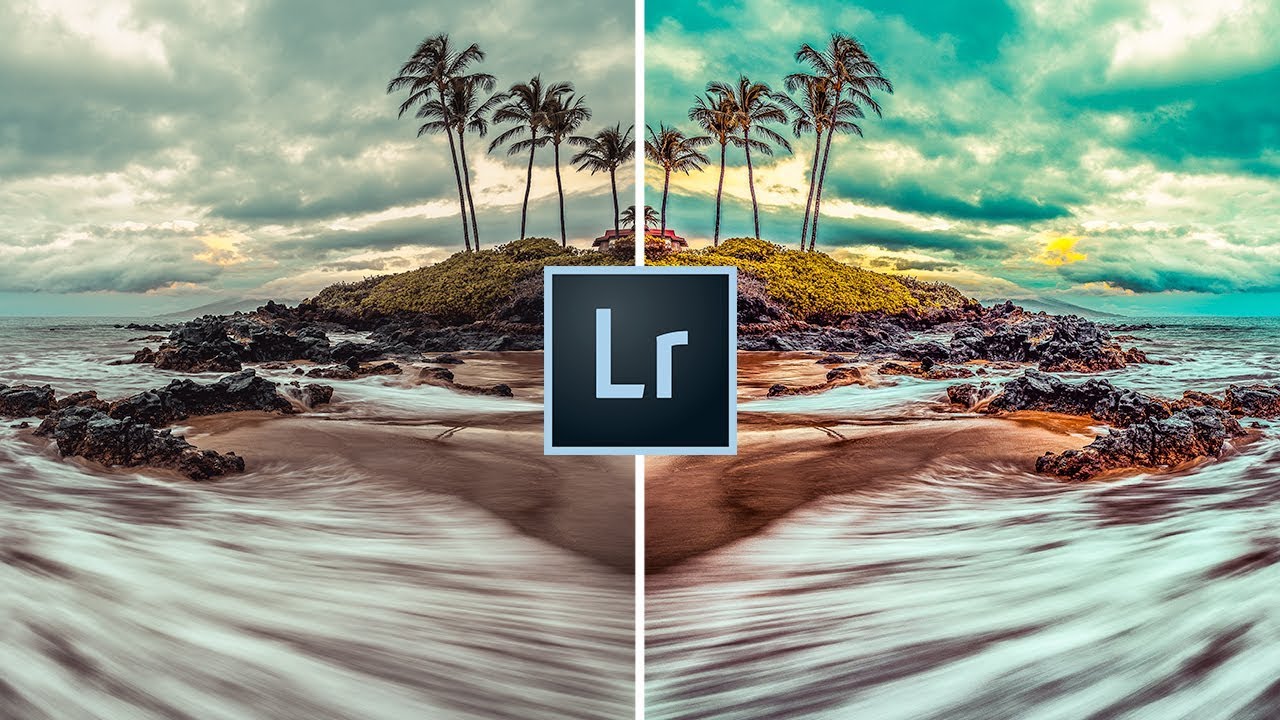
There’s a particular kind of regret that comes from over-editing a good image. You start with something honest, something that captured a real moment of light, and you slowly push it into something artificial. I’ve done it more times than I care to admit. After twenty years of shooting landscapes professionally, I still sometimes catch myself reaching for sliders that don’t need to be touched. Knowing when to stop is genuinely one of the hardest skills to develop, and almost nobody teaches it directly.
That’s exactly what this tutorial from Mark Denney tackles head-on. Watch the full tutorial on YouTube and follow along in Lightroom as you read through this breakdown. Denney has a calm, methodical approach that I appreciate, and this particular video is one I’d recommend bookmarking for the days when you’re not sure whether you’ve crossed the line yet.
The core problem he’s addressing is this: most advice tells you to add contrast, lift your shadows, pull your highlights. What it almost never tells you is what “too far” looks like in practice. These are the visual warning signs I wish someone had shown me early on.
Step 1: Enable the Clipping Indicator Before You Touch Highlights
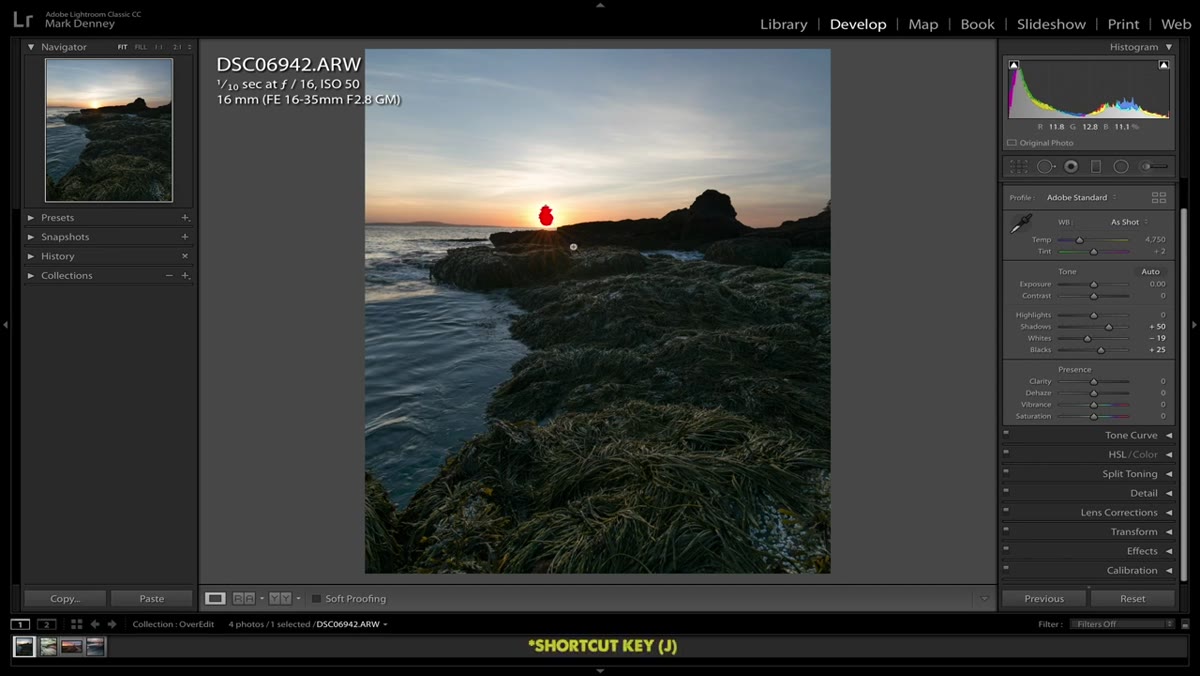 Clipping indicator activated showing blown-out sun area
Before adjusting any highlights in a high-contrast scene, press J in Lightroom to toggle the clipping indicator. This overlay will paint blown-out areas in red and crushed blacks in blue, giving you a clear map of where your image is already at the edge. In a shot that includes the sun, you’ll almost certainly see a wide red zone around the light source. That’s expected. The goal is not to eliminate that zone entirely. The goal is to understand where you’re starting from.
Clipping indicator activated showing blown-out sun area
Before adjusting any highlights in a high-contrast scene, press J in Lightroom to toggle the clipping indicator. This overlay will paint blown-out areas in red and crushed blacks in blue, giving you a clear map of where your image is already at the edge. In a shot that includes the sun, you’ll almost certainly see a wide red zone around the light source. That’s expected. The goal is not to eliminate that zone entirely. The goal is to understand where you’re starting from.
Denney also recommends switching your camera profile from Adobe Standard to Adobe Neutral before pulling any sliders. Adobe Neutral is a flatter, lower-contrast profile that recovers a surprising amount of headroom in your dynamic range without you lifting a finger. I now do this automatically on any image where the sun is in the frame. It buys you room to work without forcing recovery sliders into unnatural territory.
Step 2: Pull Highlights Until You See a Halo, Then Back Off
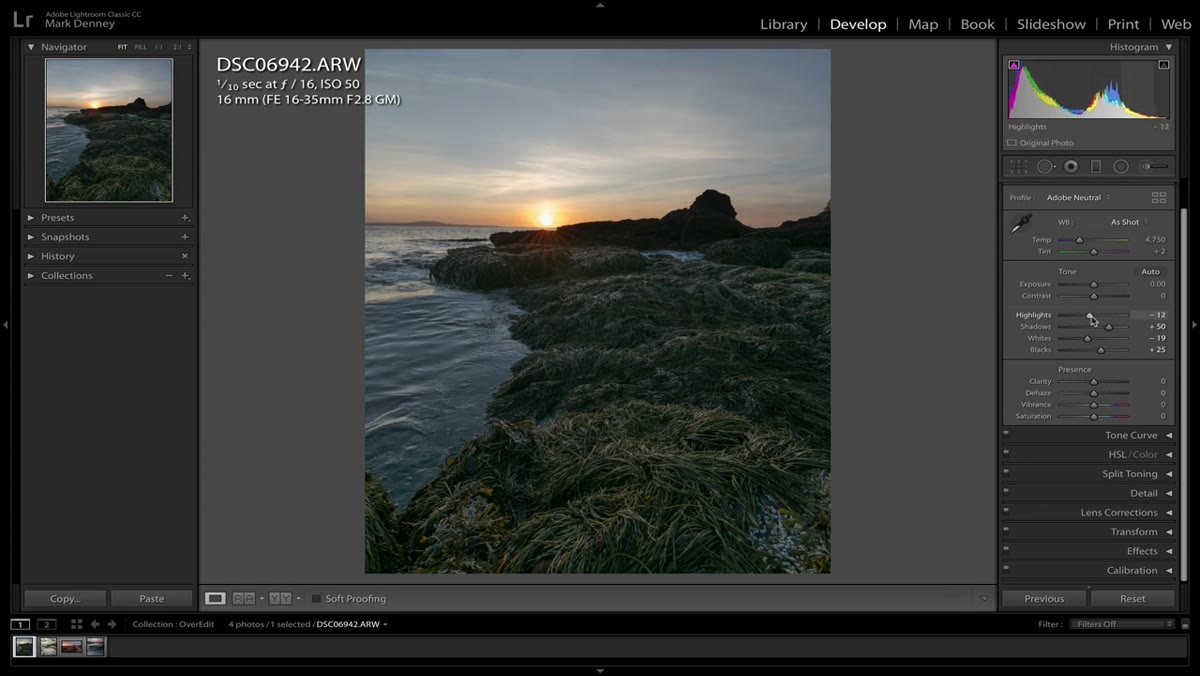 Dark halo ring visible around sun as highlights are dragged down
Here’s the specific warning sign Denney describes for highlight recovery, and it’s one I recognize immediately from my own early edits. When you drag the Highlights slider too far down in a scene containing the sun, a dark, muddy orange ring forms around the light source. It’s an artifact of forcing the software to manufacture detail in an area that simply has none. The ring looks dirty and unnatural, and it telegraphs over-editing to any viewer who knows what they’re looking for.
Dark halo ring visible around sun as highlights are dragged down
Here’s the specific warning sign Denney describes for highlight recovery, and it’s one I recognize immediately from my own early edits. When you drag the Highlights slider too far down in a scene containing the sun, a dark, muddy orange ring forms around the light source. It’s an artifact of forcing the software to manufacture detail in an area that simply has none. The ring looks dirty and unnatural, and it telegraphs over-editing to any viewer who knows what they’re looking for.
The fix is not to fight the sun. The sun is bright. It is allowed to be bright in your photograph. Instead, reduce the Highlights slider slowly until you just begin to see that halo forming, then ease back slightly. You want to bring some warmth and softness around the sun without creating that tell-tale dark ring. Leaving a small area of clipping around a direct light source is not a mistake. It’s accurate.
Step 3: Protect Shadow Detail to Preserve Texture and Dimension
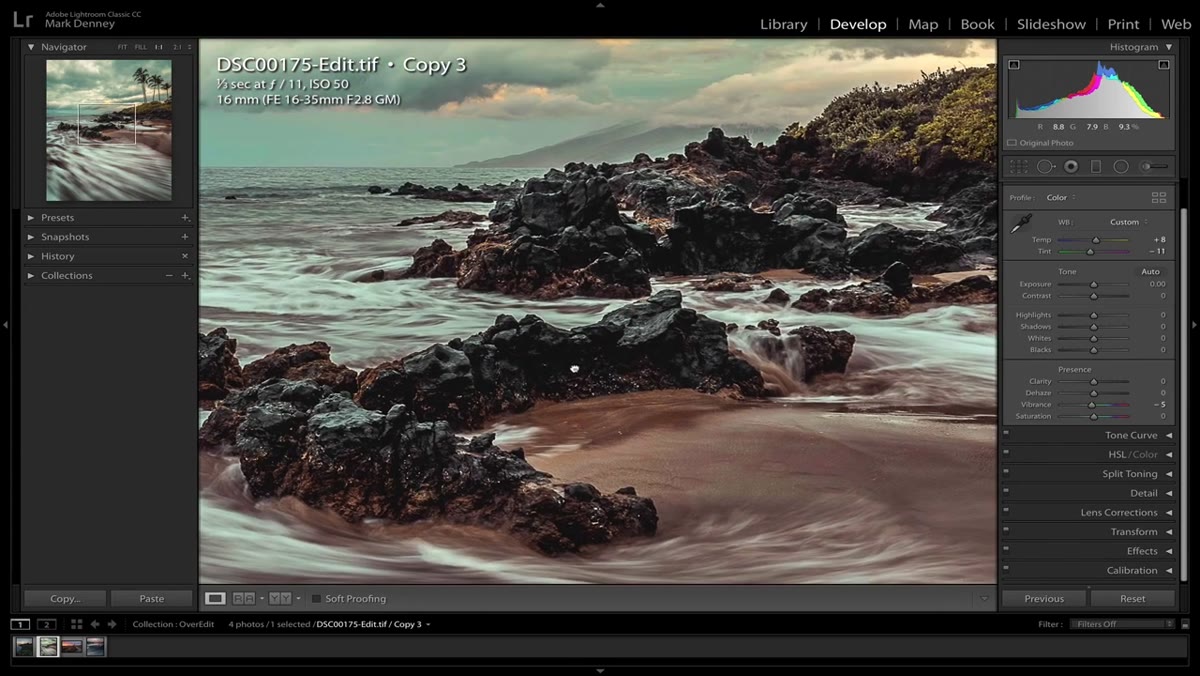 Rocks losing texture as Shadows slider is pushed to maximum
Shadows do more than reveal detail in dark areas. They define the physical structure of a scene. On rocks, bark, soil, or any textured surface, shadows are what make a surface read as three-dimensional rather than flat. When you zoom into your foreground elements and lift the Shadows slider to its maximum, you’ll see those surfaces go glassy and dimensionless. It’s the classic HDR look, and it’s a reliable sign you’ve gone too far.
Rocks losing texture as Shadows slider is pushed to maximum
Shadows do more than reveal detail in dark areas. They define the physical structure of a scene. On rocks, bark, soil, or any textured surface, shadows are what make a surface read as three-dimensional rather than flat. When you zoom into your foreground elements and lift the Shadows slider to its maximum, you’ll see those surfaces go glassy and dimensionless. It’s the classic HDR look, and it’s a reliable sign you’ve gone too far.
Denney makes the point simply: if your shadows are completely gone, your photo is flat. Push them back far enough to recover some of that tonal depth. On my own edits, I often use a radial or brush mask to lift shadows selectively in areas where I need to open up a face or reveal a specific element, rather than lifting globally. That way, the surfaces that give the image its physical weight, foreground rocks, ridgelines, tree bark, keep their structure.
Step 4: Watch for the HDR Flatness Test
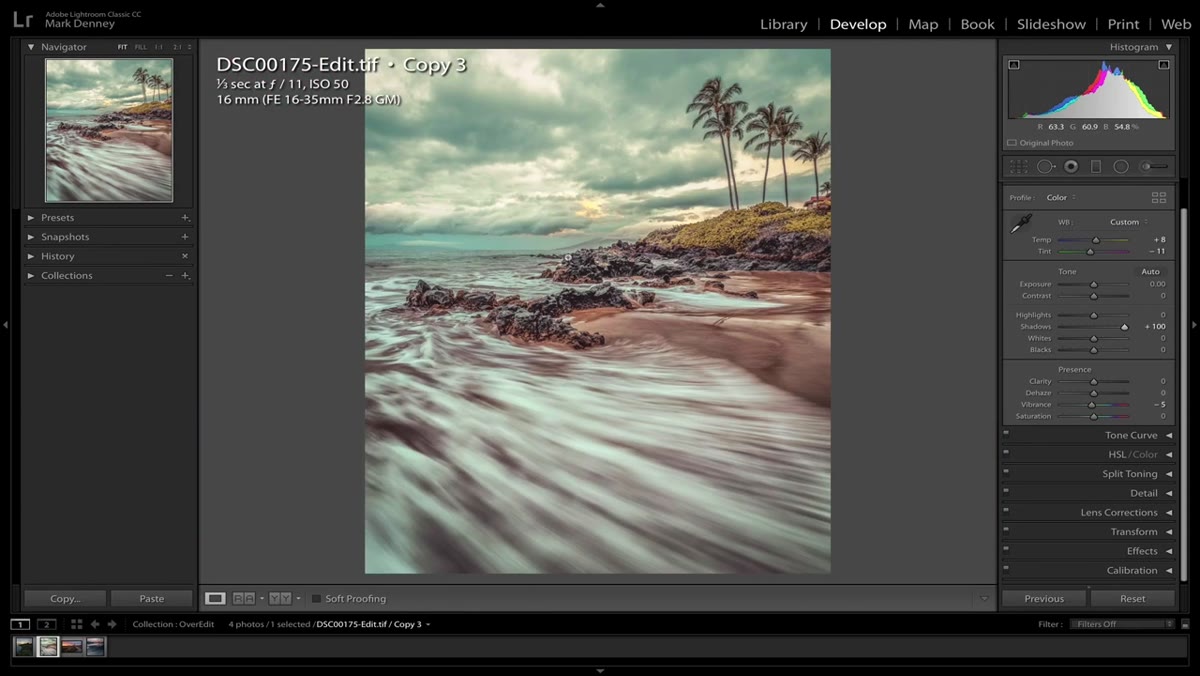 Flat, HDR-effect image after all shadows lifted uniformly
One practical diagnostic Denney suggests is what I think of as the flatness test. After you’ve been working on an image for a while, slide your Shadows all the way up and look at the result. You want to be slightly bothered by how flat and artificial it looks. If it looks fine to you, or even good, your eye has probably adjusted to an already-lifted edit, and you may be sitting closer to over-processed territory than you realize.
Flat, HDR-effect image after all shadows lifted uniformly
One practical diagnostic Denney suggests is what I think of as the flatness test. After you’ve been working on an image for a while, slide your Shadows all the way up and look at the result. You want to be slightly bothered by how flat and artificial it looks. If it looks fine to you, or even good, your eye has probably adjusted to an already-lifted edit, and you may be sitting closer to over-processed territory than you realize.
This is a calibration habit. I do a version of this after any editing session that runs longer than about 45 minutes. I’ll reset just the tonal sliders to zero and look at the image again. It resets my perception and almost always shows me something I was pushing too hard.
What I’d Add From the Field
Denney’s tutorial covers the mechanical warning signs well. What I’d layer on top is a habit I developed after years of running editing workshops here in central Oregon: walk away before you export.
If you’ve been staring at a photo for more than an hour, your eye has fully adapted to whatever color cast or tonal imbalance you’ve introduced, and you literally cannot see it anymore. I export nothing significant on the same day I process it. The next morning, usually after I’m back from a pre-dawn shoot, I’ll open the finished edit fresh and it’s almost always obvious whether I pushed too far. The contrast that looked rich the night before reads as harsh. The saturation that seemed vivid reads as garish.
Shooting film occasionally reinforces this patience for me. When you’re rationing frames, you think harder about what you’re capturing. Editing deserves the same deliberate pace.
The single most important idea from this tutorial is one that sounds almost too simple: the sun is bright, and your photo should show that. More broadly, your editing should reflect the physical reality of light. Shadows exist. Highlights blow out. Surfaces have texture. When your post-processing respects those facts, your images read as honest, and honest landscape photography is what moves people.
Watch the full tutorial on YouTube to see Denney walk through these corrections on a real image. It’s worth watching with a photo of your own open in Lightroom so you can test each point as he makes it.
Comments
Leave a Comment