There’s a shot I keep coming back to from a trip to the Oregon Cascades a few years ago. Standing at the base of a ridgeline, the view stretched for what felt like a hundred miles. I could feel the scale in my chest. But when I got home and pulled up the RAW files, every single frame looked flat. Compressed. Like a postcard of a great place rather than the place itself. The mountain was massive. The photo was ordinary. That gap between what you experience and what the camera records is one of the most persistent frustrations in landscape photography, and it’s something I’ve been working on for two decades.
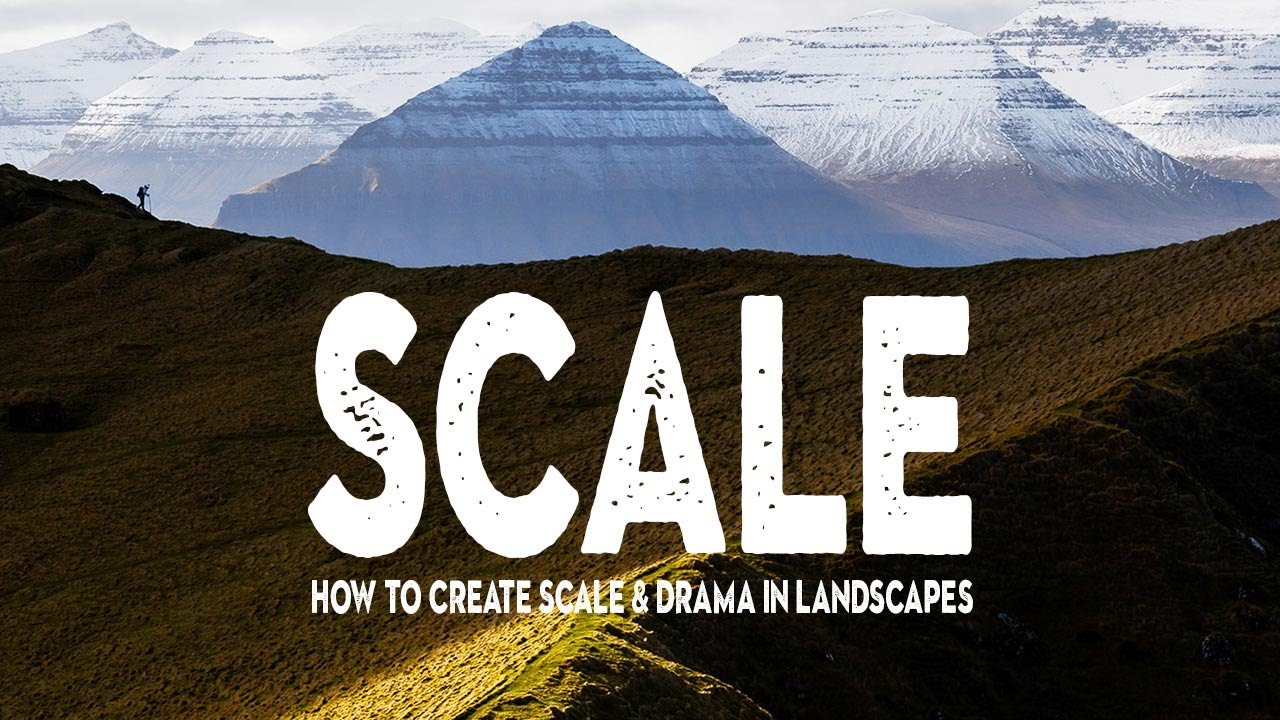
This specific problem, conveying the sheer size of a landscape in a two-dimensional frame, is exactly what Nigel Danson breaks down in his tutorial on adding scale to landscape images. Watch the full tutorial on YouTube before or after reading this, because seeing his actual images alongside his reasoning accelerates everything I’m about to describe. Danson shoots big, dramatic locations, and the techniques he walks through are practical, not theoretical. I’ve been refining similar approaches in the field for years, and working through his framework helped me articulate things I’d been doing instinctively without ever naming.
The core insight is deceptively simple: the human brain has no built-in sense of distance or scale from a photograph alone. You have to give it a reference point. Without that anchor, a massive cliff face and a small rocky outcrop can read identically. Once you understand that, you start making different decisions before you ever raise the camera.
Step 1: Start With a Subject That Establishes Human Scale
 Skier descending a ridge in the Mont Blanc area
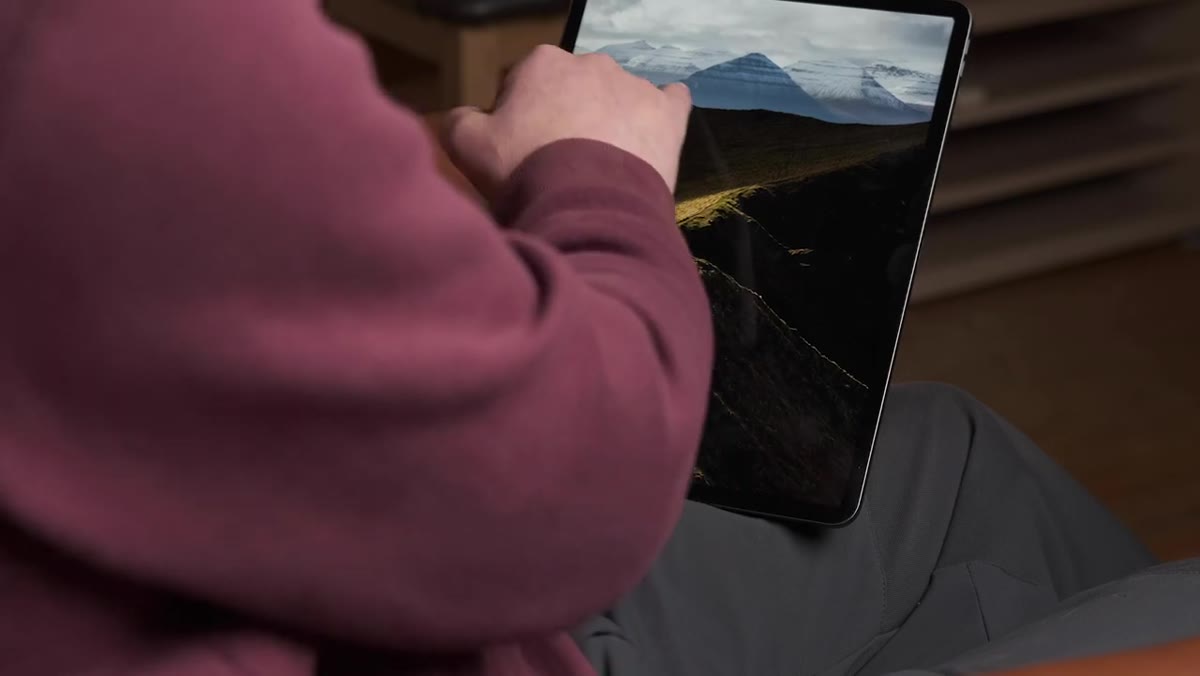
The most direct way to communicate scale is to include a person in the frame, but placement matters enormously. Danson opens with a ski trip photo taken on his iPhone near Mont Blanc, where a single skier cresting a ridge transforms the image from a dramatic skyscape into something that makes you feel small just looking at it. The key detail: the person is tiny. Not cropped to the waist, not walking toward the camera. Tiny, deliberate, almost swallowed by the scene.
Skier descending a ridge in the Mont Blanc area
The most direct way to communicate scale is to include a person in the frame, but placement matters enormously. Danson opens with a ski trip photo taken on his iPhone near Mont Blanc, where a single skier cresting a ridge transforms the image from a dramatic skyscape into something that makes you feel small just looking at it. The key detail: the person is tiny. Not cropped to the waist, not walking toward the camera. Tiny, deliberate, almost swallowed by the scene.
When I’m setting up a shot with a person in it, I think about the ratio of human to landscape. If the person fills more than roughly five percent of the frame, they become the subject rather than the scale reference. Move back, use a wider lens, or find higher ground so the person sits small within the composition. A figure on a ridgeline at dusk, backlit and no bigger than your thumbnail, tells the viewer more about the size of that mountain than any zoom shot of the peak alone.
Step 2: Use Lens Choice to Control the Relationship Between Figure and Landscape
 Wide angle shot of person standing tiny on a rock formation
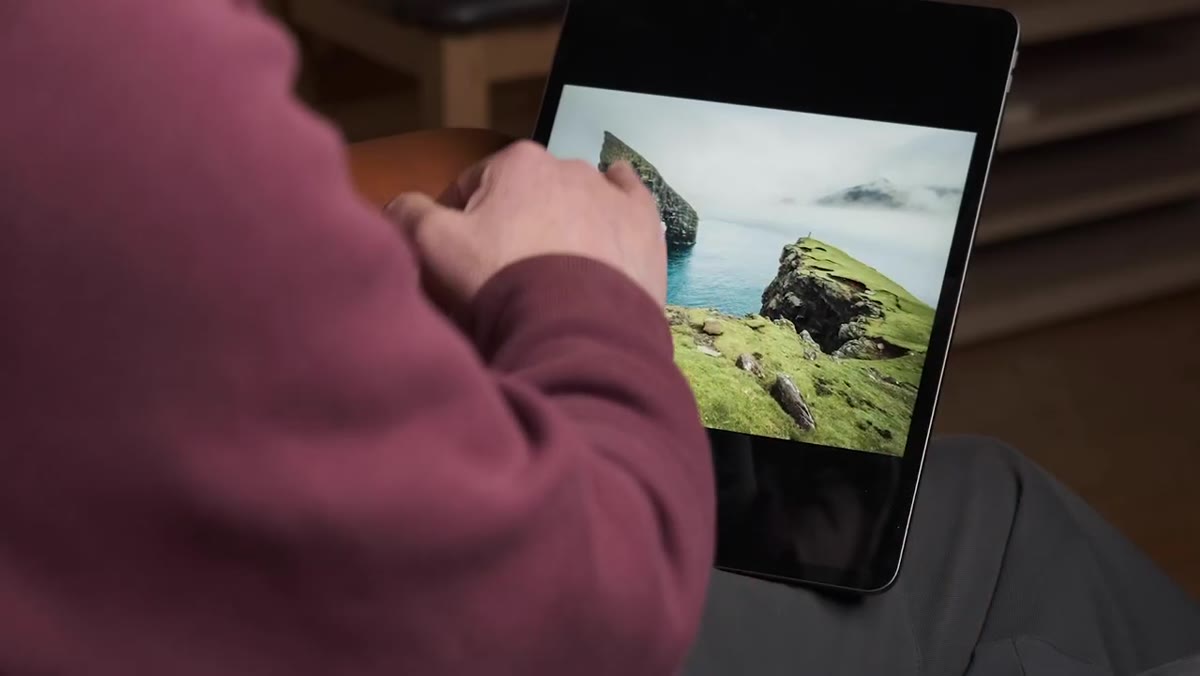
Danson walks through two photos taken at the same location in the Faroe Islands, one zoomed in on a person perched on a rock stack, one pulled back wide. The zoomed version shows the person clearly but strips the context. The wide version shows the same person as a speck, and suddenly the volcanic geometry around them reads as genuinely monumental.
Wide angle shot of person standing tiny on a rock formation
Danson walks through two photos taken at the same location in the Faroe Islands, one zoomed in on a person perched on a rock stack, one pulled back wide. The zoomed version shows the person clearly but strips the context. The wide version shows the same person as a speck, and suddenly the volcanic geometry around them reads as genuinely monumental.
This is a decision I make before I even look through the viewfinder: am I trying to show the person, or am I using the person to show the place? If it’s the latter, reach for your widest lens and move back farther than feels comfortable. I often shoot at 16mm or 24mm for these wide vista compositions, then walk another thirty feet back after I think I’m far enough. The foreground comes alive at those focal lengths, which adds a second layer of depth the viewer has to travel through before they reach the human figure.
Step 3: Position the Figure on a Natural Line or Edge
 Person walking along a ridgeline with foreground leading to them
In the workshop shot Danson describes, a colleague walking a narrow bridge-like ridge becomes a tiny figure at the edge of the frame. What makes it work isn’t just the person’s size. It’s that the ridge itself acts as a leading line pulling the eye from the foreground directly to the figure. The composition does the work of making the distance feel earned.
Person walking along a ridgeline with foreground leading to them
In the workshop shot Danson describes, a colleague walking a narrow bridge-like ridge becomes a tiny figure at the edge of the frame. What makes it work isn’t just the person’s size. It’s that the ridge itself acts as a leading line pulling the eye from the foreground directly to the figure. The composition does the work of making the distance feel earned.
Look for natural geometry that connects your foreground to where your subject will stand: a river bend, a rock ledge, a line of snow, a trail. When the viewer’s eye has to travel through space to reach the person, they feel the distance viscerally. I’ll often scout a shot without anyone in it first, find the strongest leading line, and then place a person at the far terminus of that line. That structure makes the scale legible even at small print sizes.
Step 4: Wait for Separation and Spacing
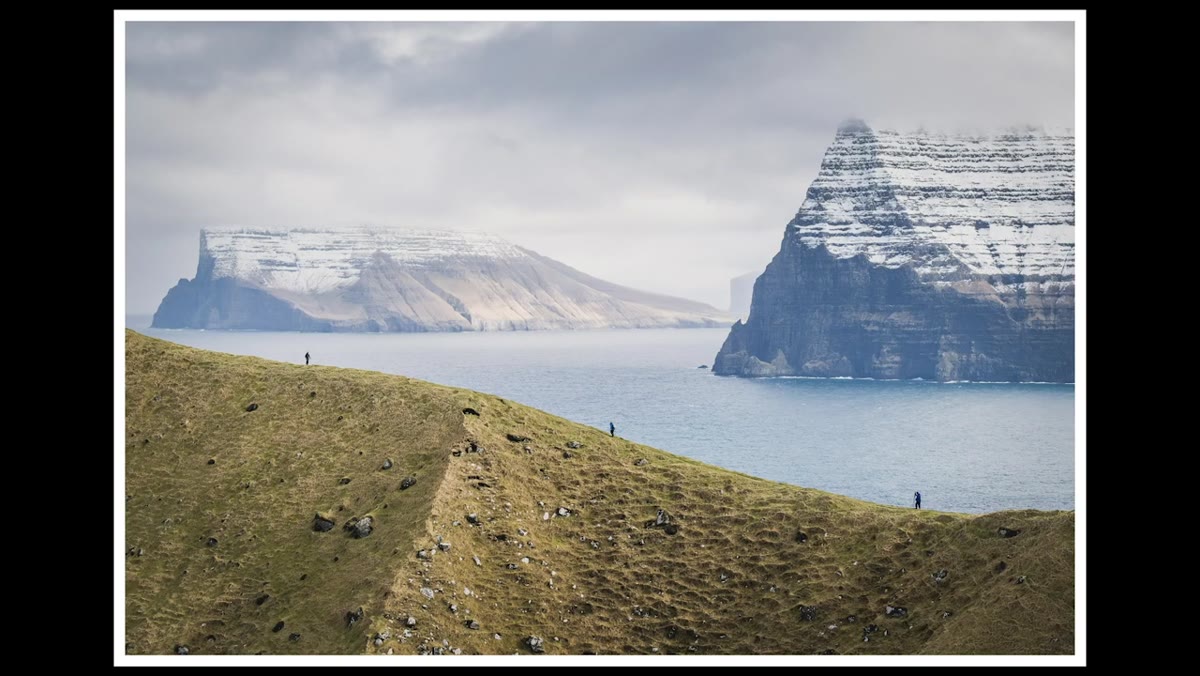 Three hikers spaced along a ridgeline, shot from distance
When working with multiple people, Danson mentions waiting for them to space out along the ridge before firing the shutter. Clustered figures read as a group and collapse into a single visual element. Separated figures create rhythm and reinforce the sense of long distance between points.
Three hikers spaced along a ridgeline, shot from distance
When working with multiple people, Danson mentions waiting for them to space out along the ridge before firing the shutter. Clustered figures read as a group and collapse into a single visual element. Separated figures create rhythm and reinforce the sense of long distance between points.
Patience here is the technique. I’ve stood on a hillside for twenty minutes waiting for walkers to reach the right position on a path. I learned this specific lesson from a mentor who said, bluntly, that the mountain doesn’t care about your schedule, and that sentence has saved hundreds of images. Set your composition, lock your exposure, and wait.
Step 5: Find Scale Without People by Layering the Landscape Itself
 Wide vista with foreground rocks, midground valley, distant peaks
Not every shot benefits from a human figure, and Danson acknowledges this. You can build a sense of scale using the landscape’s own layers: a detailed foreground, a middle distance with recognizable elements like trees or a road, and a far background of peaks or sky. Each layer gives the eye a resting point and implies the space between them.
Wide vista with foreground rocks, midground valley, distant peaks
Not every shot benefits from a human figure, and Danson acknowledges this. You can build a sense of scale using the landscape’s own layers: a detailed foreground, a middle distance with recognizable elements like trees or a road, and a far background of peaks or sky. Each layer gives the eye a resting point and implies the space between them.
When I shoot without a person in frame, I make sure at least three distinct depth planes are readable. A single foreground rock isn’t enough. I want texture I can almost touch, a midground that places me somewhere geographically, and a horizon that tells me how far the world extends. Without all three, the image tends to flatten out no matter how dramatic the location.
What I’d Add from Twenty Years in the Field
The techniques above work. I use every one of them. But the mistake I see most often, including in my own early work, is treating scale as an afterthought you fix in post. You can’t. Foreground compression, figure placement, leading lines, these are pre-shutter decisions. By the time you’re staring at the back of the camera, either you got it or you didn’t.
My habit now, before any shot in a big landscape, is to ask one question: if I shrunk this image to the size of a postage stamp, would a viewer still understand how large this place is? If the answer is no, I move, adjust the focal length, or find a human reference. That small discipline has changed more of my work than any piece of gear I’ve ever bought.
Scale is the invisible dimension of landscape photography, and learning to construct it intentionally, through figure placement, focal length, layered depth, and patient timing, is what separates images that impress from images that genuinely transport. Watch Danson’s full breakdown of these techniques with his own images alongside: Watch the full tutorial on YouTube. Then go somewhere big and see how small you can make yourself look.
Comments
Leave a Comment