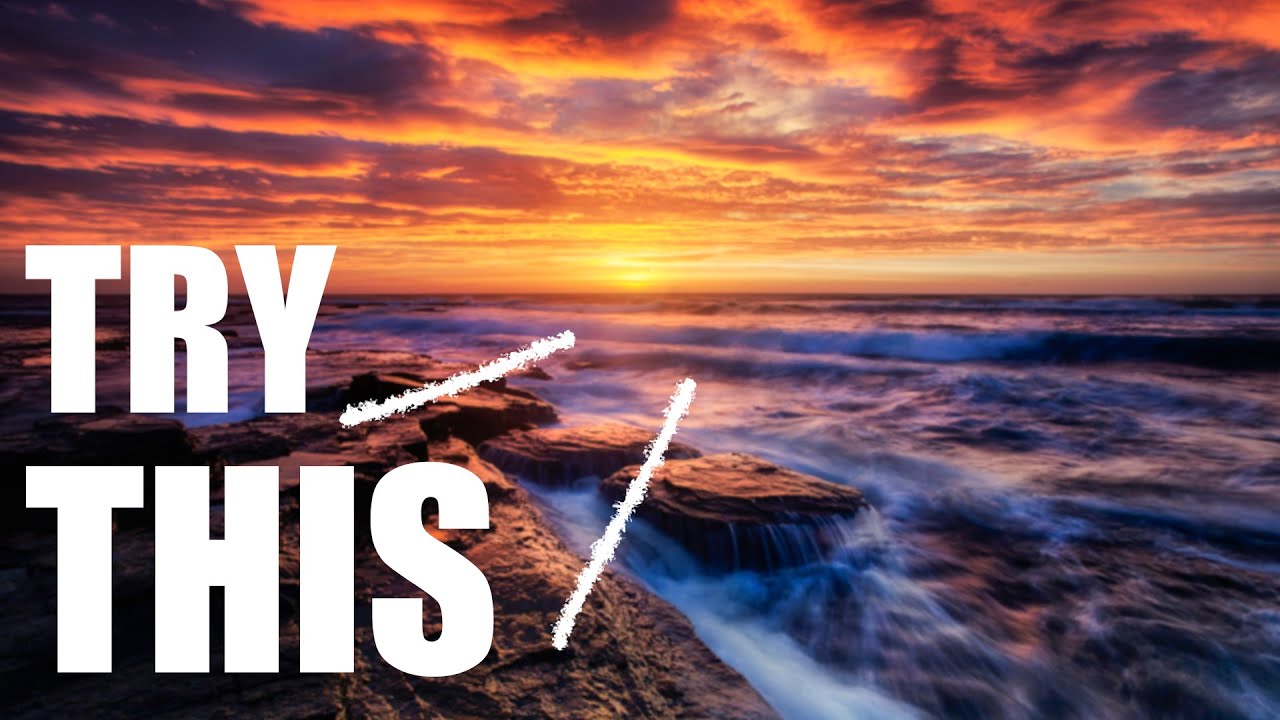
I’ve been waking up before sunrise for twenty years, and I still occasionally drive to a location, read the sky wrong, and come home with nothing worth keeping. That’s not a confession of failure. It’s just the reality of working with light you don’t control. What separates a productive sunset shoot from an expensive parking lot meditation session is largely about what you observe before you even lift the camera. That’s exactly why I spent time with this tutorial from William Patino, a landscape photographer who has a genuine gift for articulating things most of us feel intuitively but struggle to explain. Watch the full tutorial on YouTube before or after reading this, because seeing the actual sky conditions he’s describing makes everything click faster.
What Patino works through in this video is something I wish someone had handed me in plain language early on: how to pre-read a sky, how to compose for a dominant sky rather than a dominant foreground, and why packing up early is one of the most common and most costly mistakes beginner landscape photographers make. I’ve broken his process down into steps you can take to the field tonight.
Step 1: Learn to Read the Sky Before the Sun Gets There
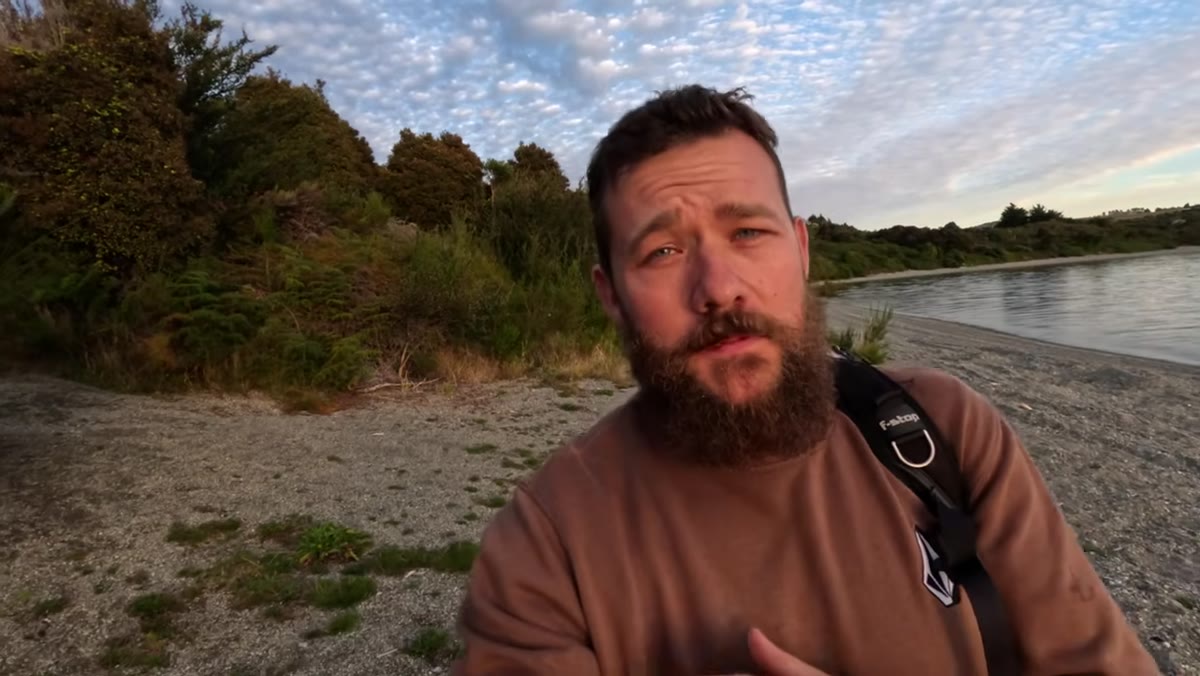 Patino explaining sky observation as the foundation of landscape success
Arrive early enough to study the sky, not just the location. Patino’s core premise is that colorful sunsets follow a specific recipe, and that recipe is readable if you know what to look for. You want a sky that is well-populated with medium to high cloud, but with a clear gap near the horizon where the sun will descend unobstructed. That open band near the horizon is the critical ingredient. It allows direct sunlight to pass through and strike the underside of the higher cloud above, which is what produces those dramatic orange and pink tones across the whole sky.
Patino explaining sky observation as the foundation of landscape success
Arrive early enough to study the sky, not just the location. Patino’s core premise is that colorful sunsets follow a specific recipe, and that recipe is readable if you know what to look for. You want a sky that is well-populated with medium to high cloud, but with a clear gap near the horizon where the sun will descend unobstructed. That open band near the horizon is the critical ingredient. It allows direct sunlight to pass through and strike the underside of the higher cloud above, which is what produces those dramatic orange and pink tones across the whole sky.
If the horizon is completely socked in with low cloud, the sun gets swallowed before it can do any work. If the sky is completely clear, you’ll get beautiful golden light on the landscape but no dramatic color overhead. The sweet spot is that layered combination: high cloud as the canvas, and an opening near the horizon as the light source.
Step 2: Choose Your Location Based on the Sky, Not the Scenery
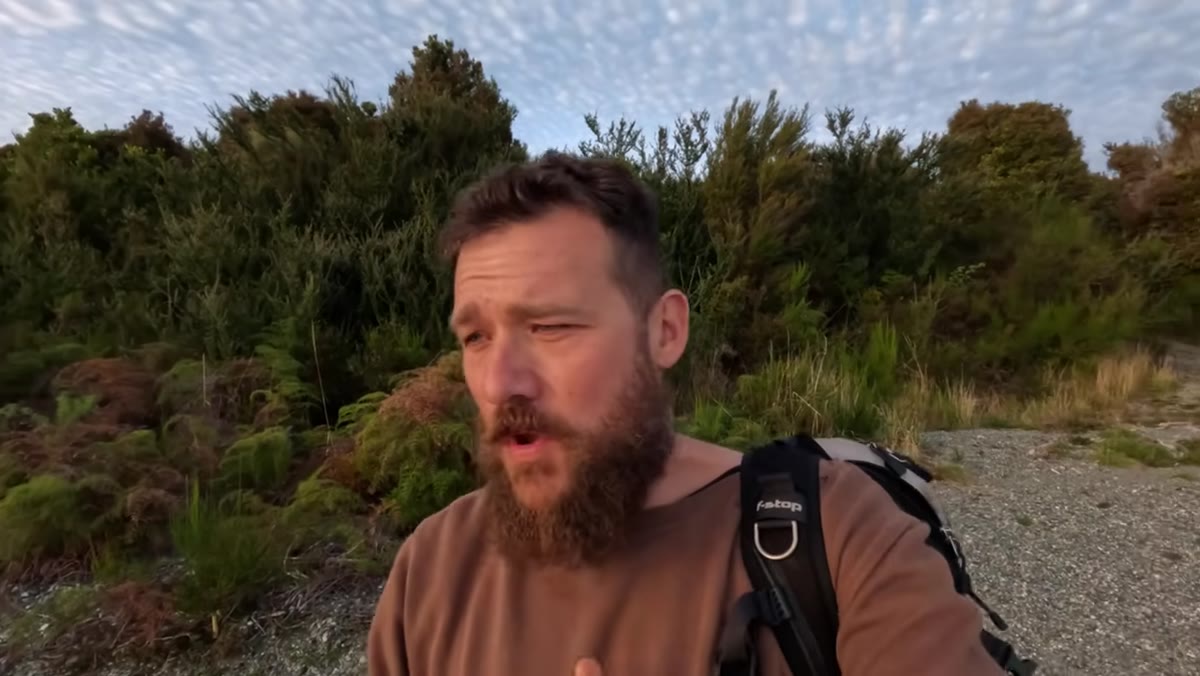 Patino at the lake shoreline, scouting a wide, open composition
Once you’ve read the sky and know you have conditions worth shooting, your location choice should serve the sky, not compete with it. Patino deliberately chooses a section of the lake that is open and relatively uncluttered. When the sky is the star of the image, a wide angle lens pointed upward into an open composition is going to serve you better than a telephoto compressed shot focused on a distant peak.
Patino at the lake shoreline, scouting a wide, open composition
Once you’ve read the sky and know you have conditions worth shooting, your location choice should serve the sky, not compete with it. Patino deliberately chooses a section of the lake that is open and relatively uncluttered. When the sky is the star of the image, a wide angle lens pointed upward into an open composition is going to serve you better than a telephoto compressed shot focused on a distant peak.
This is a real discipline shift for photographers who default to landmark-driven shooting. The mountain or the peak becomes supporting cast. You’re here for the atmosphere overhead, and your location should give that atmosphere room to breathe across the frame.
Step 3: Use a Foreground to Build Depth, Not Just Fill Space
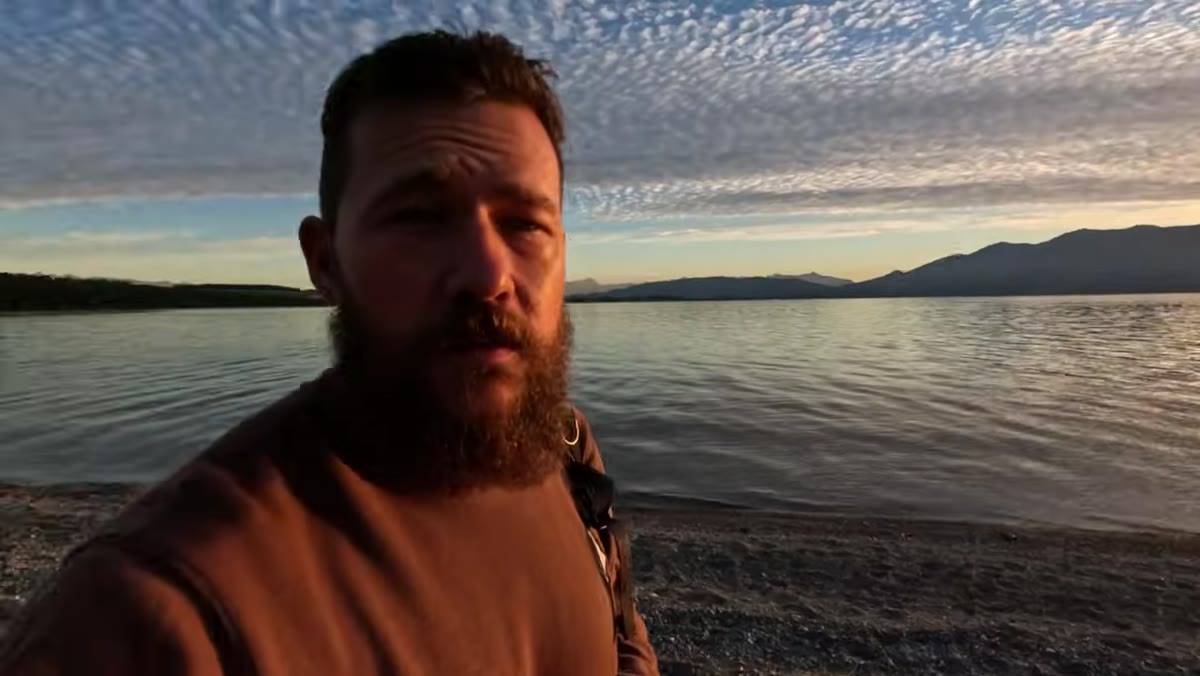 Patino incorporating bracken ferns in the foreground near the lake edge
A dominant sky needs a grounded foreground element to give the viewer a way into the frame. Without something in the near distance, the image reads as flat, even if the colors are spectacular. Patino works with the bracken ferns at the water’s edge not because they’re particularly dramatic on their own, but because they establish a visual pathway from near to far. The eye travels from the ferns, across the water, and up into the sky.
Patino incorporating bracken ferns in the foreground near the lake edge
A dominant sky needs a grounded foreground element to give the viewer a way into the frame. Without something in the near distance, the image reads as flat, even if the colors are spectacular. Patino works with the bracken ferns at the water’s edge not because they’re particularly dramatic on their own, but because they establish a visual pathway from near to far. The eye travels from the ferns, across the water, and up into the sky.
The thing to pre-visualize here is layering: something close, something mid-distance, something far. A lake reflection handles the mid-distance beautifully because it mirrors the sky and doubles the color. When you’re scouting your foreground, ask yourself whether it leads into the scene or just sits there. Clean, directional elements like grasses, rocks, or shoreline curves work better than tangled, chaotic ones that stop the eye rather than guiding it.
Step 4: Pre-Visualize the Shot Before You Set Up the Tripod
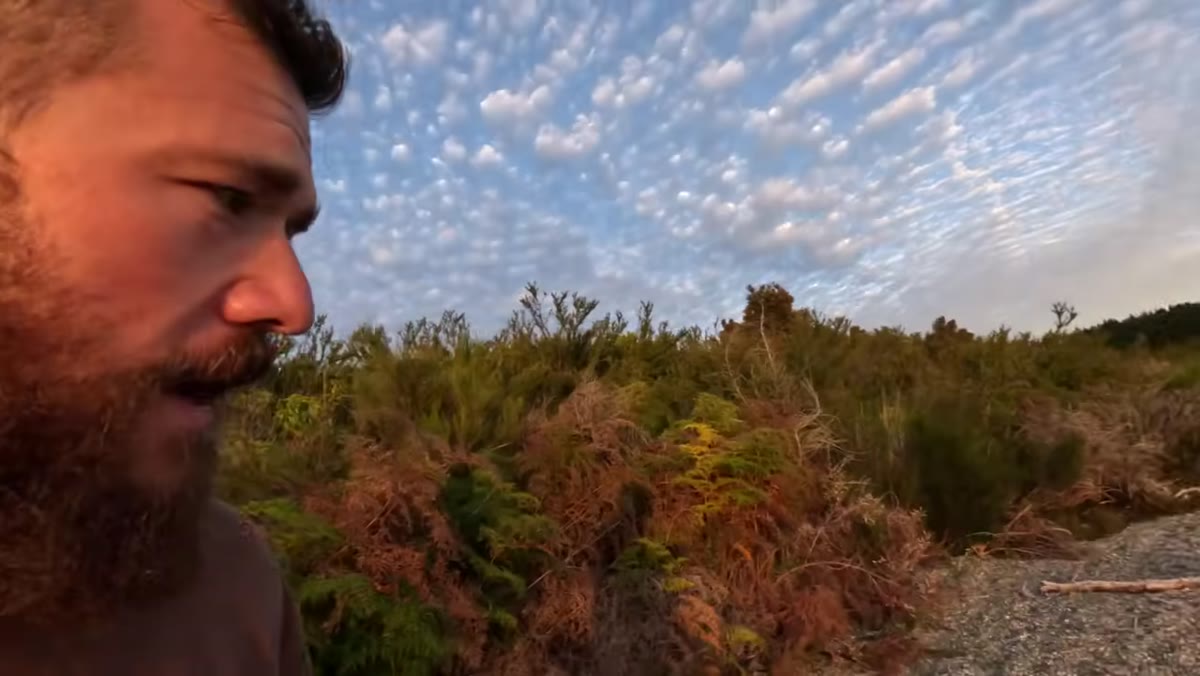 Patino walking the shoreline, visualizing angles before committing to a position
Before the bag comes off your shoulder, walk the scene. Patino is explicit about this: pre-visualization is everything. Move around, look back in the opposite direction, crouch down, step closer to a foreground element and check whether the background still works. What feels obvious from standing height often looks entirely different from a low angle where ferns become bold shapes against a colorful sky.
Patino walking the shoreline, visualizing angles before committing to a position
Before the bag comes off your shoulder, walk the scene. Patino is explicit about this: pre-visualization is everything. Move around, look back in the opposite direction, crouch down, step closer to a foreground element and check whether the background still works. What feels obvious from standing height often looks entirely different from a low angle where ferns become bold shapes against a colorful sky.
I still do this on every single shoot even when I’m tired, even when the light is moving fast. Committing to a position before you’ve walked the alternatives is how you end up staring at a tree that’s blocking your best peak, which is exactly the situation Patino runs into near the end of this video. A two-minute scout saves a missed shot.
Step 5: Stay Longer Than Your Instincts Tell You To
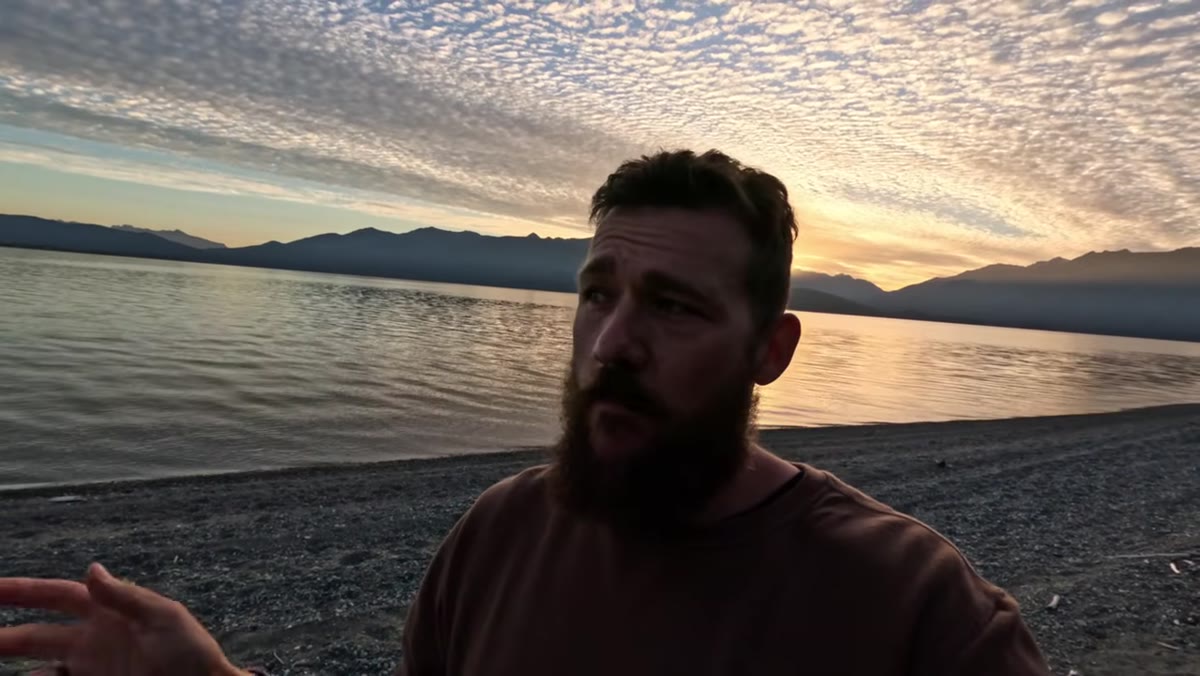 Patino explaining how high clouds hold color long after the sun drops below the horizon
This is the single most practically useful point in the whole tutorial and the one most beginners get wrong. When the sun drops below the horizon and the most obvious golden light fades, it feels like the show is over. It isn’t, especially when the cloud is sitting high. As the sun continues to descend, its light rays angle upward and continue illuminating the underside of high cloud for a significant period after sunset. The color doesn’t disappear. It shifts, deepens, and sometimes becomes more dramatic than anything that happened at the actual moment of sunset.
Patino explaining how high clouds hold color long after the sun drops below the horizon
This is the single most practically useful point in the whole tutorial and the one most beginners get wrong. When the sun drops below the horizon and the most obvious golden light fades, it feels like the show is over. It isn’t, especially when the cloud is sitting high. As the sun continues to descend, its light rays angle upward and continue illuminating the underside of high cloud for a significant period after sunset. The color doesn’t disappear. It shifts, deepens, and sometimes becomes more dramatic than anything that happened at the actual moment of sunset.
Patino is direct about this because he’s made the mistake himself. So have I. The post-sunset window, roughly ten to twenty minutes after the sun goes down, is where some of the most saturated pink and violet tones appear. Set a personal rule: don’t leave until you’ve watched the sky for a full fifteen minutes past the sun’s disappearance.
A Note from the Field: What Happens When the Recipe Goes Wrong
Patino’s tutorial focuses on ideal or near-ideal conditions, and that’s appropriate for a beginner tutorial. But I want to add one honest caveat from years of working these situations. Sometimes you read the sky perfectly, drive to the spot, set up your composition, and the gap near the horizon closes twenty minutes before sunset. The clear band fills in, the light goes flat, and you get nothing colorful.
My mentor once told me the mountain doesn’t care about your schedule, and he was right. The correct response to a failed sunset is not to pack up faster next time. It’s to stay anyway, study what happened, and understand why your prediction was off. Losing shots is how you sharpen your sky-reading. The photographers who consistently come home with great sunset images are the ones who’ve also sat through dozens of non-events without giving up on the process.
The single most transferable idea from Patino’s tutorial is this: great sunset photography starts before the camera comes out of the bag. Read the sky, read the horizon, choose your position to serve the light rather than the landmark, and then stay patient long after most people have already left.
Watch the full tutorial on YouTube to see Patino demonstrate these techniques in real time against a genuinely spectacular New Zealand sky. Seeing the actual cloud formations he describes makes the pattern recognition click in a way that words alone can’t fully replicate.
Comments (2)
Finally someone explains this in a way that actually makes sense.
Love this. I referenced a similar technique in one of my recent posts. Always good to see other perspectives.
Leave a Comment