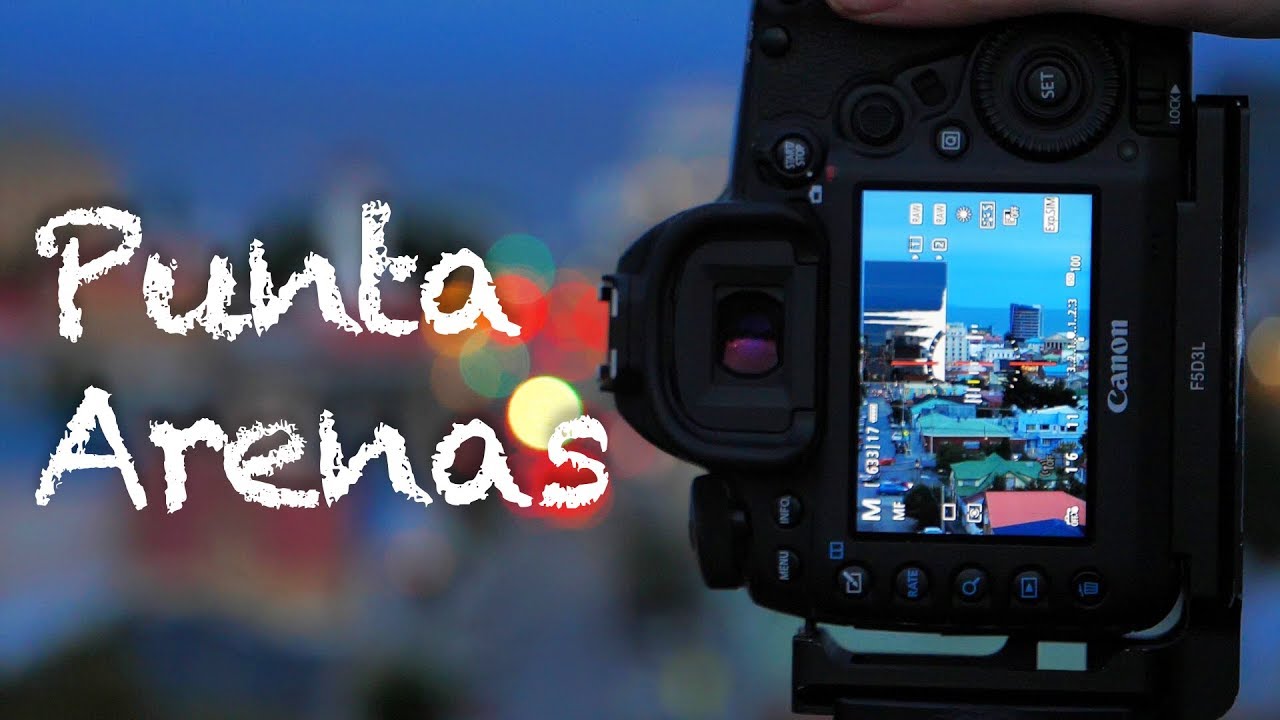
There’s a particular kind of discomfort that comes with showing up somewhere you don’t know with a camera in your hand. No scouted locations, no golden hour coordinates saved in PhotoPills, no local knowledge whatsoever. I’ve felt it plenty of times. You’re standing on a street corner squinting at rooftops, trying to reverse-engineer a composition out of pure improvisation. Most photographers I know either freeze up or default to tourist snapshots. Neither is satisfying.
In this Thomas Heaton tutorial, he lands in Punta Arenas, Chile, with a free afternoon before the rest of his group arrives. He doesn’t know the city. He doesn’t have a shot list. What unfolds is actually one of the more useful lessons I’ve seen packaged into a vlog format, because it shows the exact decision-making process a working photographer uses when the environment is completely unfamiliar. Watch the full tutorial on YouTube before or after reading this, but either way the breakdown below should help you internalize the approach for your own unplanned shoots.
The method is simple but not accidental. Find a local contact, read the light and weather as you walk, and commit to the best elevated vantage point you can reach before the sky changes. It sounds obvious until you’re actually standing there with no plan and the clouds are moving fast.
Step 1: Arrive Without Expectations and Start Walking
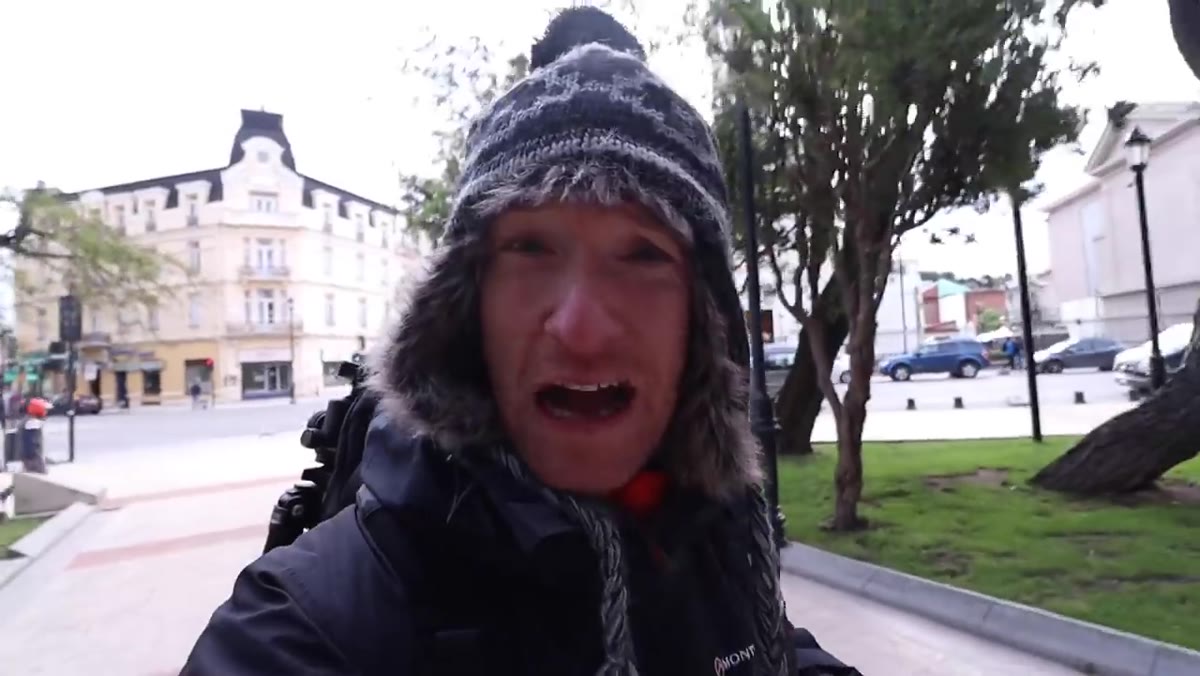 Thomas walking through the plaza in Punta Arenas
The first thing Heaton does is not pull out his camera. He walks. He gets oriented in the central plaza and starts reading the city visually before he commits to anything. This is something I’ve had to train myself to do, and I still fight the urge to start shooting the second I arrive somewhere. Resist it. Your first fifteen minutes in an unknown location are for reconnaissance, not capture.
Thomas walking through the plaza in Punta Arenas
The first thing Heaton does is not pull out his camera. He walks. He gets oriented in the central plaza and starts reading the city visually before he commits to anything. This is something I’ve had to train myself to do, and I still fight the urge to start shooting the second I arrive somewhere. Resist it. Your first fifteen minutes in an unknown location are for reconnaissance, not capture.
Walk at least two or three blocks in different directions. Look for elevated ground, bodies of water, architectural color or texture, and where the light is hitting. In Punta Arenas, Heaton immediately picks up on the colorful tin rooftops visible from higher ground. That observation becomes the cornerstone of his entire shoot. You can’t plan for that from a desk.
Step 2: Find Someone Who Knows the Place
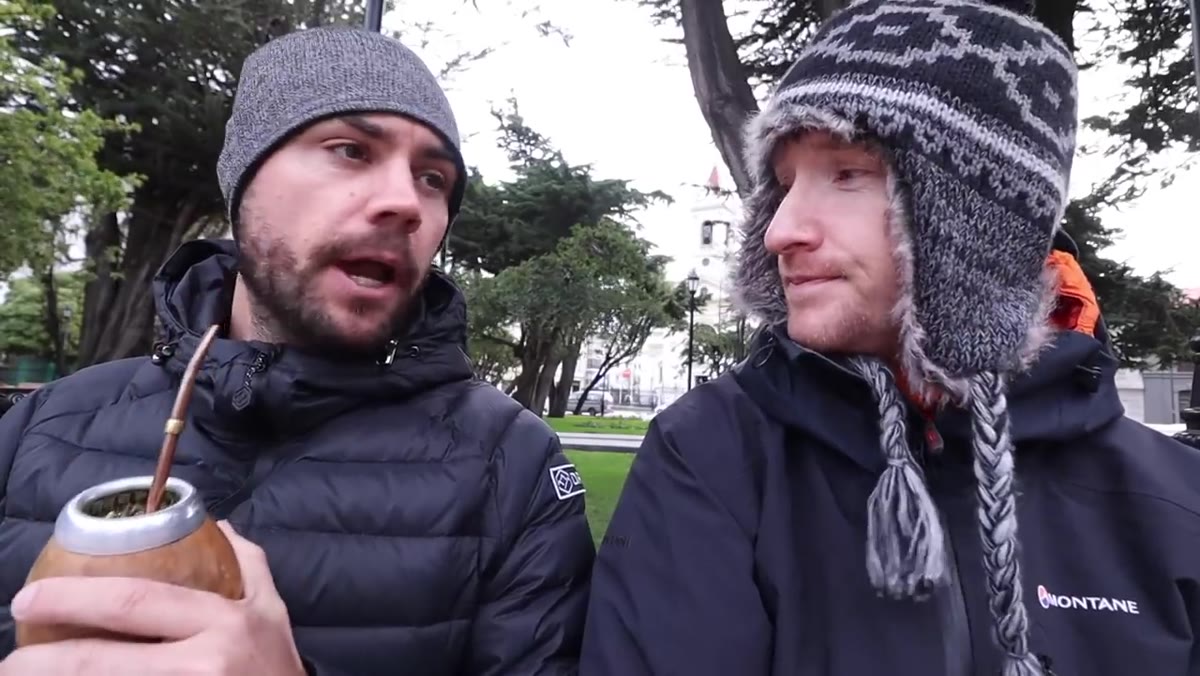 Thomas meeting Greg in the plaza
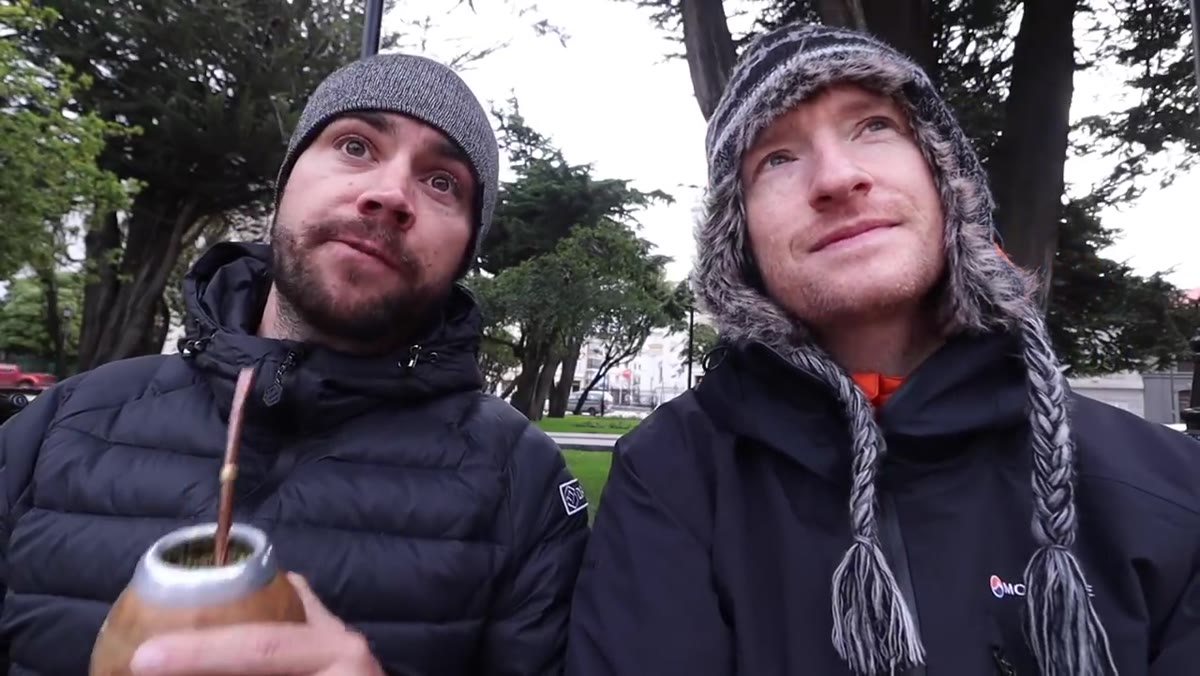
Heaton messages a local contact, Greg, and they meet at the plaza. Greg immediately provides context: the Magellan statue, the Strait of Magellan, the history behind the word Patagonia itself. This isn’t just interesting background. Local knowledge changes how you photograph a place. When you understand what something means to the people who live there, you start to see it differently through the lens.
Thomas meeting Greg in the plaza
Heaton messages a local contact, Greg, and they meet at the plaza. Greg immediately provides context: the Magellan statue, the Strait of Magellan, the history behind the word Patagonia itself. This isn’t just interesting background. Local knowledge changes how you photograph a place. When you understand what something means to the people who live there, you start to see it differently through the lens.
If you don’t have a contact, talk to your hotel concierge, a guide, or even someone at a coffee shop. Ask one direct question: what’s the most interesting view of this city, and where would I stand to see it? Most people are genuinely happy to point you somewhere. I’ve gotten some of my best shots from tips scribbled on napkins by strangers.
Step 3: Read the Cultural Significance of What You’re Photographing
 The Magellan statue in the plaza with indigenous figures at the base
This step might feel out of place in a photography tutorial, but it isn’t. Heaton spends real time at the Magellan monument, learning what the statue represents: Magellan’s circumnavigation, the indigenous First Nations peoples of Patagonia, and the origin of the word Patagonia itself (from “pata gon,” meaning giant foot, a reference to the indigenous peoples’ larger stature compared to the Europeans who encountered them). There’s even a local superstition about touching the foot of one of the figures for good luck on your journey.
The Magellan statue in the plaza with indigenous figures at the base
This step might feel out of place in a photography tutorial, but it isn’t. Heaton spends real time at the Magellan monument, learning what the statue represents: Magellan’s circumnavigation, the indigenous First Nations peoples of Patagonia, and the origin of the word Patagonia itself (from “pata gon,” meaning giant foot, a reference to the indigenous peoples’ larger stature compared to the Europeans who encountered them). There’s even a local superstition about touching the foot of one of the figures for good luck on your journey.
Understanding what you’re pointing your camera at changes your framing choices. A statue becomes a symbol. A roofline becomes a record of a working-class heritage. That context shapes which angle feels honest and which one feels like a postcard.
Step 4: Identify Your Key Compositional Element Early
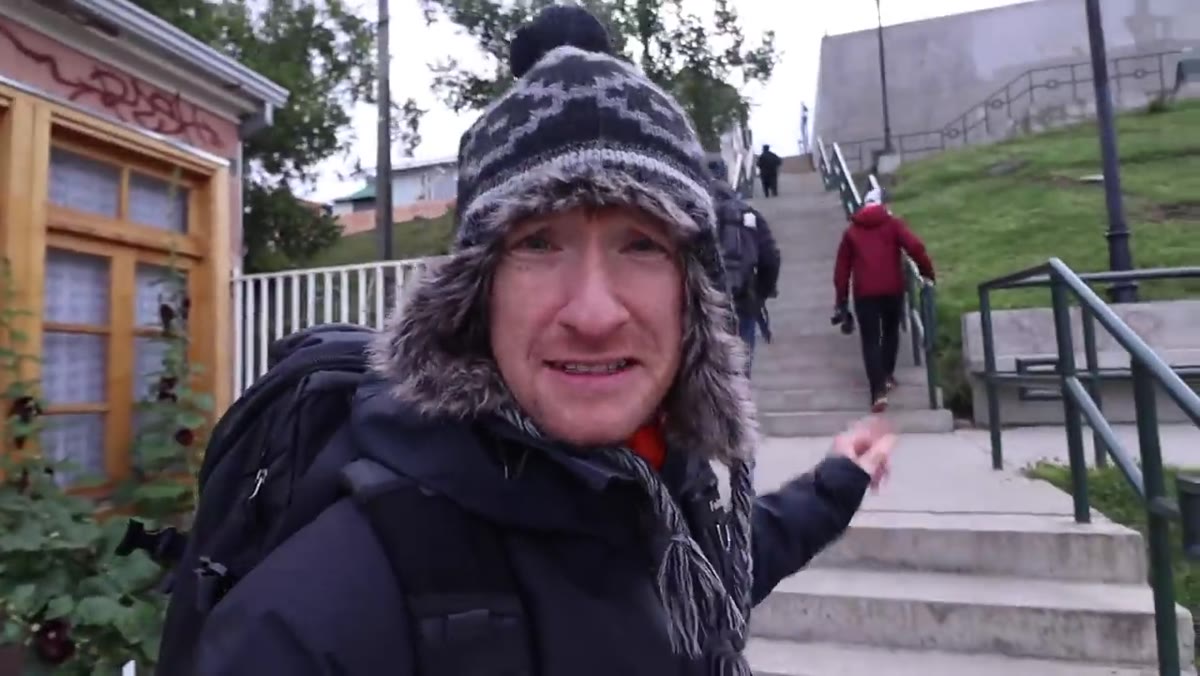 Climbing the staircase toward the elevated overlook
By the time they start climbing the staircase toward the overlook, Heaton has already identified his anchor element: the multicolored tin rooftops of Punta Arenas. Blues, yellows, reds, densely packed across the hillside. He commits to this before he even reaches the vantage point. That commitment matters.
Climbing the staircase toward the elevated overlook
By the time they start climbing the staircase toward the overlook, Heaton has already identified his anchor element: the multicolored tin rooftops of Punta Arenas. Blues, yellows, reds, densely packed across the hillside. He commits to this before he even reaches the vantage point. That commitment matters.
When you’re improvising a shoot, it’s easy to arrive somewhere and try to photograph everything, which usually means you photograph nothing well. Pick the one thing that genuinely excites you and build your composition around it. Everything else becomes foreground, background, or context. In this case, the rooftops become the subject and the approaching storm becomes the drama.
Step 5: Let the Weather Tell You What the Shot Is
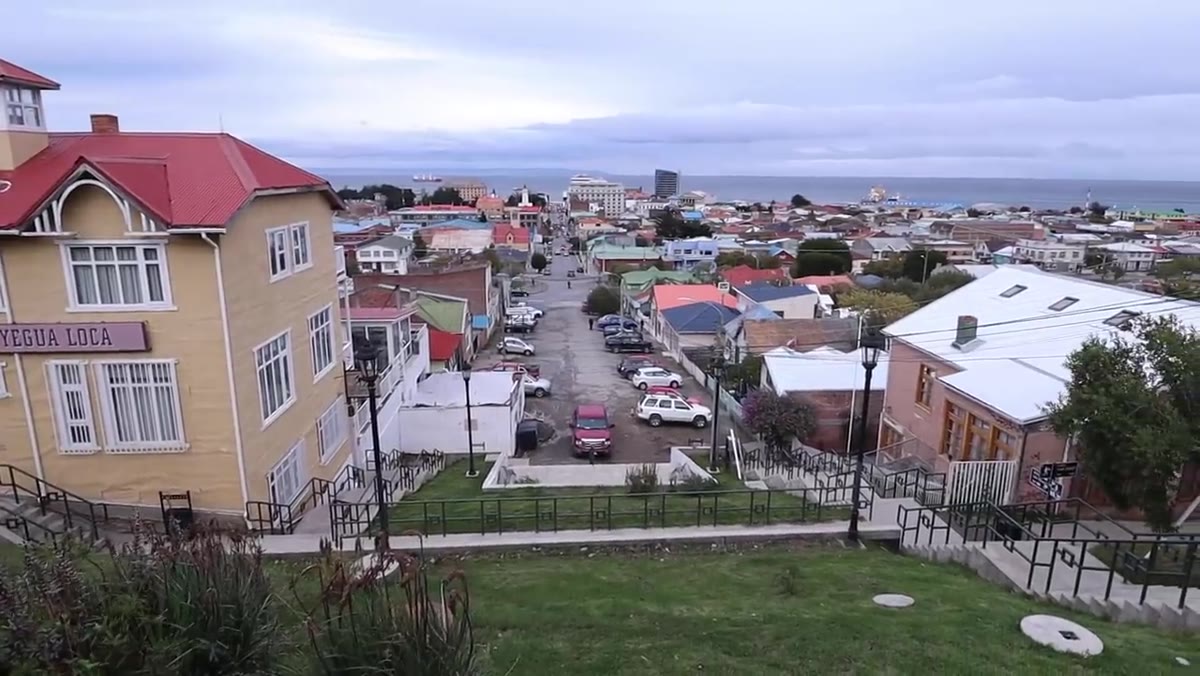 Storm clouds building over the city as seen from the overlook
Heaton had been hoping to shoot the city at blue hour, with the building lights coming on as the sky transitioned. The storm rolling in killed that plan. Rather than forcing it or waiting around hoping the weather would cooperate, he pivoted. The dark, foreboding clouds pressing down over those bright, saturated rooftops turned out to be a stronger image than the one he’d planned.
Storm clouds building over the city as seen from the overlook
Heaton had been hoping to shoot the city at blue hour, with the building lights coming on as the sky transitioned. The storm rolling in killed that plan. Rather than forcing it or waiting around hoping the weather would cooperate, he pivoted. The dark, foreboding clouds pressing down over those bright, saturated rooftops turned out to be a stronger image than the one he’d planned.
I’ve driven six hours to a location only to sit in fog for two full days. Came home with one usable shot. That fog shot is now my best-selling print. The weather is not your enemy. It’s just offering you a different picture than the one you had in your head. Stay flexible and keep looking.
Step 6: Use Elevation to Connect Subject to Context
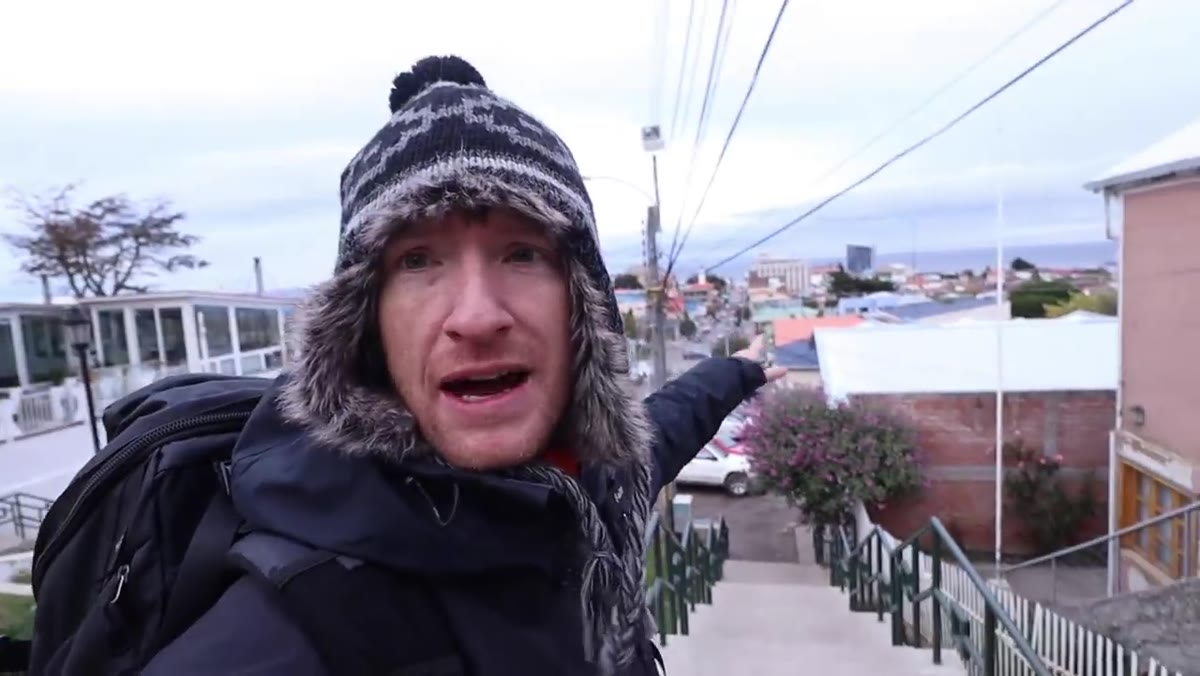 City of Punta Arenas visible below, sea in the background
The elevated vantage point does two things here: it reveals the full carpet of colorful rooftops, and it places the city in its geographic context with the Strait of Magellan visible in the background. That compression of foreground subject and background environment is one of the most powerful compositional tools available in travel and landscape work.
City of Punta Arenas visible below, sea in the background
The elevated vantage point does two things here: it reveals the full carpet of colorful rooftops, and it places the city in its geographic context with the Strait of Magellan visible in the background. That compression of foreground subject and background environment is one of the most powerful compositional tools available in travel and landscape work.
When you’re scouting an unfamiliar city, always look for stairs, hilltop parks, viewpoints, or even open upper-floor windows. The shift in perspective that comes from even thirty feet of elevation can transform an ordinary street scene into something with genuine depth and scale.
What I’d Add: Shoot the Details on the Way Up
The one thing this tutorial doesn’t dwell on, and where I’d push you to spend more time, is the material you collect during the walk itself. The worn foot of the Magellan statue. The texture of a painted doorframe. The way light cuts across a cobblestone street. These aren’t usually your hero images, but they tell the story of the place in ways a wide cityscape can’t.
I still occasionally shoot film on travels like this, not because the files are better but because it forces me to stop and think before I press the shutter. The limitation becomes a filter. You ask yourself: is this worth one of thirty-six frames? If the answer is no, you keep walking. Try applying that question to your digital shooting in unfamiliar places and see how your edit changes.
The most transferable lesson from this video is that improvised shoots work best when you stop trying to replicate what you planned and start responding to what’s actually in front of you. Punta Arenas gave Heaton a storm instead of a sunset. He got a better picture for it. That trade is available to you anywhere, as long as you stay curious, stay mobile, and keep your eyes moving.
Watch the full tutorial on YouTube to see how Heaton’s instincts play out in real time. There’s a lot to learn just from watching how he moves through an unfamiliar place.
Comments (1)
This should be required reading for anyone starting out.
Leave a Comment