There’s a question I come back to every few years, usually when a season has gone flat and I’m grinding through shoots on autopilot. What actually excites me about this work? Not what I think I should be photographing, not what performs well in print sales, but what pulls me out of bed before the alarm even goes off. I’ve been doing this for twenty years, and I still need reminding. That’s why I keep returning to photographers who shoot with obvious conviction, people whose work makes the answer to that question look effortless even when the conditions are brutal.
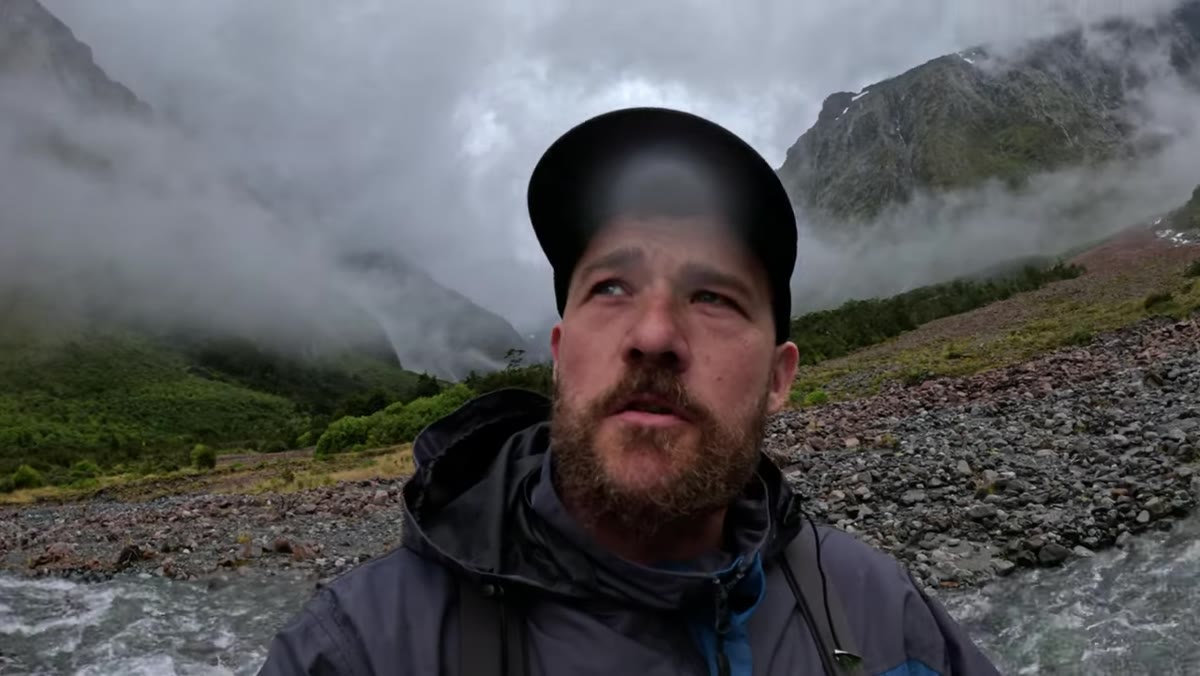
In this William Patino tutorial, he takes us deep into Fiordland, New Zealand — waterfalls cascading off granite walls, green valley floors soaked from rain, and cloud moving fast enough to change everything in minutes. Watch the full tutorial on YouTube. It’s equal parts practical field guide and philosophy lesson, and the techniques he works through solve real problems I’ve wrestled with on wet, high-contrast days at home in the Cascades.
What strikes me most is how he treats discomfort as a feature, not a bug. Slippery boulders, midday brightness, unpredictable rain, terrain that looks manageable until you’re in it. These aren’t obstacles to complain about. They’re the conditions that force you to make deliberate choices. Here’s how he works through them.
Step 1: Let the Atmosphere Tell You Where to Shoot
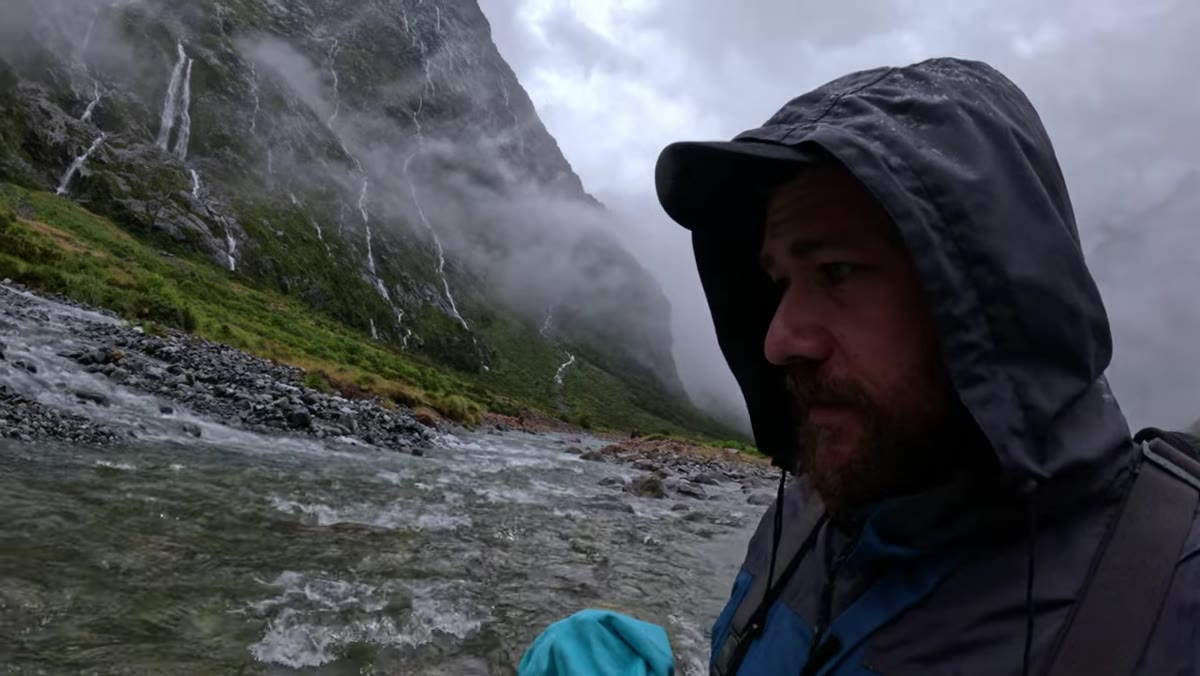 Misty valley with dark-toned clouds building overhead
Before you even raise the camera, Patino reads the sky. He’s looking specifically for cloud that has tonal variation, dark gradients mixed with lighter breaks, rather than a flat white overcast. That kind of sky gives you something to work with in post and creates natural drama that no amount of editing can fake after the fact. His approach is to let current conditions dictate the specific composition he pursues, rather than locking onto a plan made from a map or a scouted shot list. If the atmosphere is doing something extraordinary in one direction, you move toward it. This sounds obvious, but it requires genuine flexibility. I’ve lost good light chasing a composition I committed to on the hike in, only to watch something better dissolve behind me.
Misty valley with dark-toned clouds building overhead
Before you even raise the camera, Patino reads the sky. He’s looking specifically for cloud that has tonal variation, dark gradients mixed with lighter breaks, rather than a flat white overcast. That kind of sky gives you something to work with in post and creates natural drama that no amount of editing can fake after the fact. His approach is to let current conditions dictate the specific composition he pursues, rather than locking onto a plan made from a map or a scouted shot list. If the atmosphere is doing something extraordinary in one direction, you move toward it. This sounds obvious, but it requires genuine flexibility. I’ve lost good light chasing a composition I committed to on the hike in, only to watch something better dissolve behind me.
Step 2: Build Foreground Interest to Create Depth
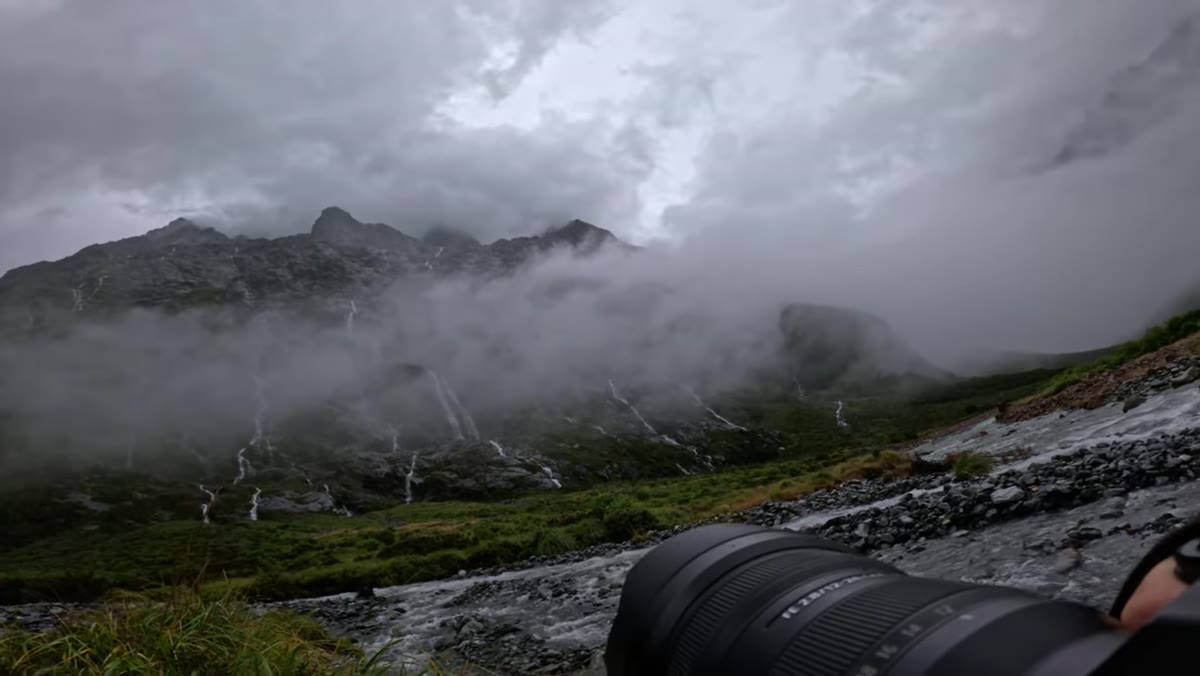 Low camera angle on green riverbank plants with dark boulders behind
In flat or difficult light, foreground becomes your primary compositional tool. Patino actively hunts for vegetation along riverbeds, especially bright green plants that break up the monotone darkness of wet rock. The goal is depth: a viewer’s eye needs something close to anchor it before traveling back toward the mountains or falls. He also flags a common problem worth noting. These riverside plants are often compositionally messy, with stems and leaves spiking in every direction. His answer is to look for balance on both sides of the frame. One strong plant on the left with nothing to counter it on the right creates visual tension that reads as unfinished. It doesn’t always resolve neatly, but naming the problem is the first step to solving it before you press the shutter.
Low camera angle on green riverbank plants with dark boulders behind
In flat or difficult light, foreground becomes your primary compositional tool. Patino actively hunts for vegetation along riverbeds, especially bright green plants that break up the monotone darkness of wet rock. The goal is depth: a viewer’s eye needs something close to anchor it before traveling back toward the mountains or falls. He also flags a common problem worth noting. These riverside plants are often compositionally messy, with stems and leaves spiking in every direction. His answer is to look for balance on both sides of the frame. One strong plant on the left with nothing to counter it on the right creates visual tension that reads as unfinished. It doesn’t always resolve neatly, but naming the problem is the first step to solving it before you press the shutter.
Step 3: Bracket Exposures Instead of Fighting One Shot
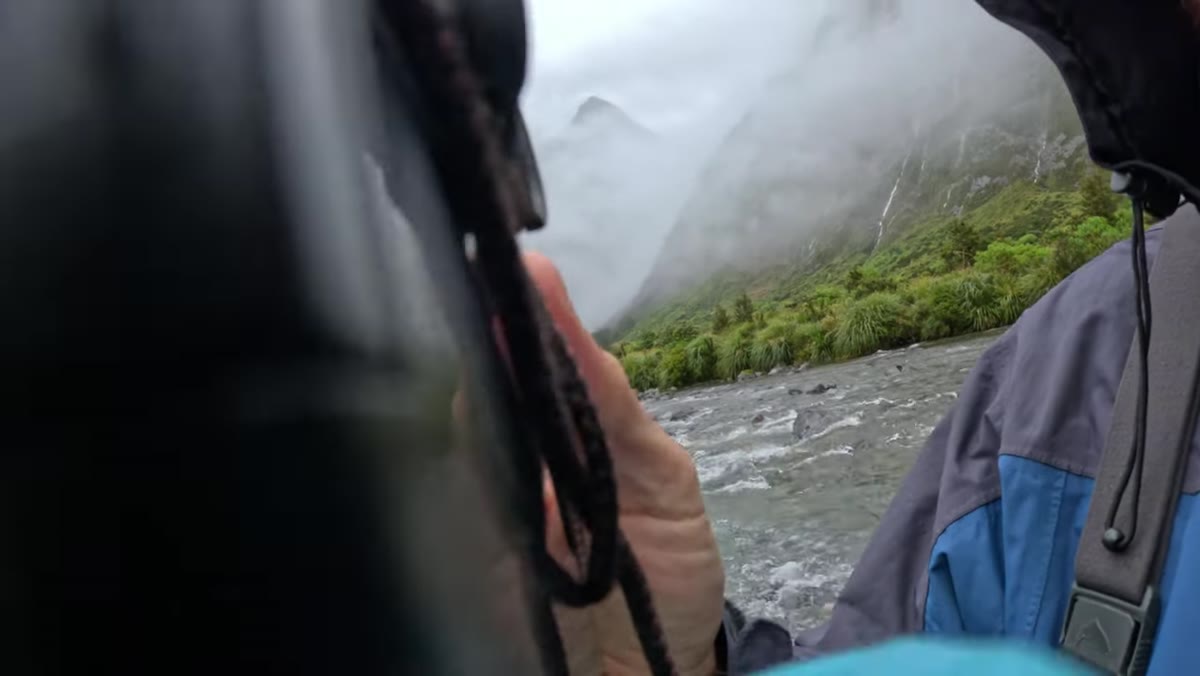 Camera on tripod near bright cascade, sky overexposing in midday light
Midday in a high-contrast landscape is brutal. Patino is working in bright conditions with fast-moving water, and he wants a slow shutter to give the cascades that silky, directional blur. Problem: the shutter speed that renders the water beautifully blows out the sky. His solution is practical and fast. He brackets, shooting one longer exposure for the water and a quicker frame to hold the sky’s detail. Back in post, he blends the slow-shutter water into the properly exposed landscape frame. He mentions ND filters as a valid alternative, but finds bracketing faster in changing conditions. I’d add that bracketing also gives you more flexibility at the editing stage. When the light is shifting every few minutes, you want options, not a single frame locked behind a filter you didn’t have time to dial in properly.
Camera on tripod near bright cascade, sky overexposing in midday light
Midday in a high-contrast landscape is brutal. Patino is working in bright conditions with fast-moving water, and he wants a slow shutter to give the cascades that silky, directional blur. Problem: the shutter speed that renders the water beautifully blows out the sky. His solution is practical and fast. He brackets, shooting one longer exposure for the water and a quicker frame to hold the sky’s detail. Back in post, he blends the slow-shutter water into the properly exposed landscape frame. He mentions ND filters as a valid alternative, but finds bracketing faster in changing conditions. I’d add that bracketing also gives you more flexibility at the editing stage. When the light is shifting every few minutes, you want options, not a single frame locked behind a filter you didn’t have time to dial in properly.
Step 4: Frame Mountains With Cascades and Greenery Together
 Peak framed between cascading falls and green vegetation on both sides
Patino’s signature framing move in this environment is triangulating three elements: a compelling mountain peak, a cascade leading the eye toward it, and greenery flanking both sides to saturate the scene with life. He points out a specific composition where the water flow lines converge directly toward the summit. That kind of leading line isn’t just compositional technique. It gives the image a clear subject hierarchy, cascade to peak, with the greens softening what would otherwise be a stark and cold frame. When you’re standing in a valley like this, every direction has something going on. The discipline is finding where two or three strong elements align rather than shooting everything and hoping something works.
Peak framed between cascading falls and green vegetation on both sides
Patino’s signature framing move in this environment is triangulating three elements: a compelling mountain peak, a cascade leading the eye toward it, and greenery flanking both sides to saturate the scene with life. He points out a specific composition where the water flow lines converge directly toward the summit. That kind of leading line isn’t just compositional technique. It gives the image a clear subject hierarchy, cascade to peak, with the greens softening what would otherwise be a stark and cold frame. When you’re standing in a valley like this, every direction has something going on. The discipline is finding where two or three strong elements align rather than shooting everything and hoping something works.
Step 5: Use Natural Frames as They Appear, Then Move On
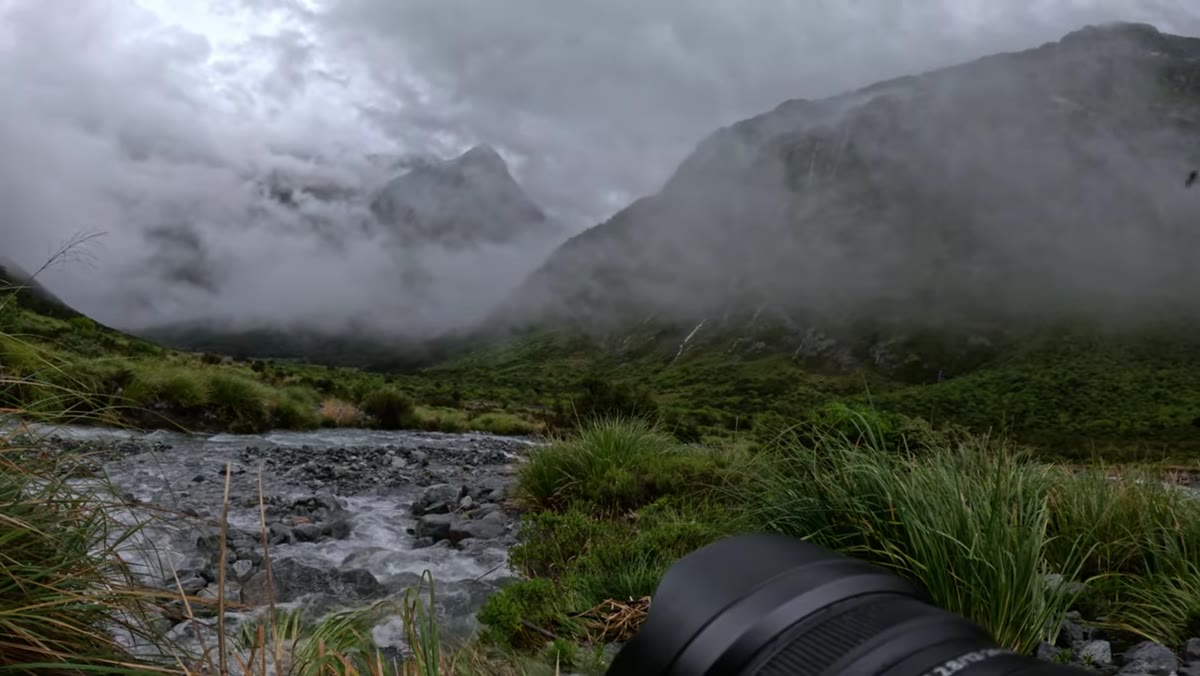 Grasses and rock framing atmospheric peak before cloud closes in
When a natural frame appears, a gap in vegetation, an arch of rock, an overhanging branch, Patino moves quickly. He captures it and acknowledges it will be gone soon. Cloud in Fiordland doesn’t hold. This is a rhythm I recognize from shooting in the Pacific Northwest: you get a window, maybe four or five minutes, and then the mountain disappears again. His approach is to work the frame you have now, not the hypothetical frame you might find fifty meters up the trail. Grasses in the foreground, atmospheric peak behind, soft cloud giving depth to an otherwise uniform grey sky. Shoot it. Then keep moving.
Grasses and rock framing atmospheric peak before cloud closes in
When a natural frame appears, a gap in vegetation, an arch of rock, an overhanging branch, Patino moves quickly. He captures it and acknowledges it will be gone soon. Cloud in Fiordland doesn’t hold. This is a rhythm I recognize from shooting in the Pacific Northwest: you get a window, maybe four or five minutes, and then the mountain disappears again. His approach is to work the frame you have now, not the hypothetical frame you might find fifty meters up the trail. Grasses in the foreground, atmospheric peak behind, soft cloud giving depth to an otherwise uniform grey sky. Shoot it. Then keep moving.
Step 6: Commit to Your Destination, Resist Mid-Hike Distraction
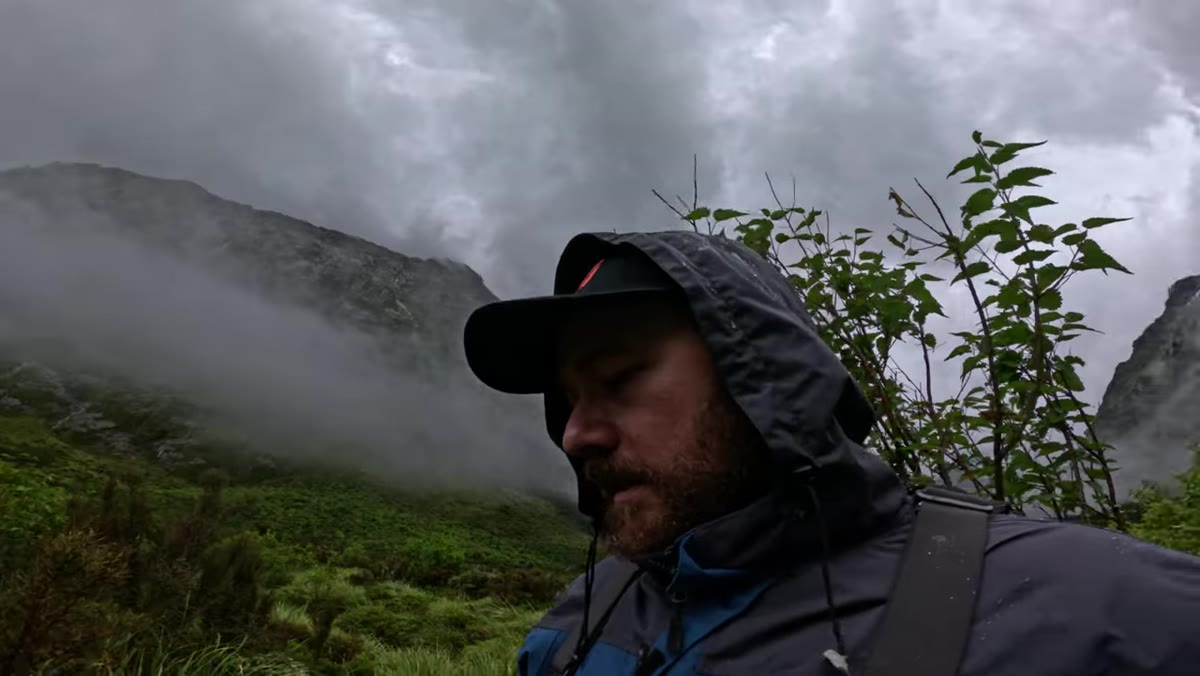 Rocky glacial valley terrain on approach to waterfall base
This is the one that costs photographers the most and gets talked about the least. Patino is pushing toward the base of a large waterfall he’s never reached before, and the terrain is rough, old glacial moraine with hidden drops in the vegetation. He makes the point clearly: the picturesque scenes you pass on the way to your target composition are tempting, and stopping for all of them means you never reach the best one. You have to hold discipline, push to the destination you planned, and trust that the effort compounds. A mentor of mine once told me the mountain doesn’t care about your schedule, and that’s true, but it also doesn’t care about your hesitation. You either commit the walk or you don’t.
Rocky glacial valley terrain on approach to waterfall base
This is the one that costs photographers the most and gets talked about the least. Patino is pushing toward the base of a large waterfall he’s never reached before, and the terrain is rough, old glacial moraine with hidden drops in the vegetation. He makes the point clearly: the picturesque scenes you pass on the way to your target composition are tempting, and stopping for all of them means you never reach the best one. You have to hold discipline, push to the destination you planned, and trust that the effort compounds. A mentor of mine once told me the mountain doesn’t care about your schedule, and that’s true, but it also doesn’t care about your hesitation. You either commit the walk or you don’t.
What I’d Add: Know What “Home” Feels Like for You
Patino says something midway through that stuck with me. He describes Fiordland as the place where he reaches a genuine flow state, where difficulty becomes fuel rather than friction. That’s not just a nice sentiment. It’s a practical compass. After twenty years I know that my best work comes from specific conditions: cold mornings, moving water, no other people within earshot. Fiordland would do it for me too. But the technique only works if you’re honest with yourself about where your version of that place is. The compositions Patino finds in that valley are inseparable from the fact that he belongs there, that the environment is activating something real. Before you study anyone’s technique, spend time figuring out where you actually come alive. The rest follows more naturally than you’d expect.
The single most important thing I took from this tutorial is the connection between emotional honesty and compositional clarity. When you’re shooting somewhere that genuinely moves you, every decision, where to place the foreground, when to bracket, which peak to frame, gets sharper and faster. Technique executed from real feeling beats technically perfect work shot from obligation every time.
Watch the full tutorial on YouTube and pay attention to how Patino moves through the valley. The camera work is instructive, but the mindset underneath it is the real lesson.
Comments (2)
Bookmarked. Coming back to this one for sure.
This is fantastic. I've been recommending this approach to my readers too.
Leave a Comment