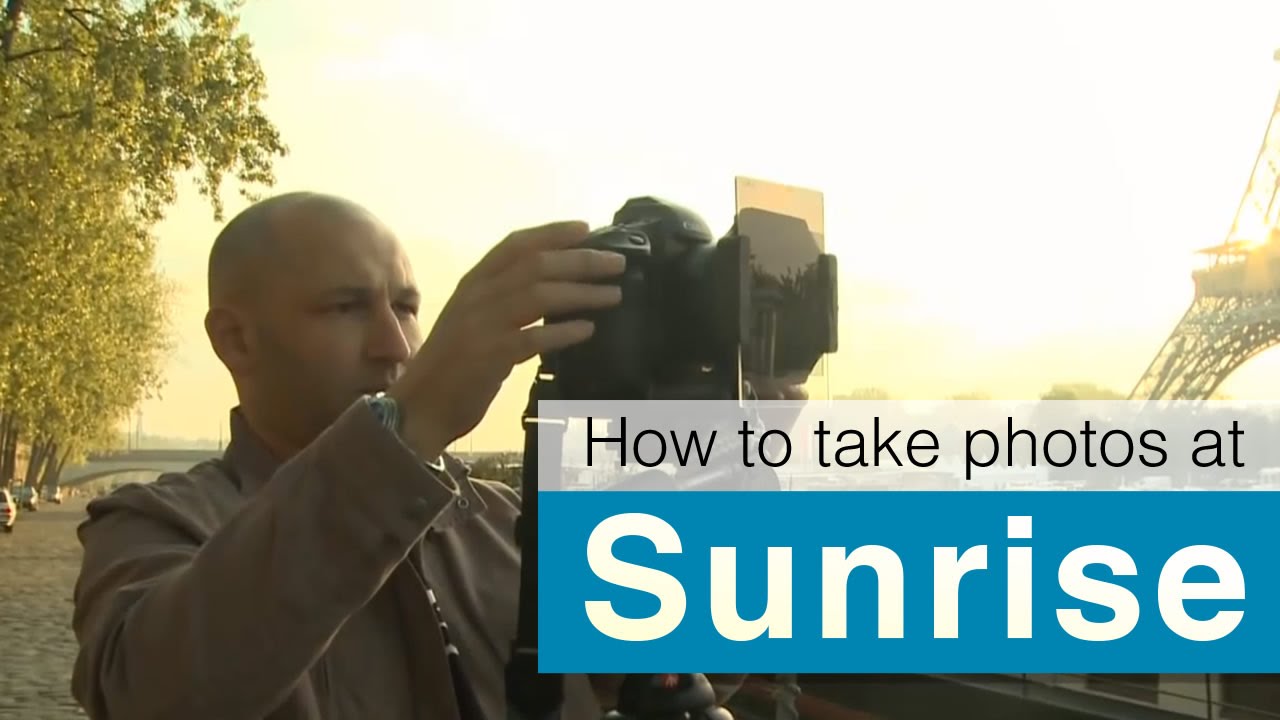
There’s a particular kind of pressure that comes with shooting in a famous location. Paris, the Eiffel Tower, the Seine at sunrise. Every angle has been photographed ten thousand times, and the temptation is to either give up on originality entirely or freeze up trying to find it. I’ve felt that same pressure standing on the rim of Crater Lake or at the base of Smith Rock right here in Oregon. What saves you every time isn’t a secret composition nobody else knows. It’s a disciplined, mobile working method that lets you stay fluid and keep finding shots rather than planting your feet at one “epic” spot and hoping for the best.
In this Visual Education tutorial, photographer Karl Taylor demonstrates exactly that kind of working method during a Paris sunrise session along the river. Watch the full tutorial on YouTube before or after reading this breakdown. What I want to do here is pull out the actual field techniques and put some meat on them, because Taylor moves fast on camera and a few of the most important decisions happen quickly.
The core lesson isn’t about Paris. It’s about staying light, staying observant, and working a location rather than just standing in one.
Step 1: Anchor Your First Shot Around Available Light and Foreground Structure
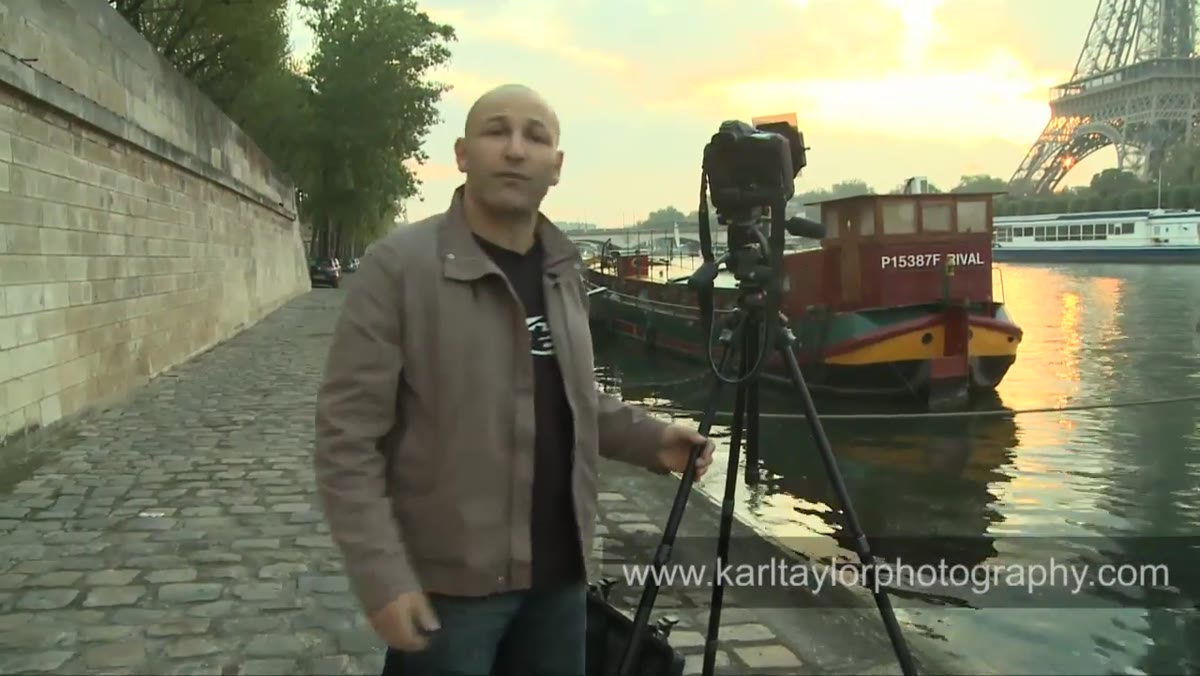
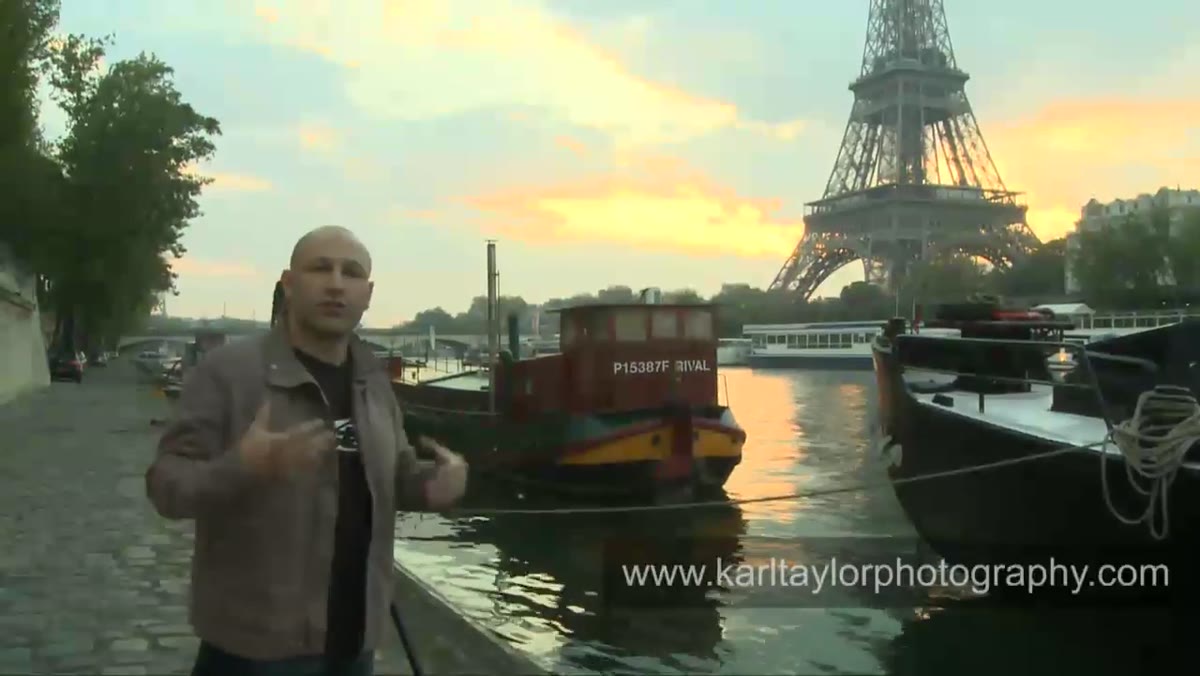 Karl framing a shot between two barges toward the Eiffel Tower at sunrise
When Taylor arrives at the riverbank, he doesn’t set up at the most obvious angle. He scouts first and finds a narrow framing between two moored barges with reflected light coming off the water. The Eiffel Tower sits in the middle distance with colored clouds and the early sun breaking behind it. That foreground structure, the barges forming a natural channel, gives the wide angle something to work with instead of dead negative space in the bottom third of the frame.
Karl framing a shot between two barges toward the Eiffel Tower at sunrise
When Taylor arrives at the riverbank, he doesn’t set up at the most obvious angle. He scouts first and finds a narrow framing between two moored barges with reflected light coming off the water. The Eiffel Tower sits in the middle distance with colored clouds and the early sun breaking behind it. That foreground structure, the barges forming a natural channel, gives the wide angle something to work with instead of dead negative space in the bottom third of the frame.
When you arrive at a location before full light, resist locking in your position immediately. Walk the bank, walk the edge, look for physical objects in the near foreground that can anchor the eye. Reflected light off water is especially valuable in that pre-dawn window because it adds luminosity to areas that would otherwise go flat or dark. Frame the shot so the reflected light is visible and the background subject sits clearly in the gap between your foreground elements.
Step 2: Use a Graduated ND Filter to Balance Sky and Foreground Exposure
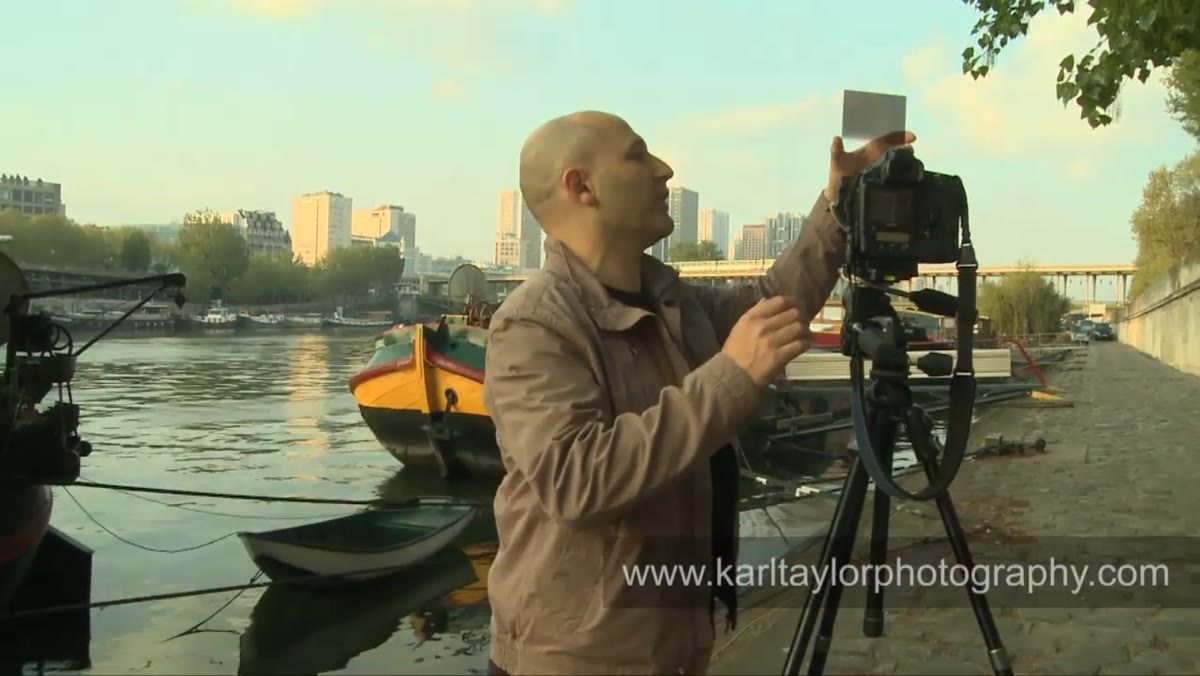
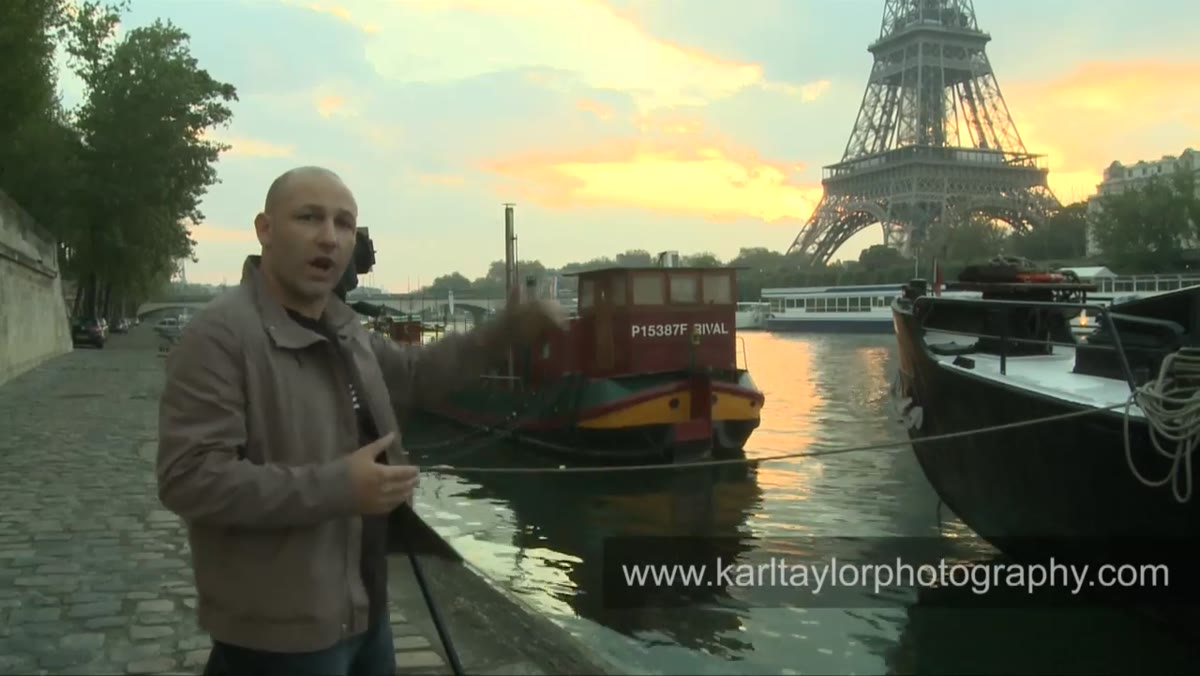 Graduated filter visible on the lens, darkening the upper half of the frame
The dynamic range problem at sunrise is almost always the same. The sky is dramatically brighter than the foreground, and if you expose for the sky, the ground goes black. Taylor uses a graduated neutral density filter over the top half of the frame to bring the sky exposure down closer to the darker foreground, which in his case includes a barge painted black.
Graduated filter visible on the lens, darkening the upper half of the frame
The dynamic range problem at sunrise is almost always the same. The sky is dramatically brighter than the foreground, and if you expose for the sky, the ground goes black. Taylor uses a graduated neutral density filter over the top half of the frame to bring the sky exposure down closer to the darker foreground, which in his case includes a barge painted black.
The graduated ND is still the most reliable solution to this problem in the field. A two-stop or three-stop soft-edge grad is the most versatile starting point. Position the transition line at the horizon, or just below it if there are tall elements breaking the skyline, and check the histogram to confirm you’re not clipping highlights in the upper frame. This one filter decision is what keeps the image from needing heavy-handed processing later.
Step 3: Add a Polarizer to Deepen Color and Control Reflections
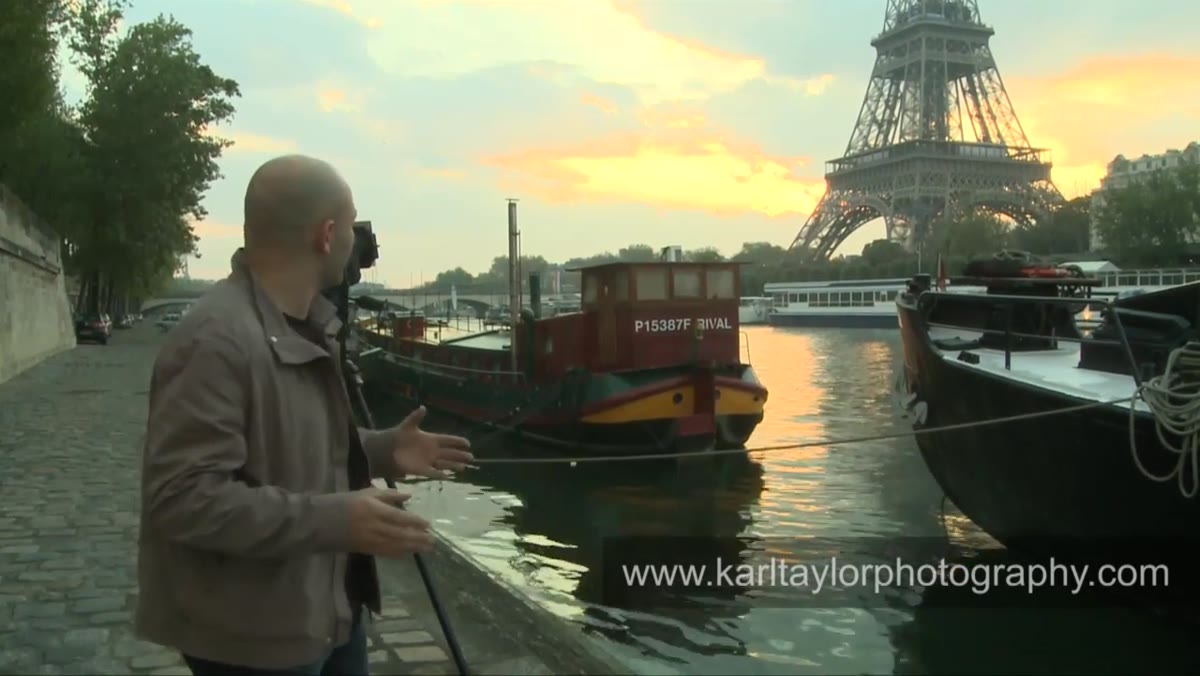 Polarizer filter attached, saturated colors visible in sky and water
Alongside the graduated filter, Taylor runs a circular polarizer. At sunrise, when you’re often shooting at an angle to the light rather than directly into it, a polarizer can meaningfully saturate the blues and warm tones in the sky while also managing surface reflections on the water below.
Polarizer filter attached, saturated colors visible in sky and water
Alongside the graduated filter, Taylor runs a circular polarizer. At sunrise, when you’re often shooting at an angle to the light rather than directly into it, a polarizer can meaningfully saturate the blues and warm tones in the sky while also managing surface reflections on the water below.
Rotate the polarizer slowly while looking through the viewfinder or at your live view screen and watch for the point where sky color deepens and water surface reflections either appear or disappear depending on the effect you want. At low sun angles, the polarizer effect varies depending on your exact direction relative to the sun. Don’t assume one position is correct. Work it.
Step 4: Stay Mobile and Keep Your Kit Manageable
 Lightweight Manfrotto tripod with quick-release legs and compact rolling Pelican case
This is the part of the tutorial most photographers skim past, and it’s one of the most practically important. Taylor runs a lightweight travel tripod with single-button collapsible legs and a small rolling hard case. His lens selection is deliberate rather than exhaustive: a super wide angle, a standard 85mm for portraiture situations, a fisheye for extremes, a 70-200mm zoom, a flash, and his filter set.
Lightweight Manfrotto tripod with quick-release legs and compact rolling Pelican case
This is the part of the tutorial most photographers skim past, and it’s one of the most practically important. Taylor runs a lightweight travel tripod with single-button collapsible legs and a small rolling hard case. His lens selection is deliberate rather than exhaustive: a super wide angle, a standard 85mm for portraiture situations, a fisheye for extremes, a 70-200mm zoom, a flash, and his filter set.
That’s it. I’ve made the mistake of hauling too much gear in cities and it slows everything down. You spend time managing equipment instead of looking for shots. Pick lenses that cover your likely focal length range without redundancy. For urban landscape work, a wide prime or wide zoom and a short telephoto zoom covers ninety percent of situations. Pack a compass too. Knowing which direction is east when you’re in an unfamiliar city means you can predict exactly where sunrise light will land before you ever arrive on location.
Step 5: Switch Lenses and Focal Lengths to Find Multiple Shots in One Location
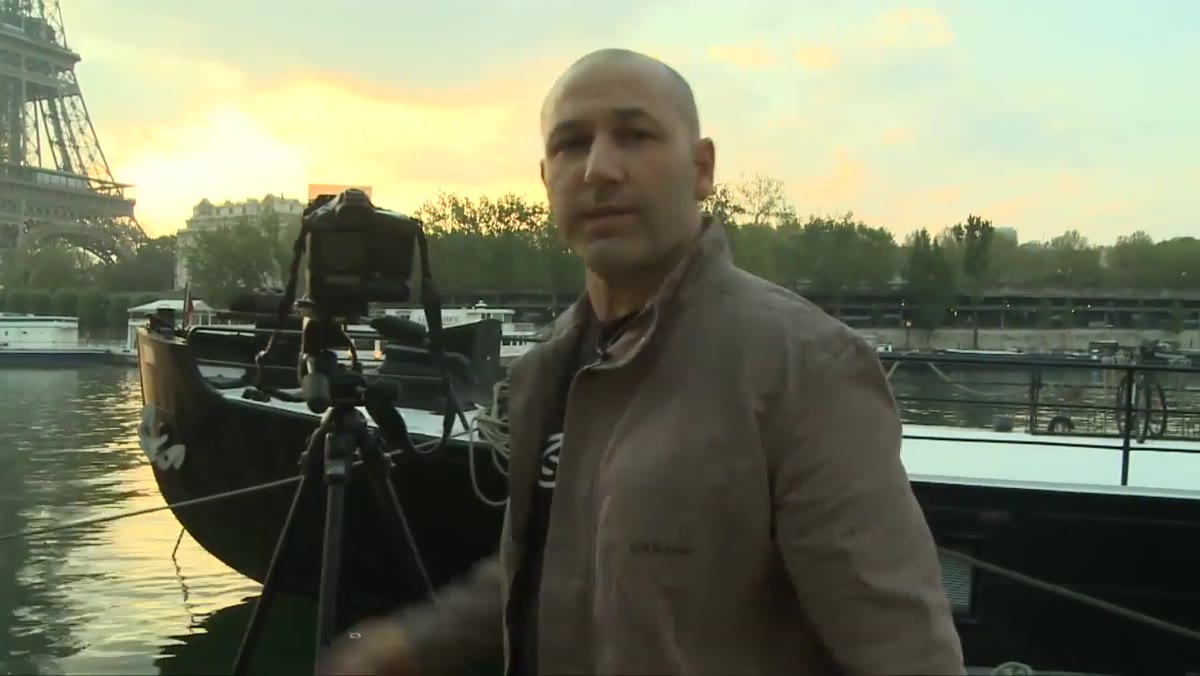 Karl repositioning and switching to a standard lens for a tighter urban composition
After working the wide angle shots between the barges, Taylor physically moves position and switches to a standard focal length when he spots a new composition looking back the other direction. A yellow-green barge in the foreground, metro trains crossing a bridge in the middle distance, catching the early light. Different lens, different direction, entirely different image from the same twenty minutes at the same location.
Karl repositioning and switching to a standard lens for a tighter urban composition
After working the wide angle shots between the barges, Taylor physically moves position and switches to a standard focal length when he spots a new composition looking back the other direction. A yellow-green barge in the foreground, metro trains crossing a bridge in the middle distance, catching the early light. Different lens, different direction, entirely different image from the same twenty minutes at the same location.
This is a deliberate working habit, not an accident. When you find a location that’s working, exhaust it before you leave. Ask what a longer lens sees that the wide angle misses. Turn around. Look behind you. The shot you came for is rarely the only shot there.
Step 6: Use a Slow Shutter Speed to Introduce Intentional Motion Blur
 Slow shutter speed setting used to blur the metro train crossing the bridge
For the bridge shot with the passing trains, Taylor drops his shutter speed to around 1/13 to 1/15 of a second to get controlled motion blur on the train. The blur adds a sense of movement and urban energy without turning the train into a ghost. The static elements, the barge, the buildings, stay sharp.
Slow shutter speed setting used to blur the metro train crossing the bridge
For the bridge shot with the passing trains, Taylor drops his shutter speed to around 1/13 to 1/15 of a second to get controlled motion blur on the train. The blur adds a sense of movement and urban energy without turning the train into a ghost. The static elements, the barge, the buildings, stay sharp.
If you’re doing this handheld, it won’t work. You need a tripod and a remote shutter release or a two-second self-timer to eliminate camera shake. Dial in your aperture for the depth of field you want first, then adjust ISO and shutter speed until you’re in that 1/8 to 1/20 second range for a subject moving at moderate speed. Bracket a few frames because the timing of when the subject enters or exits the frame changes everything.
What I’d Add From Twenty Years of Early Mornings
The technique Taylor demonstrates here is solid and I follow most of it myself. The one thing I’d push harder on is the scouting visit the day before. In Paris or anywhere unfamiliar, walking the location in flat afternoon light with no camera pressure lets you find the barge gap, find the bridge angle, figure out where the sun will actually be at 6am. I once drove six hours to a location in eastern Oregon, sat in fog for two days, and came home with one shot that became my best-selling print. I’m not complaining. But I’d have used those two foggy mornings better if I’d walked that lakeshore the previous evening and understood the geometry of the place before the light showed up.
Preparation isn’t the opposite of spontaneity. It’s what makes real spontaneity possible.
The single most transferable idea in this tutorial is that a location is not a position. It’s an area to be worked, with different lenses, different angles, different shutter decisions, until you’ve genuinely seen what it offers. Don’t shoot one frame and move on. Don’t plant yourself and wait. Move, look, switch, turn around.
Watch the full tutorial on YouTube to see Taylor’s full session along the Seine, including the shots he pulls from those telephoto details of the Tower’s metalwork as the sun climbs.
Comments
Leave a Comment