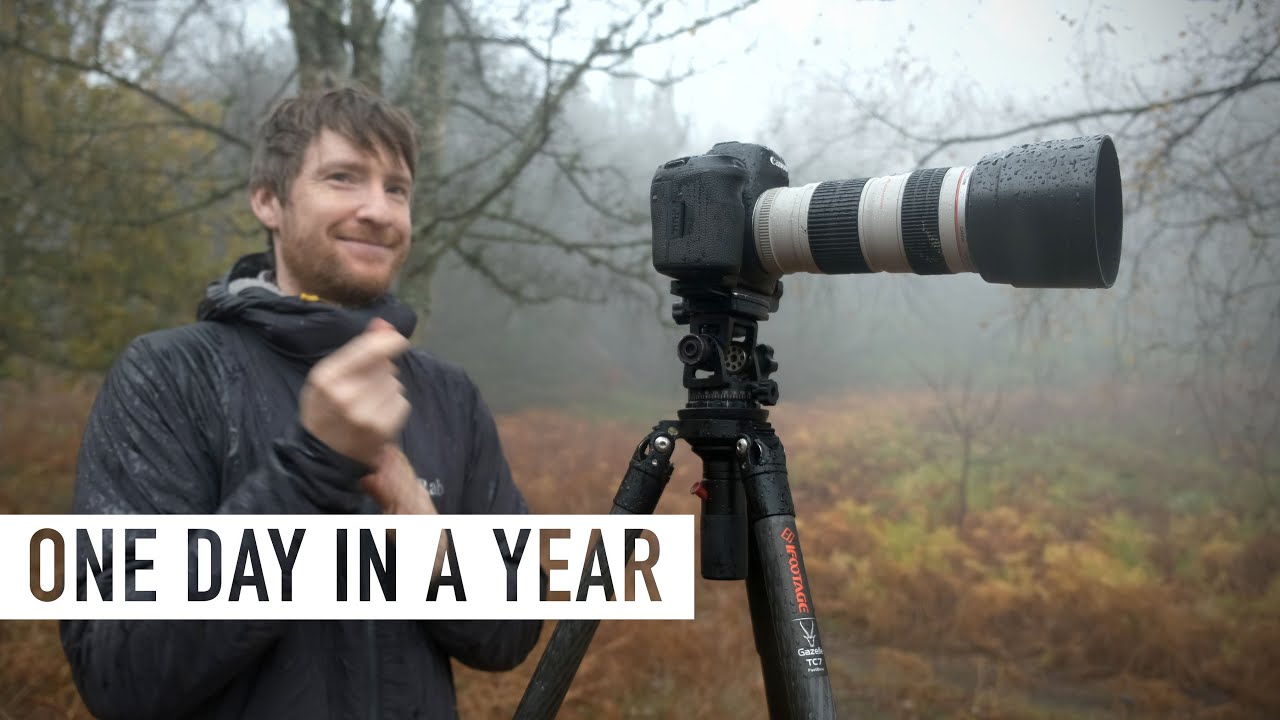
There’s a failure mode I’ve watched repeat itself across twenty years of shooting and a decade of running workshops: the photographer who waits for a guaranteed scene before lifting the camera. They bury the gear in the bag, walk the trail with their hands in their pockets, and only commit to shooting when the light is already halfway to perfect. I’ve been that photographer. The problem is, conditions change faster than certainty arrives, and some of the most resonant images I’ve ever made came from scenes I almost walked past. That’s the undercurrent running through this Thomas Heaton tutorial, and it’s one of the reasons I keep coming back to his field videos. Watch the full tutorial on YouTube
What Heaton documents here isn’t a single triumphant shot. It’s a return visit, a lens swap, a reconsideration, and then an opportunistic second image spotted while walking between setups. He came back to a tree he’d failed to photograph the week before because he had the wrong focal length. He made adjustments, read the new conditions, and adapted. That process, quiet and undramatic as it is, is closer to what real landscape photography looks like than most tutorials let on.
The mist threading through these autumn trees is the kind of light that doesn’t send you a calendar invite. You show up, or you don’t. Here’s how Heaton worked through it, and what I’d add from my own time in similar conditions.
Step 1: Return to Locations That Defeated You
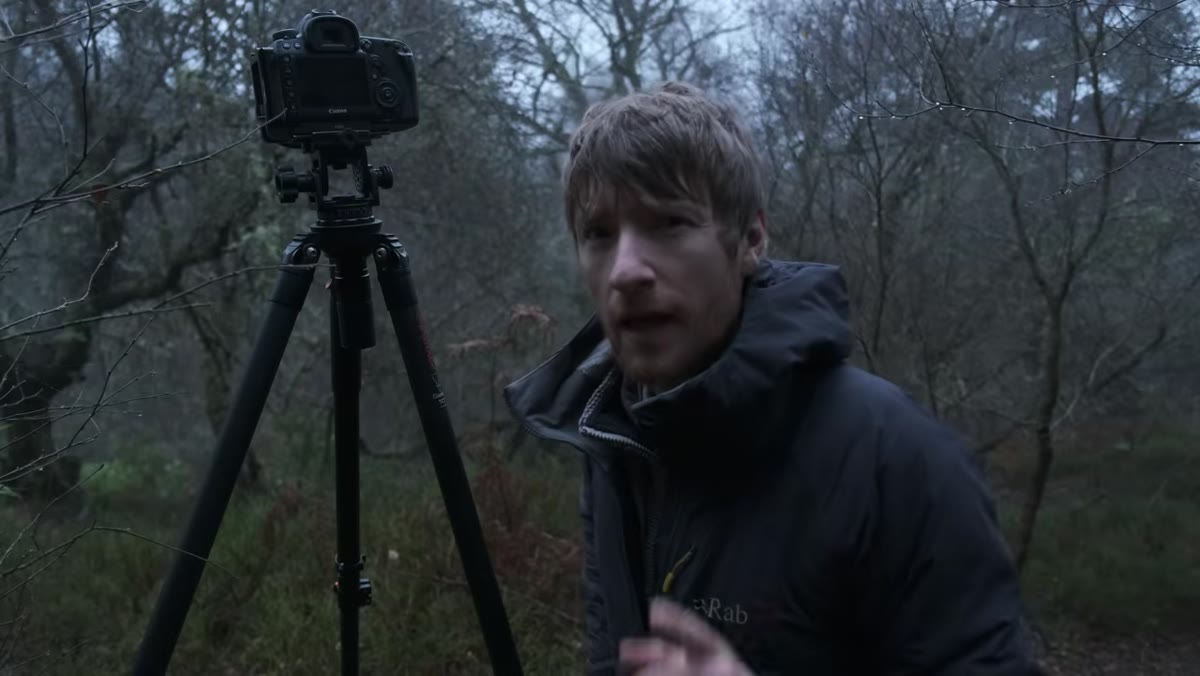 Thomas Heaton arriving at a misty woodland location
Heaton opens by telling us he’s back at the exact same spot where he failed two weeks earlier. He’d tried to photograph a gnarly old tree with a wide-angle lens, pulled in too much blown-out sky, and left without a keeper. Rather than writing the location off, he identified the problem precisely: wrong focal length, unflattering sky, no mist to soften the background chaos.
Thomas Heaton arriving at a misty woodland location
Heaton opens by telling us he’s back at the exact same spot where he failed two weeks earlier. He’d tried to photograph a gnarly old tree with a wide-angle lens, pulled in too much blown-out sky, and left without a keeper. Rather than writing the location off, he identified the problem precisely: wrong focal length, unflattering sky, no mist to soften the background chaos.
This is worth sitting with. A failed shoot isn’t a closed door if you can name what went wrong. Before you leave any location empty-handed, ask yourself whether the light was wrong, the lens was wrong, or the conditions were wrong. Those are all fixable on a different day. If your composition logic was sound, the location owes you another visit.
Step 2: Match Your Focal Length to the Problem the Scene Creates
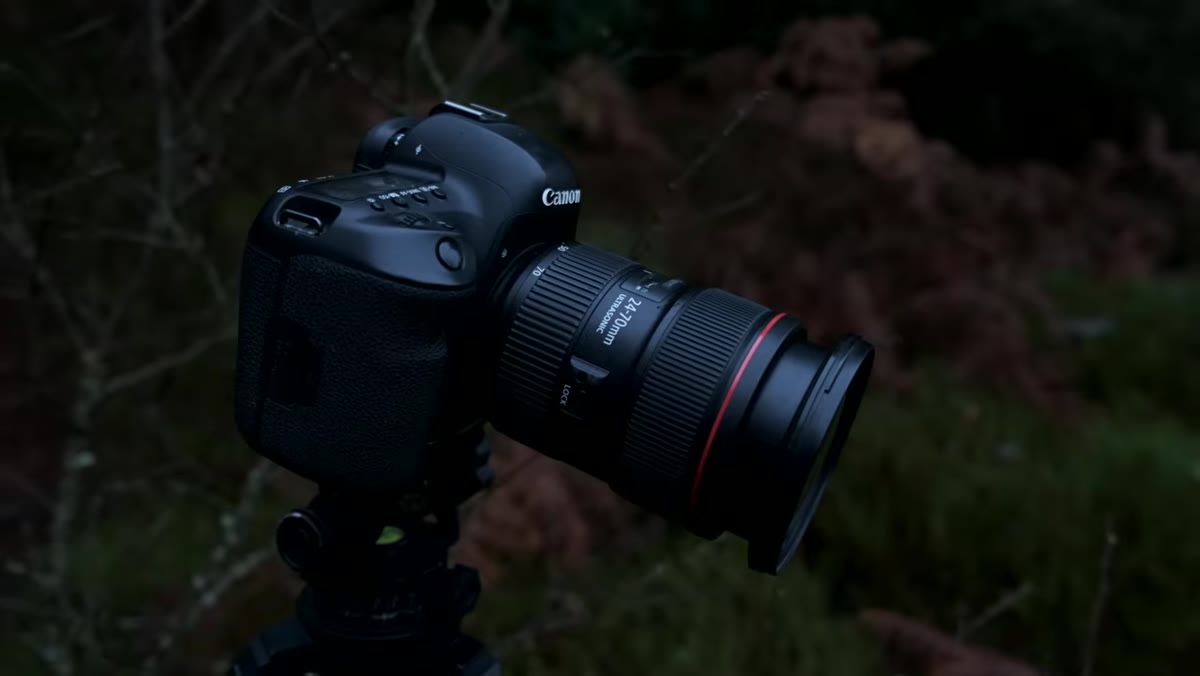 Camera with 24-70mm lens being raised to frame the tree
The specific correction Heaton made was swapping a wide-angle lens for a 24-70mm. The wide lens had two problems with this particular tree: it pulled in an overexposed sky above the canopy, and it couldn’t isolate the subject from its cluttered surroundings. Coming back with a mid-range zoom let him tighten the frame, drop the sky out of the composition entirely, and fill the rectangle with tree rather than distraction.
Camera with 24-70mm lens being raised to frame the tree
The specific correction Heaton made was swapping a wide-angle lens for a 24-70mm. The wide lens had two problems with this particular tree: it pulled in an overexposed sky above the canopy, and it couldn’t isolate the subject from its cluttered surroundings. Coming back with a mid-range zoom let him tighten the frame, drop the sky out of the composition entirely, and fill the rectangle with tree rather than distraction.
If you’re shooting in dense woodland, a 24-70mm or even a short telephoto gives you a level of editorial control that ultra-wides rarely allow. You’re not trying to show everything. You’re trying to show one thing well.
Step 3: Use Mist as a Background Control Tool
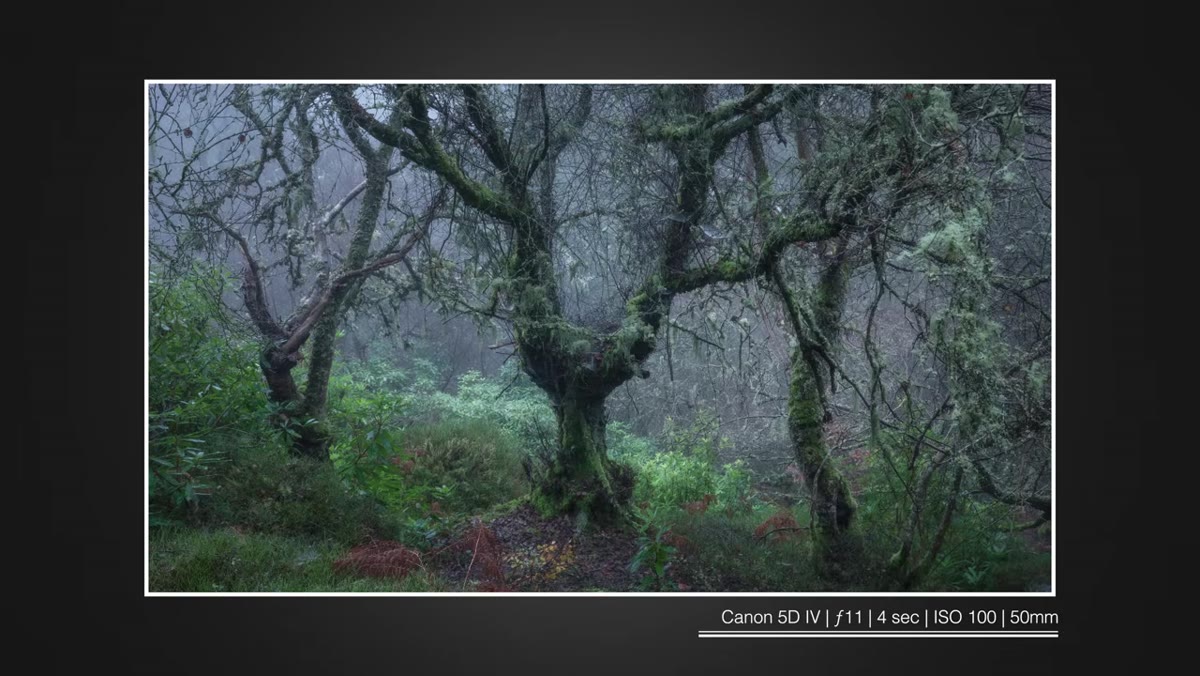 Misty woodland behind the tree, background details softened
Heaton makes a decision here that runs against the standard woodland advice, and he explains exactly why. He shoots the tree at f/11, a narrower aperture than most woodland photographers would choose. The reason is structural: the branches that define the tree’s character extend toward the camera, and they all need to be sharp. Shallow depth of field would have rendered the foreground branches soft and destroyed the whole point of the image.
Misty woodland behind the tree, background details softened
Heaton makes a decision here that runs against the standard woodland advice, and he explains exactly why. He shoots the tree at f/11, a narrower aperture than most woodland photographers would choose. The reason is structural: the branches that define the tree’s character extend toward the camera, and they all need to be sharp. Shallow depth of field would have rendered the foreground branches soft and destroyed the whole point of the image.
The tradeoff is that a narrow aperture also keeps the busy background in focus, which would normally be a problem. The mist solves it. It wraps around the trees behind the subject and softens the chaos without any intervention from Heaton’s aperture choice. When conditions offer you a natural diffusion layer like mist, fog, or rain, let it do work that you’d otherwise try to do with your aperture. Expose for the subject, trust the atmosphere to handle the rest.
Step 4: Shoot a High-Key Interpretation in Flat Light
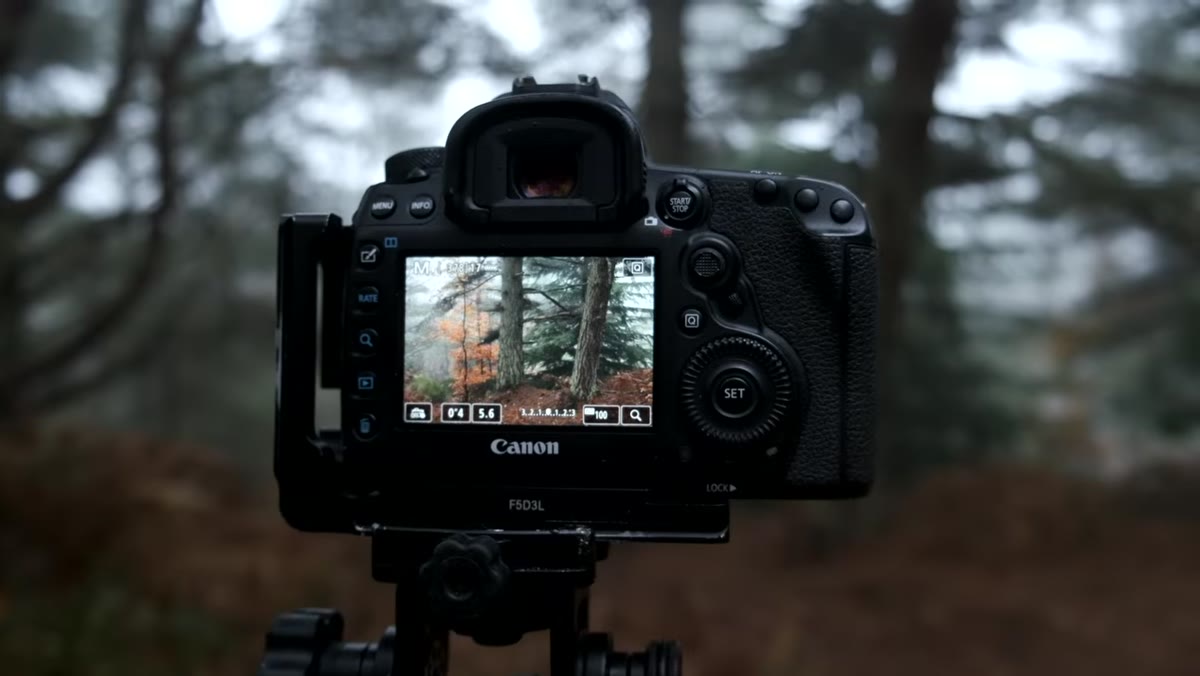 Heaton framing pine trees with bright misty background
Moving away from the gnarly tree, Heaton spots two pine trees flanking a beech in peak autumn color. He frames tight, excludes the sky, and makes a conscious decision to expose for a bright, high-key result. High-key doesn’t mean overexposed. It means deliberately pushing your exposure toward the brighter end so that the overall image reads as luminous rather than moody.
Heaton framing pine trees with bright misty background
Moving away from the gnarly tree, Heaton spots two pine trees flanking a beech in peak autumn color. He frames tight, excludes the sky, and makes a conscious decision to expose for a bright, high-key result. High-key doesn’t mean overexposed. It means deliberately pushing your exposure toward the brighter end so that the overall image reads as luminous rather than moody.
In flat, misty light, this is often the right call. The mist is already lifting contrast across the scene. If you expose to preserve shadows and midtones the way you would on a sunny day, the image will look muddy and undercooked. Lean into the brightness. Expose slightly above what feels safe, check your histogram, and make sure you’re not clipping highlights on the foliage detail you actually care about.
Step 5: Stop Down Just Enough to Render Texture, Not the Background
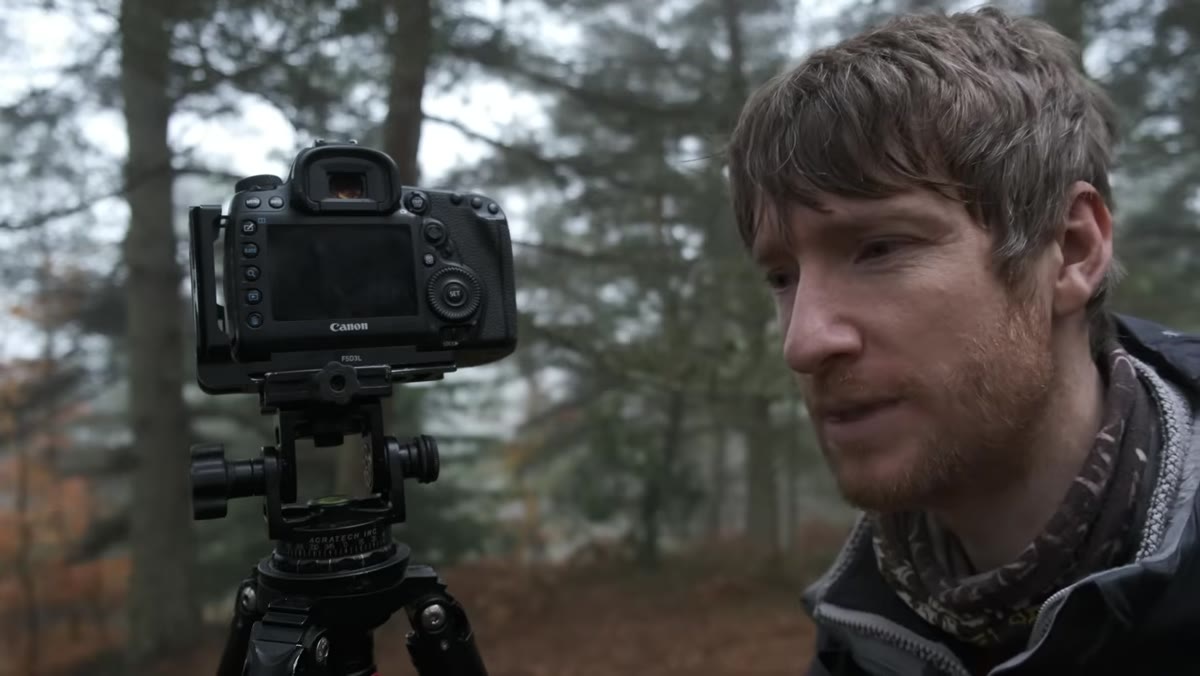 Camera settings shown, f/5.6 selected for pine tree shot
For this second composition, Heaton drops to f/5.6. The change in aperture from his first shot isn’t arbitrary. The pines are primarily in a single plane relative to the camera, so he doesn’t need the same depth of field he required for the branching tree. What he does want is sharp, readable bark texture on the trunks while letting the autumn color behind them go soft. F/5.6 threads that needle on a mid-range zoom.
Camera settings shown, f/5.6 selected for pine tree shot
For this second composition, Heaton drops to f/5.6. The change in aperture from his first shot isn’t arbitrary. The pines are primarily in a single plane relative to the camera, so he doesn’t need the same depth of field he required for the branching tree. What he does want is sharp, readable bark texture on the trunks while letting the autumn color behind them go soft. F/5.6 threads that needle on a mid-range zoom.
The practical lesson is to think about what you actually need to be sharp in each specific frame, not what aperture you generally prefer for woodland work. Every tree is a different problem.
Step 6: Walk with Your Camera Ready, Not Stowed
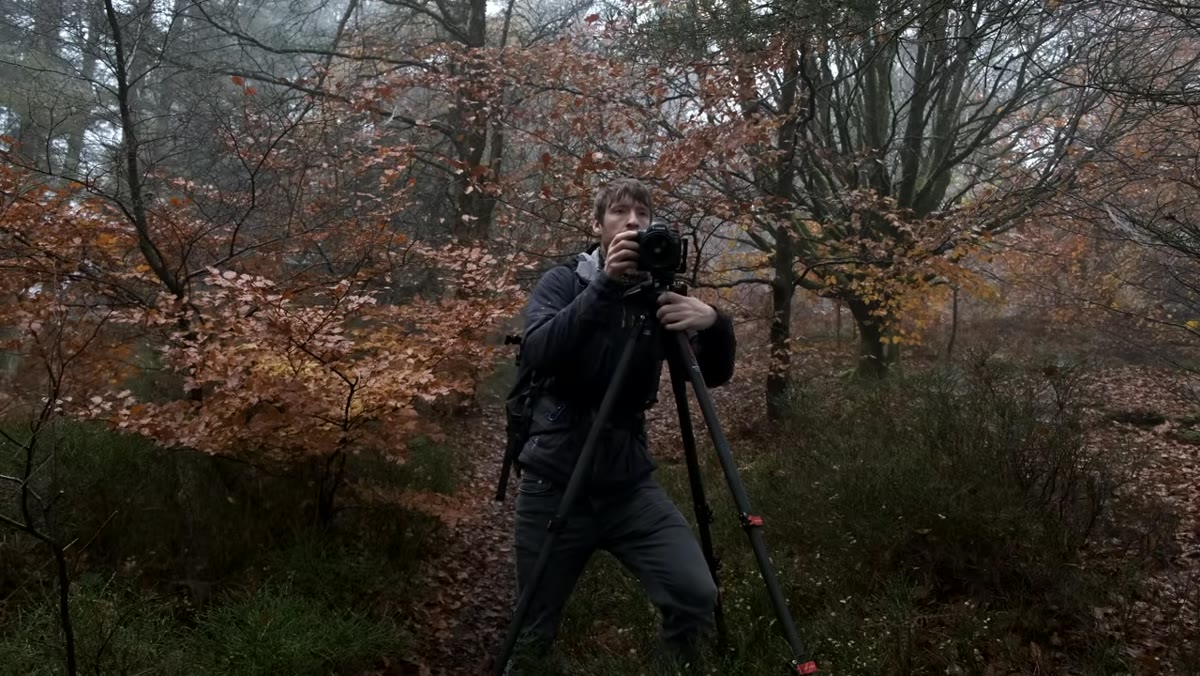 Heaton walking with camera and tripod over his shoulder
Heaton carries his camera and tripod over his shoulder between locations rather than packing the gear away. He’s direct about why: if the camera is buried in a bag, the friction of retrieving it is enough to make him second-guess whether a scene is worth stopping for. With the camera on his shoulder, he’s already halfway to shooting when something catches his eye. That’s how he caught the pine and beech composition at all.
Heaton walking with camera and tripod over his shoulder
Heaton carries his camera and tripod over his shoulder between locations rather than packing the gear away. He’s direct about why: if the camera is buried in a bag, the friction of retrieving it is enough to make him second-guess whether a scene is worth stopping for. With the camera on his shoulder, he’s already halfway to shooting when something catches his eye. That’s how he caught the pine and beech composition at all.
This is the most transferable habit in the entire video. I’ve walked past images I still think about because my camera was in the pack and the light was changing and I told myself it probably wasn’t worth it. It was worth it. Keep the camera out.
What I’d Add from My Own Experience
Heaton’s approach here is fundamentally about returning and revising, and I think there’s a discipline behind that worth naming directly. Coming back to a location a second or third time isn’t a consolation. It’s often what separates an adequate image from one you’ll print large and sell for years. I once drove six hours to a basalt formation on the Oregon coast, sat in dense fog for two days, and came home with one frame. It’s my best-selling print. The mountain doesn’t care about your schedule, as someone told me early in my career, and that’s not a discouragement. It’s a permission slip to keep showing up.
What Heaton demonstrates here is the same thing. He failed, he diagnosed the failure, he came back with the right tool on a better day, and he stayed alert on the walk out. That’s the job.
The single most useful thing you can take from this tutorial is the habit of keeping your camera accessible in the field. Every other lesson, from aperture selection to focal length choice to reading mist as a compositional element, depends first on you being ready to shoot when the scene presents itself. Pack the camera in the bag and you’ve already made a decision about what you’re going to miss.
Watch the full tutorial on YouTube and pay attention to how Heaton talks himself through doubt in the field. That internal dialogue is as instructive as anything technical he demonstrates.
Comments
Leave a Comment