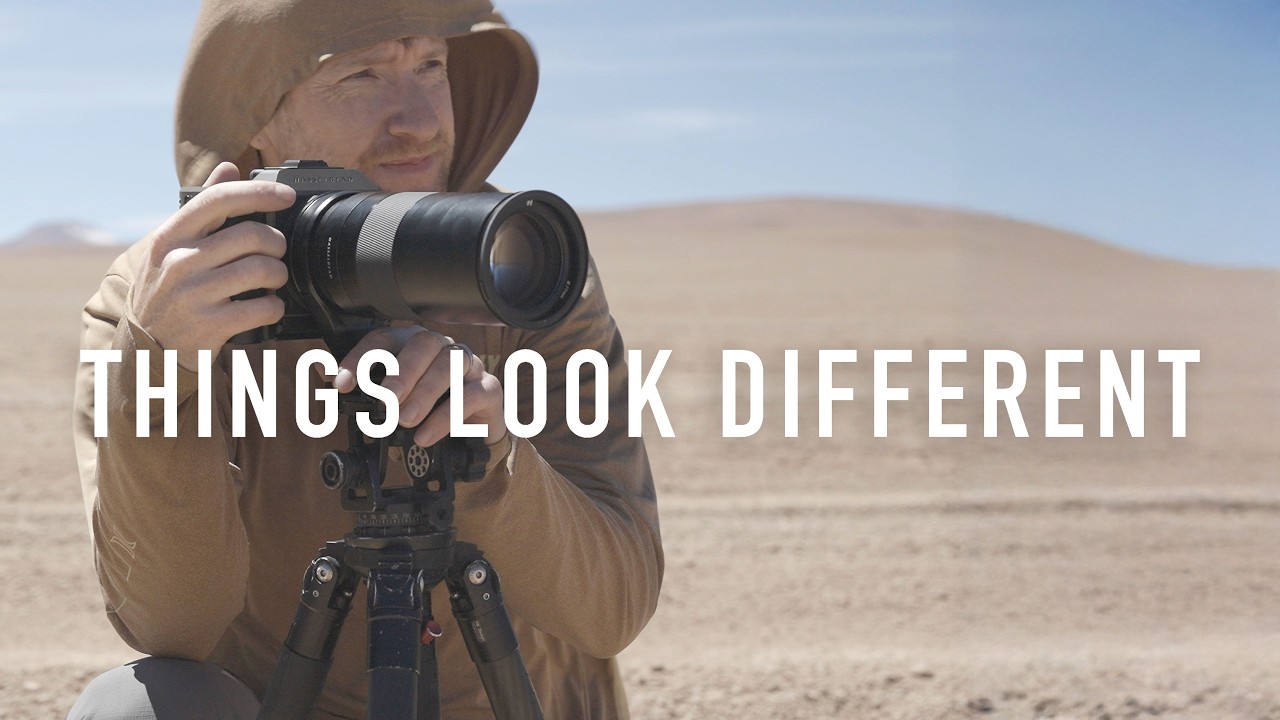
There’s a particular frustration I know well from twenty years of chasing landscapes: you arrive somewhere extraordinary, your chest tightens at the view, you’re certain there’s a great image waiting, and then you spend two hours proving yourself wrong. The scene is right there. The light is doing something unusual. And yet nothing you try in the viewfinder holds together. That gap between what your eyes see and what the frame captures is one of the most humbling parts of this work, and closing it is a skill that never stops requiring attention.
Watch the full tutorial on YouTube
In this Thomas Heaton tutorial, filmed across the high desert plateau of southwestern Bolivia, Heaton works through exactly that problem. Shooting above 4,000 meters at locations like Laguna Cañapa and Laguna Hedionda, he documents the struggle honestly, which is what makes this worth studying. This isn’t a highlight reel. It’s a working photographer figuring out how to read a landscape that operates by different rules than anything most of us have shot before. The light up there is not behaving the way light behaves in the valleys, and understanding why changes how you approach the frame.
Step 1: Recognize What High-Altitude Light Actually Does to a Scene
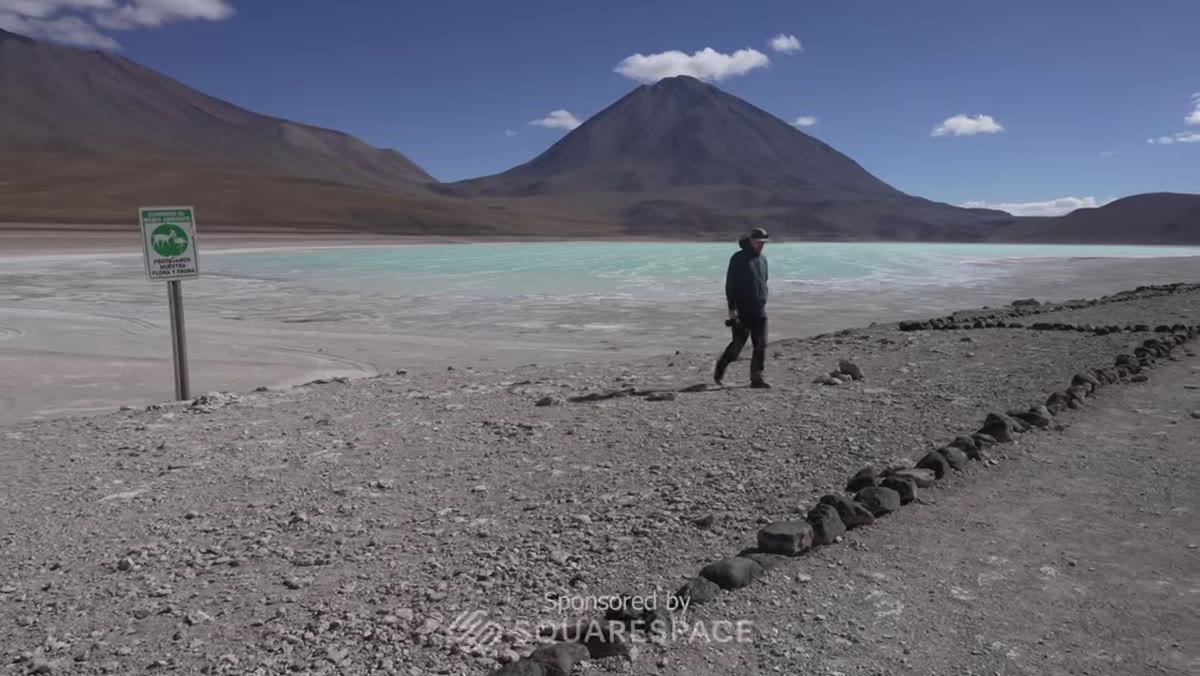 Stark Altiplano landscape with vivid colors and hard shadows
Before you make any compositional decisions, you need to understand why the light looks the way it does. Above 4,000 meters, there’s simply less atmosphere between you and the sun. The air is thinner, drier, and holds far less particulate matter. What that means photographically is that shadows are harder, colors are more saturated, and contrast is higher, even at midday. Heaton describes it as feeling like someone turned the clarity slider to maximum in Lightroom before he’d even taken a shot. That’s not a metaphor. It’s an accurate technical description of what thin air does to light transmission.
Stark Altiplano landscape with vivid colors and hard shadows
Before you make any compositional decisions, you need to understand why the light looks the way it does. Above 4,000 meters, there’s simply less atmosphere between you and the sun. The air is thinner, drier, and holds far less particulate matter. What that means photographically is that shadows are harder, colors are more saturated, and contrast is higher, even at midday. Heaton describes it as feeling like someone turned the clarity slider to maximum in Lightroom before he’d even taken a shot. That’s not a metaphor. It’s an accurate technical description of what thin air does to light transmission.
The instinct at midday is to pack up and wait for golden hour. Resist that instinct here. The harsh, high-contrast look is the look. Fighting it means fighting the landscape itself.
Step 2: Accept That “Obviously Photogenic” Doesn’t Mean “Easy to Compose”
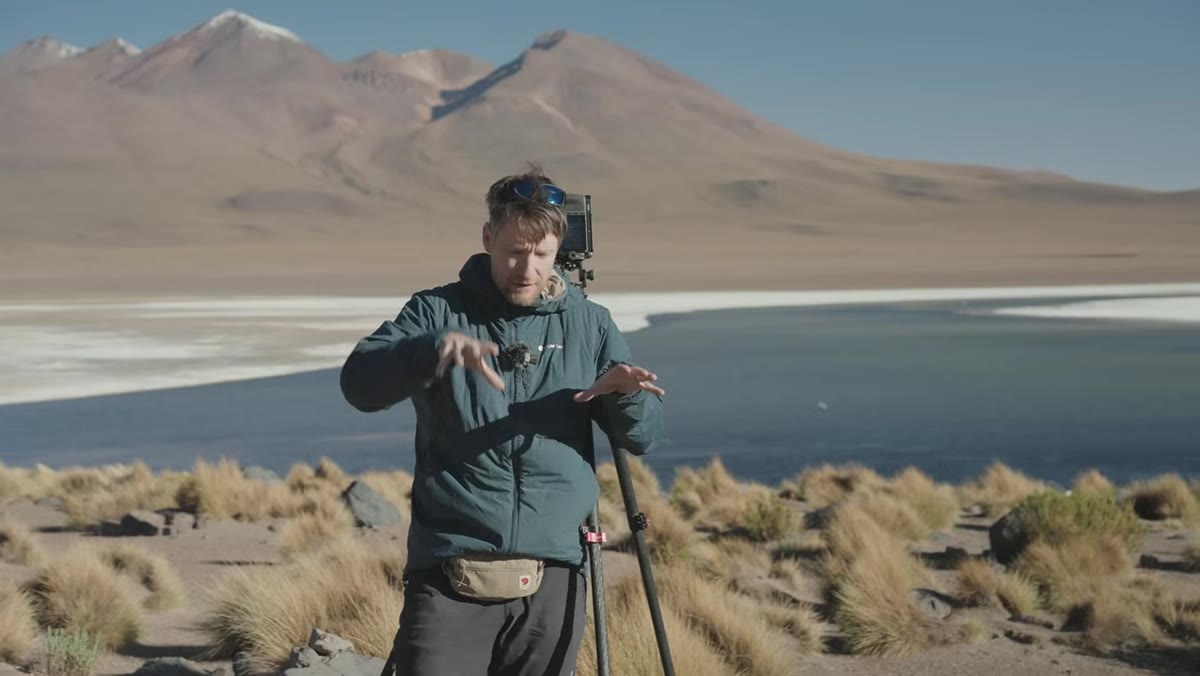
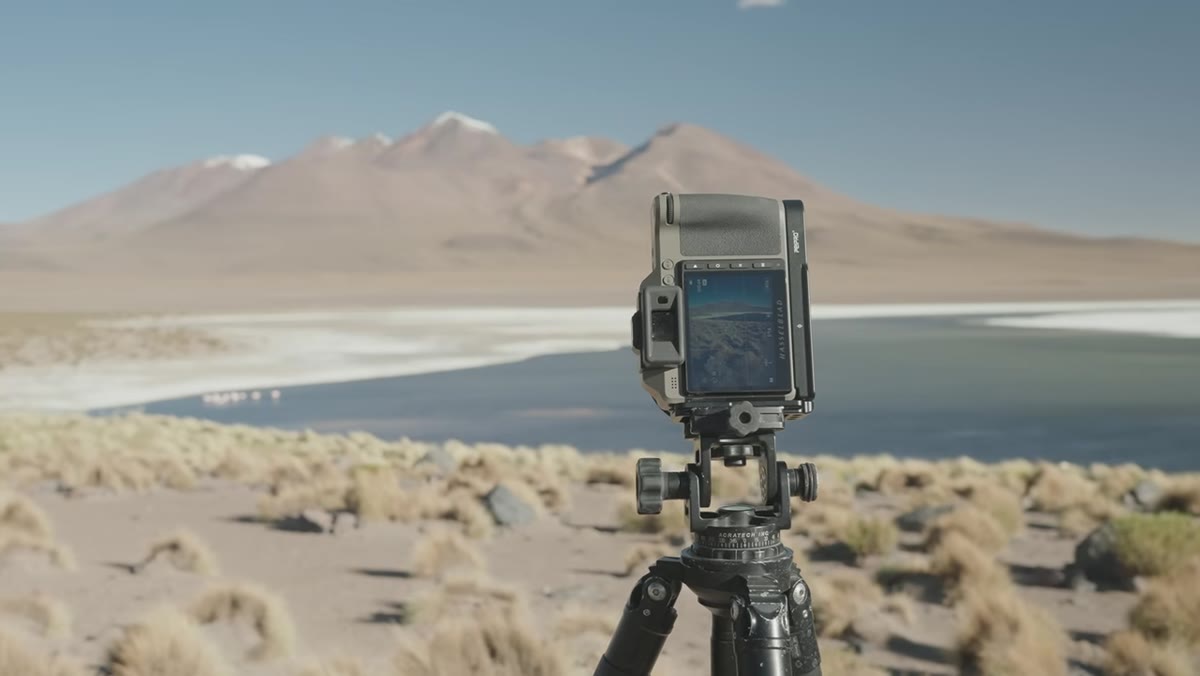 Heaton standing at Laguna Cañapa scanning for composition
Heaton is candid about falling into a trap I’ve fallen into more times than I care to count: assuming that a dramatic location will yield a strong image quickly. Laguna Cañapa stopped him cold. The colored water, the white salt crust, the mountain backdrop, the grasses, all of it was right there, and none of his first attempts held together. Too much mountain weight on one side. The foreground dissolving into nothing. The minimalist version feeling unbalanced.
Heaton standing at Laguna Cañapa scanning for composition
Heaton is candid about falling into a trap I’ve fallen into more times than I care to count: assuming that a dramatic location will yield a strong image quickly. Laguna Cañapa stopped him cold. The colored water, the white salt crust, the mountain backdrop, the grasses, all of it was right there, and none of his first attempts held together. Too much mountain weight on one side. The foreground dissolving into nothing. The minimalist version feeling unbalanced.
This is the part of the tutorial that deserves the most attention, not because Heaton gives you a formula, but because he shows you the discomfort of not having one. The correct response to a difficult location is not to work faster. It’s to slow down and start asking specific questions about what’s wrong with the frame.
Step 3: Use the Wide Lens to Build a Foreground That Earns Its Place
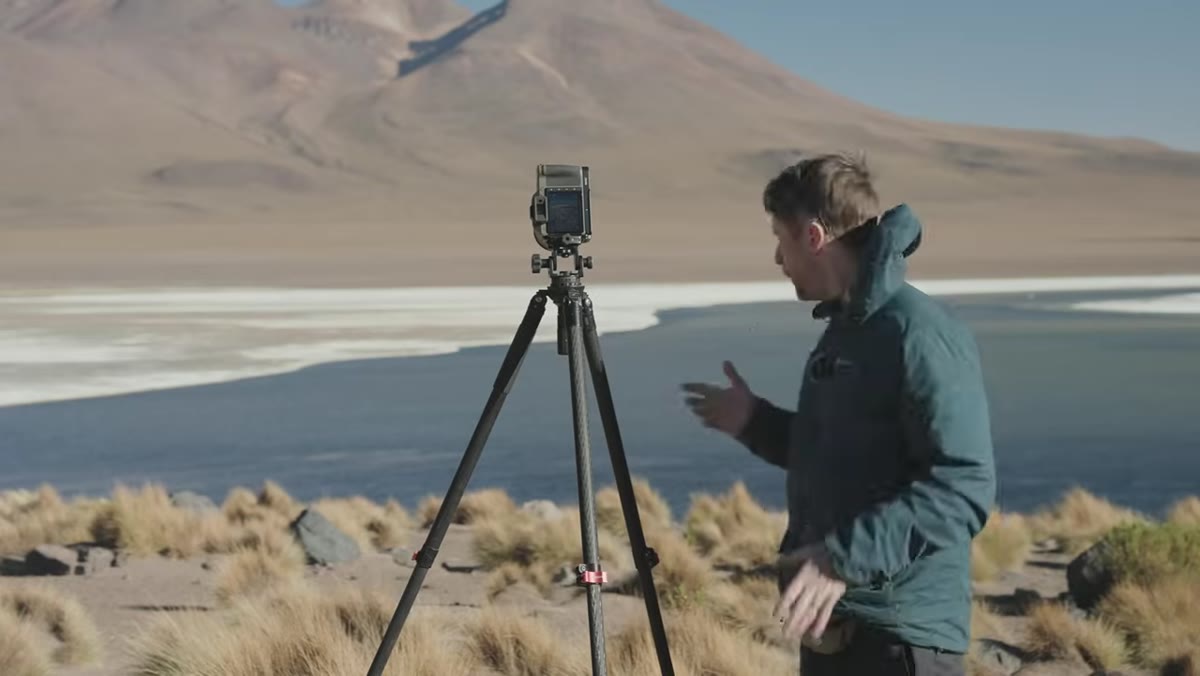 Wide angle shot through grasses leading toward lagoon and mountain
When the mountain-and-water composition wasn’t working, Heaton moved to higher ground and switched to a wide lens. The goal was to bring in the tufted grasses on the slope above the lagoon and use them as a structured foreground element. A wide lens at close range exaggerates depth, making those grasses feel like they pull the eye into the scene rather than just sitting in front of it.
Wide angle shot through grasses leading toward lagoon and mountain
When the mountain-and-water composition wasn’t working, Heaton moved to higher ground and switched to a wide lens. The goal was to bring in the tufted grasses on the slope above the lagoon and use them as a structured foreground element. A wide lens at close range exaggerates depth, making those grasses feel like they pull the eye into the scene rather than just sitting in front of it.
The technique here is deliberate: use natural ground-level elements to create a visual pathway through the lower third of the frame, leading toward the middle distance and then anchoring on the background subject. In this case, grass leads to water leads to mountain. Three distinct planes, each doing a different job.
Step 4: Manage Your Foreground Density with Camera Placement, Not Cropping
 Heaton adjusting position low among grasses, checking lower frame third
This is the step most photographers skip. Heaton spent a significant amount of time physically repositioning himself within the grasses, not to find a prettier angle, but to control the density of the foreground. Too many grass stalks in a cluster and the frame feels chaotic. Too large an open gap between clumps and the lower third falls apart. The balance has to feel even, not necessarily symmetrical, but visually weighted in a way that doesn’t snag the eye.
Heaton adjusting position low among grasses, checking lower frame third
This is the step most photographers skip. Heaton spent a significant amount of time physically repositioning himself within the grasses, not to find a prettier angle, but to control the density of the foreground. Too many grass stalks in a cluster and the frame feels chaotic. Too large an open gap between clumps and the lower third falls apart. The balance has to feel even, not necessarily symmetrical, but visually weighted in a way that doesn’t snag the eye.
The tool for solving this is your feet, not your crop tool in post. Move left, move right, move six inches forward. Check the lower third of your viewfinder deliberately, the same way you’d check a horizon for level. Ask: is there anything here pulling attention away from the progression into the scene? If yes, move until there isn’t.
Step 5: Let the Harsh Midday Light Work for You, Not Against You
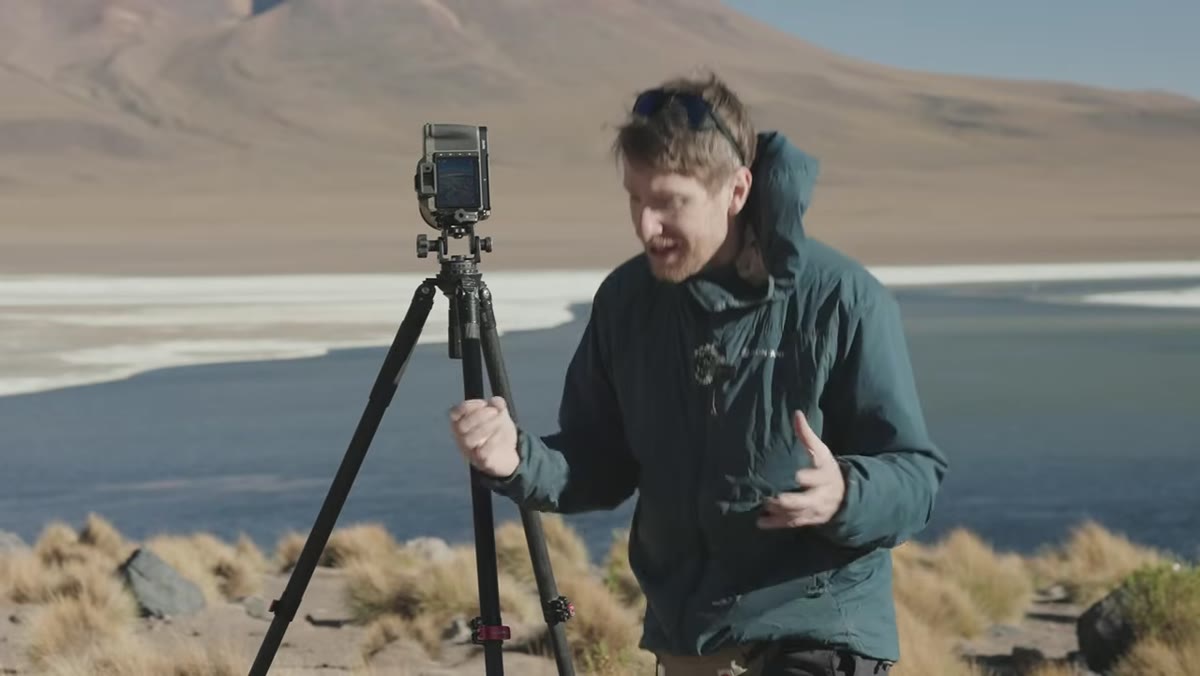 Bold, high-contrast midday image of lagoon with salt and mountain
At low elevations, midday light is usually a reason to put the camera away. The shadows go flat and dark, skies blow out, and the scene loses dimension. At altitude, the physics shift. Because the light is so clean and direct, the contrast it creates is extreme but not muddy. Edges stay sharp. Colors don’t wash out. The result is a bold, graphic quality that can feel almost confrontational, and that’s a legitimate aesthetic, not a compromise.
Bold, high-contrast midday image of lagoon with salt and mountain
At low elevations, midday light is usually a reason to put the camera away. The shadows go flat and dark, skies blow out, and the scene loses dimension. At altitude, the physics shift. Because the light is so clean and direct, the contrast it creates is extreme but not muddy. Edges stay sharp. Colors don’t wash out. The result is a bold, graphic quality that can feel almost confrontational, and that’s a legitimate aesthetic, not a compromise.
The practical takeaway: shoot into and across the light at midday on the Altiplano the way you might shoot at golden hour everywhere else. Be deliberate about where your shadows fall within the composition. They’re strong enough to function as compositional lines in their own right.
Step 6: Don’t Let Singular Focus Cost You the Shot Behind You
 Heaton turning to find dramatic light in the opposite direction from flamingo
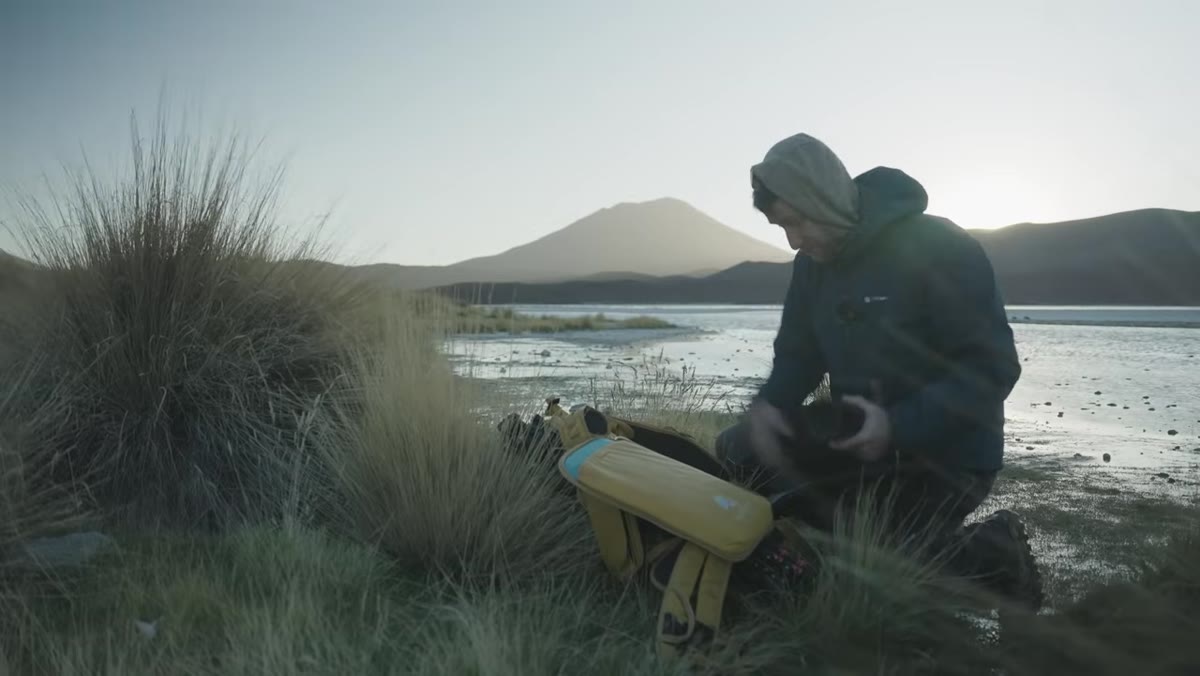
Near Laguna Hedionda, Heaton spent time tracking a lone flamingo, hoping for a wildlife-landscape image. The shot didn’t come together. What he nearly missed, until he turned around, was the light breaking dramatically in the opposite direction. The lesson is one I learned the hard way early in my career: when you lock onto a subject, your peripheral awareness collapses. Make a habit of physically turning 180 degrees every fifteen or twenty minutes when you’re in the field. What’s happening behind you matters.
Heaton turning to find dramatic light in the opposite direction from flamingo
Near Laguna Hedionda, Heaton spent time tracking a lone flamingo, hoping for a wildlife-landscape image. The shot didn’t come together. What he nearly missed, until he turned around, was the light breaking dramatically in the opposite direction. The lesson is one I learned the hard way early in my career: when you lock onto a subject, your peripheral awareness collapses. Make a habit of physically turning 180 degrees every fifteen or twenty minutes when you’re in the field. What’s happening behind you matters.
A Note From My Own Experience
The high-altitude light Heaton describes is real, and it’s disorienting the first time you encounter anything like it. I haven’t shot the Altiplano, but I’ve worked high in the Oregon Cascades and in the desert Southwest enough to recognize the principle. The air clarity changes everything. Back home in Bend, I often drive out before 4am to catch pre-dawn light on the high desert flats, and there’s a version of this same sharp, unforgiving quality that shows up on cold, clear mornings. The instinct is always to soften it in post. I’ve learned to leave more of it alone. Contrast is information. Sharpness is presence. Sometimes the bold version of the image is the honest one.
The single thing I’d carry away from this tutorial: balance is not symmetry. Heaton uses that word over and over, not as an instruction to split the frame evenly, but as a question to keep asking while you’re compositing. Is the weight of this frame sitting right? If something feels off, it probably is, and the fix almost always starts with moving your feet.
Watch the full tutorial on YouTube and pay particular attention to the time Heaton spends on the ground at Laguna Cañapa. That’s where the real lesson is.
Comments (3)
Clear and practical. No fluff. Appreciate that.
Simple but effective. Sometimes that's all you need.
My workflow just got 10x faster. Not even kidding.
Leave a Comment