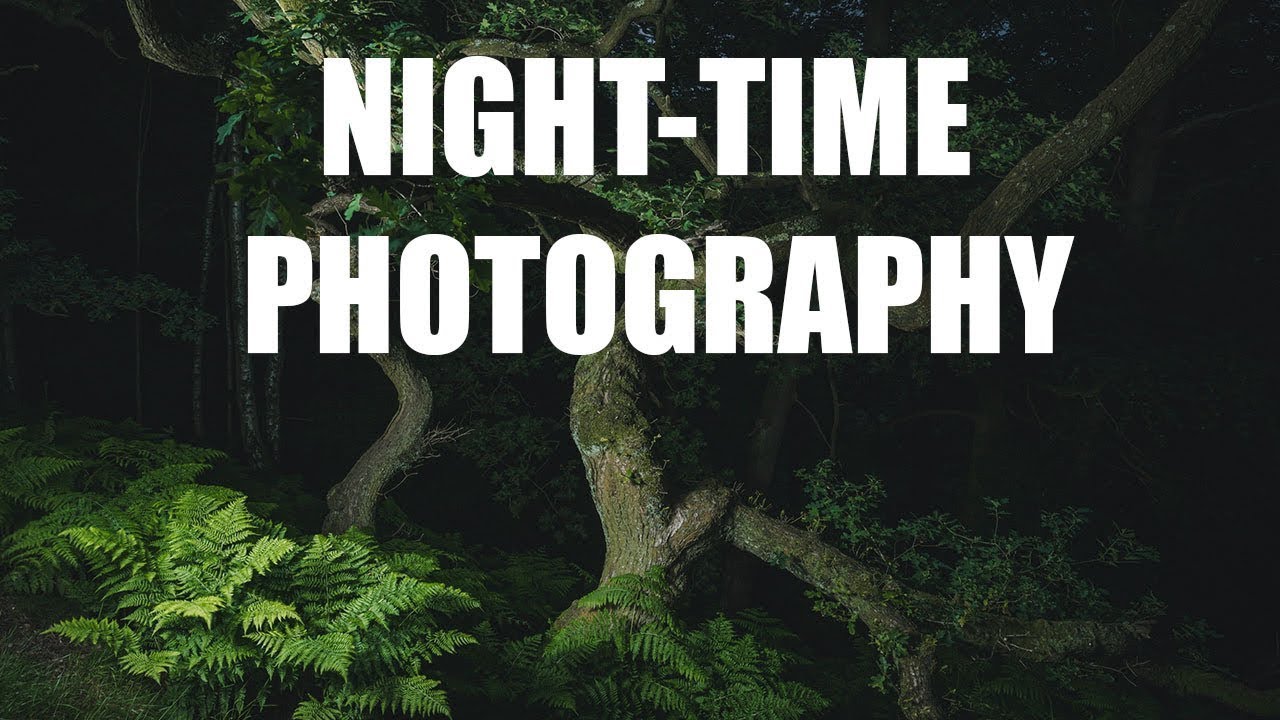
There’s a particular kind of creative rut that hits every landscape photographer eventually. You know the one. You’ve worked your usual locations, you’ve chased the golden hour until it feels like a commute, and somewhere along the way the excitement of pressing the shutter has gone a little quiet. I’ve been shooting landscapes full-time for two decades, and I still hit that wall. The cure, I’ve found, is almost never a new location. It’s a new technique applied somewhere familiar. That’s exactly what made me stop and pay close attention to Nigel Danson’s recent tutorial on nighttime woodland photography with light painting. Watch the full tutorial on YouTube
What Danson and his collaborator Suzanne are doing in this video isn’t astrophotography. There’s no Milky Way involved, no star trails. The idea is simpler and, honestly, more immediately achievable for most of us: take a woodland you already know, wait for genuine darkness, and use a handheld torch to paint light selectively onto the trees during a long exposure. The results have an ethereal, almost painterly quality that I’ve never been able to get from any amount of post-processing. It looks like a scene from a dream, and you can do it in a local woodland an hour from home.
What I appreciate most about this approach is that it removes two of the biggest excuses landscape photographers make: needing to travel somewhere dramatic, and needing a perfect sky. All you need is a decent tree, real darkness, and a bright torch. Here’s how the technique works, step by step.
Step 1: Scout Your Composition Before Dark
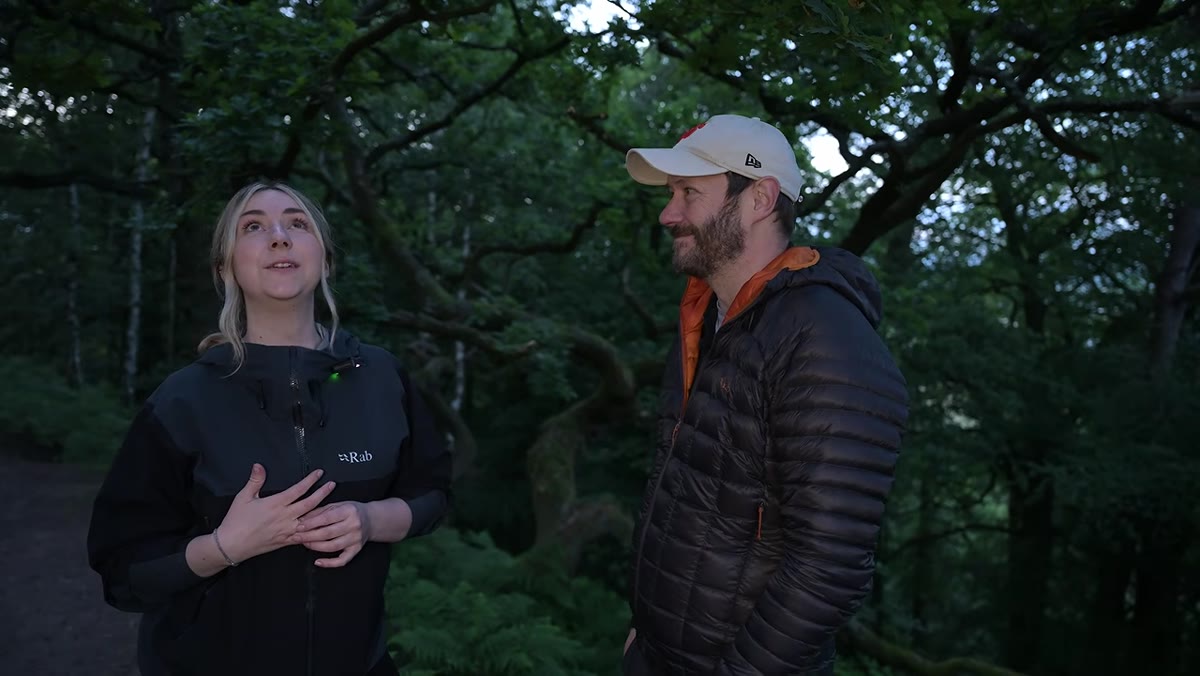
 Nigel and Suzanne walking through woodland in fading light
Arrive at your location while there’s still enough light to move around safely and think clearly about composition. Danson does this deliberately. He and Suzanne identify a twisted oak before the darkness sets in, so the camera position, focal length, and rough framing are already decided. This matters more than it sounds. Once it’s genuinely dark and you’re managing a torch, a tripod, and a timer, you do not want to be solving a composition problem at the same time. Walk the scene, pick two or three candidate subjects, and mentally note where you’ll need to stand to light them from different angles.
Look for trees with strong structural character, branching limbs, textured bark. A shapeless young birch won’t reward you the way a gnarled old oak will. The light will follow and reveal what’s already interesting, so interesting bones matter.
Step 2: Wait for True Darkness
 Sky darkening behind woodland canopy, moon visible
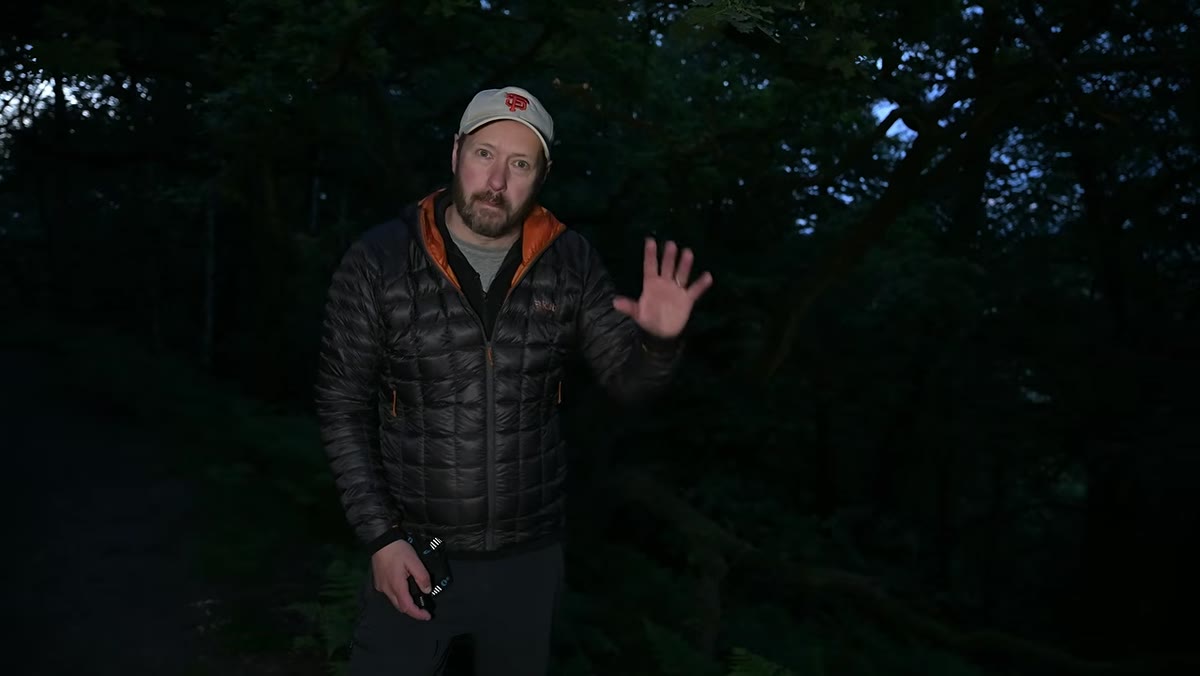
This one feels obvious but photographers consistently underestimate how much residual ambient light interferes with the effect. Danson specifically waits for the light to drop far enough that the torch becomes the dominant light source in the frame. If there’s too much ambient light left, the artificial lighting looks flat and tacked-on rather than atmospheric.
A rising moon can actually work in your favour, adding subtle background illumination to the sky without overwhelming the scene. Notice the ambient conditions and use them. A cloudy moonless night gives you maximum control. A clear moonlit night gives you a more naturally lit background. Both can work, but they produce different moods.
Step 3: Set Up Your Long Exposure
 Camera on tripod, Nigel setting a 30-second exposure with delay
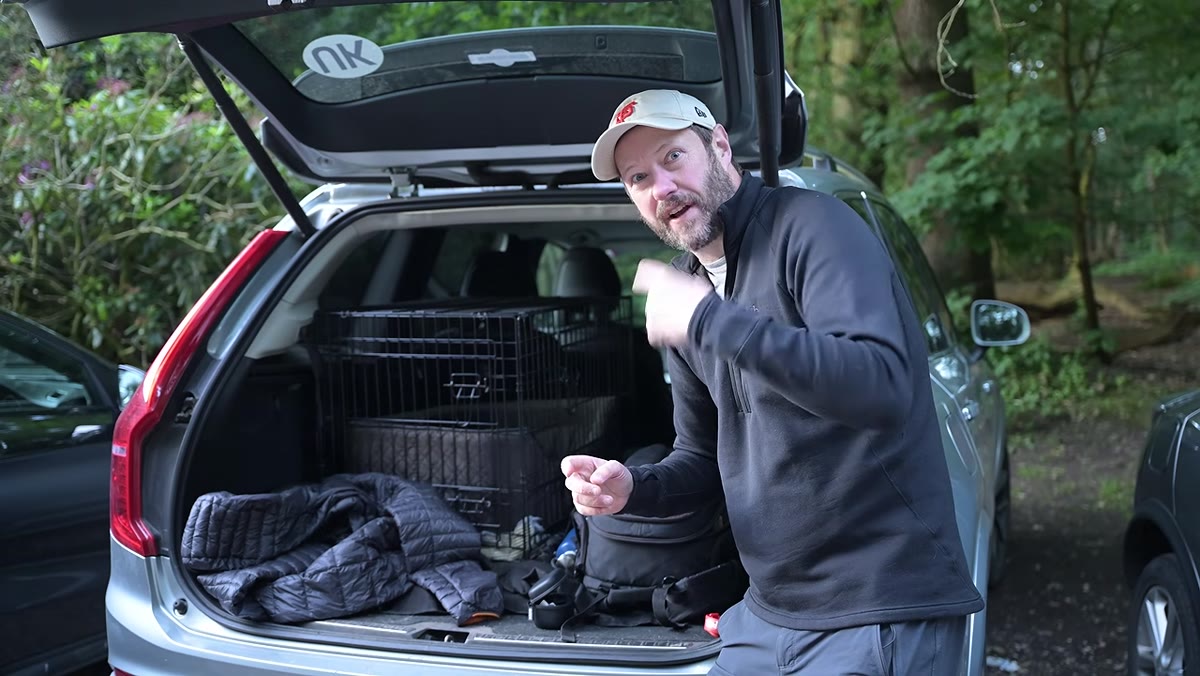
Danson uses a 30-second exposure with a 10-second self-timer delay. The delay gives him enough time to move from the camera into the scene and get into position before the exposure begins. Use a sturdy tripod, obviously, but also make sure your camera is in full manual mode with IS/VR turned off. Any in-body stabilization trying to compensate for a perfectly still tripod-mounted camera can introduce subtle blur.
Starting settings to work from: ISO 800-1600, aperture around f/5.6 to f/8 (you want enough depth of field to keep the tree sharp from base to canopy), and a 30-second shutter. You’ll adjust from there based on how bright your torch is and how close you’re painting it to the subject. Take your first frame, assess it, and move your ISO or torch distance accordingly.
Step 4: Backlight Before You Front-Light
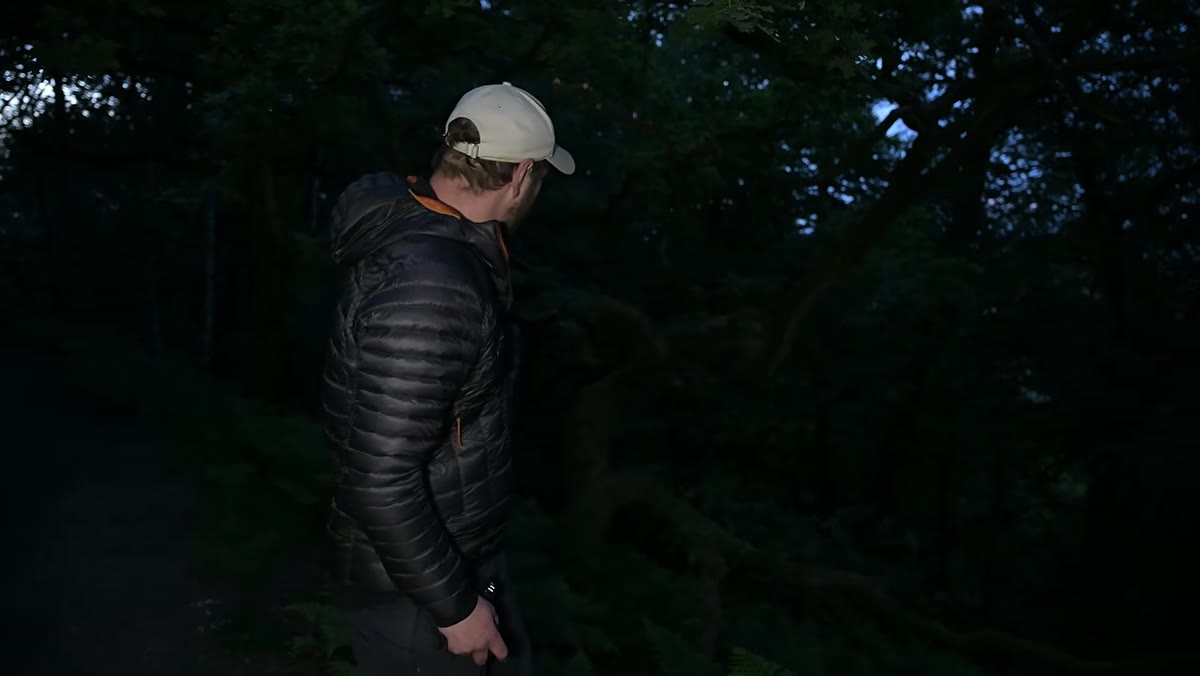 Nigel walking behind tree with torch, backlighting the oak
Danson’s first instinct is to go behind the tree and backlight it. This is the right call. Backlighting separates the subject from the background, creates rim light along the branches, and produces a far more three-dimensional result than front lighting. It’s the same principle portrait photographers use with rim lights, applied to a 300-year-old oak.
Walk behind the tree while the exposure is running, shine the torch back through the branches toward the camera, and move the light around gently during the exposure rather than holding it static. Movement during the exposure creates a more natural, less theatre-spotlight appearance.
Step 5: Work Around the Subject from Multiple Angles
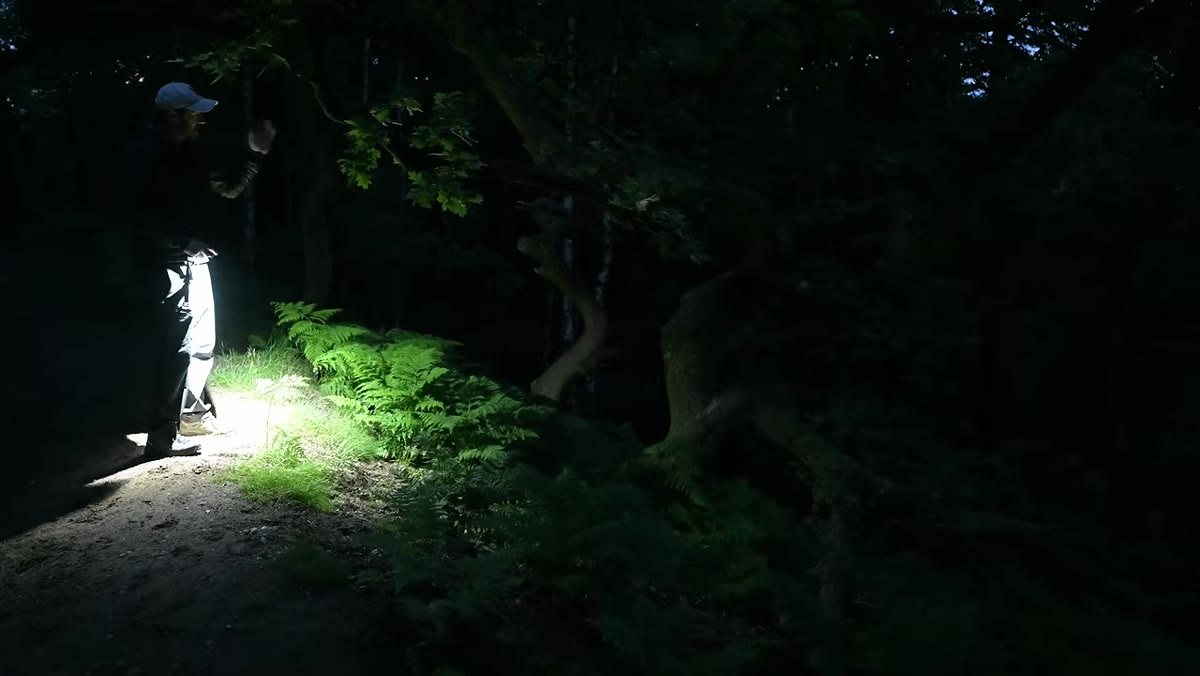 Nigel repositioning to paint light from the side of the tree
After backlighting, Danson moves to the side of the tree and paints it from a 90-degree angle. Each position creates a different quality of light and reveals different shapes in the subject. Side lighting emphasizes texture. Backlighting creates drama. Front lighting flattens and tends to look least interesting, though it has its uses for filling in shadow detail on a second pass.
Plan on running three or four exposures per tree just by changing your lighting position. You’re not wasting shots. You’re creating options, and you genuinely cannot predict which angle will work best until you see the results on screen.
Step 6: Review, Adjust, and Repeat
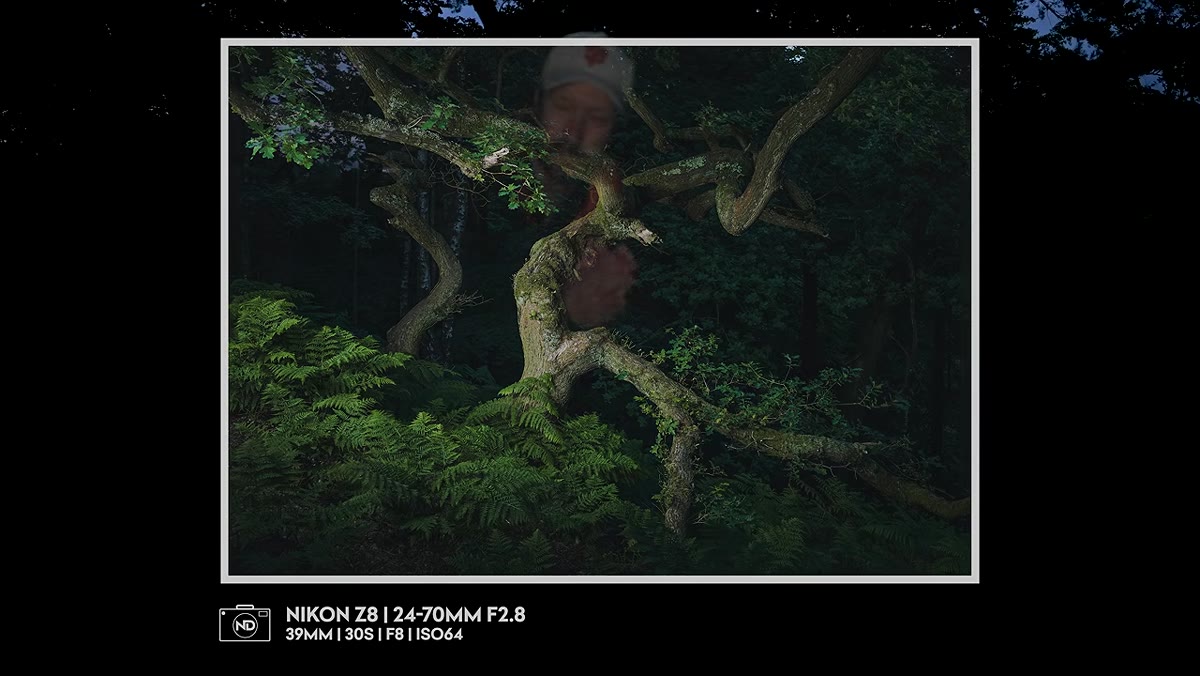 Reviewing images on camera screen in the dark
After each exposure, review the image critically on the back of your camera. Look at the histogram to confirm you’re not blowing the lit areas, and zoom in on the lit portions of the tree to check for flatness or muddiness. If the lit areas look overexposed, either move the torch farther from the subject or reduce your ISO by a stop. If the light looks patchy, you moved too fast during the exposure. Slower, more deliberate movements produce more even coverage.
Expect your first three or four exposures to feel like failures. That’s calibration, not failure.
A Note from the High Desert
I shoot mostly in the open landscapes of central Oregon, where woodland is not exactly abundant. But I’ve applied this exact technique in juniper groves and among the tortured pines that grow at elevation here, and the results translate completely. If anything, the more skeletal and wind-shaped the trees, the better the light painting works. The technique rewards strange shapes.
One thing I’d add from experience: bring two torches with different beam widths. A tight, focused beam is good for illuminating specific branches at a distance. A wider, softer beam is better for washing light across the whole form of the tree without hotspots. Having both gives you far more flexibility during a single 30-second exposure.
The single most useful thing Danson demonstrates here is that creative blocks in photography almost always respond better to new techniques than to new locations. This technique costs you nothing except a dark evening and a decent torch. If you’ve been shooting on autopilot, nighttime woodland light painting is a genuinely effective reset.
Watch the full tutorial on YouTube and pay close attention to how Suzanne and Danson discuss composition before the light fades. That pre-dark scouting phase is where the shot is really made.
Comments
Leave a Comment