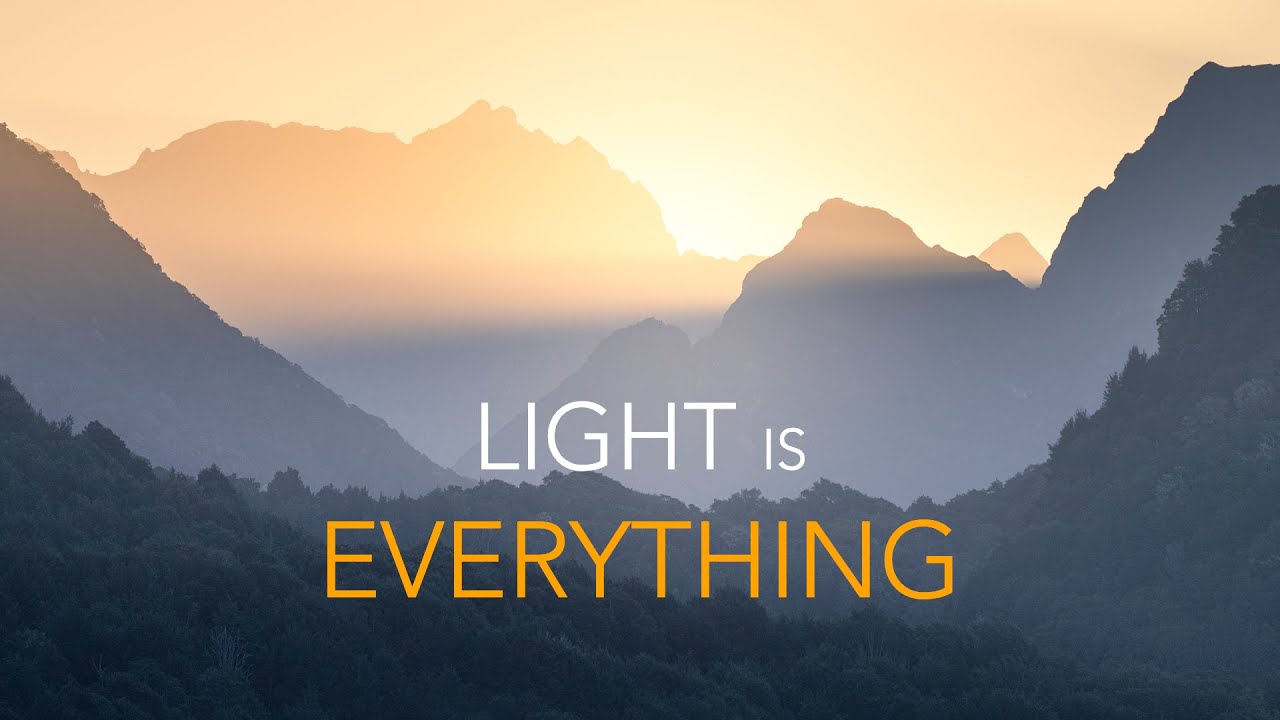
I’ve driven to locations in perfect pre-dawn darkness, set up my tripod with shaking hands, and watched the sky do absolutely nothing. No clouds, no drama, no color - just a clean blue dome fading into orange and then gone. Most photographers I know pack up and head home early when that happens. For years, I did too. The assumption runs deep in this community: no clouds means no shot. But after two decades of shooting landscapes full-time, I’ve learned that assumption costs you images.
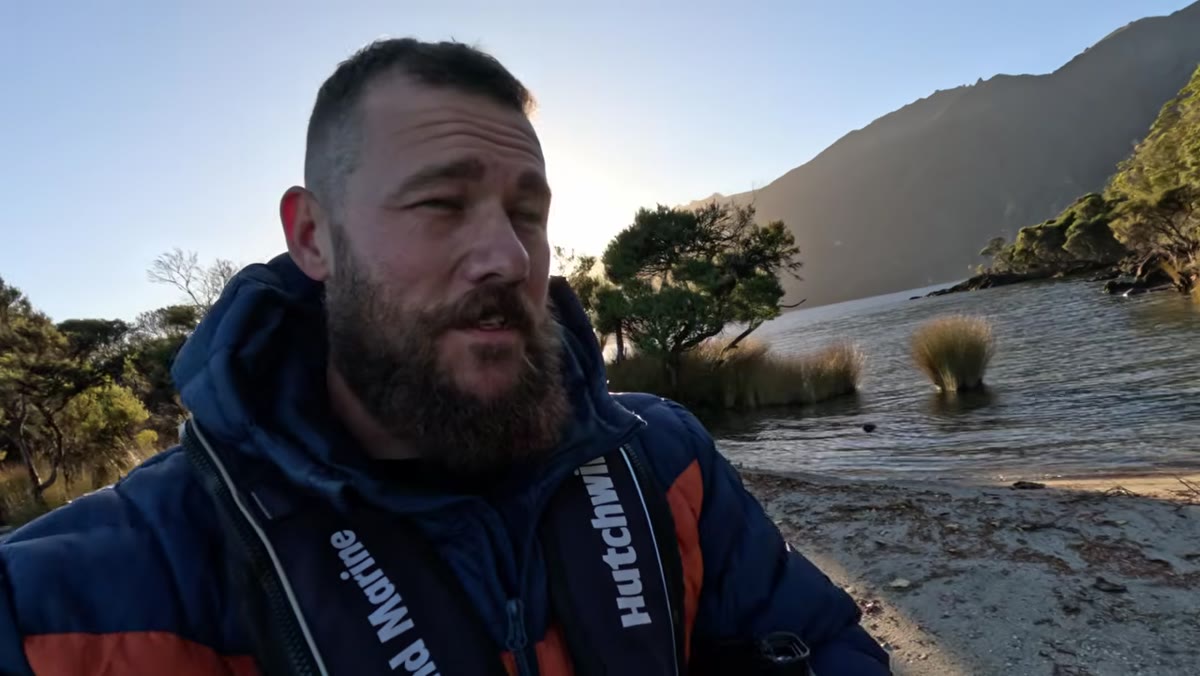
In this William Patino tutorial - filmed on location in Tierra del Fuego, Argentina - William heads out to a lake with no real intention of shooting. Clear skies, low expectations. What happens instead is a genuinely useful breakdown of how to read a clear-sky sunset scene and pull something compelling from it. Watch the full tutorial on YouTube - but what follows is my own field translation of the techniques he demonstrates, with some additions from my own experience shooting similar conditions in the high desert.
What William gets right from the start is the mindset. He wasn’t trying to force a great image. He was out for air, noticed something interesting, and let it develop. My old mentor used to say the mountain doesn’t care about your schedule - and a clear sky feels like that, like the light is daring you to pay attention instead of waiting for it to do the work for you.
Step 1: Read the Scene Before Touching Your Bag
 Wide view of lake, trees, and shadow-covered beach
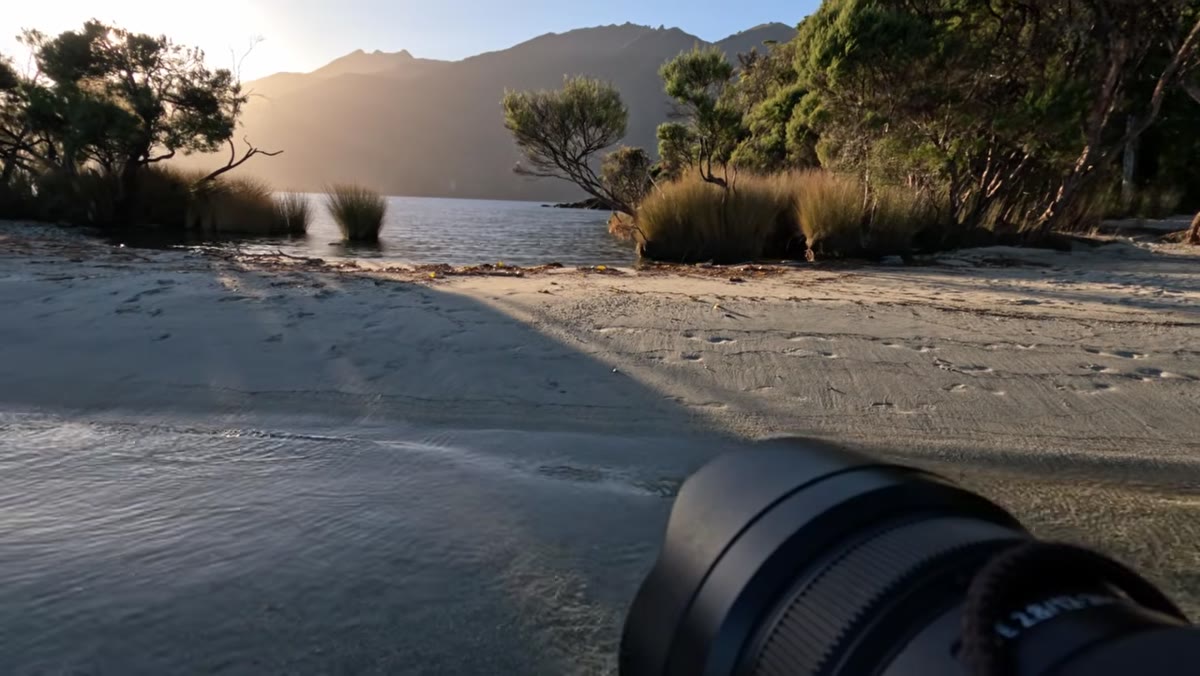
When you arrive at a location under clear skies, resist the urge to immediately set up. William spends the first several minutes walking the beach, watching how the low sun rakes across the sand and water. The long shadows at this angle of light are the feature, not a bonus. In clear conditions near sunset, the sun sits at a steep enough angle to stretch shadows dramatically across any textured surface - sand, grass, ice, shallow water. Those shadows become your leading lines, your texture, your depth.
Wide view of lake, trees, and shadow-covered beach
When you arrive at a location under clear skies, resist the urge to immediately set up. William spends the first several minutes walking the beach, watching how the low sun rakes across the sand and water. The long shadows at this angle of light are the feature, not a bonus. In clear conditions near sunset, the sun sits at a steep enough angle to stretch shadows dramatically across any textured surface - sand, grass, ice, shallow water. Those shadows become your leading lines, your texture, your depth.
Look for surfaces that will catch directional light: wet sand, still water close to shore, low vegetation. If you see long shadows running parallel to a body of water with a strong shape behind it - a mountain, a ridgeline, a treeline - you have the raw ingredients. The clear sky is not your enemy here. It’s actually giving you something overcast light never will: hard-edged, directional, shadow-forming light.
Step 2: Identify a Dominant Shape as Your Anchor
 Mountain peak visible behind tree line across the lake
Before you decide on a focal length or a position, find the strongest shape in the scene and commit to making it the unambiguous subject. William zeroes in on a prominent peak in the Murchison range across the lake. His point is simple: composition is really just the alignment of shapes, and the viewer needs one dominant shape to read the image quickly and confidently.
Mountain peak visible behind tree line across the lake
Before you decide on a focal length or a position, find the strongest shape in the scene and commit to making it the unambiguous subject. William zeroes in on a prominent peak in the Murchison range across the lake. His point is simple: composition is really just the alignment of shapes, and the viewer needs one dominant shape to read the image quickly and confidently.
Scan your scene and ask - what is the biggest, clearest shape, and where does it sit relative to natural framing elements like trees or rock formations? In clear-sky shooting, you won’t have cloud formations doing that organizational work for you. The landscape itself has to carry the structure. Find your anchor shape first, then build your composition outward from it.
Step 3: Use a Foreground Element to Block Direct Sun
 Tree silhouette partially blocking sun, backlight skimming water
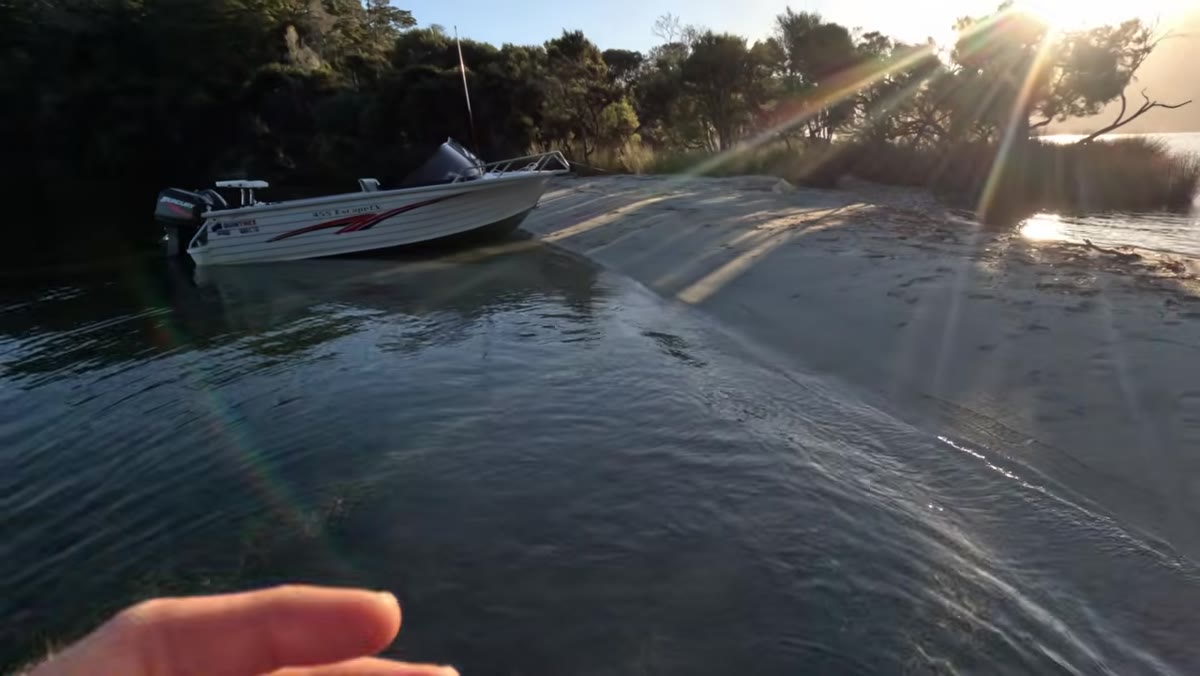
Shooting toward the sun in clear conditions creates two problems: lens flare and a blown-out highlight that competes with everything else in the frame. William’s solution is practical and elegant. He positions himself so that a tree on the left edge of the frame blocks the actual disk of the sun, while still allowing the backlight to skim across the water surface and rim-light the trees in the mid-ground.
Tree silhouette partially blocking sun, backlight skimming water
Shooting toward the sun in clear conditions creates two problems: lens flare and a blown-out highlight that competes with everything else in the frame. William’s solution is practical and elegant. He positions himself so that a tree on the left edge of the frame blocks the actual disk of the sun, while still allowing the backlight to skim across the water surface and rim-light the trees in the mid-ground.
This technique works with any vertical element near the edge of your frame - a rock face, a post, even a thick branch. The goal is to shade the lens from direct light while keeping the glow and the directional quality of the backlight in the scene. Move your body laterally until the sun just disappears behind your chosen blocker. Even a foot or two of lateral movement can make the difference between a flared mess and a clean image with beautiful, sculpted backlight.
Step 4: Use Backlight to Separate Mid-Ground Elements
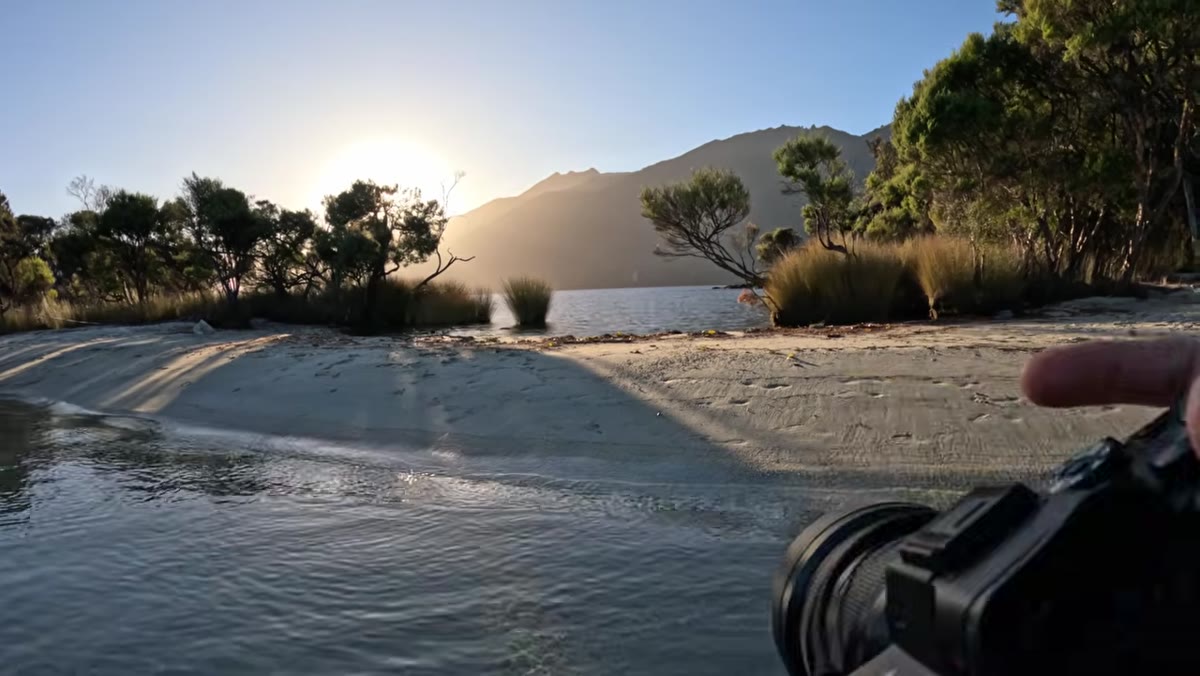 Backlit trees sharply defined against softer mountain background
This is one of the clearest demonstrations in the tutorial. With the sun blocked but its backlight still flooding the scene, the trees in the mid-ground become sharply defined silhouettes, visually separated from the mountain range behind them. William notes that softer, overcast light would make those same trees blend into the background - you’d lose the sense of depth and layering that makes the image read as three-dimensional.
Backlit trees sharply defined against softer mountain background
This is one of the clearest demonstrations in the tutorial. With the sun blocked but its backlight still flooding the scene, the trees in the mid-ground become sharply defined silhouettes, visually separated from the mountain range behind them. William notes that softer, overcast light would make those same trees blend into the background - you’d lose the sense of depth and layering that makes the image read as three-dimensional.
Backlight is a separation tool. Every layer of your scene - foreground, mid-ground, background - gets its own tonal value when backlit this way, and the eye travels through the image naturally. If you’re not getting separation between your layers, move until the backlight is more directly behind your subject. Even a slight angle change shifts how the light defines those edges.
Step 5: Watch Your Footprints and Protect the Foreground
 Clean wet sand foreground with no footprints in the shot
William mentions this almost in passing, but it’s one of those field habits that separates experienced shooters from everyone else. Before you step anywhere near a foreground surface - sand, mud, snow, shallow water - think about where your feet are going relative to your final shooting position. He walks backward into the water to get low and capture the light on the surface, keeping the clean sand in front of the lens untouched.
Clean wet sand foreground with no footprints in the shot
William mentions this almost in passing, but it’s one of those field habits that separates experienced shooters from everyone else. Before you step anywhere near a foreground surface - sand, mud, snow, shallow water - think about where your feet are going relative to your final shooting position. He walks backward into the water to get low and capture the light on the surface, keeping the clean sand in front of the lens untouched.
The fix once you’ve tracked through a pristine foreground is messy and often impossible on location. Scout your path before you commit, and if you’re working with a tripod, place it first from a distance and then step carefully around it. I’ve stood in knee-deep cold water in October more than once just to keep the shot clean - it’s worth it.
A Note From My Own Experience Shooting Clear-Sky Sunsets
After shooting clear-sky conditions in the high desert around Bend for years, I’d add one thing William doesn’t specifically address here: the window is shorter than you think. In cloud-filled sunsets, the best color often comes after the sun drops below the horizon. In clear-sky conditions, once the sun goes down, the warm raking light disappears almost immediately. You have maybe ten to fifteen minutes from the point where the shadows go long to the point where the light loses its quality entirely.
That compression forces you to be decisive. I find it useful to have a primary composition locked in before the light hits that final sweet spot, so I’m making exposure adjustments rather than still hunting for a frame. Use the fifteen minutes before your target window to scout and set up. Let the light come to you rather than scrambling after it.
The single most important takeaway here is this: clear skies force you to become a better observer. You can’t lean on dramatic cloud formations or color-saturated skies. You have to read the light, find the shapes, and work the geometry of the scene. Those are the foundational skills that make every other kind of shoot better.
Watch the full tutorial on YouTube to see William work through this in real time - watching him physically move to block the sun and reading how he describes what he’s seeing is worth the twenty minutes on its own.
Comments
Leave a Comment