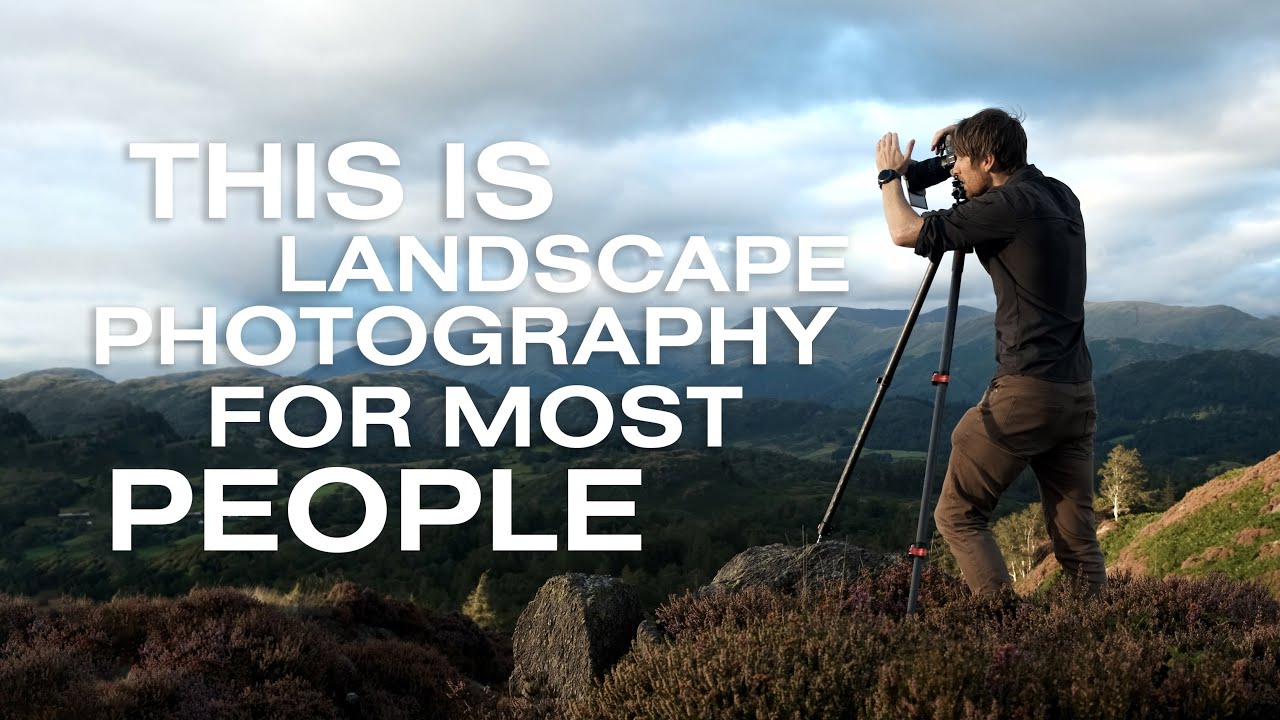
Most of my best work has not come from perfectly orchestrated shoots. It has come from weekends where I had half a day, mediocre weather, and a location I half-remembered from a drive-through three years ago. I used to feel guilty about those trips, like I was doing photography wrong. Twenty years of waking before sunrise has taught me otherwise. The constraint is not the enemy of the image. Sometimes it is the whole point.
That is exactly what Thomas Heaton explores in this tutorial, and it hit close to home the first time I watched it. Watch the full tutorial on YouTube before or after reading this breakdown. Heaton heads out to the Lake District on a UK bank holiday weekend with no detailed location scouted, a narrow shooting window, and crowds everywhere. Rather than waiting for ideal conditions, he works within reality. For anyone who has ever postponed a shoot waiting for the perfect forecast, or skipped a trip because they could not get to somewhere dramatic, this one is worth your full attention.
What makes his approach useful is that it mirrors how most of us actually shoot. Not the highlight-reel expeditions to Iceland or Patagonia, but Tuesday evenings after work and holiday weekends squeezed between family obligations. Heaton does not pretend those sessions are lesser. He treats them as the actual practice of landscape photography.
Step 1: Accept the Conditions You Have, Not the Ones You Wanted
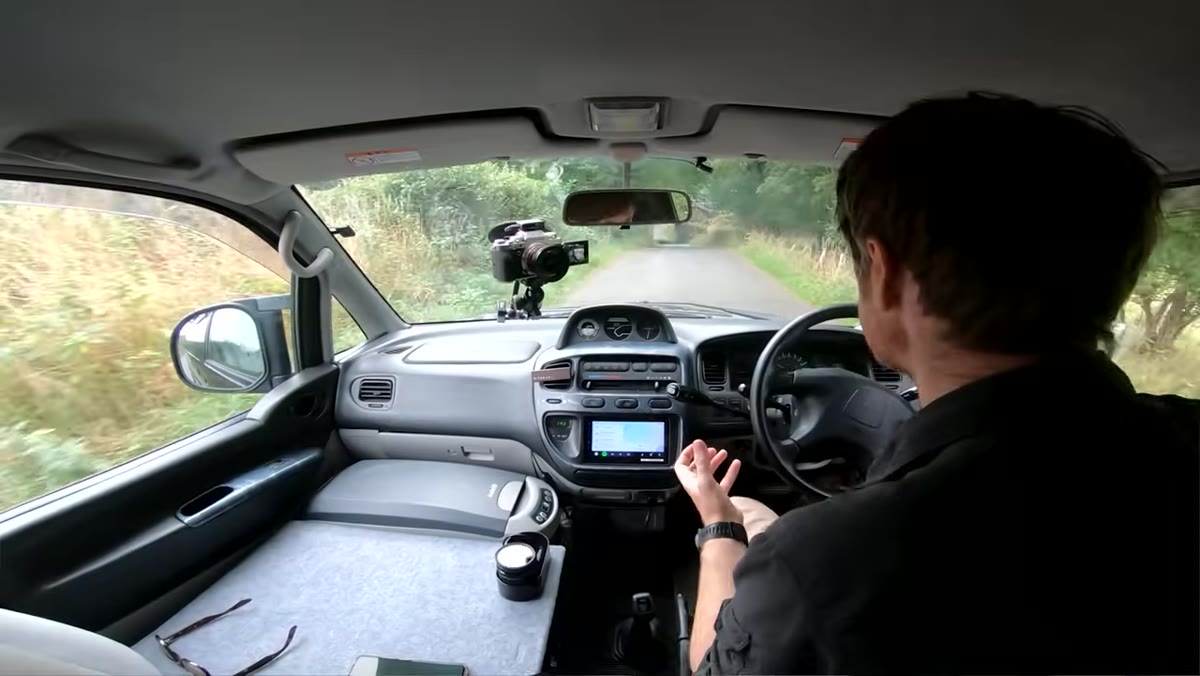
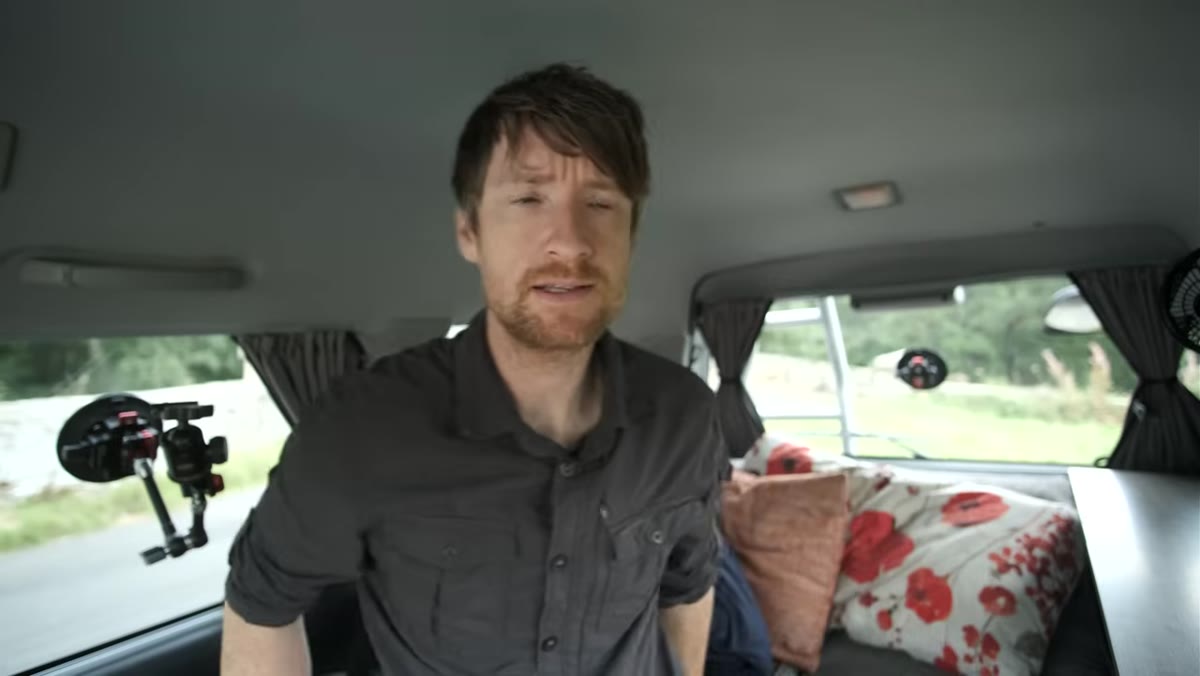 Heaton driving van, acknowledging limited time and no firm plan
Before you even pick up the camera, there is a mental shift that needs to happen. Heaton sets out with full awareness that his timing is imperfect, the crowds are out, and the weather is unpromising. He does not spend the opening of his day lamenting any of that. He names the constraints clearly and then moves forward anyway.
This sounds obvious, but it changes everything about how you shoot. When I go out knowing the light will be flat, I stop waiting for a moment that is not coming and start looking for what the flat light actually reveals. Texture. Moodiness. Subtle gradations in a hillside that hard light would blow out completely. The discipline is in redirecting your eye rather than arguing with the sky.
Step 2: Use Overnight Mobility to Unlock Timing
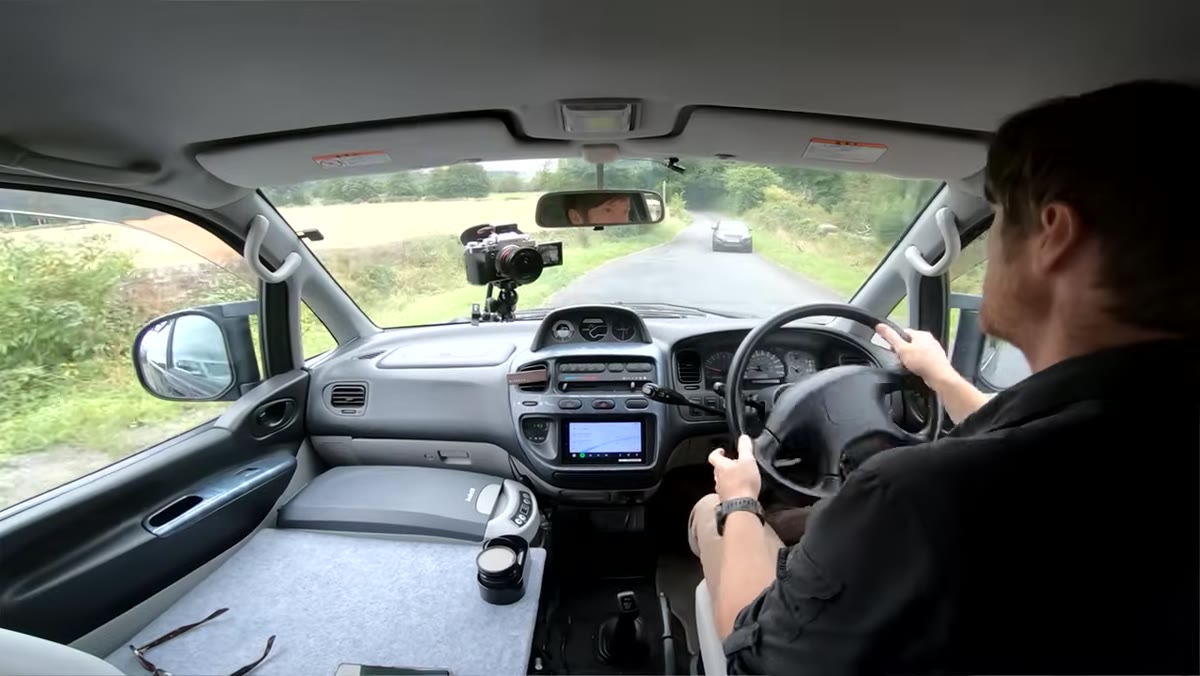 Van interior shown, Heaton explaining overnight capability
Heaton travels in a camper van, and he is direct about why this matters for landscape photography specifically. It is not about comfort. It is about being in position for the light that actually counts, which almost always falls at dawn or dusk, often in places that are an hour or more from anywhere you would reasonably stay the night.
You do not need a van to apply this principle. A tent works. So does booking a guesthouse close to the location rather than the nearest town with good restaurants. The point is to remove the commute between sleep and the shot. When I ran a workshop in the Cascades last fall, the photographers who had camped at the trailhead consistently got the frames the hotel-staying participants missed, not because they were more talented, but because they were already there when the alpenglow hit. Close the distance between where you sleep and where you want to be standing at 5am.
Step 3: Carry Multiple Camera Systems for Weather and Subject Flexibility
 Camera bag open showing full-frame, bridge camera, and infrared body
Heaton mentions traveling with a standard full-frame digital body, a bridge camera, and an infrared camera. The takeaway is not to buy more gear. It is to think deliberately about what different tools allow you to do when conditions shift.
An infrared body, for example, transforms a grey overcast day. Cloud cover that would ruin a standard shot can produce stunning contrast in infrared, particularly with foliage and moving water. A lighter bridge or mirrorless camera lets you move faster when you are scouting on foot and do not want to haul a full kit. Before your next trip, spend ten minutes thinking about what your location and forecast might demand, and whether the one body you always grab is actually the right tool for those specific conditions.
Step 4: Choose Locations That Naturally Shed Crowds
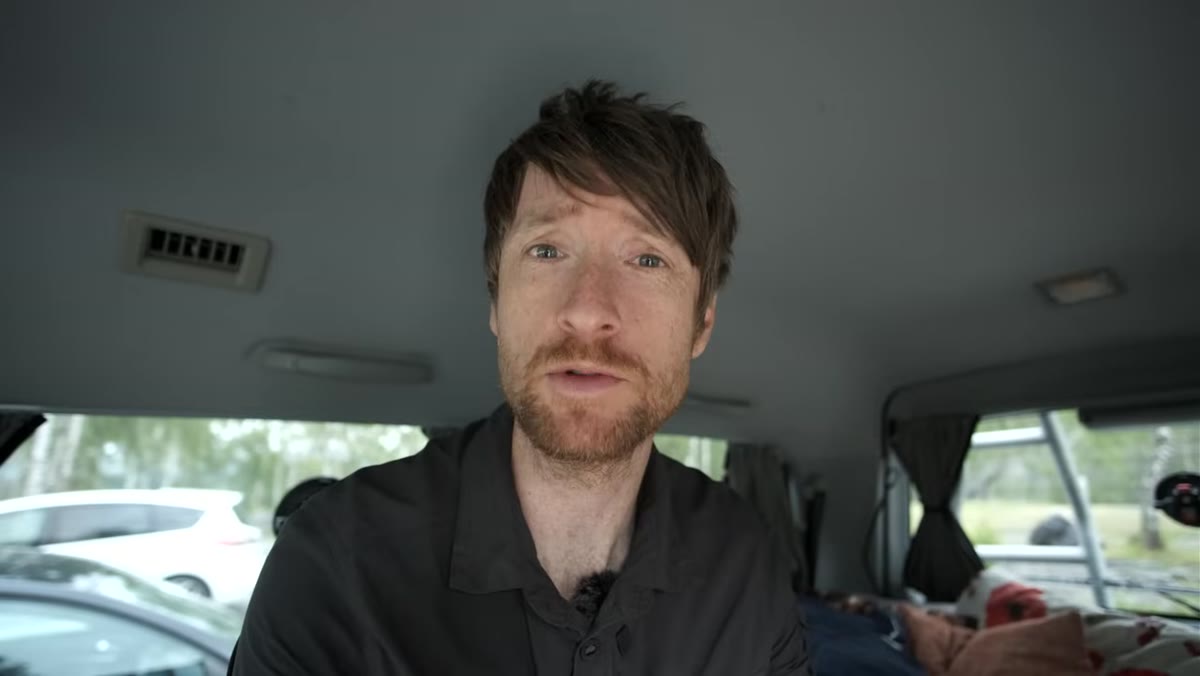 Heaton parking at quieter spot above the main quarry area
On a bank holiday, the famous viewpoints will be packed. Heaton’s solution is not to avoid popular regions entirely but to push slightly beyond the obvious stopping points. He finds a hillside above a quarry area, where the main draw keeps people occupied below while the high ground behind it offers open landscape and genuine solitude.
The practical version of this in your own shooting: use a popular trailhead as your starting point, then walk further than most visitors bother to go. Even twenty additional minutes of hiking tends to separate you from the casual day-tripper. I keep a rough mental list of locations I have found this way, usually by arriving intending to shoot one thing and ending up somewhere better by just continuing past where everyone else turned around.
Step 5: When the Grand Vista Is Gone, Go for Details and Mood
 Clouds covering hills, Heaton adjusting plan to walk and explore
Overcast and cloud-covered hills mean the sweeping panoramic shot is off the table. Heaton responds by shifting mode entirely. He goes for a walk with the intention of finding intimate landscape details rather than forcing a composition that the conditions will not support.
This is a habit that took me years to build properly. Early in my career I would go to a location for a specific shot, and if conditions denied it, I came home with nothing. Now I treat the conditions as a brief. Low flat clouds? I am looking for water reflections, close-up textures in rock and moss, and anything that benefits from soft diffuse light. Strong wind with broken cloud cover? I am working on motion blur in grass and long-exposure water. The composition you planned is a starting point, not a contract.
What I Would Add from My Own Experience
The hardest part of Heaton’s approach, the part he demonstrates more than he explains outright, is staying genuinely curious when the shoot is not going your way. It is easy to stay motivated when everything lines up. It takes a different kind of attention to keep looking when the clouds are wrong, the crowds showed up, and your original plan fell apart before you got out of the van.
A mentor told me once that the mountain does not care about your schedule. I have repeated that to myself on more bad-weather shoots than I can count. What it means in practice is that the landscape is always doing something, even when it is not doing what you came to see. Your job is to notice what it is actually doing, not to mourn what it is not.
For shooting in overcast conditions specifically, I often drop my aperture narrower than I normally would, around f/11 to f/14, to maximize sharpness across a scene when I am going for detail-oriented compositions. Soft light forgives a lot, but it also tends to flatten depth, so sharpness throughout the frame helps the image hold together.
If there is one idea to carry out of this tutorial, it is that the conditions most photographers treat as reasons to stay home are the conditions under which most actual photography gets made. Limited time, imperfect weather, and crowded locations are not exceptions to landscape photography. They are the norm. Heaton shoots through them without complaint and comes back with work worth watching.
Watch the full tutorial on YouTube and pay particular attention to how he narrates his decision-making in real time. That commentary, the constant adjusting and reframing of expectations, is the real lesson.
Comments
Leave a Comment