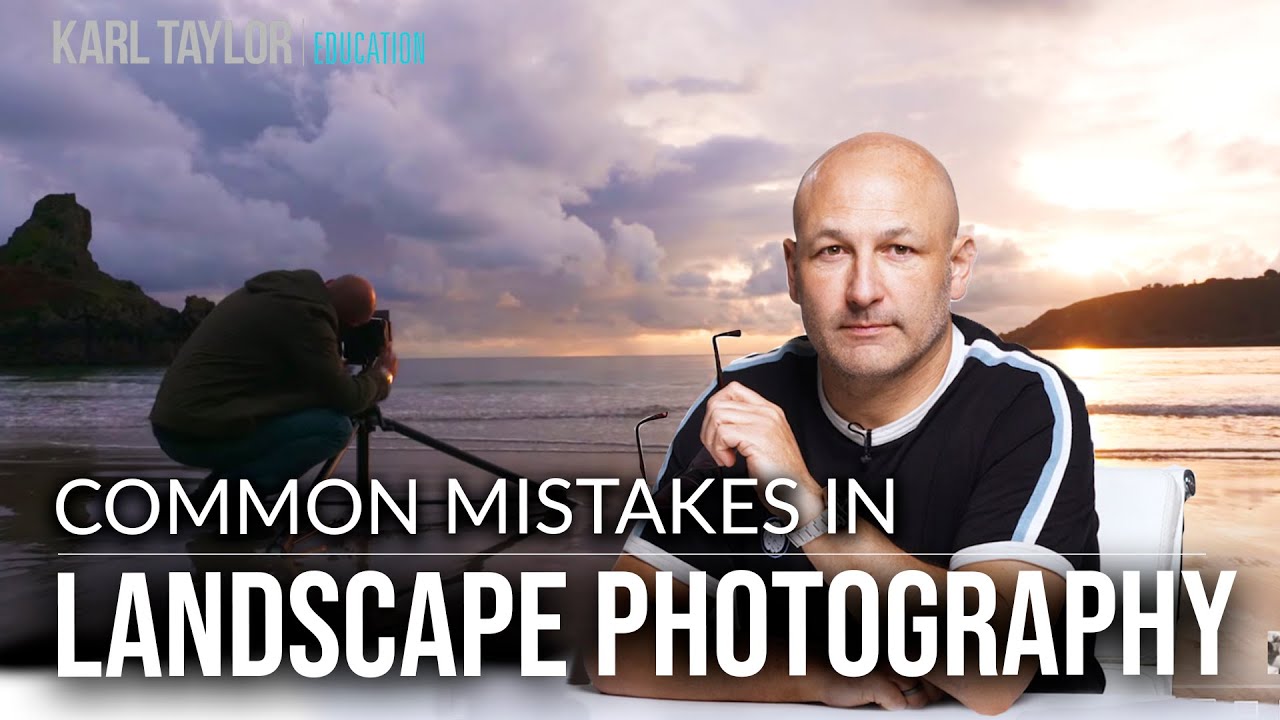
There’s a particular kind of humility that comes with twenty years of waking before dawn and standing in cold water with a camera. You’d think by now I’d have ironed out every bad habit. And mostly, I have. But watching this Visual Education tutorial on common landscape photography mistakes last week, I found myself nodding along at things I still catch myself doing when I’m tired, rushed, or just too eager to shoot. That’s what a good tutorial does. It doesn’t just teach beginners. It gives experienced photographers a clean vocabulary for the sloppy instincts they’ve never fully examined.
Watch the full tutorial on YouTube
The video is concise, honest, and rooted in real critique work rather than theoretical advice. The creator draws from reviewing actual member images, which means these aren’t hypothetical mistakes. They’re the ones people are making right now, in the field, on real locations. That practical foundation is exactly why I wanted to break it down here and add some notes from my own experience working landscapes full-time in the Pacific Northwest.
Step 1: Plan Before You Leave the House
 Map or weather app open before a landscape shoot
This is the mistake that costs photographers the most and gets the least attention in tutorials. Everyone talks about composition and light, but fewer people talk about the unglamorous pre-shoot research that determines whether you even have a chance at a great image. Before you leave, you need to know the sun’s angle and direction, the tide schedule if you’re shooting coastal, the weather forecast, and the quality of light you can realistically expect.
Map or weather app open before a landscape shoot
This is the mistake that costs photographers the most and gets the least attention in tutorials. Everyone talks about composition and light, but fewer people talk about the unglamorous pre-shoot research that determines whether you even have a chance at a great image. Before you leave, you need to know the sun’s angle and direction, the tide schedule if you’re shooting coastal, the weather forecast, and the quality of light you can realistically expect.
Tools like PhotoPills, The Photographer’s Ephemeris, and even basic weather apps give you this information for free. A falling tide leaves wet rocks that catch highlights and reflections beautifully. A rising tide leaves them dry and flat. That one detail changes the character of a seascape entirely. Knowing it before you drive two hours saves you from a frustrating morning staring at disappointing conditions you could have predicted.
Step 2: Be Deliberate With Your Composition
 Photographer adjusting foreground element placement in a coastal scene
Shooting what you see is not the same as composing an image. This distinction is the thing that separates a snapshot from a photograph. The tutorial makes a point that stuck with me: you have to train yourself to see what isn’t immediately apparent. What will this scene look like in forty-five minutes when the light drops lower? What happens when that cloud moves?
Photographer adjusting foreground element placement in a coastal scene
Shooting what you see is not the same as composing an image. This distinction is the thing that separates a snapshot from a photograph. The tutorial makes a point that stuck with me: you have to train yourself to see what isn’t immediately apparent. What will this scene look like in forty-five minutes when the light drops lower? What happens when that cloud moves?
Being deliberate means actively constructing the frame. The tutorial mentions physically moving a small rock or repositioning a piece of driftwood to anchor the foreground and give the eye somewhere to land. I do this constantly and used to feel vaguely guilty about it, like I was cheating. I don’t anymore. You’re not fabricating anything. You’re editing the physical scene the same way you’d edit in post. The goal is always a more coherent, more intentional image. Find your leading line, establish your foreground interest, and then ask yourself what the image is actually saying before you press the shutter.
Step 3: Shoot at the Right Time of Day
 Golden hour light falling across a coastal landscape scene
Midday light is flat, harsh, and directional in all the wrong ways. The tutorial is direct about this: wandering with a camera in the middle of the day usually produces mediocre results. The magic hour, roughly thirty minutes before and after sunrise or sunset, is where landscape photography lives. The light is warm, raking, and dimensional. Shadows have length. Colors saturate naturally.
Golden hour light falling across a coastal landscape scene
Midday light is flat, harsh, and directional in all the wrong ways. The tutorial is direct about this: wandering with a camera in the middle of the day usually produces mediocre results. The magic hour, roughly thirty minutes before and after sunrise or sunset, is where landscape photography lives. The light is warm, raking, and dimensional. Shadows have length. Colors saturate naturally.
But the tutorial also makes a useful point that goes beyond the golden hour talking point. Cityscapes and urban environments often look best at twilight, when there’s still a deep blue tone in the sky that keeps buildings from dissolving into a black void. And on overcast days, long exposures with strong neutral density filters can produce smooth, atmospheric results regardless of the hour. The actual skill here is reading conditions and adapting your timing to the specific scene in front of you, not just following a rule about sunrise.
Step 4: Understand What Your Camera Settings Are Actually Doing
 Camera settings being adjusted on location in the field
The tutorial gestures at something important in its final points: knowing your gear deeply enough that the technical side becomes invisible. In landscape photography, you’re often working fast, in low light, with cold hands, and sometimes on unstable ground. If you’re still puzzling through your menu system when the light peaks, you’ve already lost the shot.
Camera settings being adjusted on location in the field
The tutorial gestures at something important in its final points: knowing your gear deeply enough that the technical side becomes invisible. In landscape photography, you’re often working fast, in low light, with cold hands, and sometimes on unstable ground. If you’re still puzzling through your menu system when the light peaks, you’ve already lost the shot.
For most landscape work, you’re shooting in aperture priority or full manual. An aperture between f/8 and f/11 gives you the sharpness across a deep scene that landscapes demand. ISO should stay as low as your conditions allow, typically 100 to 400, to preserve shadow detail and keep noise out of smooth sky gradients. Use a remote shutter release or your camera’s built-in timer to eliminate vibration, especially on long exposures. These aren’t advanced settings. They’re fundamentals that should be second nature before you’re standing on a cliff at 4:45am trying to catch a sunrise.
Step 5: Stop Treating Every Outing as a Trophy Hunt
 Photographer standing in a landscape, waiting and observing
This isn’t stated as bluntly in the tutorial, but it threads through all five mistakes: the photographers who struggle most are the ones treating landscape photography as a transaction. Go to location. Get shot. Leave. That mindset pushes you into rushing, skipping research, and grabbing whatever the scene offers rather than working it.
Photographer standing in a landscape, waiting and observing
This isn’t stated as bluntly in the tutorial, but it threads through all five mistakes: the photographers who struggle most are the ones treating landscape photography as a transaction. Go to location. Get shot. Leave. That mindset pushes you into rushing, skipping research, and grabbing whatever the scene offers rather than working it.
The tutorial’s critique framework, built from reviewing real images, shows this clearly. The common mistakes aren’t about technical failures. They’re about impatience and passivity. Good landscape photography is active waiting. You prepare obsessively, you arrive early, and then you sit with the place and let it show you something.
What Twenty Years Adds to This
A mentor told me early in my career that the mountain doesn’t care about your schedule. I’ve thought about that line on every difficult shoot since. The tutorial covers these five mistakes cleanly and correctly. What it can’t fully convey is that the mistakes compound. You skip the research, so you arrive at the wrong tide. You arrive at the wrong tide, so you rush the composition. You rush the composition, so you end up with a technically acceptable image that says absolutely nothing.
The photographers whose work genuinely stops people are the ones who treat each of these five areas as non-negotiable. Planning is non-negotiable. Intentional composition is non-negotiable. Correct timing is non-negotiable. Camera fluency is non-negotiable. And patience, that might be the most non-negotiable thing of all.
The single most important thing this tutorial reinforced for me is that landscape photography rewards preparation more than any other genre I know. The light you came for will happen for maybe twelve minutes. Everything you do before that moment determines whether you’re ready for it.
Watch the full tutorial on YouTube and pay particular attention to how the critique examples are framed. Seeing real images analyzed against these five mistakes is more instructive than any abstract explanation.
Comments (2)
Solid advice. Especially the part about taking your time with it.
This is fantastic. I've been recommending this approach to my readers too.
Leave a Comment