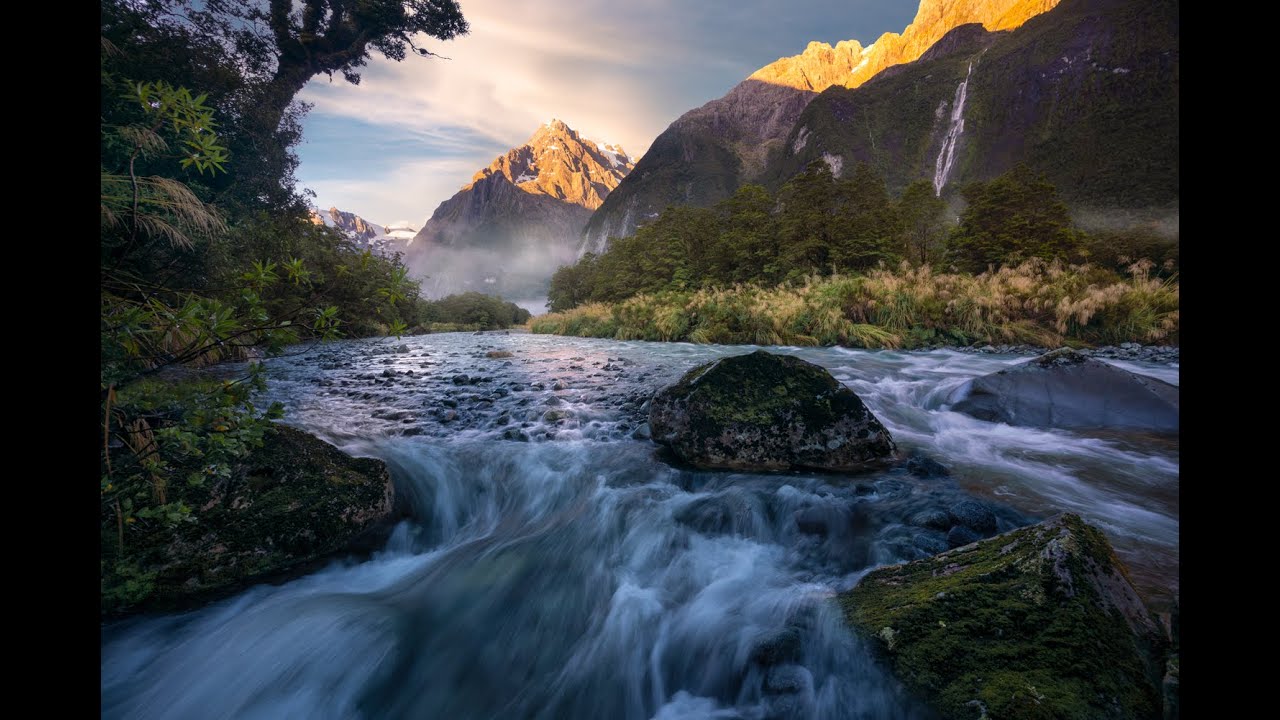
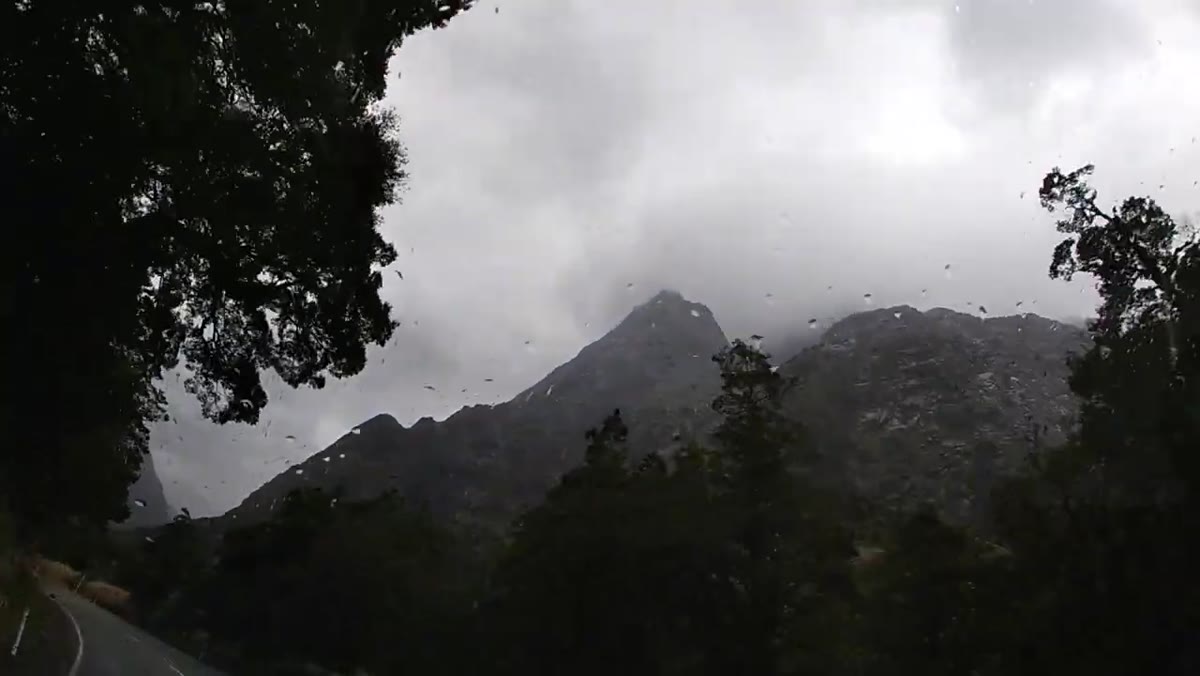
There’s a particular kind of shoot that doesn’t go the way you planned, and ends up being the one you talk about for years. I’ve had enough of those to recognize them in someone else’s footage. In this William Patino tutorial, he heads into Fiordland, New Zealand, with his shooting partner Federico to photograph Mount Tutoko, the tallest peak in the region. The weather is marginal, the trail is a swamp, and sandflies are getting on the lens. By the end, the fog rolls in at exactly the right moment and the whole scene transforms. Watch the full tutorial on YouTube
What I find valuable about this video isn’t the destination, though Fiordland is extraordinary. It’s the decision-making throughout. Patino models something that takes most photographers years to internalize: you commit to the location, you solve problems as they appear, and you stay long enough for conditions to shift in your favor. My old mentor used to say the mountain doesn’t care about your schedule. This video is essentially a two-hour demonstration of that principle compressed into watchable form.
I keep coming back to it because it mirrors problems I face regularly, specifically how to keep shooting when conditions are difficult, how to stay flexible with composition in fast-changing light, and when to simplify rather than reach for more. These aren’t beginner questions. They’re the ones that separate adequate landscape work from the images that actually stop people.
Step 1: Commit to the Location Despite Uncertain Conditions
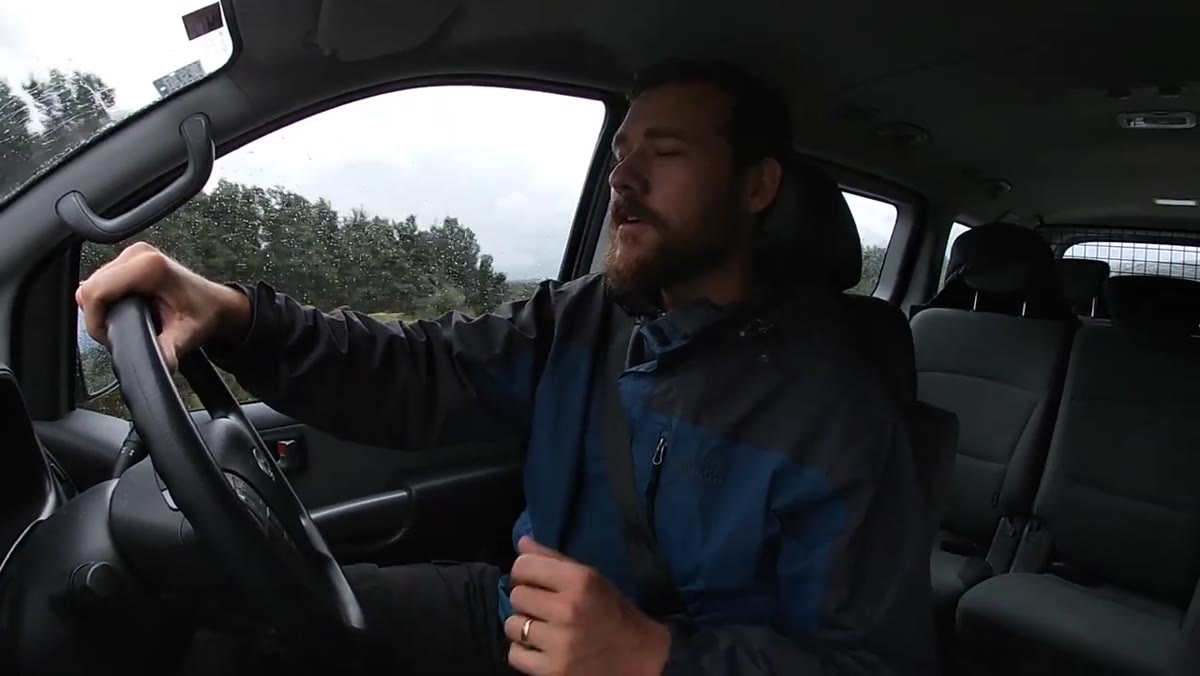 Patino and Federico loading gear before entering Fiordland trail
Patino makes the call to go in while the weather is still unsettled, with clearing forecast a few hours out. This is a discipline worth practicing deliberately. Waiting for a perfect forecast in a place like Fiordland means you often don’t go at all. The approach here is to assess the direction conditions are trending, not where they are right now. He notes the weather has already started improving in the last ten minutes before they even leave. That small signal is enough.
Patino and Federico loading gear before entering Fiordland trail
Patino makes the call to go in while the weather is still unsettled, with clearing forecast a few hours out. This is a discipline worth practicing deliberately. Waiting for a perfect forecast in a place like Fiordland means you often don’t go at all. The approach here is to assess the direction conditions are trending, not where they are right now. He notes the weather has already started improving in the last ten minutes before they even leave. That small signal is enough.
Practically, this means checking hourly forecasts and looking for the movement of fronts rather than a single snapshot reading. Build in enough time on location to catch the tail end of a clearing, which is almost always the most dramatic light anyway.
Step 2: Gear Selection for Wet Terrain is Part of the Photographic Plan
 Waders visible on pack, trail visibly waterlogged
Patino brings waders, and it’s not incidental. The trail to Tutoko runs through significant standing water and deep mud, and arriving without appropriate footwear would mean either turning back or shooting from compromised positions. He notes the waders have no grip, which affects pace and stability on the walk in. That kind of honest gear assessment matters.
Waders visible on pack, trail visibly waterlogged
Patino brings waders, and it’s not incidental. The trail to Tutoko runs through significant standing water and deep mud, and arriving without appropriate footwear would mean either turning back or shooting from compromised positions. He notes the waders have no grip, which affects pace and stability on the walk in. That kind of honest gear assessment matters.
For wet terrain shoots, I think about this in terms of what I’m willing to wade into, literally. Waders or waterproof gaiters change which compositions are available to you. If you’re shooting in a river valley and you can’t get your feet wet, you’re locked out of low foreground angles near the water. The gear choice is a compositional choice.
Step 3: Shoot Opportunistically on the Approach, but Keep Moving
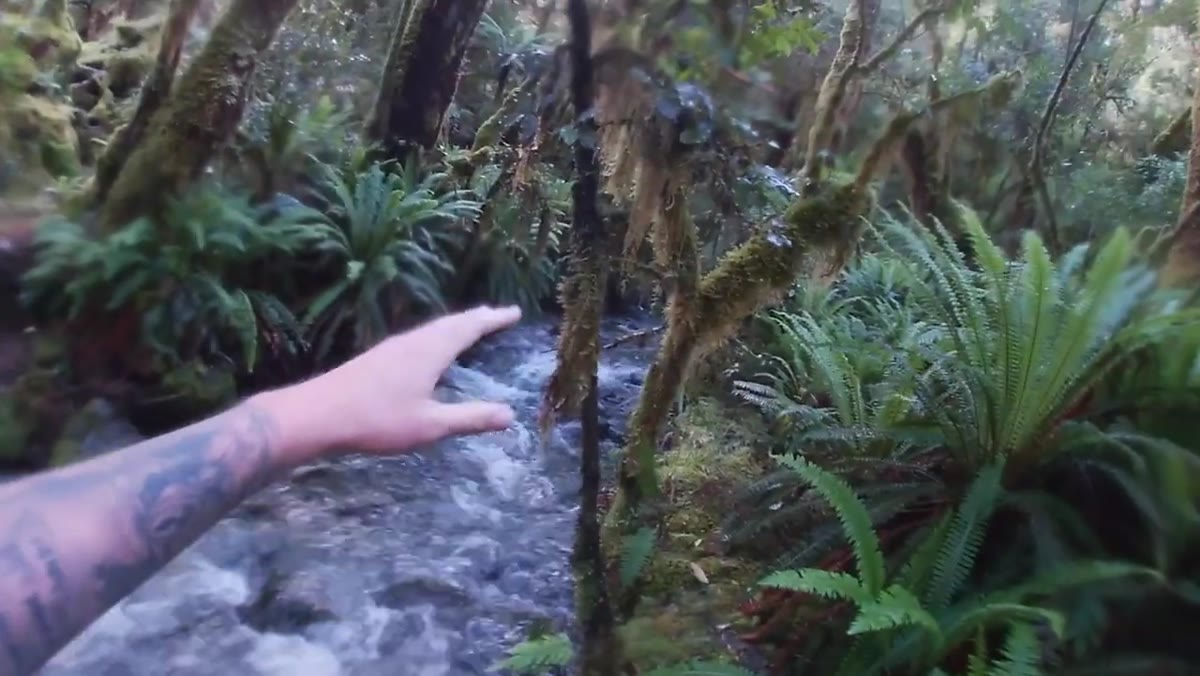 Patino stopping at a stream to frame a quick composition
About twenty minutes into the walk, Patino stops at a small stream and works a few frames. He’s tempted by the light, notes the sun nearly breaking through for a sunstar, and spends a few minutes before moving on. The discipline is in knowing when to linger and when to keep the main goal in sight. He doesn’t blow the afternoon light on the approach.
Patino stopping at a stream to frame a quick composition
About twenty minutes into the walk, Patino stops at a small stream and works a few frames. He’s tempted by the light, notes the sun nearly breaking through for a sunstar, and spends a few minutes before moving on. The discipline is in knowing when to linger and when to keep the main goal in sight. He doesn’t blow the afternoon light on the approach.
This is a judgment call I get wrong occasionally even after twenty years. My rule now is this: if the composition in front of me is significantly better than what I expect to find at the primary location, I stop and work it properly. If it’s merely good, I shoot two or three frames and move. The approach shot is not the assignment.
Step 4: Read Changing Conditions as Compositional Information
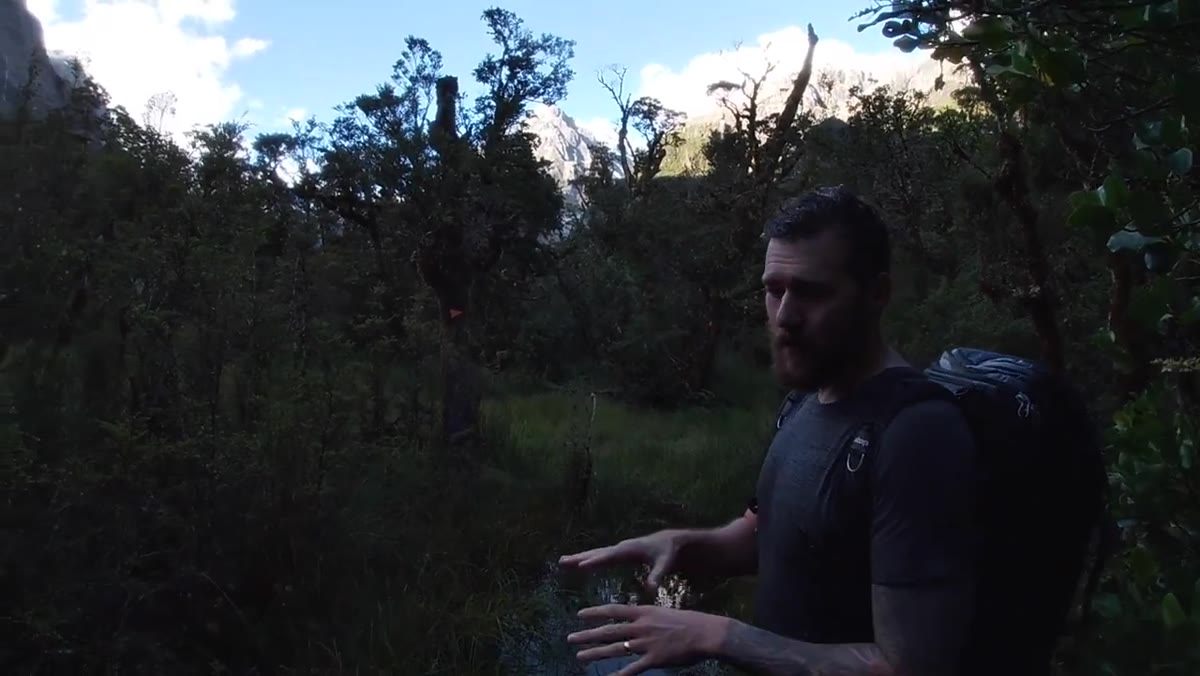 Fog and mist beginning to rise off the valley river
When Patino reaches the valley floor near Tutoko, mist is rising off the river and the fog is shifting every few minutes. Rather than treating this as a problem, he reads it as material. The changing atmosphere becomes part of his compositional thinking. He notes he’s watching it transform minute by minute and adjusting where he points the camera.
Fog and mist beginning to rise off the valley river
When Patino reaches the valley floor near Tutoko, mist is rising off the river and the fog is shifting every few minutes. Rather than treating this as a problem, he reads it as material. The changing atmosphere becomes part of his compositional thinking. He notes he’s watching it transform minute by minute and adjusting where he points the camera.
In practice, this means arriving at your location early enough to observe how light and atmosphere are moving before you commit to a single frame. Fifteen minutes of watching costs you nothing and often shows you something that isn’t visible in the first thirty seconds.
Step 5: Use a Polarizer to Manage Water Glare and Clarify the Scene
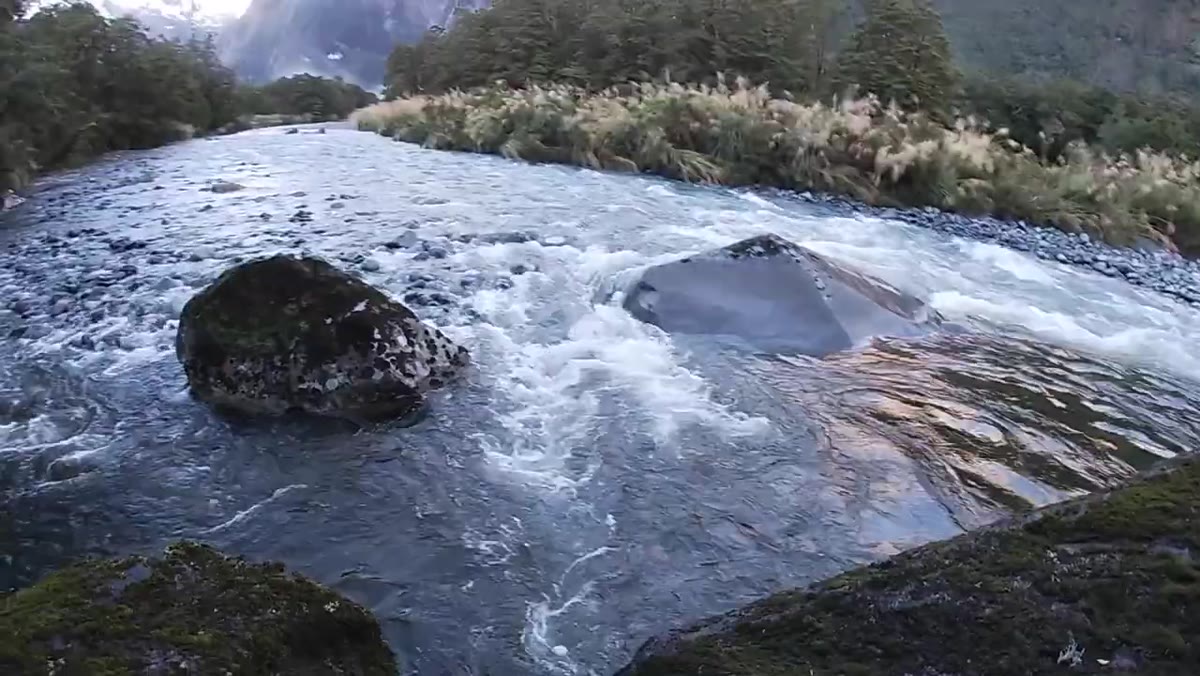 Polarizer being fitted to lens over the river foreground
With the river in the foreground and soft, diffused light, Patino fits a polarizer. The effect on the water is immediate, cutting surface glare and allowing the river texture and color to read clearly. He’s not using it to manufacture drama. He’s using it to remove visual noise.
Polarizer being fitted to lens over the river foreground
With the river in the foreground and soft, diffused light, Patino fits a polarizer. The effect on the water is immediate, cutting surface glare and allowing the river texture and color to read clearly. He’s not using it to manufacture drama. He’s using it to remove visual noise.
The practical note here is rotation. A polarizer has maximum effect when the light source is roughly ninety degrees from your shooting axis. In overcast conditions like these, the effect is subtler but still useful, especially on wet rocks and moving water. Take a test frame without it before you commit.
Step 6: Simplify the Composition When the Scene is Complex
 Wide valley composition with waterfall, river, and Tutoko framed
Patino explicitly names his compositional intention here: the waterfall needs to be in the frame, the cascades in the foreground are supporting elements not the subject, and the mountain sits dominant in the middle distance. He’s thinking in layers and making deliberate decisions about hierarchy. He mentions keeping it simple and not overcomplicating the scene.
Wide valley composition with waterfall, river, and Tutoko framed
Patino explicitly names his compositional intention here: the waterfall needs to be in the frame, the cascades in the foreground are supporting elements not the subject, and the mountain sits dominant in the middle distance. He’s thinking in layers and making deliberate decisions about hierarchy. He mentions keeping it simple and not overcomplicating the scene.
When a location gives you too much, which Fiordland absolutely does, the instinct is to try to include everything. That usually produces a busy frame with no clear entry point. Pick the one element that justifies the hike and build everything else in service of it. For Patino, that element is Tutoko. The waterfall earns its place because it creates movement and directs the eye inward.
A Note from My Own Experience with Fast-Moving Fog
The fog surge Patino describes near the end of the shoot is the kind of moment that punishes you if you’ve already packed up. I learned this the hard way on a Columbia River Gorge shoot years ago. The fog came in twenty minutes after I’d decided the light wasn’t going to improve and started breaking down the tripod. I got one frame before it swallowed everything. It sold reasonably well, but I still think about the fifteen minutes before it, when I’d been watching the valley thinking nothing was going to happen.
Now I have a rule: I don’t pack up until I am physically too cold to continue or the light has been flat for forty-five minutes with no sign of change. In places with waterfalls, mist, and mountains, that patience gets rewarded more often than it doesn’t.
The single most important thing this video demonstrates is that conditions you’re tempted to abandon are often the ones worth staying in. Mud, humidity, sandflies, average light on the approach, and marginal weather forecasts are all problems that patience and appropriate gear can work through. The fog that rolls in at the end of Patino’s shoot wasn’t luck. It was the payoff for showing up and staying.
Watch the full tutorial on YouTube and watch how Patino handles the fog sequence near the end. That fifteen-minute window is the whole lesson in one frame.
Comments (3)
Love how you break down complex stuff into manageable steps.
Wow, I had no idea you could do this. Mind blown.
The before and after really sells it. Incredible difference.
Leave a Comment