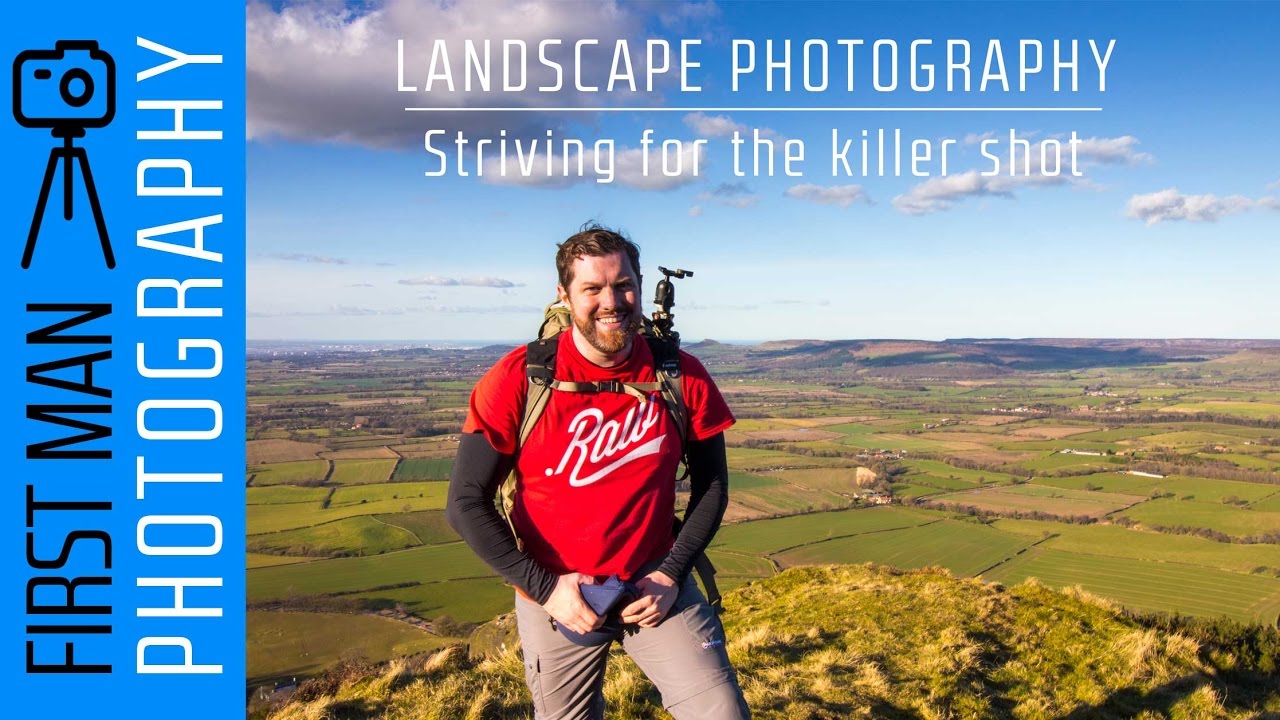
There’s a particular kind of pressure that builds when the light is finally cooperating. After days of flat skies and blown forecasts, you’re standing on a ridge with maybe forty minutes before the sun drops, and every decision you make from that moment forward either earns you a keeper or sends you home empty. I’ve been doing this for twenty years, and that pressure doesn’t go away. What changes is how you respond to it. You stop scrambling and start choosing.
That tension is exactly what drew me into this vlog from First Man Photography, where he documents a solo mission to the Wainstones at the Cleveland Hills in the North York Moors, hunting a single sunset shot. Watch the full tutorial on YouTube. What looks like a casual walk-and-shoot is actually a clinic in disciplined field thinking. There’s no spray-and-pray here. He goes out for one image. That restraint is worth studying.
The whole outing maps out a workflow I recognize from my own practice, honed through early mornings in the Oregon high desert and more than a few failed chases. A mentor of mine once told me that the mountain doesn’t care about your schedule, and this video is essentially a ninety-minute illustration of that truth. Here’s how the approach breaks down, step by step.
Step 1: Commit to One Primary Shot Before You Leave the Car
 Photographer stating the plan for a single sunset shot
Before he even parks, he has named his target: a single sunset image at the Wainstones. Not a session. Not a gallery’s worth of frames. One shot. This kind of pre-commitment sounds limiting, but it’s actually liberating. When you narrow your intention down to one primary goal for the outing, every other decision in the field becomes a support function for that goal. You stop getting distracted by nice-but-not-great light because you know what you’re saving yourself for.
Practically, this means doing your location research before you go. Study the sun angle with an app like PhotoPills or The Photographer’s Ephemeris. Know which direction the light will come from, where it will fall, and roughly how long you have to work. Walk in with a mental image already forming. The shoot starts at home, not on the trail.
Step 2: Capture Opportunistic Shots Early, But Don’t Burn Your Position
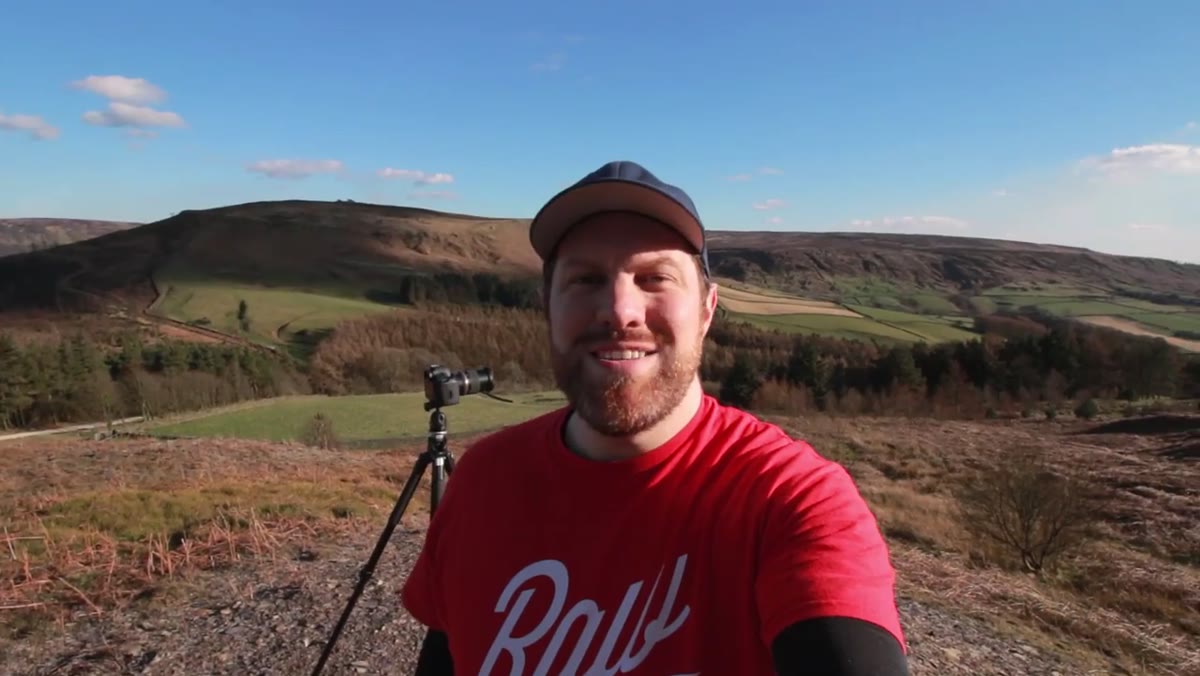 Photographer pausing mid-trail to set up a time-lapse
On the way up, he stops for a time-lapse. The scene is good and he doesn’t ignore it, but he also doesn’t treat it as the main event. This is a smart habit: work what you find on the approach, but keep your energy and your best clock time reserved for the shot you planned. Time-lapses and wide environmental captures are low-commitment in terms of positioning. Set the interval, let the camera run, keep walking.
The mistake I see most often in workshop students is arriving at a location and immediately burning through compositions the moment anything looks pretty. By the time the light peaks, they’ve already mentally checked out or they’re in the wrong spot. Train yourself to make a distinction between “this is interesting, I’ll document it” and “this is worth stopping fully for.” Not everything that catches your eye deserves your golden hour.
Step 3: Arrive Early Enough to Scout Without Rushing
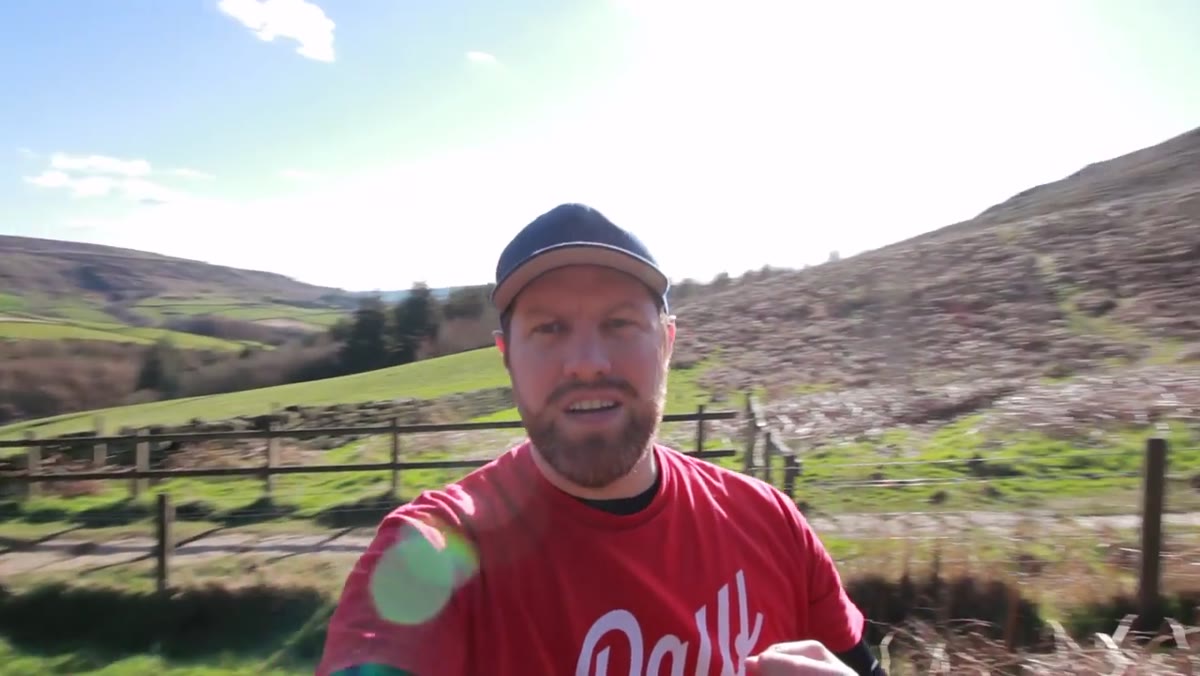 Wide view of the moors showing 360-degree visibility on arrival
He notes that he’s arrived with time to spare and plans to look around before committing to a position. This is non-negotiable. Arriving at a location ten minutes before sunset is a gamble. Arriving an hour early is a strategy. That buffer lets you walk the foreground options, check sight lines, feel the wind, and notice things that no map or previous visit could have told you.
On unfamiliar ground, I spend the first fifteen minutes just walking without the camera. I’m reading the landscape like a room I’ll have to work in. Where does the eye naturally want to go? Where are the leading lines? What’s going to be in shadow and what will catch the last light? Then I go back for the camera. The image is half-made before the shutter fires.
Step 4: Read the Sky and Adjust Your Expectations Accordingly
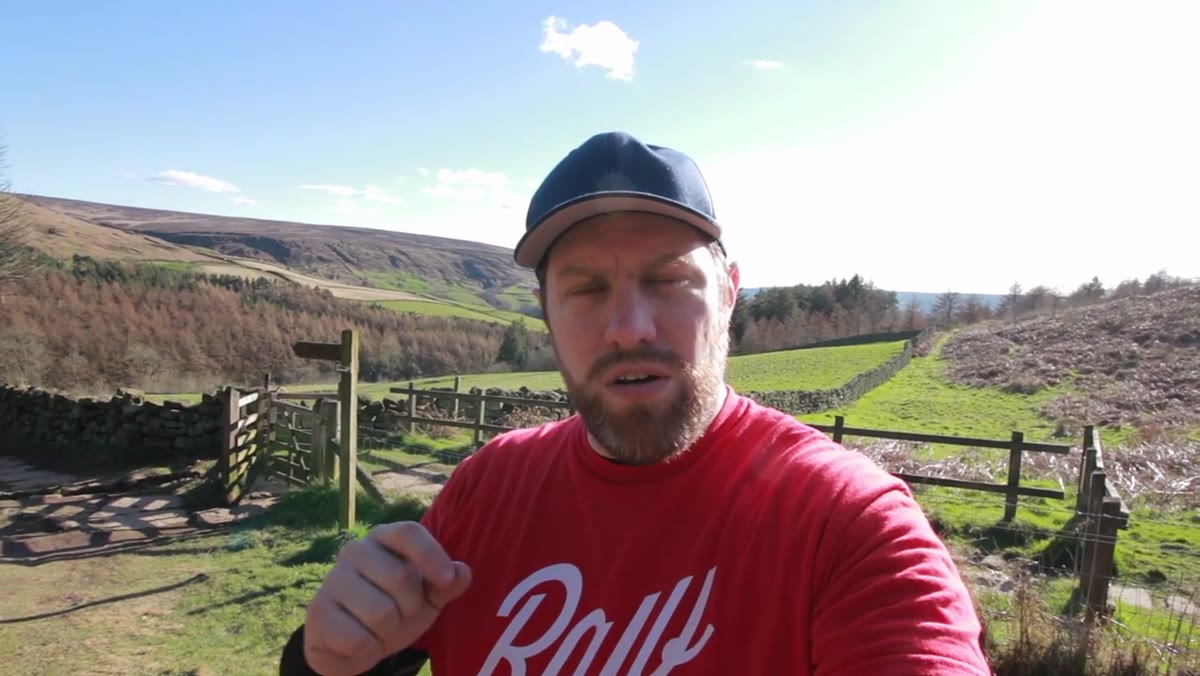 Clouds visible over the moors with favorable wind conditions noted
He checks the cloud cover, notes the wind is dropping, and makes a forecast-informed judgment: the conditions should produce usable color at sunset. This is active meteorology, not passive hoping. Cloud type matters as much as cloud quantity. A completely clear sky often produces a weaker sunset than a sky with some high-altitude texture to catch the color. Thin altocumulus or scattered cumulus at mid-level, with clear horizon space below, is the classic setup for a strong burn.
Watch the clouds for fifteen minutes before your window. Are they moving quickly or slowly? Is the horizon clear enough for the sun to light the undersides of the clouds? A sky that looks flat at 4pm can ignite completely by 5:30. Conversely, a dramatic-looking sky can turn grey and uniform as the sun drops. Read the direction, not just the snapshot.
Step 5: Get Into Position and Commit to Your Composition
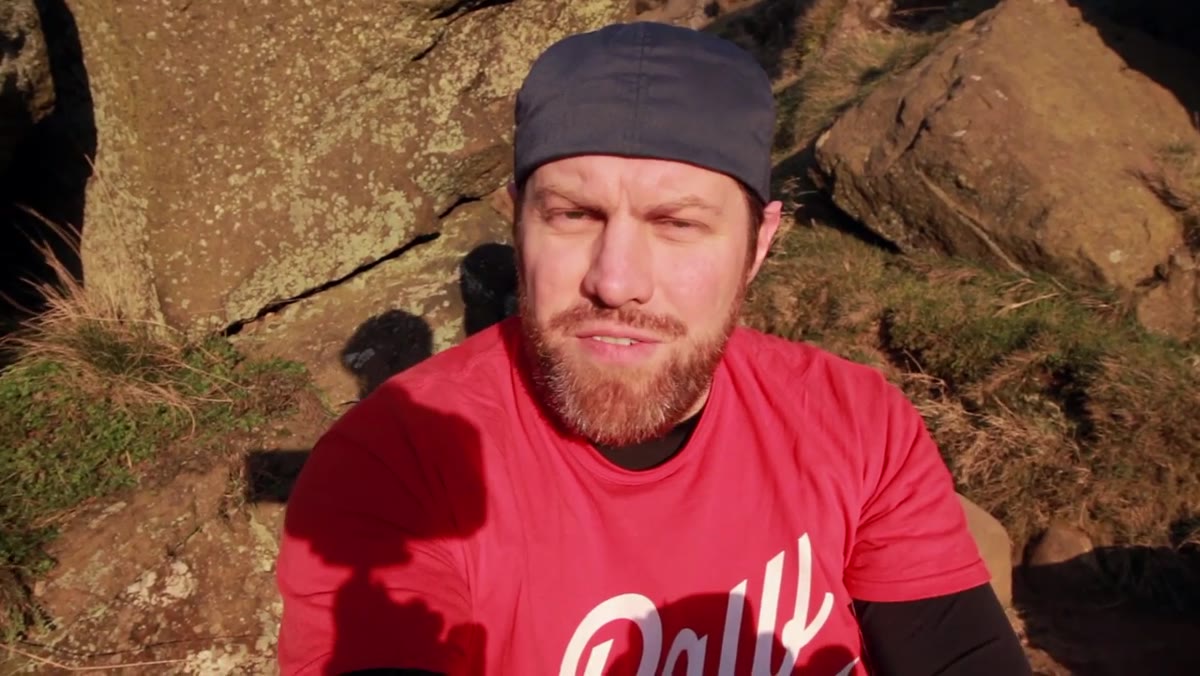 Photographer settled into position for the final sunset shot
By the time the light is approaching its peak, he’s in position. That’s the whole job at that point. He’s done the scouting, made the decisions, and now he’s waiting and watching, ready to respond. This is where a lot of photographers unravel. They second-guess themselves and start repositioning right as the light peaks, and they miss the window chasing something they imagined might be better around the corner.
Pick your composition early and trust it. Fine-tune your framing, but don’t abandon your position on a whim once you’re committed. If you’ve done the scouting properly in Step 3, you don’t need to keep searching. The discipline of staying put is underrated in landscape photography.
From the Oregon Desert: Why I Still Shoot Film on Locations Like This
There’s one habit I’ve carried for years that this video reminded me of. I still occasionally bring a film body on shoots where I know I’m hunting one or two strong images. Not for nostalgia. Because it enforces the mindset First Man Photography is demonstrating here. When you have twelve or twenty-four frames on a roll and no instant preview, you think before every frame. You’ve already done the commitment work in your head. The discipline he applies here by intention, film forces by constraint.
If you’re not ready to drag out a film camera, try this instead: set a limit before you leave. Tell yourself you’re going out for three keepers, not thirty. It changes how you move, how you choose, and how you see.
The single most important takeaway from this whole outing is that great landscape photography is mostly made before you press the shutter. The planning, the timing, the scouting, the sky-reading, the commitment to one strong image over a dozen mediocre ones. The camera is almost the last thing that matters. Watch how First Man Photography structures his entire day around that one moment of light, and you’ll see a practice worth adopting.
Watch the full tutorial on YouTube and pay attention to how he talks through his decisions in real time. That running commentary is where the real education lives.
Comments
Leave a Comment