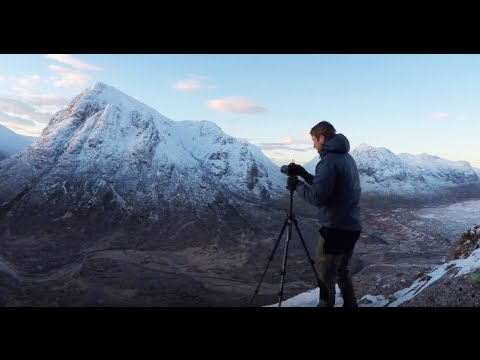
There’s a particular kind of tiredness that only other landscape photographers understand. It’s not the tired you feel after a bad night’s sleep. It’s the good tired, the kind that comes from hauling gear up a hill in the dark, hands too cold to zip your jacket properly, and still choosing to be exactly there at exactly that moment. I’ve felt it hundreds of times in twenty years of doing this work full-time, and it never gets old. What does occasionally get stale is my approach to familiar problems, which is why I keep watching how other serious photographers work through a full day in the field.
In this Thomas Heaton tutorial shot entirely on location in the mountains of Glencoe, Scotland, Heaton walks through a complete winter shooting day, from a pre-dawn climb to a late-afternoon golden hour session. Watch the full tutorial on YouTube before or after reading this, because what I’m doing here is pulling out the underlying decisions so you can apply them anywhere winter takes you, whether that’s Scotland, the Cascades, or the Dolomites.
What struck me most watching this was not any single technique. It was the rhythm of the day, the discipline of committing to a pre-dawn position, shooting deliberately in that narrow window before sunrise, resting during the flat midday hours, and returning with fresh eyes for sunset. That structure is a practice, not an accident, and it’s worth breaking down piece by piece.
Step 1: Commit to the Pre-Dawn Climb
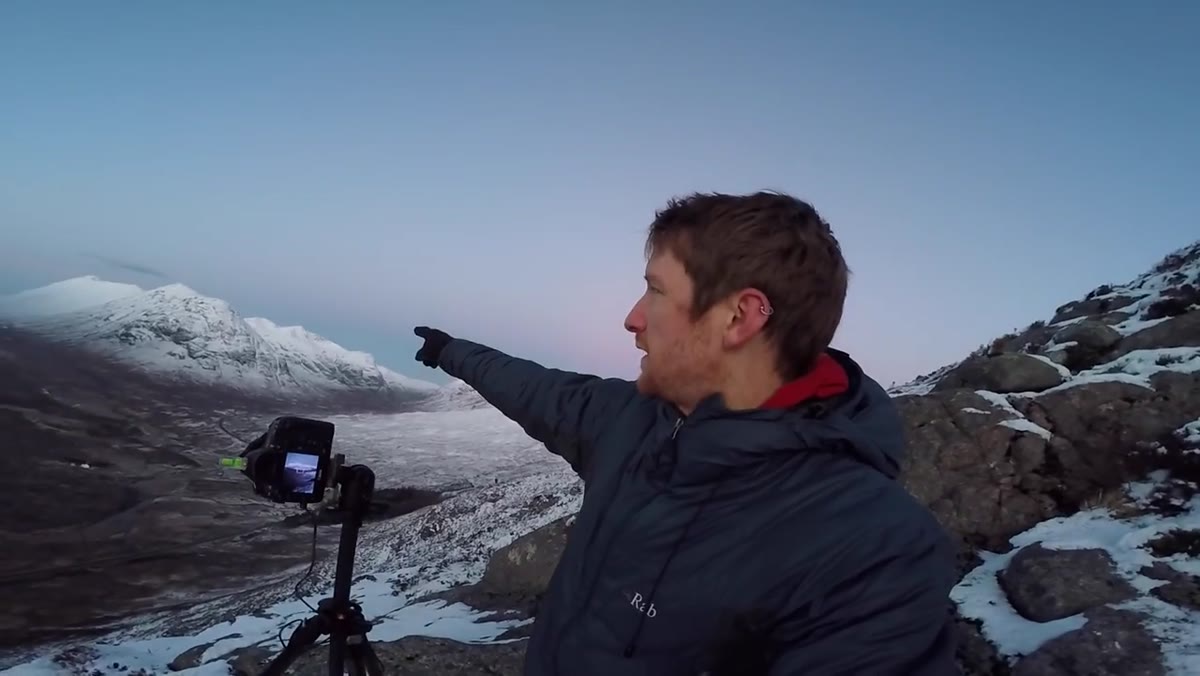
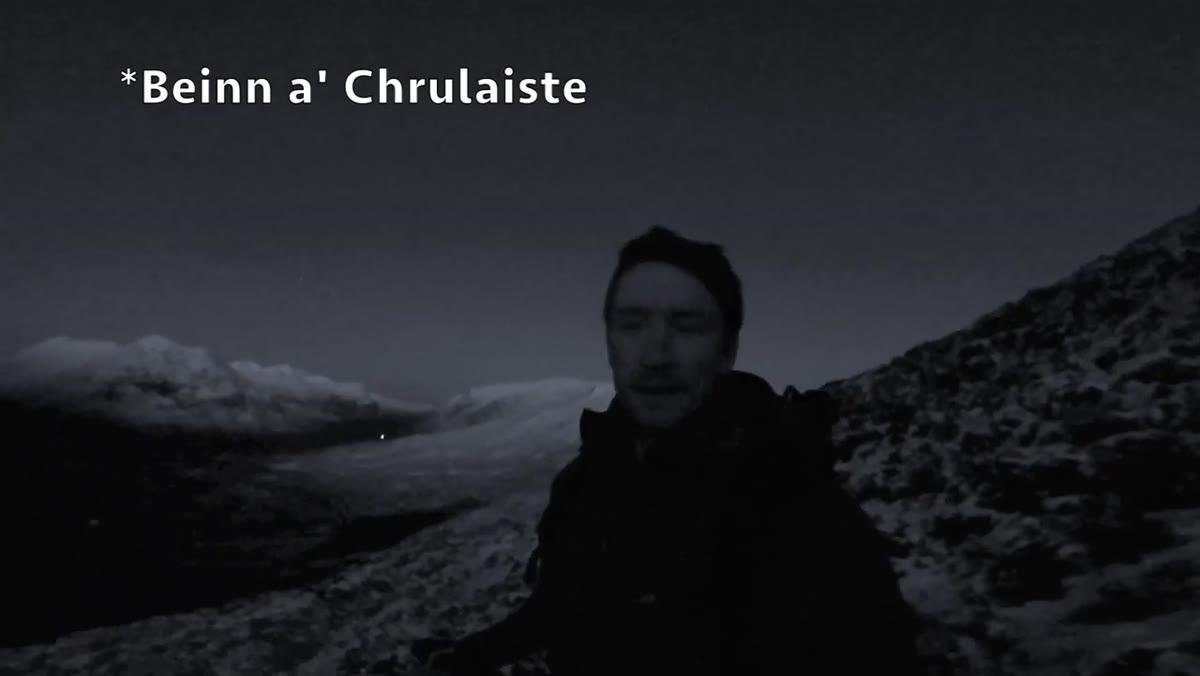 Heaton on a mountain ridge before sunrise over Glencoe valley
Heaton and his group left home at 1:30am and were on the mountain by 5:30am, well before any usable light. The point was not to photograph in the dark. The point was to be positioned, composed, and settled before the light arrived. That is a crucial distinction. If you arrive at a location at sunrise, you spend the best ten minutes of the day fumbling with a tripod and trying to figure out where you’re standing. If you arrive forty-five minutes early, you can walk the ridge, identify your foreground, and be ready to shoot the second the sky begins to shift.
Heaton on a mountain ridge before sunrise over Glencoe valley
Heaton and his group left home at 1:30am and were on the mountain by 5:30am, well before any usable light. The point was not to photograph in the dark. The point was to be positioned, composed, and settled before the light arrived. That is a crucial distinction. If you arrive at a location at sunrise, you spend the best ten minutes of the day fumbling with a tripod and trying to figure out where you’re standing. If you arrive forty-five minutes early, you can walk the ridge, identify your foreground, and be ready to shoot the second the sky begins to shift.
This kind of commitment requires planning the night before. Check the exact civil twilight time for your location, not just sunrise, and count backwards from there to determine your departure. Factor in drive time plus any hiking. Then add a buffer. Mountains in winter do not care if you’re running five minutes late.
Step 2: Shoot the Panoramic Before the Sun Clears the Horizon
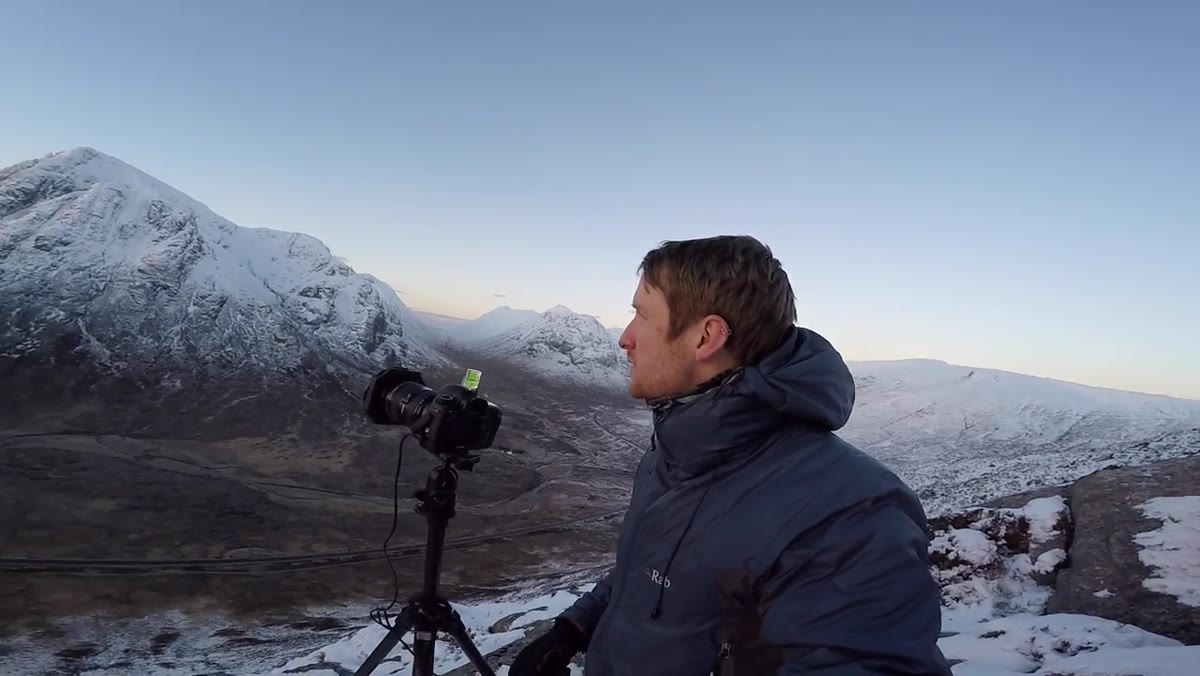
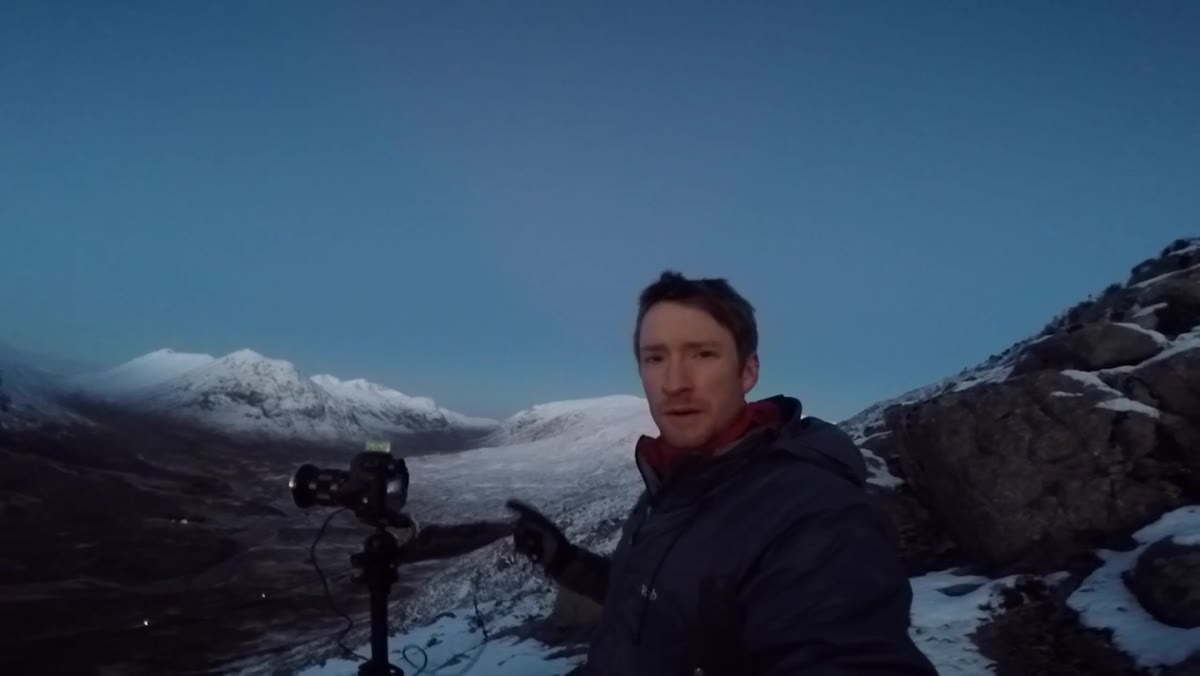 Camera on tripod framing wide panoramic view of Glencoe mountains and road
Heaton’s first shot of the day was a panoramic, and he chose to shoot it during that fifteen to twenty minute window before the sun actually cleared the horizon. He describes the colors at this point as balanced and muted, a soft pink glow spreading from behind the camera rather than any harsh directional light. This is the window most photographers miss because they think they’re waiting for the main event.
Camera on tripod framing wide panoramic view of Glencoe mountains and road
Heaton’s first shot of the day was a panoramic, and he chose to shoot it during that fifteen to twenty minute window before the sun actually cleared the horizon. He describes the colors at this point as balanced and muted, a soft pink glow spreading from behind the camera rather than any harsh directional light. This is the window most photographers miss because they think they’re waiting for the main event.
To stitch a panoramic cleanly in this light, keep your camera in manual exposure so every frame matches. Set your white balance to a fixed Kelvin value rather than auto, somewhere around 5000K to 5500K works well for pre-dawn blue-to-pink transitions, then dial exposure for the midtones and do not touch it between frames. Rotate slowly and deliberately, overlapping each frame by at least thirty percent. Heaton used a road as his leading line, anchoring the composition horizontally before the pan moved to the mountain peaks.
Step 3: Use a Road or Structure as a Leading Line and Scale Anchor
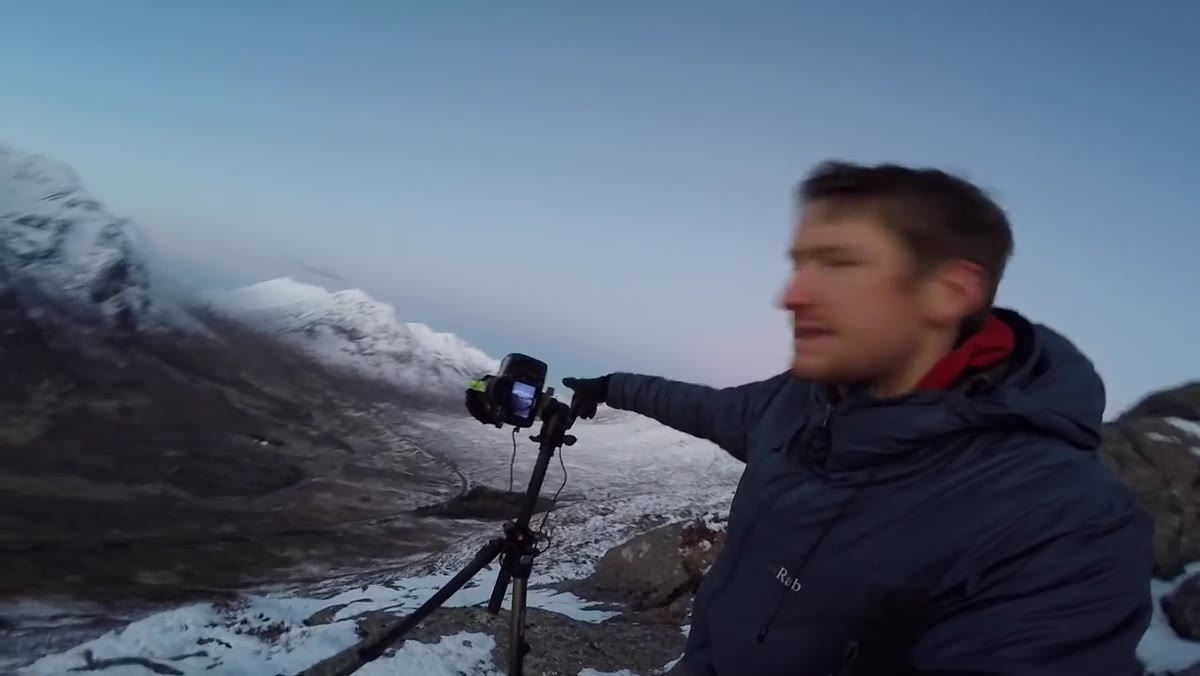 Road cutting through valley toward distant mountains in wide composition
In explaining his panoramic composition, Heaton points out two specific elements: a road running toward the mountains as a leading line, and a small building that provides a sense of scale. Neither of these is accidental. When you’re shooting enormous terrain, the human eye needs a reference point to understand the size of what it’s looking at. Without that building, those mountains could be hills. With it, they’re enormous.
Road cutting through valley toward distant mountains in wide composition
In explaining his panoramic composition, Heaton points out two specific elements: a road running toward the mountains as a leading line, and a small building that provides a sense of scale. Neither of these is accidental. When you’re shooting enormous terrain, the human eye needs a reference point to understand the size of what it’s looking at. Without that building, those mountains could be hills. With it, they’re enormous.
When scouting a winter mountain scene, actively look for man-made elements you can include rather than exclude. A fence, a lone structure, a track, a bridge. These are not distractions from the natural world. Used deliberately, they’re anchors. Place them small within the frame to emphasize the scale of everything around them, and position them near where your leading line terminates so the viewer’s eye lands somewhere specific.
Step 4: Set Focus to Infinity at f/9 for Front-to-Back Sharpness
 Camera settings explanation, mountain range in sharp focus across full frame
Heaton keeps this brief but it’s worth expanding. Shooting a wide landscape with foreground elements and distant mountains, he sets aperture to f/9 and focuses to infinity, meaning the far mountains. At f/9 on a wide to standard focal length, depth of field is deep enough that near and far elements read as sharp throughout the frame.
Camera settings explanation, mountain range in sharp focus across full frame
Heaton keeps this brief but it’s worth expanding. Shooting a wide landscape with foreground elements and distant mountains, he sets aperture to f/9 and focuses to infinity, meaning the far mountains. At f/9 on a wide to standard focal length, depth of field is deep enough that near and far elements read as sharp throughout the frame.
Many photographers default to f/16 or smaller thinking it gives more depth of field. It does, technically, but diffraction starts softening your image at those apertures, especially if you’re cropping to panoramic proportions. f/8 to f/11 is the sweet spot for most modern sensors. If you have a foreground element very close to the lens, focus stack two frames rather than stopping way down. Shoot one focused on the foreground, one at infinity, and blend in post.
Step 5: Work a Secondary Subject While Waiting for Changing Light
 Telephoto compression of a single mountain face with light hitting snow and cloud
When the cloud blocked the direct light hitting the main range, Heaton didn’t pack up. He switched to a longer focal length, around 65mm, and turned his attention to a single mountain face across the valley where light was catching the snow and rock in a more intimate, compressed way. This is a move I use constantly and it solves a problem most photographers treat as failure.
Telephoto compression of a single mountain face with light hitting snow and cloud
When the cloud blocked the direct light hitting the main range, Heaton didn’t pack up. He switched to a longer focal length, around 65mm, and turned his attention to a single mountain face across the valley where light was catching the snow and rock in a more intimate, compressed way. This is a move I use constantly and it solves a problem most photographers treat as failure.
Flat or blocked light on your primary composition is not a sign to leave. It is a signal to look elsewhere. A longer lens will isolate color, texture, and light that your wide angle simply flattens into a gray wash. Compress a cloud-lit snow face against a patch of warm rock and you have an image that reads completely differently from the sweeping panoramic you shot an hour earlier. Two images from one location, neither compromising the other.
Step 6: Rest During Flat Light, Return Fresh for Sunset
 Heaton referencing midday break and scouting, preparing for golden hour session
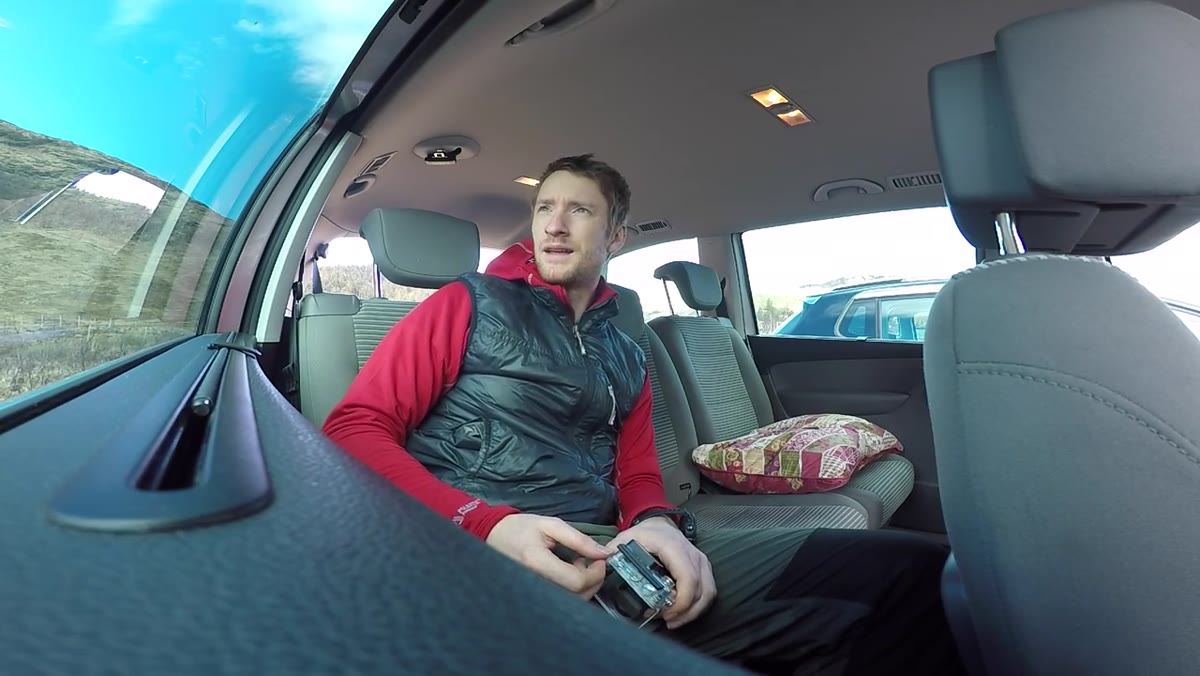
From midday to about ninety minutes before sunset, Heaton scouted and rested. This is not laziness. This is strategy. Shooting in flat midday light in winter mountains produces images that will sit in a hard drive forever. The light is cold, directionless, and unforgiving on snow. Your energy is better spent walking locations to identify compositions you’ll execute when the light returns.
Heaton referencing midday break and scouting, preparing for golden hour session
From midday to about ninety minutes before sunset, Heaton scouted and rested. This is not laziness. This is strategy. Shooting in flat midday light in winter mountains produces images that will sit in a hard drive forever. The light is cold, directionless, and unforgiving on snow. Your energy is better spent walking locations to identify compositions you’ll execute when the light returns.
He napped. I’m not embarrassed to say I do the same thing on full-day shoots. The difference in creative sharpness between a photographer who has been awake since 1am and pushed through without rest versus one who took an hour off is visible in the images.
What Twenty Years Adds to This Approach
One thing the video can’t quite convey is how much patience this workflow requires, and how hard-won that patience is. A mentor told me early in my career that the mountain doesn’t care about your schedule. I’ve thought about that line standing in fog, standing in rain, standing on ridges where the light I drove four hours to find simply did not appear. The days that teach you the most are often the ones where nothing goes the way you planned.
What Heaton demonstrates in Glencoe is not a technique so much as a disposition: show up early, commit to the window before the moment, stay adaptable when conditions shift, and give yourself a second chance at golden hour instead of burning out at noon. The best winter mountain images I’ve ever made came from days structured exactly this way.
The single thing to take from this tutorial: arrive before the light, not with it. Everything else you can adjust. That decision you make the night before is non-negotiable.
Watch the full tutorial on YouTube to see Heaton’s actual compositions and the light conditions described here in motion.
Comments
Leave a Comment