
Fog has a short memory. It rolls in, it burns off, and if you’re not already moving, it’s gone before you’ve finished setting up your tripod. I’ve had mornings out here in the Oregon Cascades where I watched the entire scene I’d driven toward evaporate in about eight minutes. That’s the specific problem mist photography keeps handing you: the conditions that made you show up are actively working against you staying still and thinking clearly.
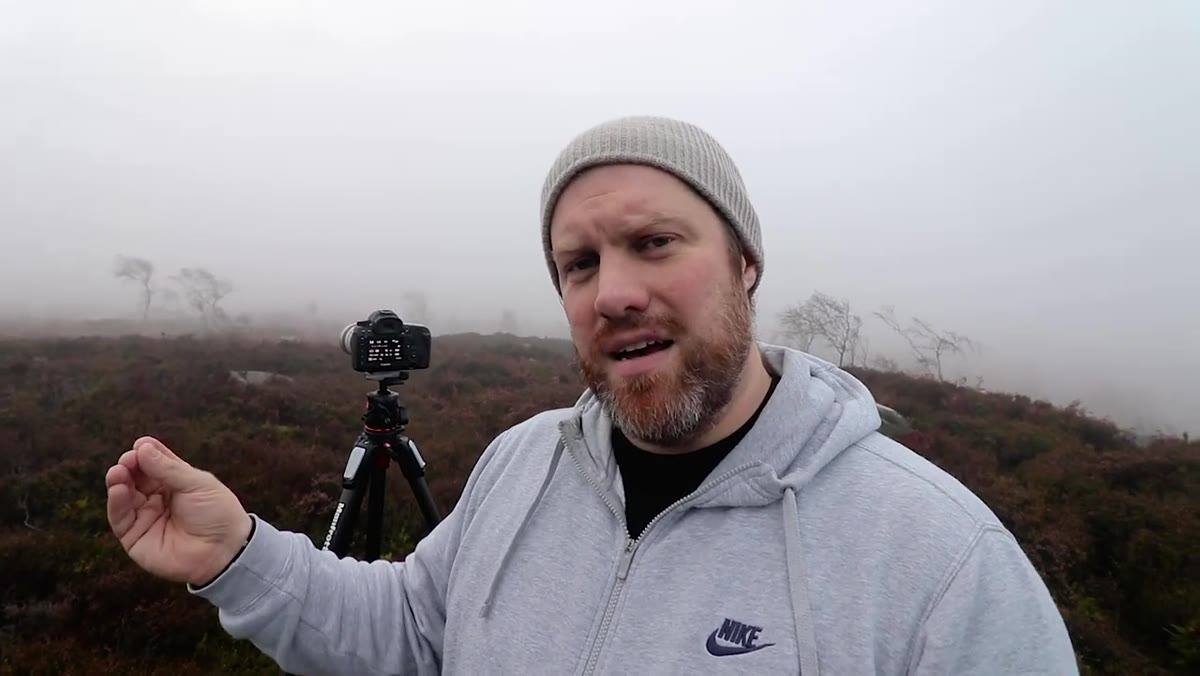
That tension is exactly why I keep returning to this tutorial from First Man Photography, shot during an autumn morning in England’s Peak District. Watch the full tutorial on YouTube — the pacing alone teaches you something about how to move through a location when the weather won’t cooperate. What I want to do here is pull out the actual decisions being made, step by step, so you can apply them on your next foggy morning without having to decode them on the fly.
The other thing I want to flag before we get into the steps: this is not a tutorial about perfect conditions. The fog keeps changing. The first composition doesn’t work. The photographer climbs a hill and pivots entirely. That adaptive process is the real lesson, and it’s the one most field guides skip over.
Step 1: Arrive with a loose subject idea, not a fixed shot
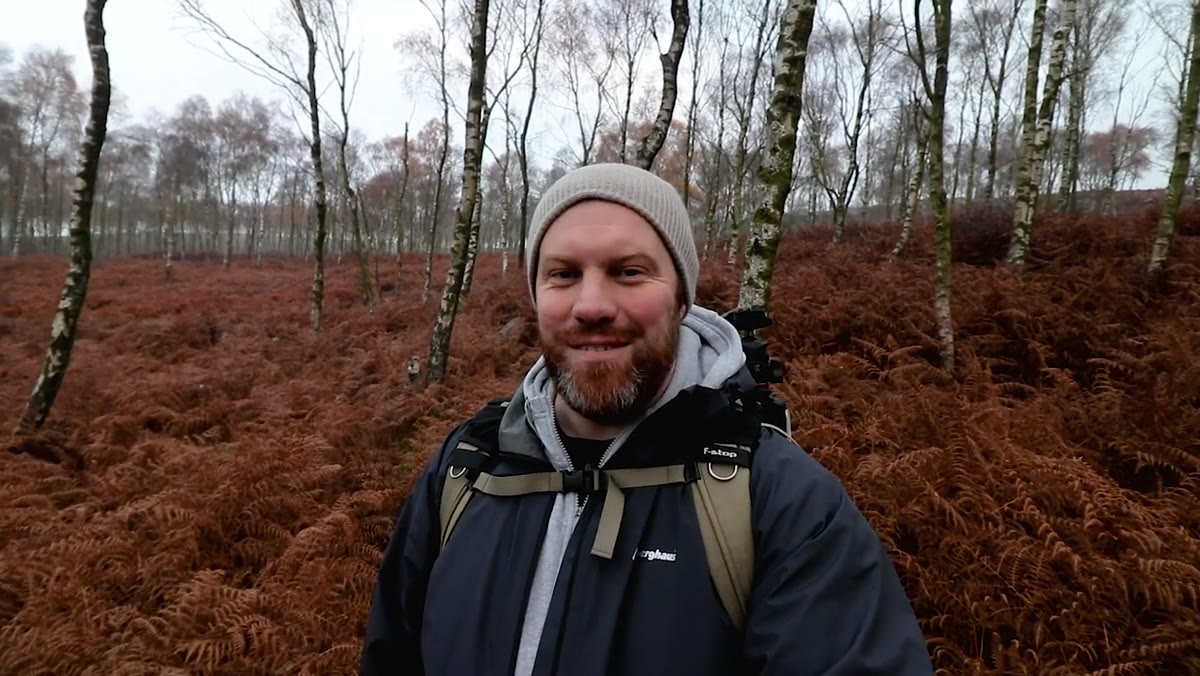 Photographer arriving in misty birch woodland at dawn
Before you fire a single frame, spend a few minutes just reading the scene. In the tutorial, the first observation isn’t about settings or gear. It’s about color, specifically the absence of green. That noticing phase shapes every decision that follows. When I arrive somewhere new before first light, I do a full slow walk before I unpack anything. What’s the dominant palette? Where is the light coming from, or where will it come from? What’s the fog doing at the edges of the frame?
In this case, the specific subject idea was a single tree holding its last autumn leaves, isolated by mist, with the color doing the compositional work. That’s concrete enough to guide movement through the location, but loose enough to adapt when the fog shifts. Go in with an image type, not an exact image.
Step 2: Choose your focal length based on how much mist is actually present
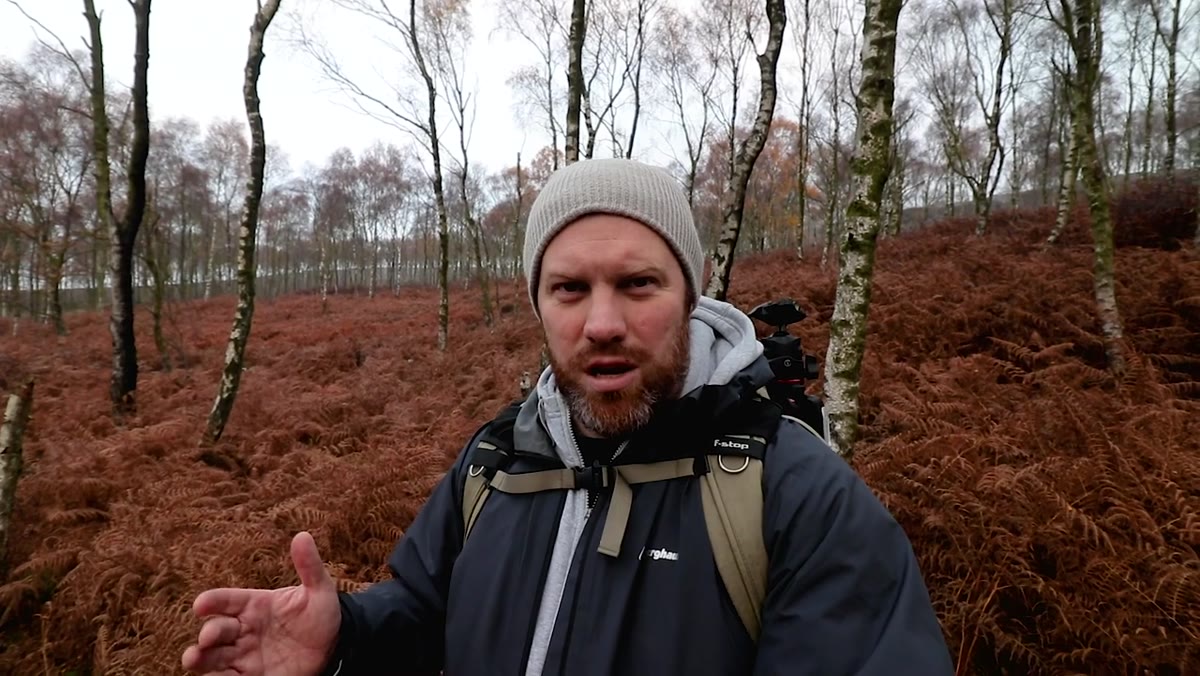 Photographer considering pulling out a longer lens in the field
This is a decision point a lot of photographers skip over, and it costs them. The tutorial makes it explicit: if the mist is thin, a wide angle isn’t going to compress enough atmosphere into the frame to do anything useful. The longer the lens, the more layers of air you’re stacking between yourself and your subject, and the denser the mist will appear.
The practical move is to assess the mist depth before you commit to a focal length. If you can see clearly for 200 meters, a 70-200mm or longer will start to show the atmospheric effect that a 24mm shot from 10 meters away simply won’t have. Stand back, zoom in, and let the air do the work. This is one of the cases where reaching for the telephoto first is the right call, not the last resort.
Step 3: Adapt when the light or fog changes rather than abandoning the session
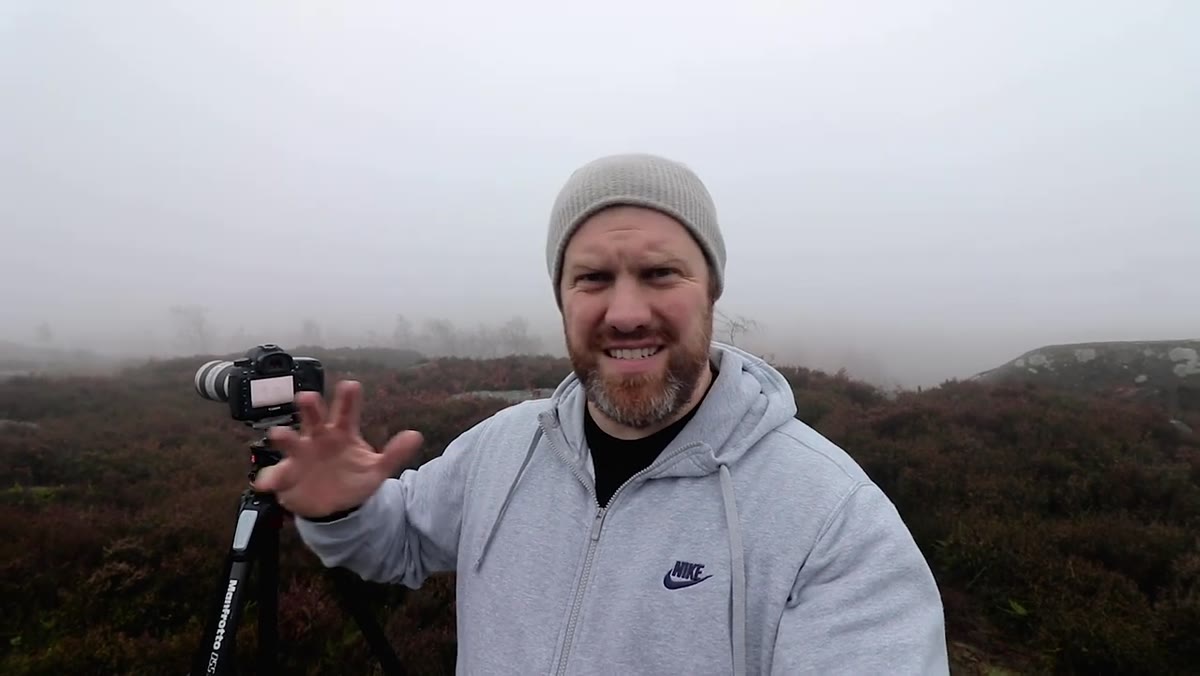 Photographer moving uphill after mist clears in the woods below
The fog cleared in the trees. A lot of photographers would have packed up and driven home. Instead, the response in this tutorial is to climb. Moving to higher ground opened up two possibilities: catching any residual blue sky that was breaking through, or getting above the fog layer to shoot down into it. Neither required knowing in advance which one would work.
My mentor once told me that the mountain doesn’t care about your schedule, and I’ve thought about that on a lot of cold mornings when the conditions I planned for weren’t there. The discipline is staying curious instead of frustrated. Reframe the question from “where’s the shot I came for?” to “what is this light actually good for right now?”
Step 4: Look for relationships between elements, not just isolated subjects
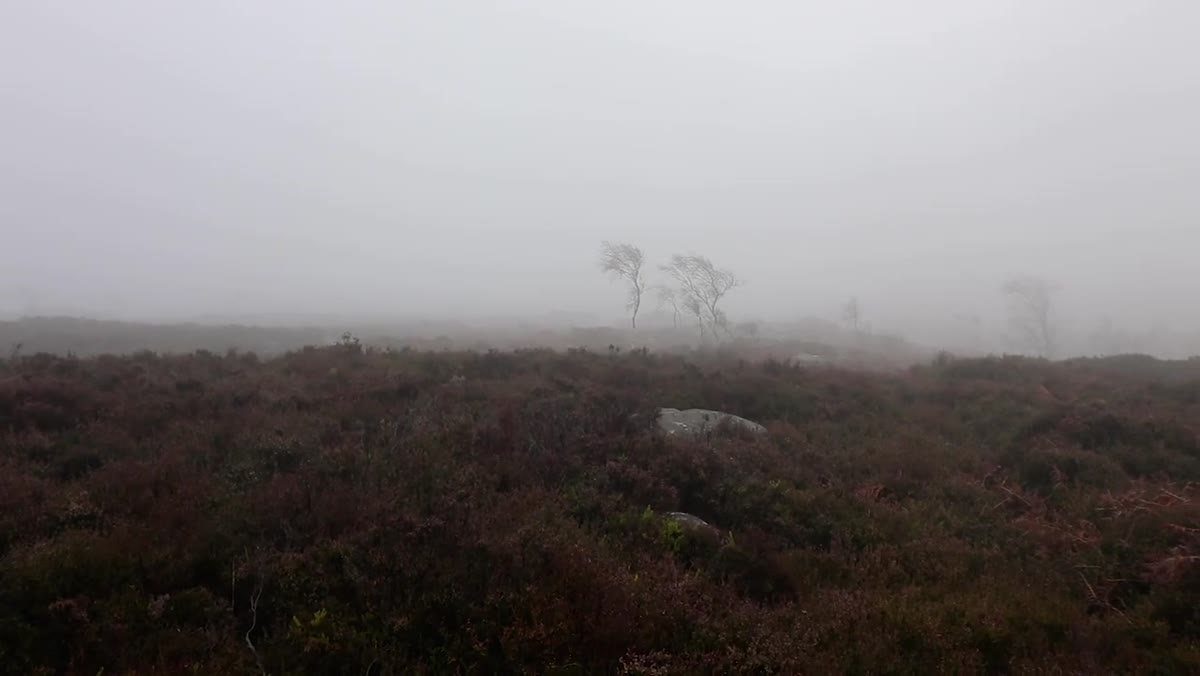 Small cluster of wind-bent trees emerging from thick hilltop fog
Up on the exposed hilltop, the shot that emerged wasn’t a dramatic vista or a single hero tree. It was a small cluster of trees, two large and several much smaller, all leaning away from the prevailing wind. The composition worked because of the relationship between them. The tutorial describes it as a “family portrait” of trees, and that framing is useful because it tells you what to look for: a grouping with internal variation, something that creates tension or story between the elements rather than just filling the frame with texture.
When you’re scanning a scene for a subject, ask yourself whether the thing you’re looking at has a relationship with something nearby. A single bare tree in fog is fine. Two trees of different sizes, bent by decades of wind, with a fog layer erasing the horizon behind them, that’s a photograph with something to say.
Step 5: Position yourself to control overlap and framing within the grouping
 Photographer adjusting position to align trees in the composition
Once the subject group is identified, the precise camera position becomes the work. In the tutorial, the smaller tree needed to be framed cleanly between the two larger trees. That required moving laterally until the perspective lined up correctly. This sounds obvious, but it’s the step most people rush because they’ve already found “the shot.” The difference between a mediocre frame and a strong one here was a matter of three or four feet of lateral movement.
Walk the arc around your subject. Look at how the elements overlap and separate as you move. Check the foreground too. In this case, the dark bronzed heather on the ground was doing real compositional work, grounding the trees and providing contrast against the mist. That relationship between the dark ground and the pale foggy background was part of why the image held together.
What I’d add from twenty years of shooting in difficult conditions
The one thing I’d layer onto this tutorial is the value of a rough shot list tied to conditions rather than locations. Before I head out, I write down three image types that the specific weather could support. On a foggy morning, that list might include: isolated subject with atmospheric background, abstract texture in low contrast light, compressed telephoto of repeating elements in mist. Having those three anchors means that when the first idea fails, I’m not improvising from zero. I’m moving to the next thing on the list.
Also worth saying: this kind of adaptive, patience-driven shooting is genuinely harder when you’re cold and tired. I still wear the same beat-up wide-brimmed hat I’ve had for a decade on every shoot. It sounds like superstition, but it’s really a ritual that tells my body we’re in work mode now, the discomfort is part of the deal, and we’re staying until the light is gone.
The single most transferable idea from this tutorial is that good mist photography is primarily about movement and adaptation, not about finding the perfect static scene and waiting. Conditions will change. Your job is to keep moving intelligently, read what the light is offering at any given moment, and have a clear enough subject concept to recognize the shot when it appears.
Watch the full tutorial on YouTube to see the full arc of how the morning unfolds, including how the final composition comes together on that hilltop. The real-time decision-making is worth watching more than once.
Comments
Leave a Comment