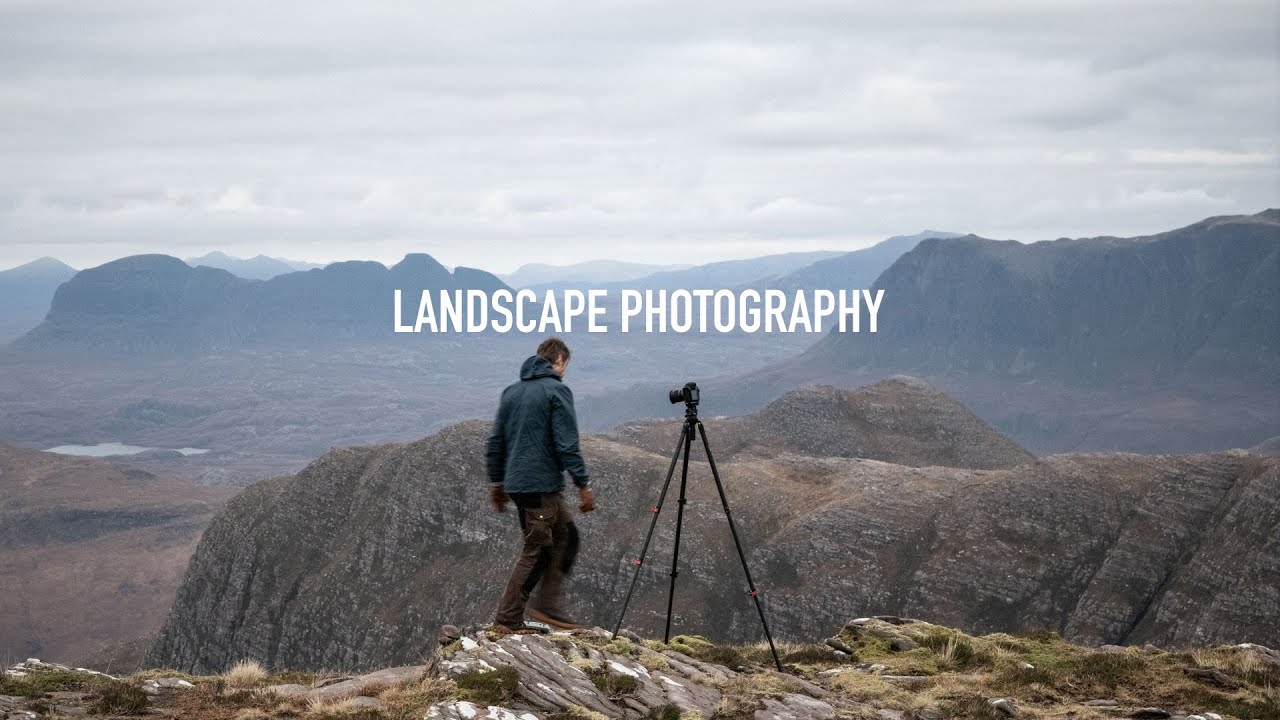
There’s a particular kind of suffering that comes from hauling a full kit up a steep trail in low cloud, not knowing whether the summit will reward you with a view or just more grey. I’ve done it more times than I can count, here in the Cascades and further afield, and the decision-making that happens during that climb, the constant reading of light and elevation and atmosphere, is where most of the real photographic work takes place. It’s not at the computer. It’s not at the trailhead. It’s in those incremental adjustments you make as you gain height, scanning the landscape for the moment a composition locks in.
That’s why this Thomas Heaton tutorial stopped me cold when I watched it. Watch the full tutorial on YouTube. Heaton is shooting in Assynt, in the northwest of Scotland, a region that makes Oregon look forgiving. The weather is volatile, the cloud base is low, and there are no guarantees. What he demonstrates across this hike isn’t a single technique you can replicate in an afternoon. It’s a way of thinking about uncertainty as raw material rather than obstacle, and that framing is worth unpacking step by step.
A mentor of mine used to say the mountain doesn’t care about your schedule. Watching Heaton work through this shoot, I kept hearing that voice.
Step 1: Commit to the Hike Even Without Guaranteed Light
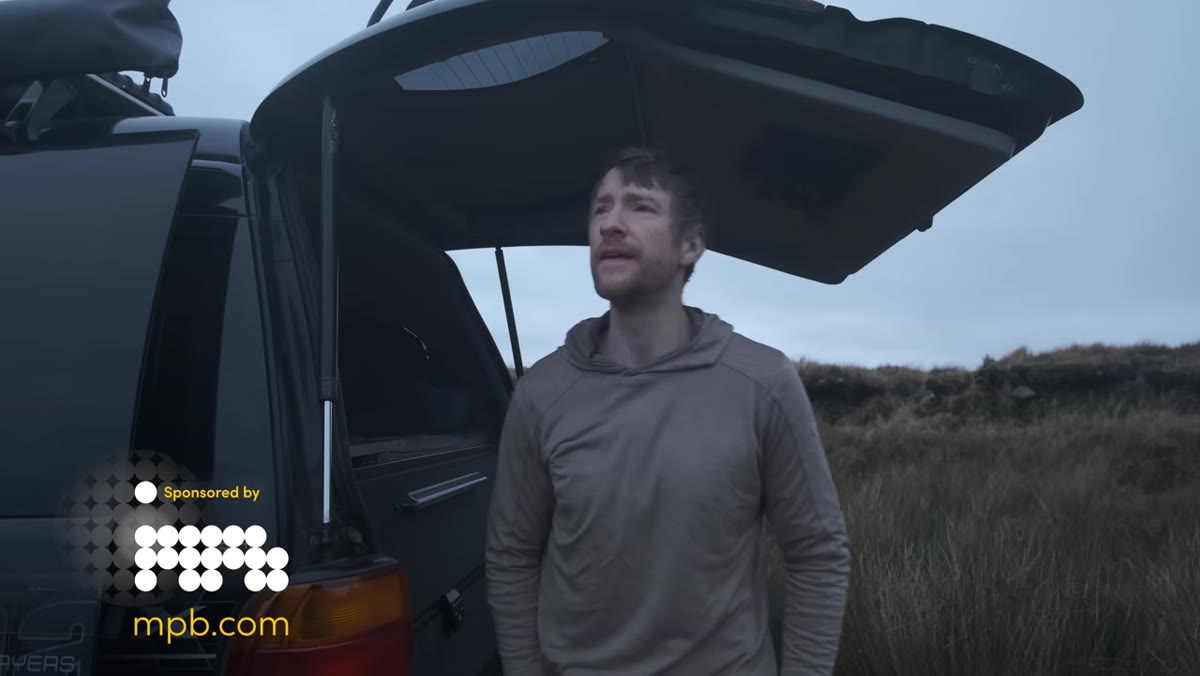 Heaton starting the hike in low cloud, Scottish mountains behind
Heaton opens the video already moving, pack on, low cloud sitting heavy over the Assynt peaks. The forecast is calm with no rain, but there’s no promise of clear views. He commits anyway, and that decision is itself instruction.
Heaton starting the hike in low cloud, Scottish mountains behind
Heaton opens the video already moving, pack on, low cloud sitting heavy over the Assynt peaks. The forecast is calm with no rain, but there’s no promise of clear views. He commits anyway, and that decision is itself instruction.
The logic he uses is practical and worth internalizing: even if the upper mountain is socked in, the coastal views behind him, looking out toward a scattered island group, will open as he gains elevation. He’s not gambling on one outcome. He’s identifying two potential compositions before he leaves the trail. If you’re planning a mountain hike for photography, do this exercise before you go. Sketch out at least two photographic scenarios at different elevations so you’re never climbing toward a single point of failure.
Step 2: Respond to Light Before It Disappears
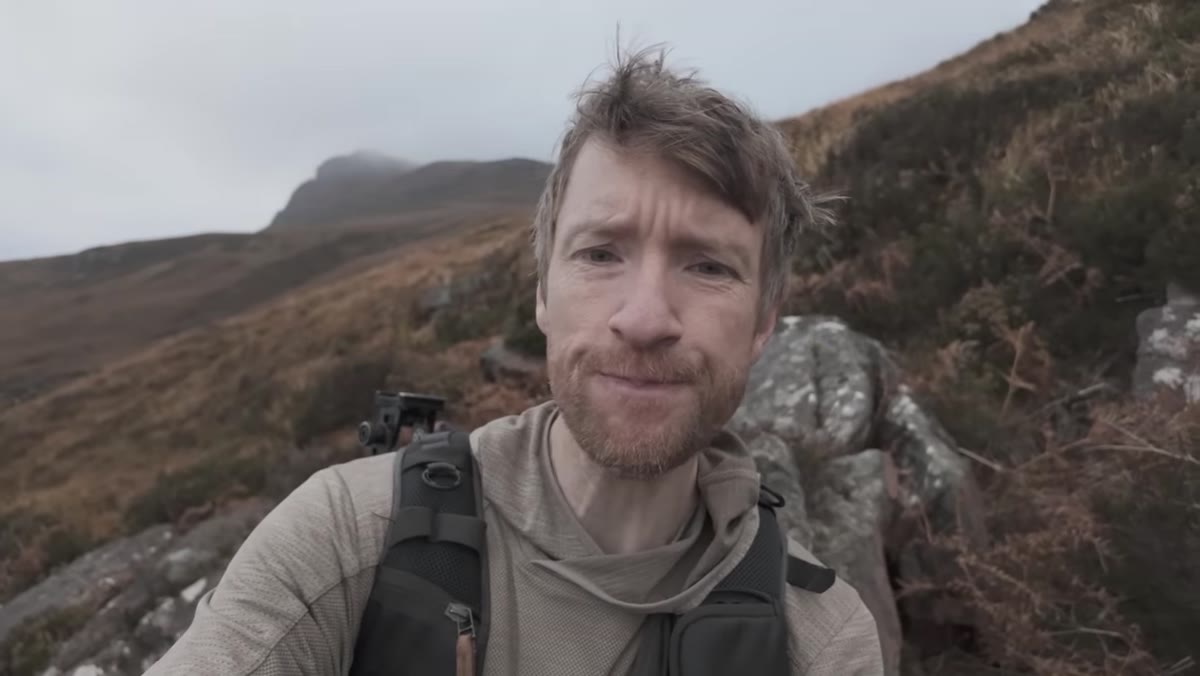 Heaton turning to show islands opening up behind him on the trail
Partway up the trail, the islands to the sea side begin to reveal themselves through shifting cloud. Heaton doesn’t wait for a better moment. He stops, pulls out his 24-70mm lens, and starts shooting. The light is alive and moving and will not hold.
Heaton turning to show islands opening up behind him on the trail
Partway up the trail, the islands to the sea side begin to reveal themselves through shifting cloud. Heaton doesn’t wait for a better moment. He stops, pulls out his 24-70mm lens, and starts shooting. The light is alive and moving and will not hold.
The specific choice here is instructive: he goes wider to capture both the dramatic sky and the island-studded sea below, using the sky as the dominant element rather than the land. He’s chasing texture, the ribbons of rain moving through the frame, the tonal quality of the water. If you shoot mountains and you’re always waiting for the definitive summit view, you’re probably walking past twenty good images on the way up. Train yourself to stop every fifteen minutes and turn around. The view behind you is often the one worth keeping.
Step 3: Use Elevation to Clean Up Your Composition
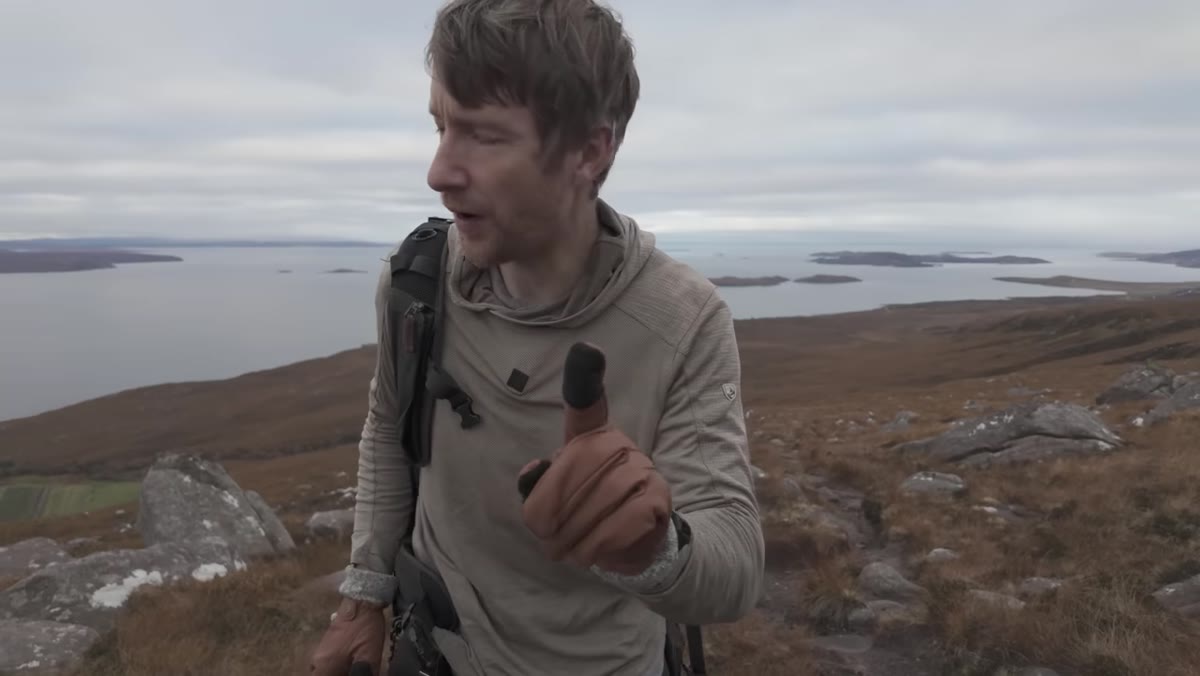 Heaton looking back at islands, discussing separation from mainland
This is the step I find most photographers skip because it requires patience and physical effort. As Heaton continues climbing, he’s not just hiking. He’s testing compositions in real time, mentally placing a box around the island group and watching whether the mainland background intrudes. He keeps moving until the islands separate cleanly from the land behind them.
Heaton looking back at islands, discussing separation from mainland
This is the step I find most photographers skip because it requires patience and physical effort. As Heaton continues climbing, he’s not just hiking. He’s testing compositions in real time, mentally placing a box around the island group and watching whether the mainland background intrudes. He keeps moving until the islands separate cleanly from the land behind them.
The practical instruction: if a compositional element you want is merging with background clutter, gain height before you reach for a longer lens. Elevation changes your angle of separation more cleanly than focal length in most mountain environments. A few extra minutes of climbing can save you from a complicated mask in post.
Step 4: Place Your Subject at the Bottom of Frame
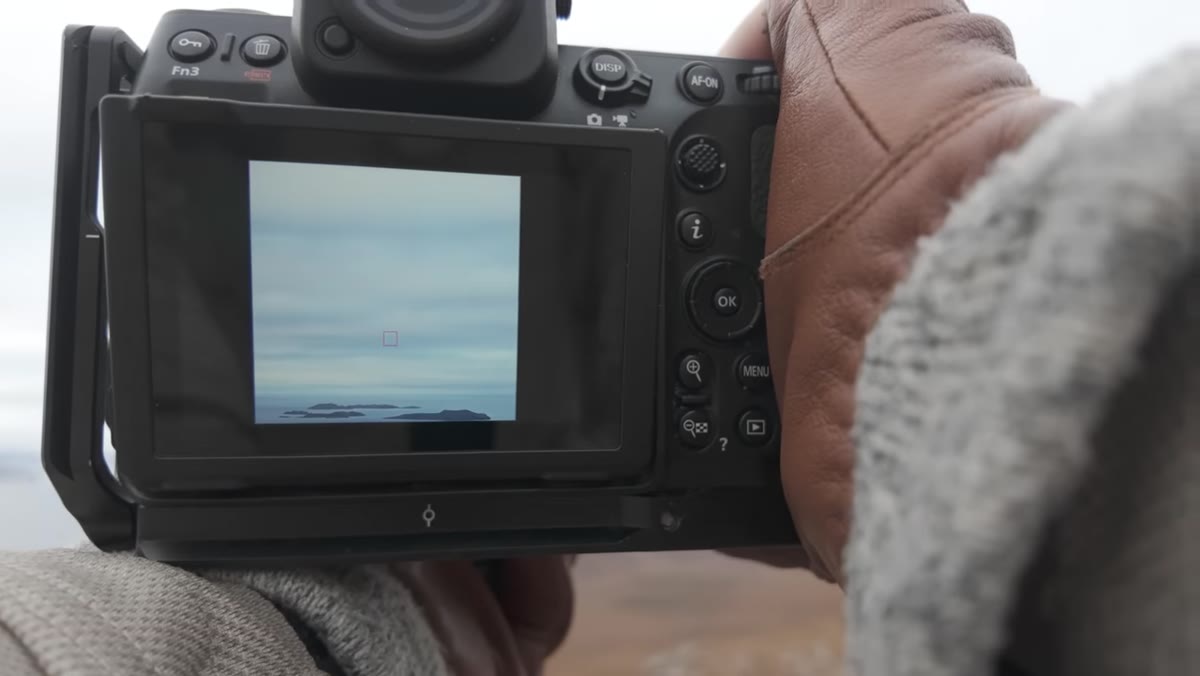 Heaton framing islands low in frame with sky dominating
Once Heaton finds his elevation, he makes a deliberate framing choice that he explains clearly: the islands sit at the very bottom of the frame, offering maximum negative space to the sky above. He’s not splitting the frame down the middle or following a strict thirds rule. He’s letting the sky dominate because the sky is, in this moment, the actual subject.
Heaton framing islands low in frame with sky dominating
Once Heaton finds his elevation, he makes a deliberate framing choice that he explains clearly: the islands sit at the very bottom of the frame, offering maximum negative space to the sky above. He’s not splitting the frame down the middle or following a strict thirds rule. He’s letting the sky dominate because the sky is, in this moment, the actual subject.
He considers a square crop here, and it’s worth thinking about why. A square format forces you to be more decisive about what you include. When the sea and sky nearly merge at the horizon, a square can emphasize that seamless quality rather than fighting it with a wide horizontal frame. I’ve started shooting square more often in flat coastal light and finding that the format itself asks better compositional questions.
Step 5: Know When the Tripod Is the Wrong Tool
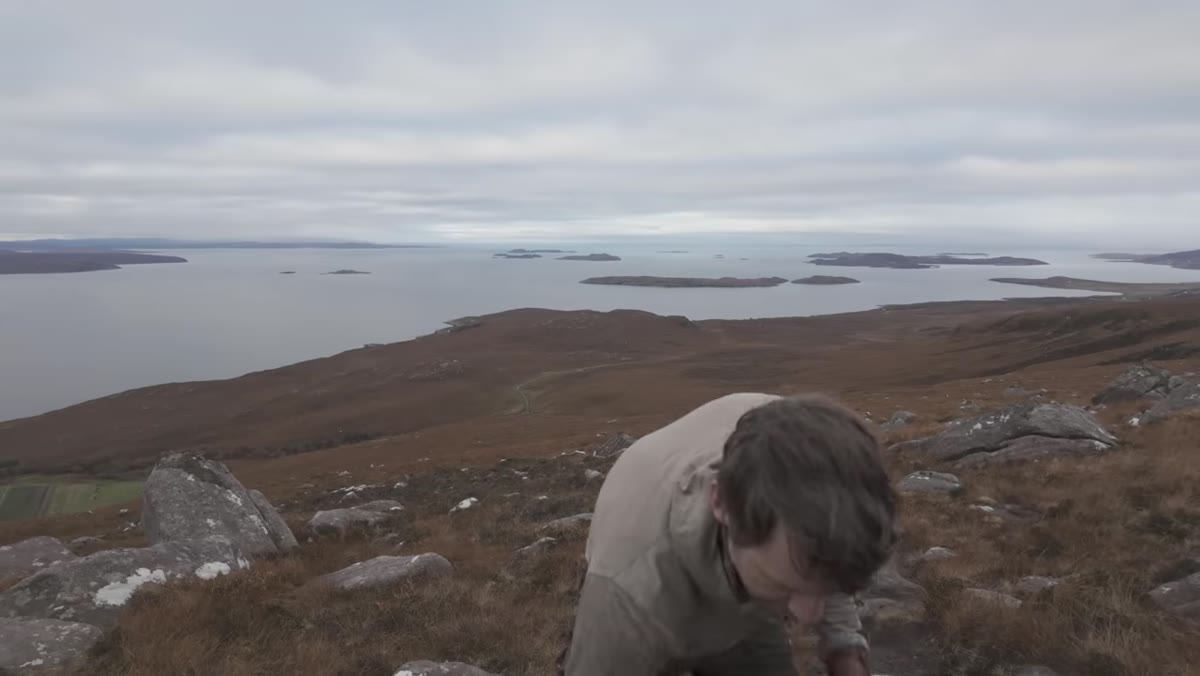 Heaton acknowledging he brought a heavy tripod he doesn’t need
In a moment of dry honesty, Heaton acknowledges he lugged a heavy tripod up the mountain and doesn’t need it. The light is plentiful, he’s not using filters, and image stabilization handles the rest. He shoots handheld and commits to living with the decision.
Heaton acknowledging he brought a heavy tripod he doesn’t need
In a moment of dry honesty, Heaton acknowledges he lugged a heavy tripod up the mountain and doesn’t need it. The light is plentiful, he’s not using filters, and image stabilization handles the rest. He shoots handheld and commits to living with the decision.
The lesson isn’t to leave your tripod at home. It’s to honestly assess what your tripod is solving before you pack it. In bright mountain conditions with good image stabilization, a tripod can slow you down when light is moving fast. I still shoot without one when conditions allow it, and I refuse to drag myself into a static mindset when the weather is doing the compositional work for me. Bring it for long exposures, low light, and precise framing. Leave it out of the equation when speed matters more than technical perfection.
What I’d Add From Twenty Years in the Field
The most transferable idea in this tutorial is what Heaton does before he even raises the camera: he identifies multiple potential compositions at different elevations and treats the hike itself as a scouting loop. I do a version of this on every mountain shoot, but I’ve added one habit Heaton doesn’t mention explicitly. I photograph the approach. The lower trail, the foreground rocks, the way light hits the valley floor below. Nine times out of ten those images don’t make it into a final edit. But occasionally one does, and more importantly, the act of shooting early keeps my eye calibrated. By the time I reach the elevation where the real work begins, I’ve already solved three or four smaller compositional problems and my brain is warmed up.
Scotland and Oregon are different landscapes but they share the same fundamental challenge: the weather is the subject, not the backdrop. Once you accept that, you stop waiting for conditions to improve and start working with what’s in front of you. That shift in thinking has led me to some of my best images, including a foggy two-day slog that came home with exactly one usable frame, which still outsells everything else in my print shop.
The single most important thing Heaton demonstrates in this tutorial is the discipline of reading the landscape in motion rather than from a fixed point. Mountain photography rewards the photographer who is always looking, always adjusting elevation, always asking whether a cleaner version of the composition exists ten meters higher. The camera is the last tool you reach for.
Watch the full tutorial on YouTube and pay particular attention to the moments between shots, the walking sections, the pauses where Heaton is working through composition before the lens cap comes off. That’s where the real instruction lives.
Comments (1)
This is the kind of content that keeps me coming back.
Leave a Comment