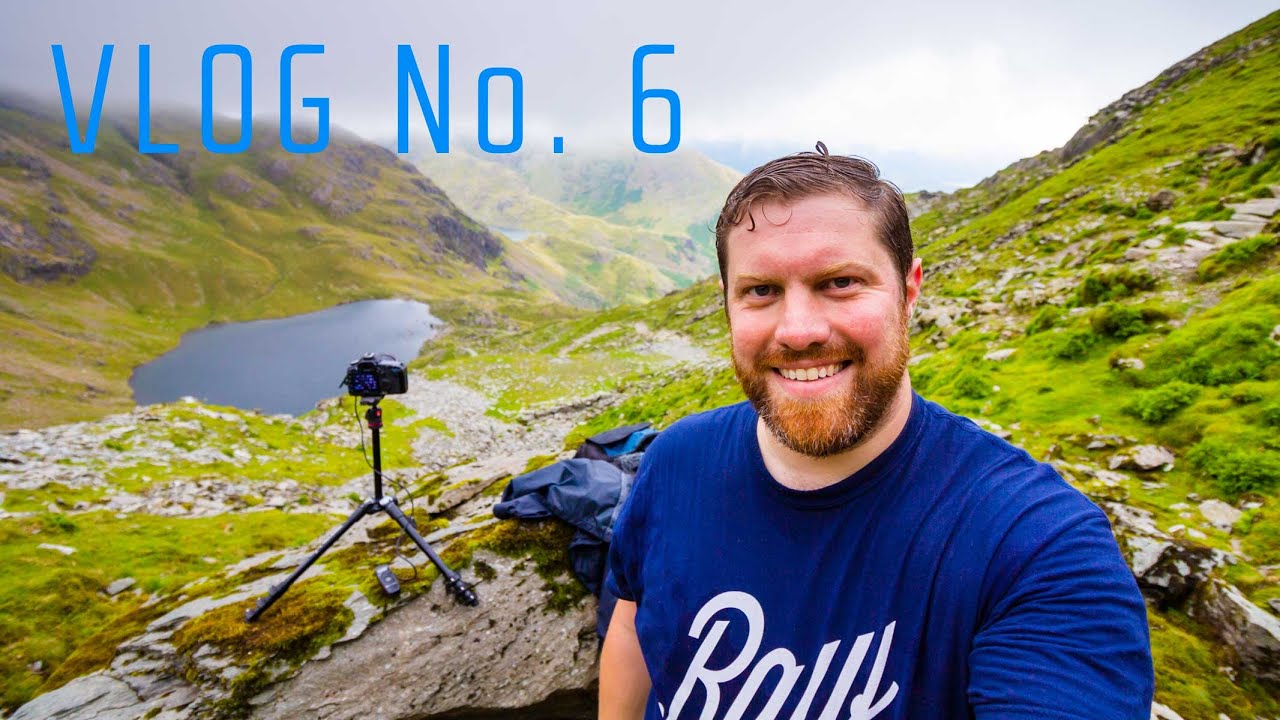
There is a particular kind of frustration that only landscape photographers know. You research a location for weeks. You study the light, the angles, the foreground elements. You drive hours before dawn, boots already on your feet, and you arrive to find that something has changed. A fence went up. A jetty got modified. The shot you planned is simply gone. What you do in that moment, in my experience, is the difference between a photographer who grows and one who stagnates.
That tension is exactly what makes this vlog from First Man Photography worth unpacking as a teaching tool. Watch the full tutorial on YouTube and you will see a photographer navigate a full day at Coniston Water in the English Lake District, dealing with an altered location, closing weather, difficult terrain, and the kind of relentless problem-solving that nobody talks about in gear reviews. The video is framed as a vlog, but there is a genuine field philosophy running through it that any serious shooter can learn from.
I have been doing this for two decades and I still have days that unravel by 7am. What I want to do here is pull the practical lessons out of this video and translate them into steps you can apply the next time your own plans fall apart in the field.
Step 1: Plan with Intent, Not Just with Hope
 Photographer in car at dawn preparing to drive
Before leaving home, the photographer in this video has a clear list of specific goals: shoot leading lines, test a lens, capture time lapses, and climb a mountain for elevated shots. That level of specificity matters. Vague goals like “get some nice shots” collapse the moment conditions change. Specific goals give you something to pivot around rather than abandon entirely. Before your next shoot, write down three or four concrete photographic intentions tied to actual techniques, not just feelings.
Photographer in car at dawn preparing to drive
Before leaving home, the photographer in this video has a clear list of specific goals: shoot leading lines, test a lens, capture time lapses, and climb a mountain for elevated shots. That level of specificity matters. Vague goals like “get some nice shots” collapse the moment conditions change. Specific goals give you something to pivot around rather than abandon entirely. Before your next shoot, write down three or four concrete photographic intentions tied to actual techniques, not just feelings.
Step 2: Arrive Early and Absorb the Location Before Shooting
 Photographer arriving at lakeside location at Coniston Water
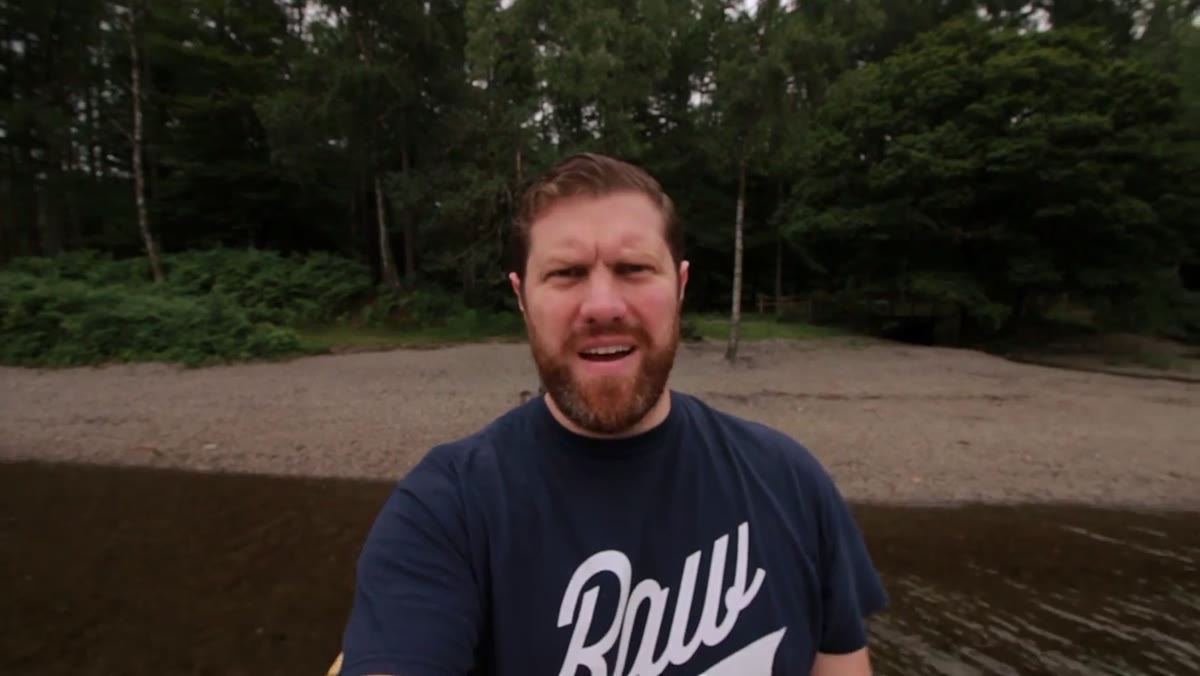
Arriving at Coniston Water early gives the photographer time to assess the scene before committing to a setup. This is a habit I cannot recommend strongly enough. When I reach a new location, I spend the first ten to fifteen minutes walking without the camera up. I look at where the light is landing, where natural lines lead the eye, and where the foreground becomes interesting. The tendency to immediately set up a tripod and start shooting is understandable, but it often locks you into the first composition you see rather than the best one.
Photographer arriving at lakeside location at Coniston Water
Arriving at Coniston Water early gives the photographer time to assess the scene before committing to a setup. This is a habit I cannot recommend strongly enough. When I reach a new location, I spend the first ten to fifteen minutes walking without the camera up. I look at where the light is landing, where natural lines lead the eye, and where the foreground becomes interesting. The tendency to immediately set up a tripod and start shooting is understandable, but it often locks you into the first composition you see rather than the best one.
Step 3: Recognize When a Planned Shot Has Failed, and Move On Quickly
 Modified jetty with ferry landing obscuring the original composition
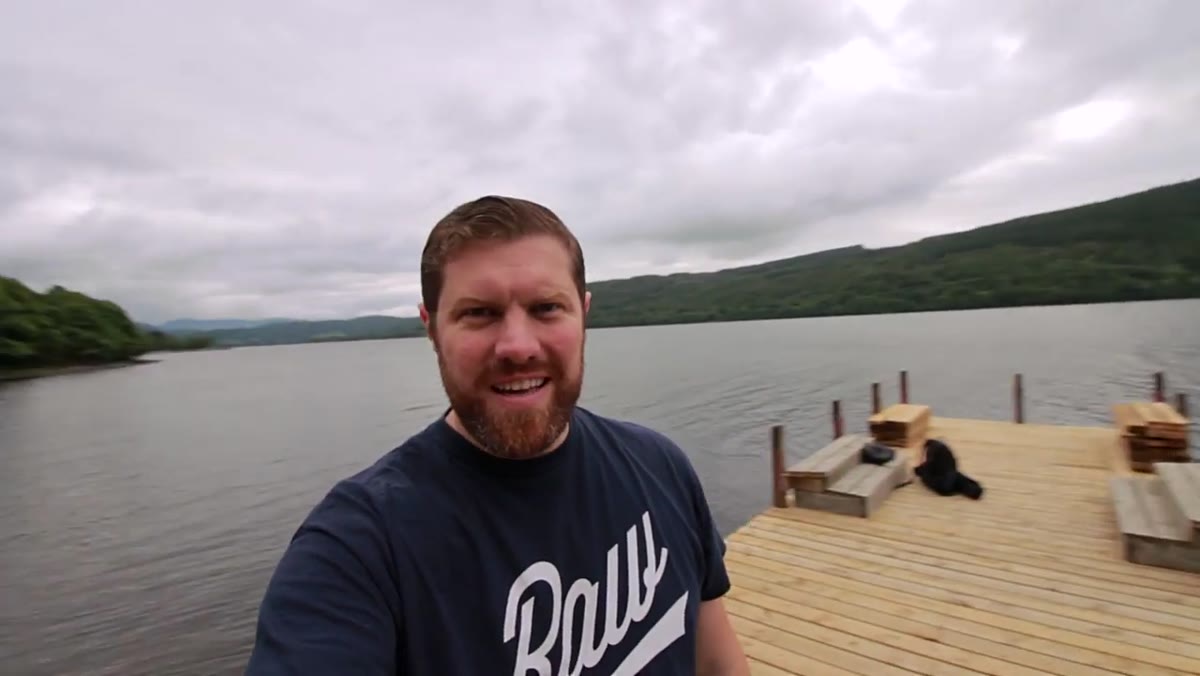
The leading lines shot built around the Coniston jetty was a centerpiece of the day’s plan. When the photographer arrives and finds the jetty has been modified with a ferry landing, the composition no longer works. The key move here is doing a quick test shot, confirming the problem, and moving on without excessive deliberation. Lingering at a failed location costs you time and light. Give yourself five minutes to look for an alternative angle. If nothing presents itself, leave. The discipline to walk away is something I had to learn slowly, usually by wasting entire golden hours trying to rescue a shot that was never going to work.
Modified jetty with ferry landing obscuring the original composition
The leading lines shot built around the Coniston jetty was a centerpiece of the day’s plan. When the photographer arrives and finds the jetty has been modified with a ferry landing, the composition no longer works. The key move here is doing a quick test shot, confirming the problem, and moving on without excessive deliberation. Lingering at a failed location costs you time and light. Give yourself five minutes to look for an alternative angle. If nothing presents itself, leave. The discipline to walk away is something I had to learn slowly, usually by wasting entire golden hours trying to rescue a shot that was never going to work.
Step 4: Use a Tripod and Time Lapse to Stay Productive While You Think
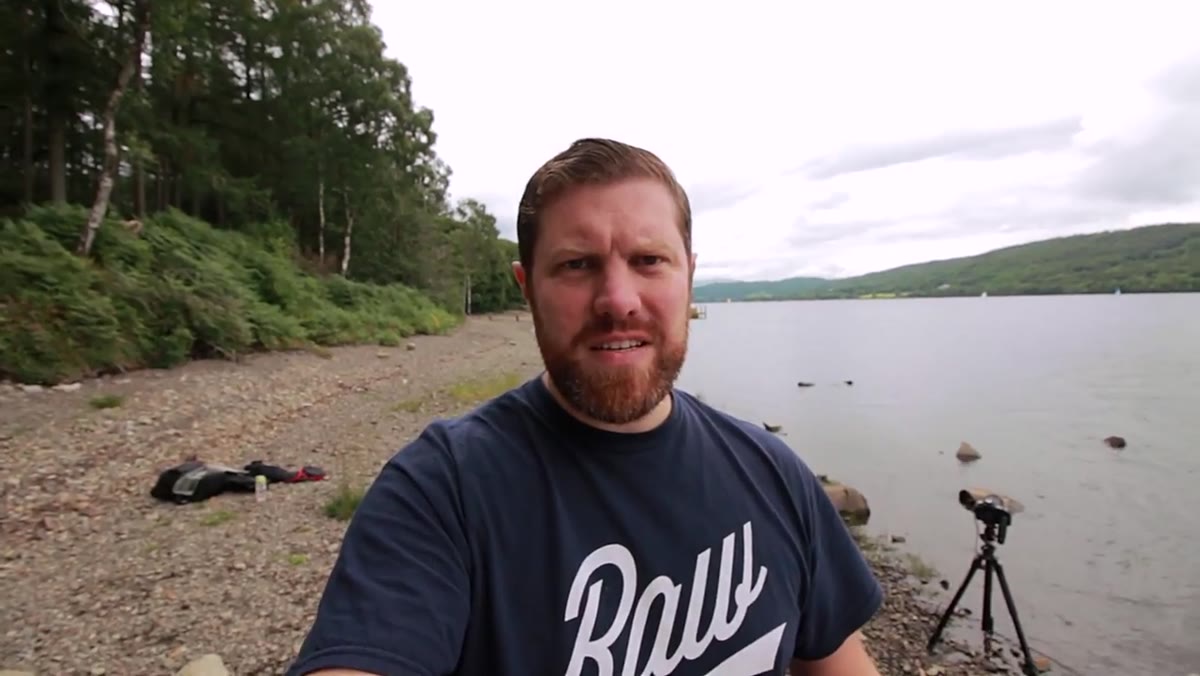 Camera mounted on tripod capturing time lapse at lakeside
Rather than standing around frustrated, the photographer sets up a time lapse at the modified jetty location while figuring out the next move. This is smart field management. A time lapse requires almost no active attention once it is running, which means your hands are free and your mind can reset. I often do the same thing when I am transitioning between ideas. A running time lapse also gives you usable footage from a location that otherwise yielded nothing. Set your interval, lock your focus, and let the camera work while you scout.
Camera mounted on tripod capturing time lapse at lakeside
Rather than standing around frustrated, the photographer sets up a time lapse at the modified jetty location while figuring out the next move. This is smart field management. A time lapse requires almost no active attention once it is running, which means your hands are free and your mind can reset. I often do the same thing when I am transitioning between ideas. A running time lapse also gives you usable footage from a location that otherwise yielded nothing. Set your interval, lock your focus, and let the camera work while you scout.
Step 5: Adapt Your Gear to the Conditions You Have
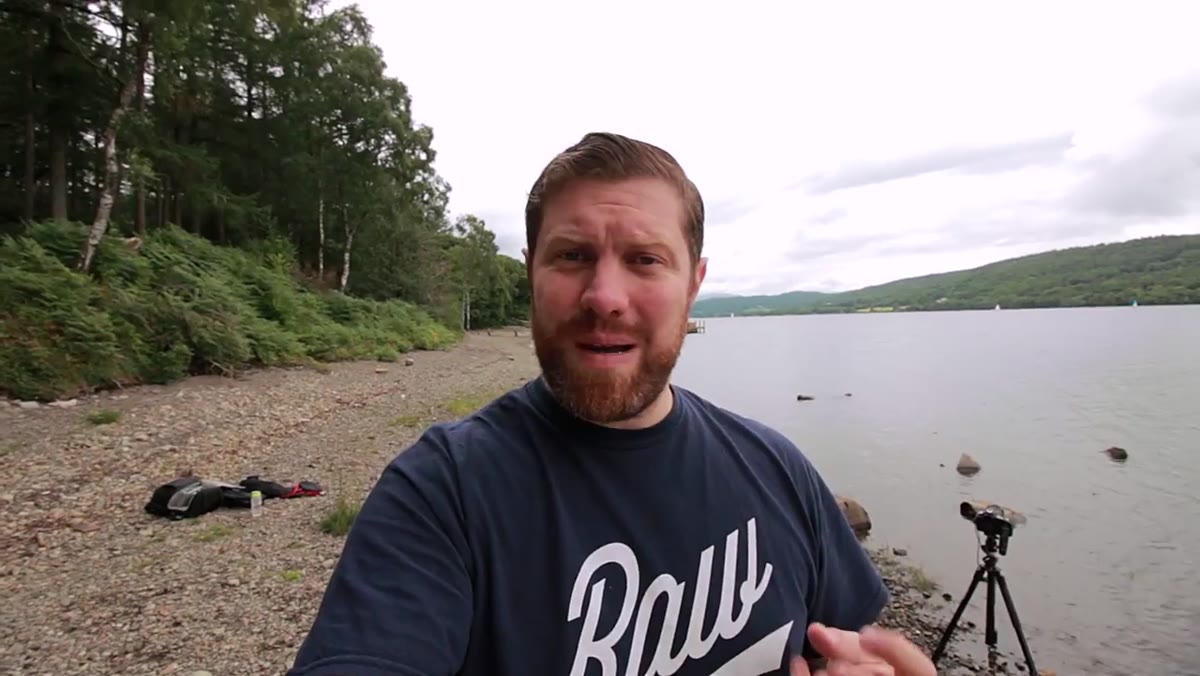 Photographer attaching 18-135mm lens to steady cam rig for video footage
Testing a zoom lens in varied conditions is part of this day’s purpose, and Coniston provides the right mix of wide landscape and compressed mountain detail to stress-test a general-purpose focal length. When the light or location shifts unexpectedly, your lens choice should shift with it. A longer focal length can isolate atmospheric detail in cloudy mountain scenes that a wide angle would render flat and grey. If I had planned on shooting wide at a reflective lake and the water was choppy, I would reach for something longer and find texture in the peaks instead. Let the conditions tell you what the shot is.
Photographer attaching 18-135mm lens to steady cam rig for video footage
Testing a zoom lens in varied conditions is part of this day’s purpose, and Coniston provides the right mix of wide landscape and compressed mountain detail to stress-test a general-purpose focal length. When the light or location shifts unexpectedly, your lens choice should shift with it. A longer focal length can isolate atmospheric detail in cloudy mountain scenes that a wide angle would render flat and grey. If I had planned on shooting wide at a reflective lake and the water was choppy, I would reach for something longer and find texture in the peaks instead. Let the conditions tell you what the shot is.
Step 6: Never Let Bad Weather Be a Full Stop
 Overcast sky above parking area with cloud covering mountain peaks
By midday the weather has deteriorated significantly, with cloud sitting hard on the peaks above Coniston. The photographer does not pack up. Instead he reframes the goal: misty, atmospheric mountain images often require exactly this kind of overcast condition to work. Flat light strips contrast but it also softens a scene in a way that can feel genuinely contemplative. My mentor told me once that the mountain does not care about your schedule. That landed, and I have thought about it on every shoot that has gone sideways since. Overcast days are not consolation prize days. They are a different kind of day, and they require a different kind of seeing.
Overcast sky above parking area with cloud covering mountain peaks
By midday the weather has deteriorated significantly, with cloud sitting hard on the peaks above Coniston. The photographer does not pack up. Instead he reframes the goal: misty, atmospheric mountain images often require exactly this kind of overcast condition to work. Flat light strips contrast but it also softens a scene in a way that can feel genuinely contemplative. My mentor told me once that the mountain does not care about your schedule. That landed, and I have thought about it on every shoot that has gone sideways since. Overcast days are not consolation prize days. They are a different kind of day, and they require a different kind of seeing.
What I Would Add From My Own Experience
After watching this video several times, the thing that stands out most to me is not any single technique. It is the pacing. The photographer moves through disappointment without drama and keeps generating options. That is a learned skill, and most tutorials do not address it because it is not photographic in the traditional sense. It is psychological.
I learned this the hard way. I once drove six hours to a coastal location in the Pacific Northwest to shoot a rock formation I had seen in a print. Fog sat on that beach for two full days. I almost left on the second morning. Instead I stayed, shot into the grey, and came home with one usable image. That image is now my best-selling print. The fog was the shot. I just could not see it until I stopped fighting it.
If you take nothing else from the First Man Photography vlog, take this: the location you planned for and the location you find when you arrive are rarely the same place. Your ability to photograph the second one, rather than mourn the first, is what your long-term body of work will actually be built on.
Conditions will change. Plans will fail. The photographers who come home with strong work are the ones who treat adaptation as the skill, not the setback. Watch the full tutorial on YouTube and pay particular attention to the moments between locations. That is where the real lesson lives.
Comments (5)
I've watched a dozen tutorials on this and yours is the clearest by far.
Simple but effective. Sometimes that's all you need.
Love this. I referenced a similar technique in one of my recent posts. Always good to see other perspectives.
I've been looking for exactly this kind of tutorial. Perfect timing.
I tried this on a client project yesterday and the results were way better than expected.
Leave a Comment