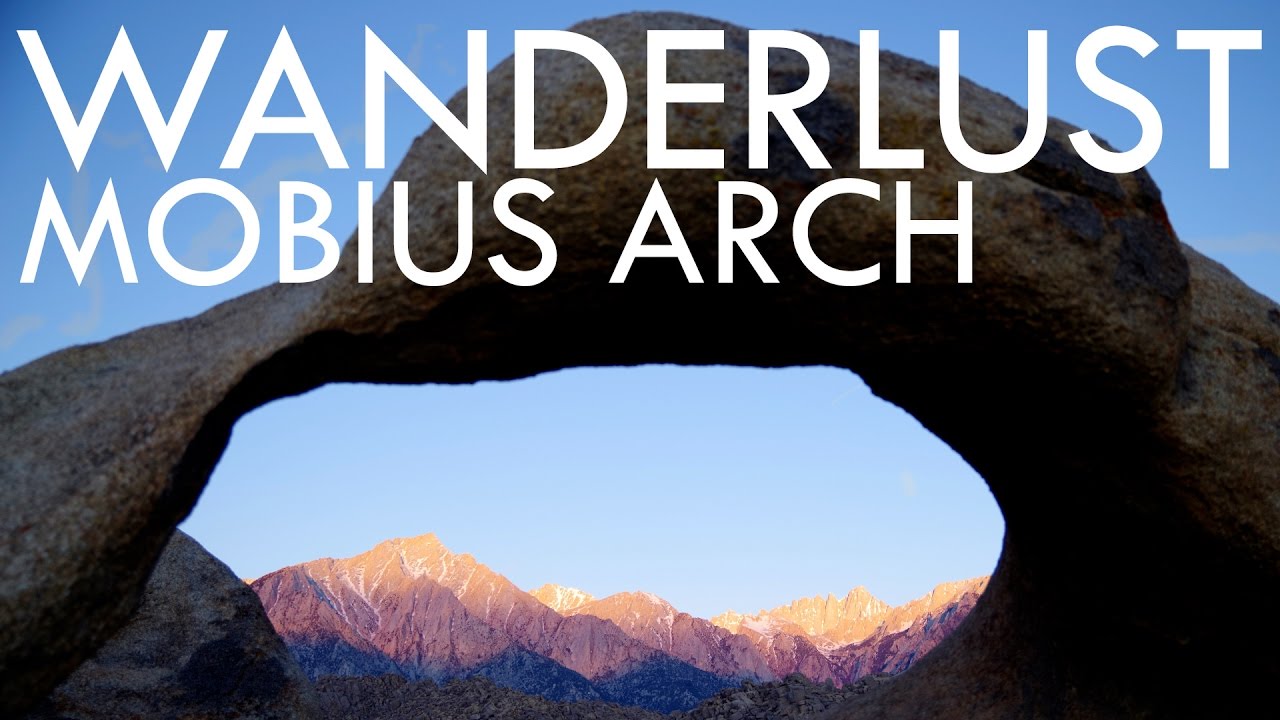
There is a particular kind of pressure that builds in the dark on the way to a sunrise location. You’ve done the planning, you’ve checked the app, you’ve picked your composition the evening before. And then you’re sitting in the truck at 4:45 a.m. watching the sky go lighter than you wanted it to, and you realize the window is already closing. I’ve been doing this for twenty years and that feeling never entirely goes away. What changes is how prepared you are when it hits. That’s exactly why I keep coming back to tutorials that treat landscape photography as the demanding, sometimes frantic discipline it actually is, rather than the serene hobby people imagine from the outside.
Watch the full tutorial on YouTube
In this Tony and Chelsea Northrup tutorial from their Wander Lost series, they team up with landscape photographers Stephanie and Eric Loenbach for a shoot that covers Mobius Arch at sunrise, a ghost town called Keeler, and an abandoned mine. What I appreciate about this video is how honestly it portrays the controlled chaos of golden-hour work, alongside solid practical instruction on environmental portraiture in decaying spaces. These are two very different skill sets, and they demonstrate both. Here’s what I took away, broken down into field-applicable steps.
Step 1: Scout Your Location the Evening Before
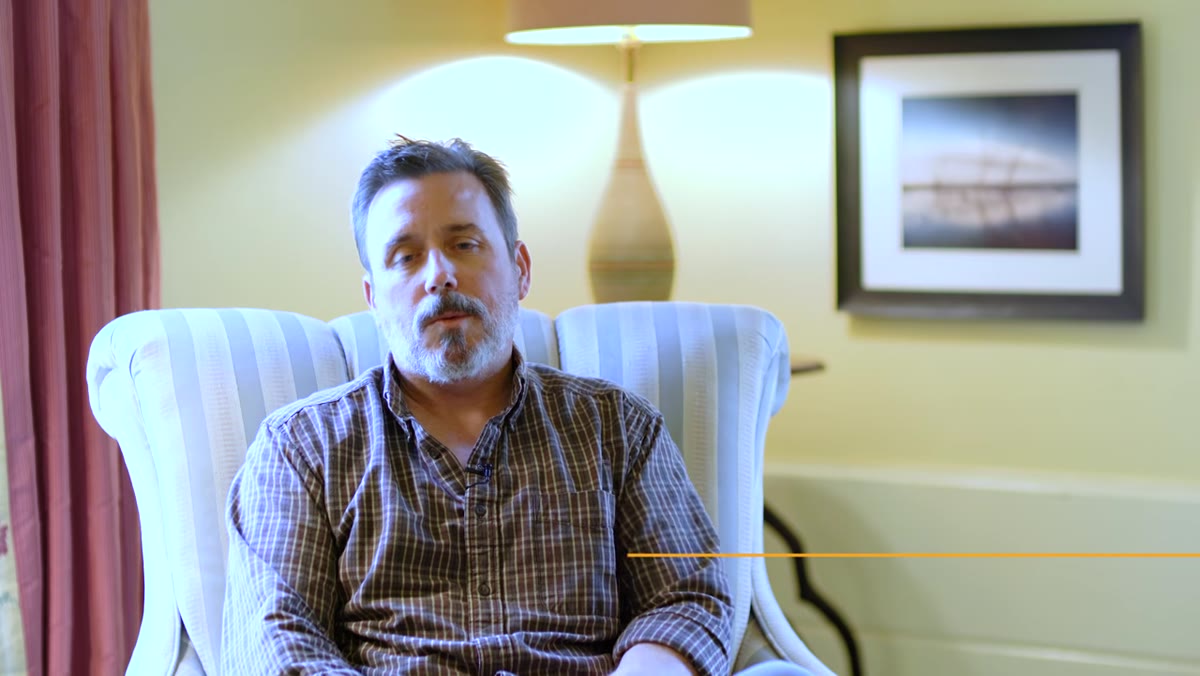 Photographers discussing composition and light direction at the arch
The team visited Mobius Arch the evening before their sunrise shoot to identify exactly where the light would come from and where to position themselves. This is not optional for serious work. Arriving at a new location in the dark, with no mental map of the space, is a recipe for missed shots. The night-before visit lets you check the arc of the sunrise relative to your subject, identify foreground options, and walk the path so you’re not stumbling over rocks at 5 a.m. with a tripod on your shoulder. Use an app like PhotoPills or The Photographer’s Ephemeris to confirm the sun’s angle before you go, then ground-truth it on site.
Photographers discussing composition and light direction at the arch
The team visited Mobius Arch the evening before their sunrise shoot to identify exactly where the light would come from and where to position themselves. This is not optional for serious work. Arriving at a new location in the dark, with no mental map of the space, is a recipe for missed shots. The night-before visit lets you check the arc of the sunrise relative to your subject, identify foreground options, and walk the path so you’re not stumbling over rocks at 5 a.m. with a tripod on your shoulder. Use an app like PhotoPills or The Photographer’s Ephemeris to confirm the sun’s angle before you go, then ground-truth it on site.
Step 2: Accept That the Good Light Window Is Brutally Short
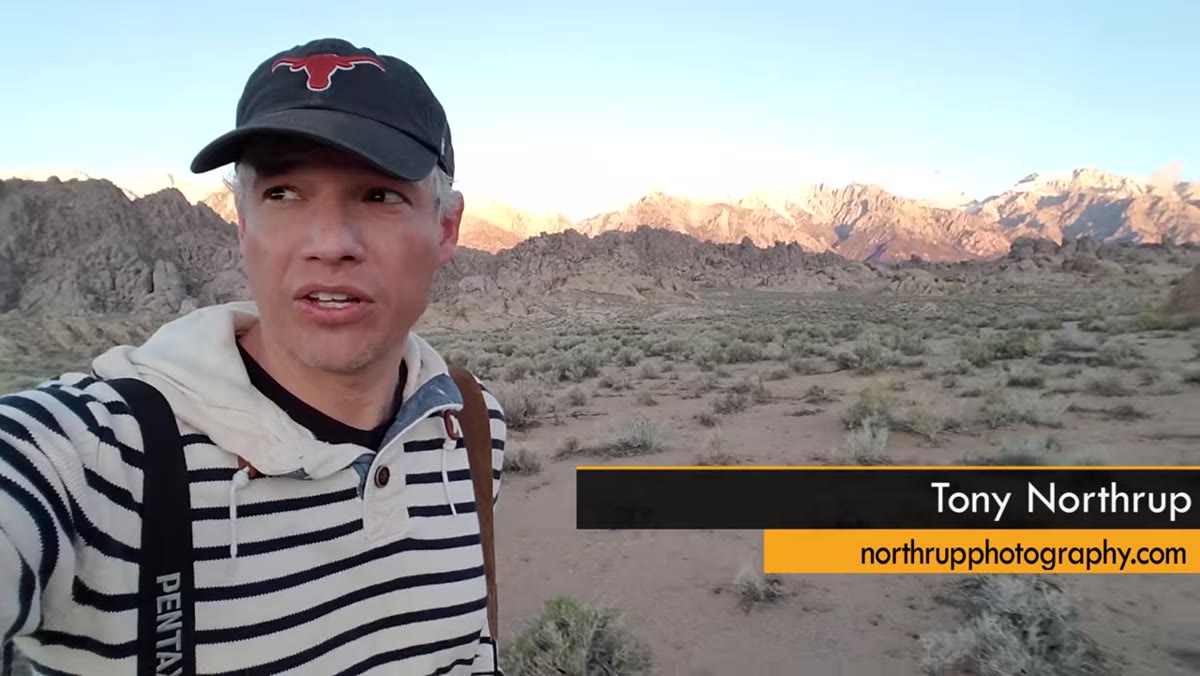 Sun cresting the ridge with warm light flooding the landscape
One of the most honest things said in this video is that after all the planning and hiking and early waking, you may have five minutes of usable light. Sometimes less. The quality of light doesn’t degrade gradually during golden hour. It shifts abruptly, and you will feel it more than see it. My own practice is to have the camera settings dialed before the light arrives, not during. Set your aperture, do a test exposure on the pre-dawn sky, and commit to a composition so that when the color ignites you are releasing the shutter, not fiddling with a menu. The photographers here were scrambling while the sky transformed, which is normal. The goal is to reduce scramble time, not eliminate the emotion of it.
Sun cresting the ridge with warm light flooding the landscape
One of the most honest things said in this video is that after all the planning and hiking and early waking, you may have five minutes of usable light. Sometimes less. The quality of light doesn’t degrade gradually during golden hour. It shifts abruptly, and you will feel it more than see it. My own practice is to have the camera settings dialed before the light arrives, not during. Set your aperture, do a test exposure on the pre-dawn sky, and commit to a composition so that when the color ignites you are releasing the shutter, not fiddling with a menu. The photographers here were scrambling while the sky transformed, which is normal. The goal is to reduce scramble time, not eliminate the emotion of it.
Step 3: Use a Starburst Effect Intentionally When the Sun Peeks Over Terrain
 Sun barely visible over mountain ridge, starburst forming in frame
When the sun is partially blocked by a ridge or tree line, you can use a narrow aperture to create a starburst effect in your image. In the video, one of the photographers is working with the sun just cresting the mountains and explicitly notes they’re using a small aperture to capture that radiating spike effect. As a rule, apertures between f/11 and f/16 on most lenses will produce a clean starburst when a point light source is partially obscured. Go narrower than f/16 and you start losing sharpness to diffraction. Compose so the sun sits on an edge rather than floating open in the sky for the most dramatic result.
Sun barely visible over mountain ridge, starburst forming in frame
When the sun is partially blocked by a ridge or tree line, you can use a narrow aperture to create a starburst effect in your image. In the video, one of the photographers is working with the sun just cresting the mountains and explicitly notes they’re using a small aperture to capture that radiating spike effect. As a rule, apertures between f/11 and f/16 on most lenses will produce a clean starburst when a point light source is partially obscured. Go narrower than f/16 and you start losing sharpness to diffraction. Compose so the sun sits on an edge rather than floating open in the sky for the most dramatic result.
Step 4: Stabilize Your Tripod in Windy Conditions
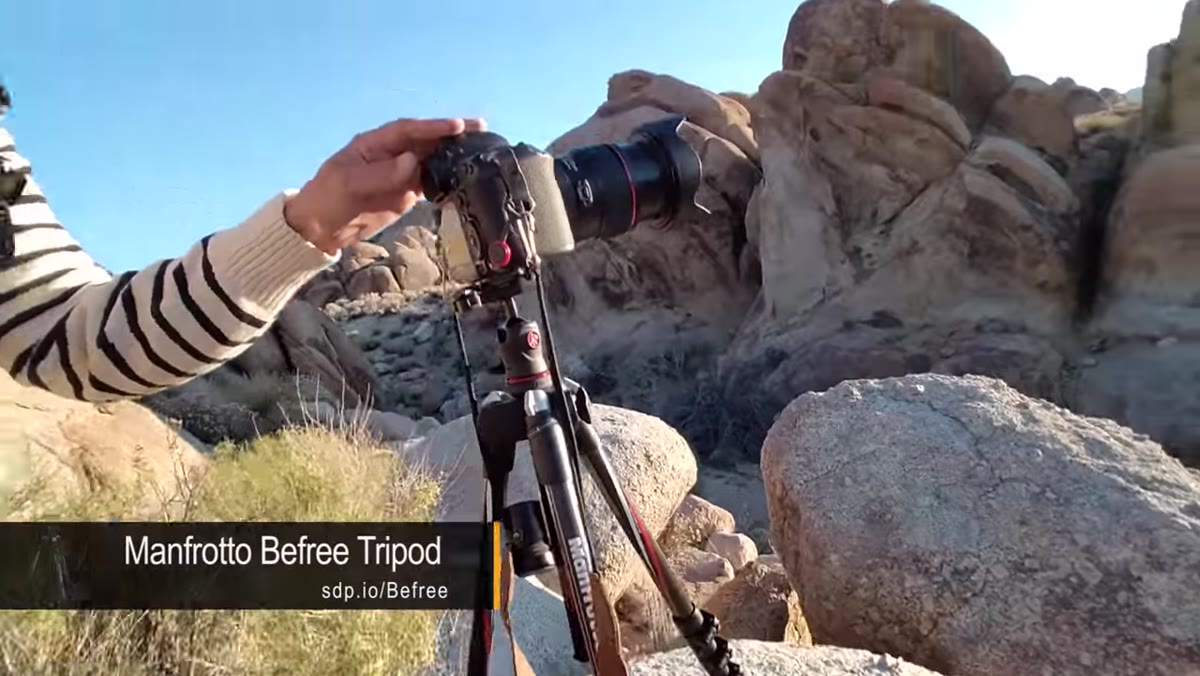 Lightweight tripod visibly shaking in wind, photographer steadying it by hand
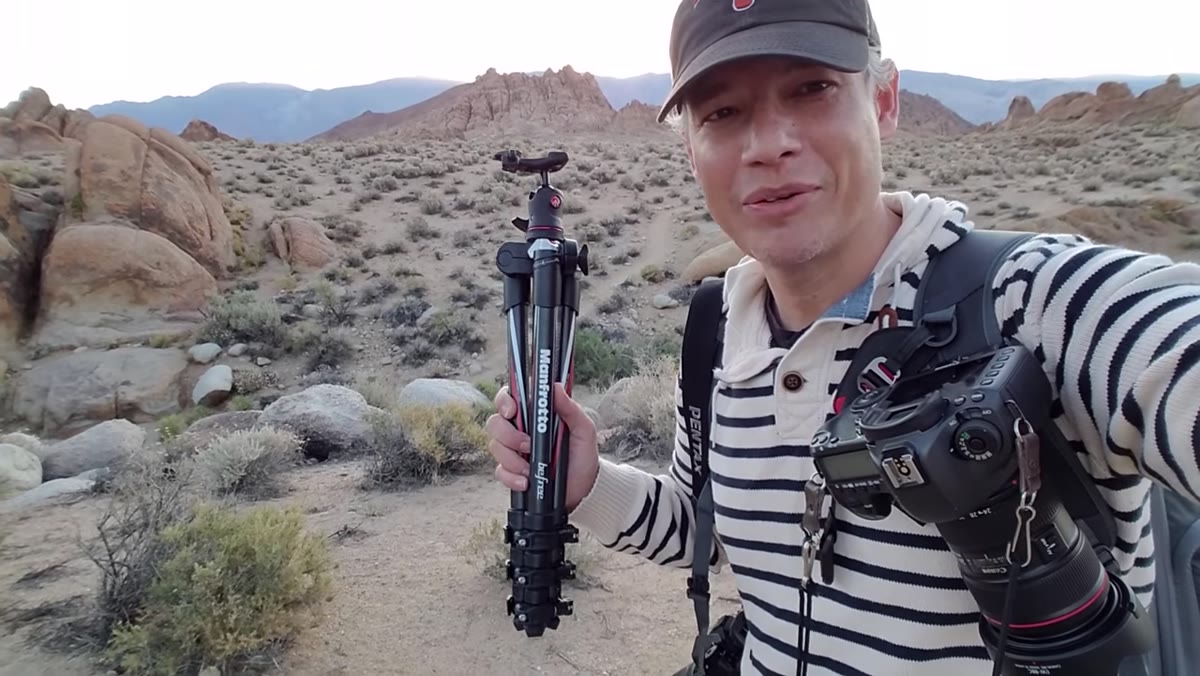
Carbon fiber travel tripods are genuinely useful for covering distance in the backcountry, but they have a real weakness: wind. The video makes this point directly. A lightweight tripod in even a moderate breeze will introduce enough vibration to soften an image, especially at longer focal lengths or longer exposures. The practical fixes are to hang your bag from the center column for ballast, use your camera’s two-second delay timer rather than pressing the shutter directly, and if conditions are rough, shield the tripod with your body. Some photographers briefly hold the head steady during the exposure rather than touching the camera itself. It’s an imperfect solution to a genuine field problem.
Lightweight tripod visibly shaking in wind, photographer steadying it by hand
Carbon fiber travel tripods are genuinely useful for covering distance in the backcountry, but they have a real weakness: wind. The video makes this point directly. A lightweight tripod in even a moderate breeze will introduce enough vibration to soften an image, especially at longer focal lengths or longer exposures. The practical fixes are to hang your bag from the center column for ballast, use your camera’s two-second delay timer rather than pressing the shutter directly, and if conditions are rough, shield the tripod with your body. Some photographers briefly hold the head steady during the exposure rather than touching the camera itself. It’s an imperfect solution to a genuine field problem.
Step 5: Photograph Ghost Towns with Environmental Context in Mind
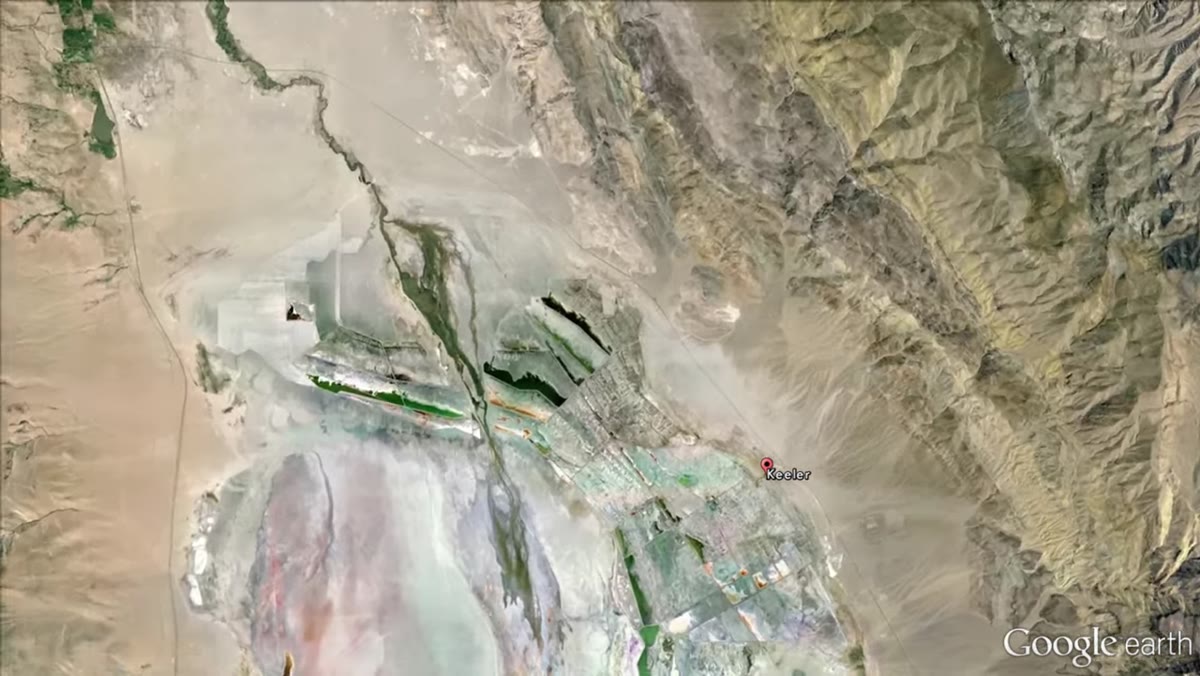 Wide shot of Keeler ghost town, abandoned homes visible in the landscape
After the sunrise shoot, the group moves to Keeler, a ghost town in the Owens Valley that emptied out when Los Angeles diverted the region’s water supply. What makes ghost towns photographically rich is not just the decay but the implied narrative. Homes left mid-life, objects still on shelves, doors ajar. When I shoot abandoned spaces, I work in layers: a wide shot that establishes the relationship between the structure and its landscape, a medium shot that shows the architecture and context together, and tight detail shots that carry the human story. Don’t just document the exterior. Look for objects inside that tell you something about the people who left.
Wide shot of Keeler ghost town, abandoned homes visible in the landscape
After the sunrise shoot, the group moves to Keeler, a ghost town in the Owens Valley that emptied out when Los Angeles diverted the region’s water supply. What makes ghost towns photographically rich is not just the decay but the implied narrative. Homes left mid-life, objects still on shelves, doors ajar. When I shoot abandoned spaces, I work in layers: a wide shot that establishes the relationship between the structure and its landscape, a medium shot that shows the architecture and context together, and tight detail shots that carry the human story. Don’t just document the exterior. Look for objects inside that tell you something about the people who left.
Step 6: Treat Environmental Portraits as Collaboration, Not Extraction
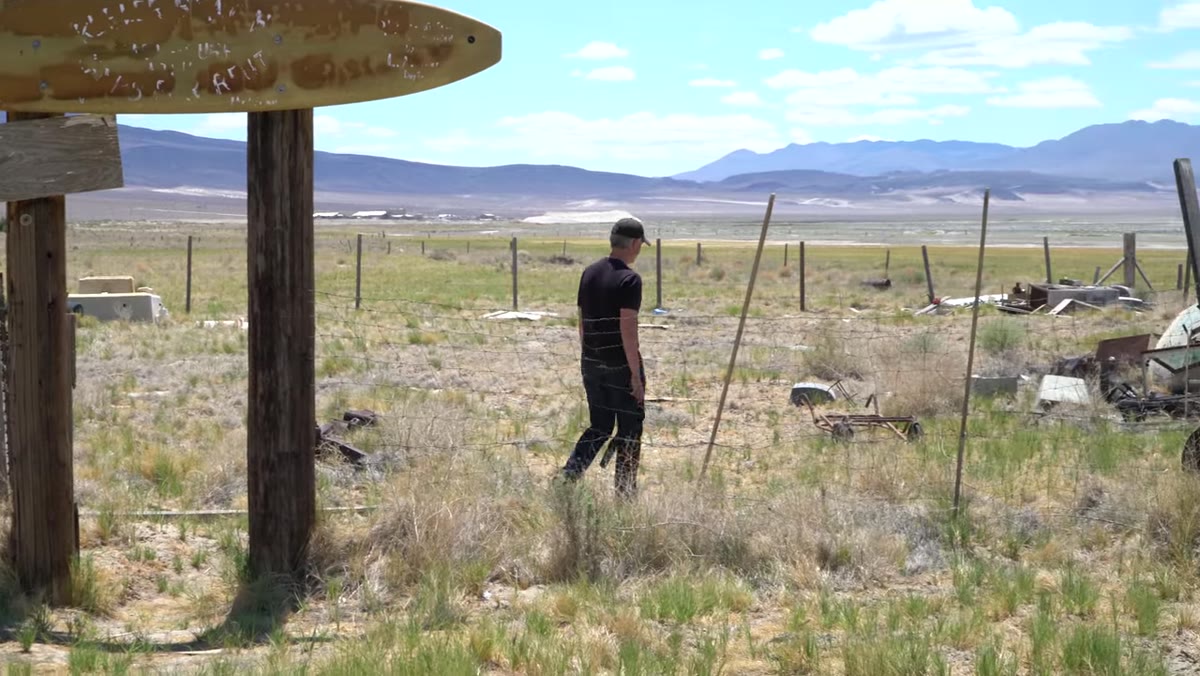 Photographer engaging with a remaining Keeler resident outside their home
The video touches on the residents still holding on in Keeler, and there’s a brief but important moment of genuine human engagement. Environmental portraiture in places like this requires a different kind of patience than landscape work. The light doesn’t force your schedule, the person does. Ask before shooting. Let the conversation lead before the camera comes up. The best environmental portraits look like the subject belongs exactly where they are, because they do. Your job is to find the angle and light that confirms that truth rather than impose a frame on it.
Photographer engaging with a remaining Keeler resident outside their home
The video touches on the residents still holding on in Keeler, and there’s a brief but important moment of genuine human engagement. Environmental portraiture in places like this requires a different kind of patience than landscape work. The light doesn’t force your schedule, the person does. Ask before shooting. Let the conversation lead before the camera comes up. The best environmental portraits look like the subject belongs exactly where they are, because they do. Your job is to find the angle and light that confirms that truth rather than impose a frame on it.
A Note from My Own Work on Managing the Aftermath of Sunrise
The tutorial captures the rush well, but what it doesn’t cover is the discipline of what comes after the light drops. In my experience, that flat midday window is when real scouting happens for the next shoot. I walk the area without a camera, notice where shadows fall, check angles for sunset, talk to locals, and eat something. The Northrups head to breakfast, which is exactly right. You’ve spent adrenaline on the morning shoot. Restore it. The fourteen hours between good light are not dead time. They are the reason the next shot gets made well.
The single most important lesson from this video is one that every landscape photographer hears but most still underestimate: the good light is short, it’s unpredictable, and the only way to use it is to have already done every bit of preparation that can be done before it arrives. Scout the evening before. Set your exposure in advance. Know your composition before the sky turns. The shoot itself should be reaction, not decision-making.
Watch the full tutorial on YouTube to see the complete Wander Lost episode, including the ghost town walk and mine photography segments that are well worth studying for anyone interested in combining landscape and portrait work in the same trip.
Comments (2)
Just used this on a wedding shoot edit. Client was thrilled.
I keep coming back to this article. It's that useful.
Leave a Comment