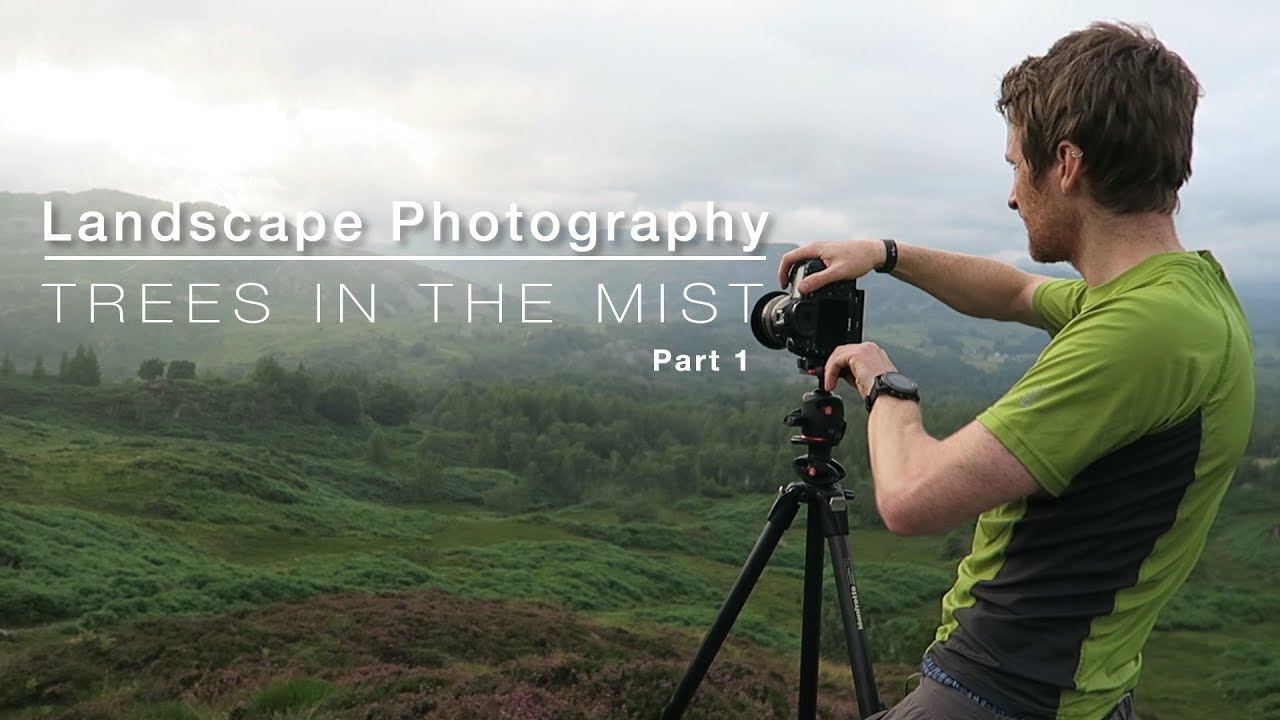
There’s a particular kind of restlessness that hits me after a string of desk days. The light outside looks different when you’ve been staring at a screen for too long, and no amount of Lightroom work scratches the itch. What I need, usually, is to go somewhere I’ve never been and wander around with a camera and no agenda. That impulse sounds like slacking. It isn’t. The best shots I’ve ever made came out of trips where I had no idea what I was going to find.
That’s exactly the spirit behind this Thomas Heaton tutorial, and it’s one of the reasons I keep returning to his work. Watch the full tutorial on YouTube before or after reading this, because seeing him move through a landscape in real time is worth something that words can’t fully capture. What I want to do here is pull out the practical logic underneath his walkabout approach, because there’s more method in it than it might first appear.
Heaton isn’t just wandering. He’s doing what I’d call a first-pass scout, the kind of exploratory session where the goal isn’t a finished image but a working knowledge of a place. He’s looking at light direction, tree placement, how mist moves through a valley, where you could stand with a tripod and not be in someone’s way at dawn. Learning to treat these outings as legitimate work, not failed shoots, changed how I plan entire seasons of photography.
Step 1: Choose a Location That Challenges Your Defaults
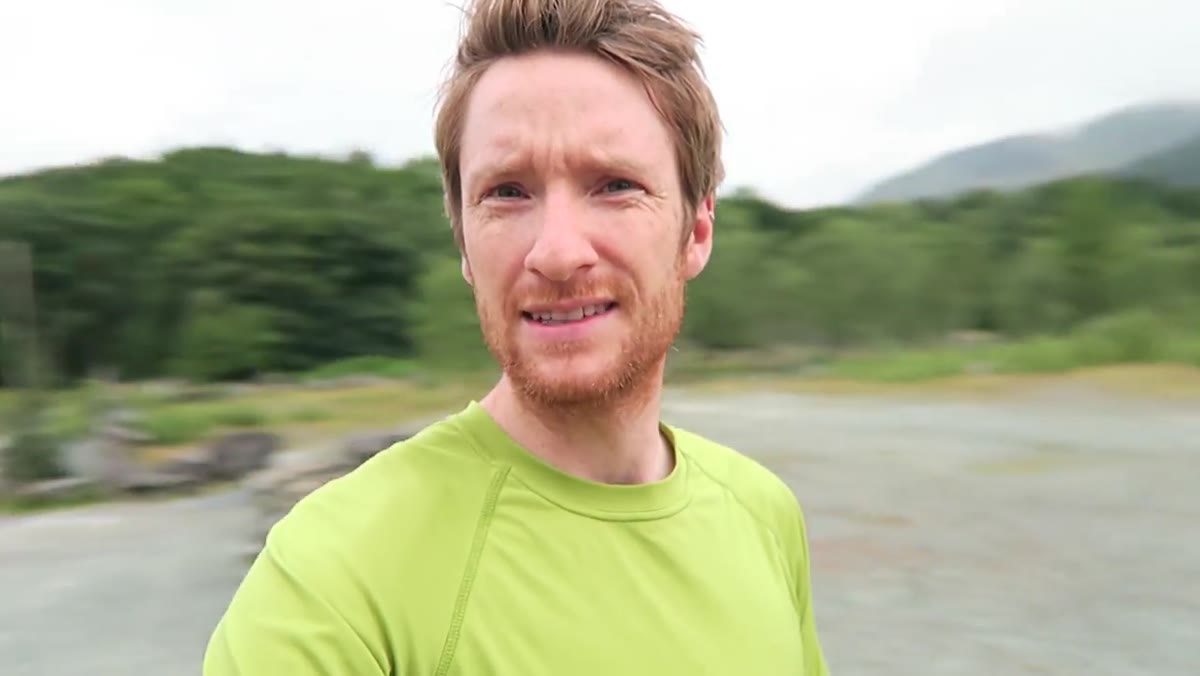 Heaton approaching a quarry entrance surrounded by overgrown summer trees
Heaton deliberately picks a quarry, not the kind of sweeping vista he’s known for. That choice is worth noticing. When a location type stops exciting you, the problem usually isn’t the locations. It’s that you’ve stopped looking at unfamiliar ones. His quarry is overgrown, mid-summer green, and by his own admission not ideal for photography right now. He goes anyway. The act of choosing a place that isn’t obviously photogenic forces you to look harder and find structure rather than just chasing color.
For your own practice, pick somewhere within an hour of home that you’ve written off as not scenic enough. Quarries, old woodlands, reservoirs, industrial margins. Go once with no expectation of a keeper image. The point is to build a mental library.
Step 2: Set Camp First, Then Scout With Your Camera
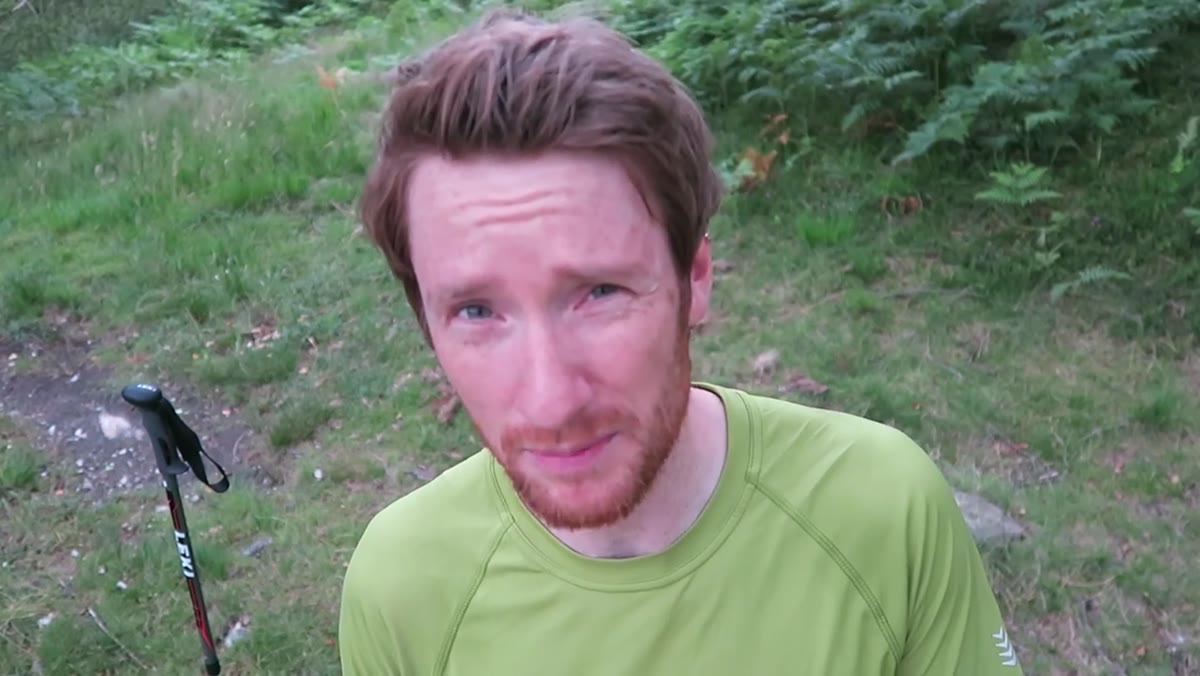 Heaton describing his plan to reach the fell summit before scouting back down
Before he touches his camera, Heaton hikes to a campsite on the fell summit and drops his gear. This sequencing matters. When your pack weighs you down and you’re thinking about where to sleep, your scouting is scattered. Once the logistics are settled, your mind frees up to actually see. He plans to come back down to the trees after, with nothing but a camera and a rough sense of where the light is tracking.
Apply this on day trips too. Drive to your location, walk the whole area once without raising your camera, then go back to the most promising spots. I spent years stopping at the first interesting thing I saw and burning my golden hour there while better compositions sat fifty meters further down the trail.
Step 3: Read the Light as a Moving Target, Not a Fixed Condition
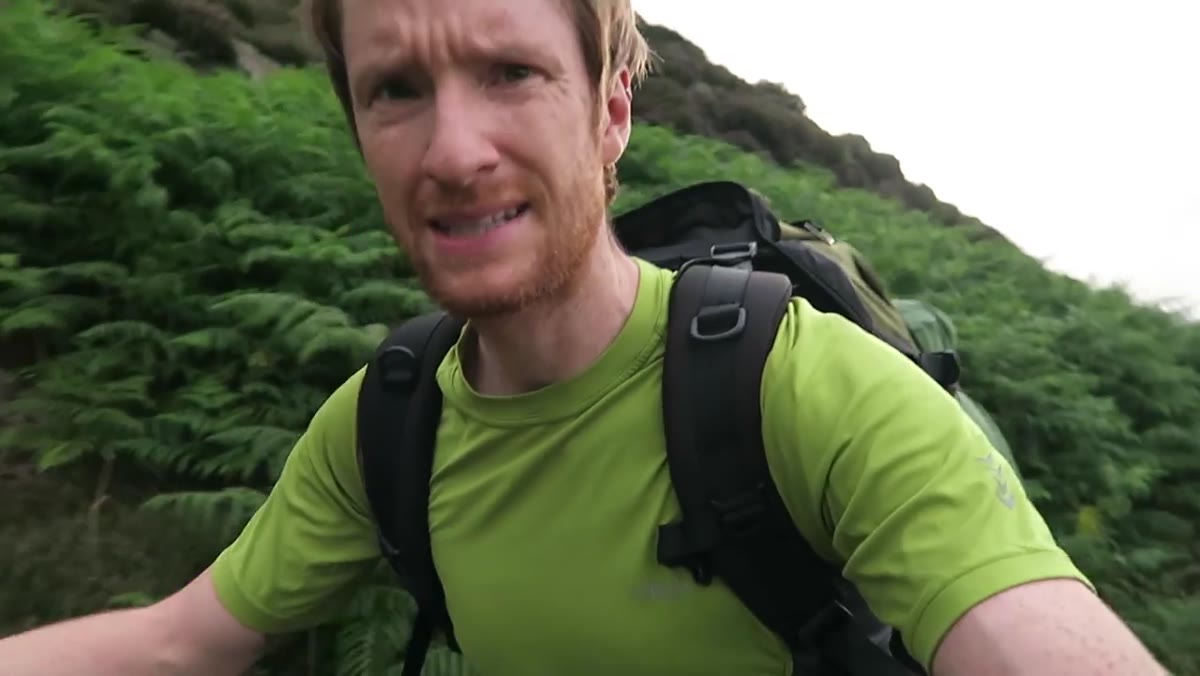 Heaton turning to show dramatic backlight breaking through clouds behind him on the hillside
Halfway up the fell, the light breaks open behind him in a way that completely changes the plan. He doesn’t freeze or scramble to set up where he’s standing. He reads it, decides the summit might offer a composition, and moves toward where the light is heading. This is the core skill that separates experienced field photographers from people who set up at the trailhead and hope. Light moves. You move with it.
The practical habit here is to watch the sky for at least ten minutes before you unpack anything. Note where the sun will be in twenty minutes, not where it is now. On overcast days like this one, watch for breaks in the cloud layer and think about which direction they’re opening from. That determines where atmosphere and mist will illuminate first.
Step 4: When the Light Fades, Look for Atmosphere Instead
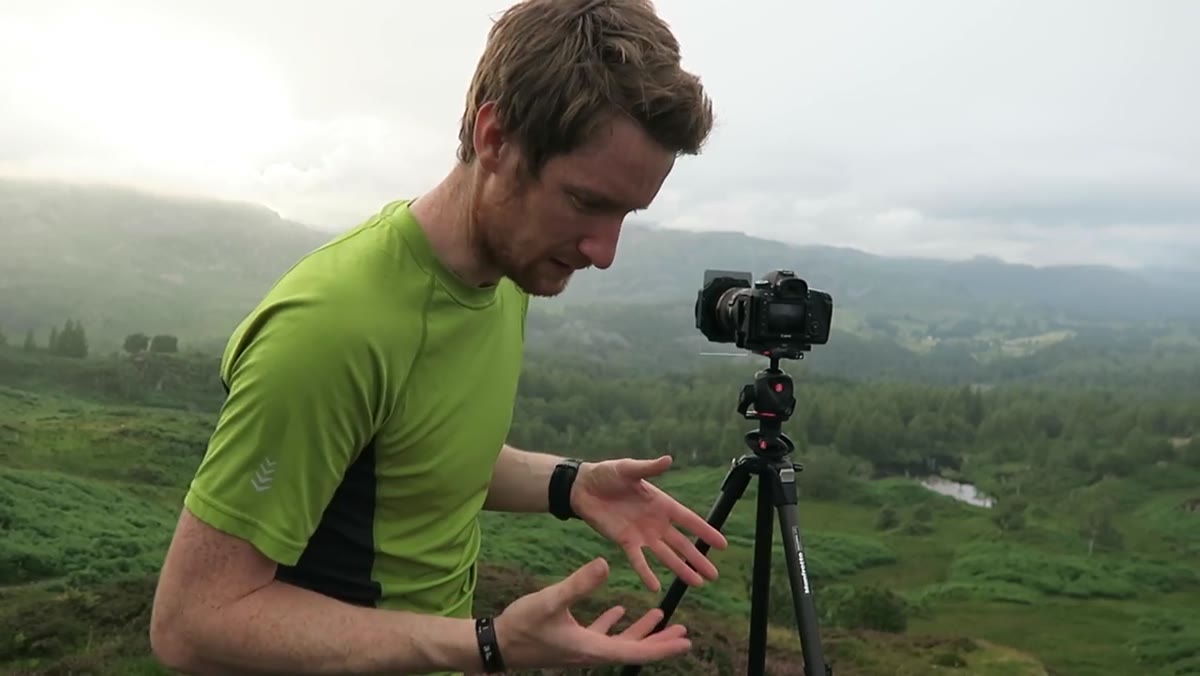 Heaton at first composition position, light gone, clouds moving across muted hilltops
He finds a composition at the summit, sets up, and the light dies almost immediately. Classic. His response isn’t to pack up. He assesses what’s left: muted tones, cloud movement, stillness. The absence of wind becomes an asset. Reflections become possible. Mist starts to pool. He decides this composition isn’t quite right but that the conditions themselves still have something to offer, so he moves rather than quits.
When the dramatic light disappears, slow down and look for what replaced it. Flat light reveals texture. Mist creates depth that hard sunlight flattens. Some of my most requested prints came from mornings where I drove six hours to a location, sat in fog for two days straight, and came home with one frame. That frame, shot in the flattest, greyest light imaginable, sells better than anything I took in golden hour that year. The lesson took a long time to sink in.
Step 5: Relocate With a Specific Element in Mind
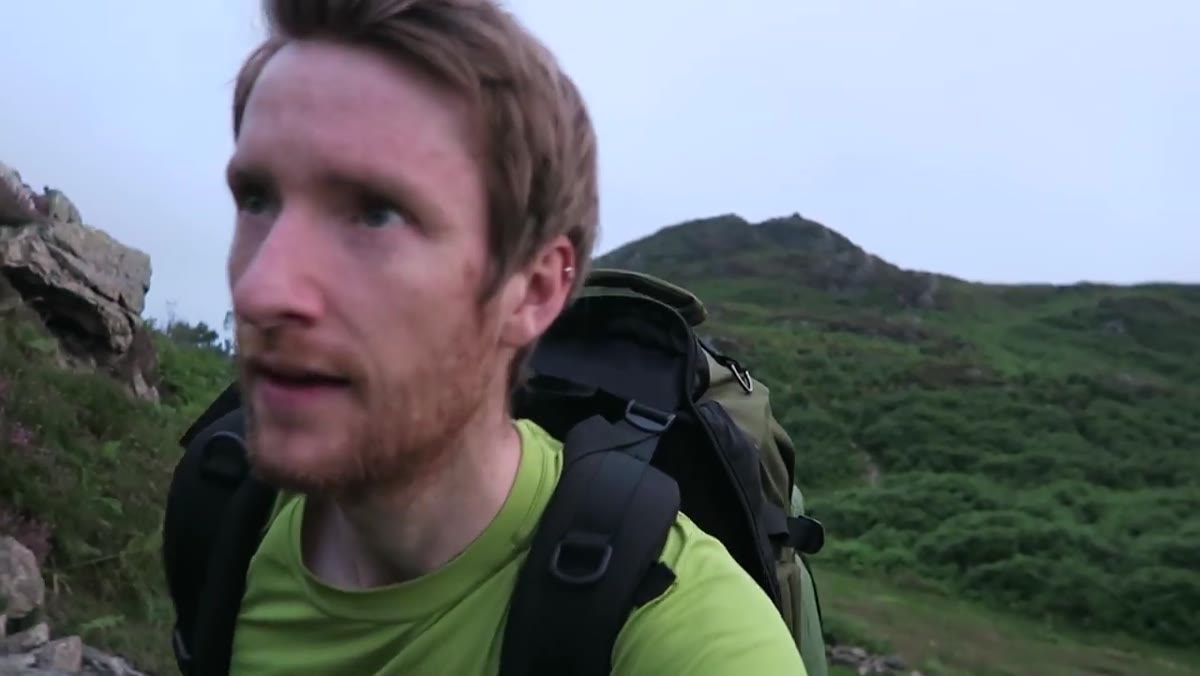 Heaton walking toward a cluster of trees on a secondary hilltop 500 meters from first position
Rather than searching generally, Heaton moves to a second position because he’s identified a specific thing he wants: trees he can use as a foreground anchor against the atmospheric background. That’s the right way to relocate. Not “let’s see what’s over there” but “I need a vertical element with weight, and there are trees on that ridge.” Purposeful movement through a location keeps you from wandering until the light is completely gone.
When you’re scouting and a composition isn’t working, name the missing element out loud. Foreground interest. Leading line. Scale reference. Separation between subject and background. Then go look for that specific thing.
Step 6: Embrace the Simple Composition When Conditions Are Doing the Work
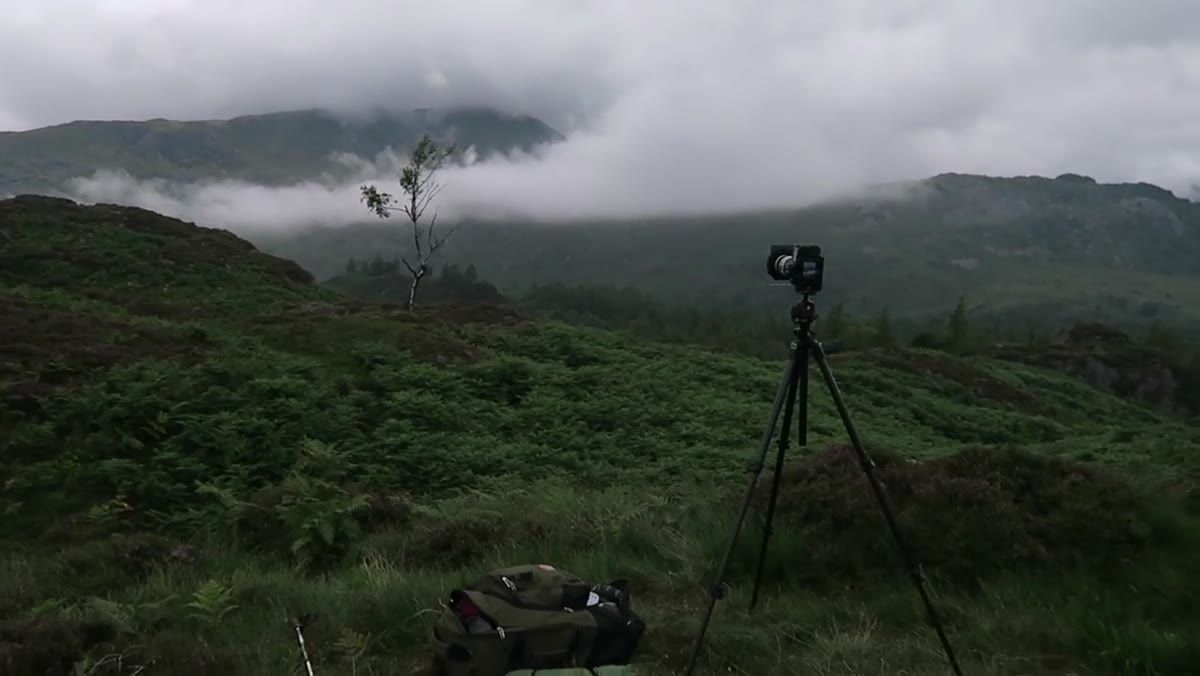 Heaton framing a lone tree against cloud-draped mountains, mist running along the ridgeline
He finds a lone tree with mist rolling along the mountains behind it and calls it a simple composition, almost apologetically. Don’t let that framing fool you. Simple compositions work because atmospheric conditions can carry them. When mist, cloud movement, and tonal range are doing this much work, a complicated foreground competes with the scene instead of supporting it. One tree, placed with intention, is enough.
The discipline is knowing when to strip back. I still have to fight my instinct to include more, to justify the drive out, to make the image “worth it” by cramming in every interesting rock and branch I passed. The image doesn’t owe you complexity.
From My Own Kit Bag: Revisit Locations Across Seasons
Heaton mentions visiting now, in summer, specifically to come back in autumn when the color will be there. This two-visit strategy is something I build into every new location I find. The first visit is never about a portfolio shot. It’s about learning the land, the access points, the angle of light at different times of day, and where the mud is going to make a tripod useless in wet weather. The second visit, armed with that knowledge, is where the work happens.
Keep a simple scouting journal. A note on your phone is fine. Record the date, time, light direction, and one sentence about what you’d do differently next visit. After a year of doing this, you’ll have a location library worth more than any gear upgrade.
The single most important thing Heaton demonstrates in this video isn’t a technical setting or a compositional rule. It’s the willingness to show up without guarantees, stay flexible when conditions shift, and find value in the outing even when the frame doesn’t go the way you planned. That’s not a beginner lesson. That’s what twenty years of showing up in the dark looks like.
Watch the full tutorial on YouTube and pay close attention to how Heaton talks to himself while he works. The internal narration of a photographer making real-time decisions in the field is the tutorial within the tutorial.
Comments
Leave a Comment