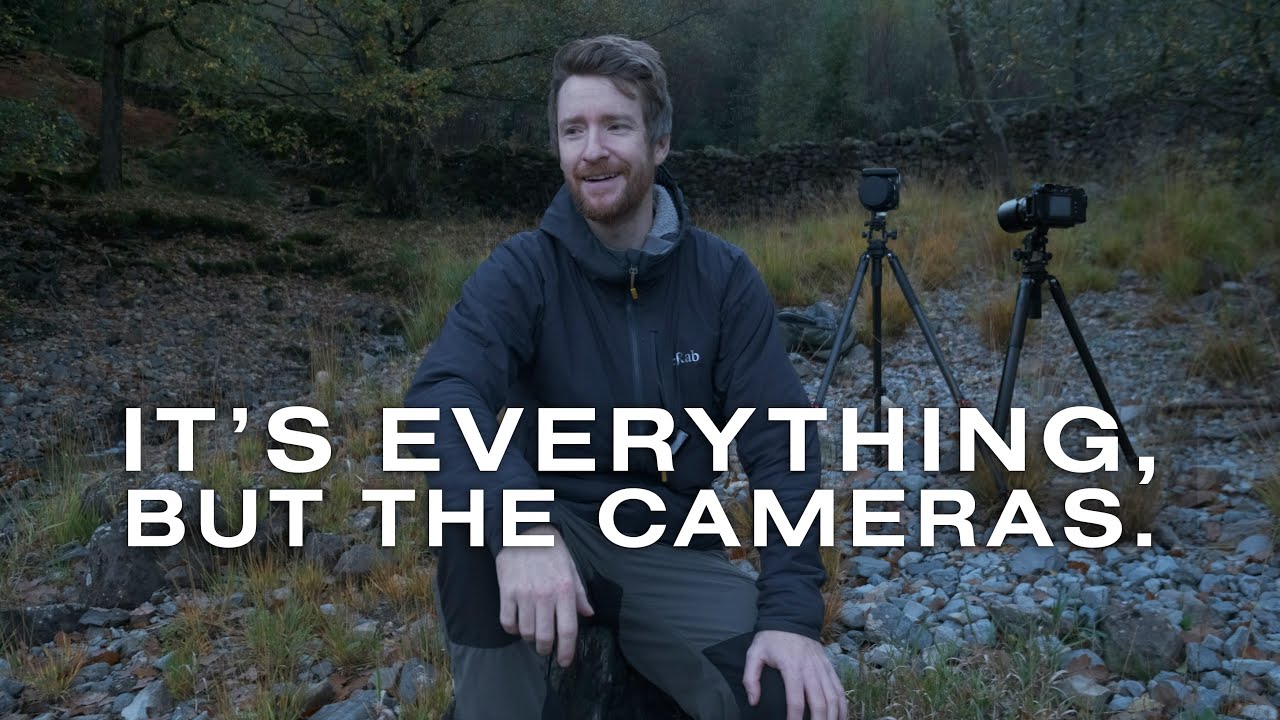
Autumn is the season that separates photographers who wait for drama from those who know how to find quiet beauty. I’ve spent two decades chasing light across the high desert and Pacific Northwest, and every October I have to consciously reset my instincts. After years of wide vistas and volcanic peaks, the intimate, understated scene is the one I’m most likely to walk right past. That’s exactly why this particular tutorial stopped me in my tracks.
In this Thomas Heaton tutorial — Watch the full tutorial on YouTube — Heaton takes us into the Lake District during peak autumn color with two cameras, a polarizer, and a philosophy that I think matters more than any piece of gear he’s carrying. He’s not hunting for the postcard shot. He’s returning to a familiar, anonymous place and paying close attention to what’s changing. That approach, humble and patient and deliberate, produces the kind of images that hold up years later. Here’s what I took from it, broken down step by step.
Step 1: Return to a Place You Already Know
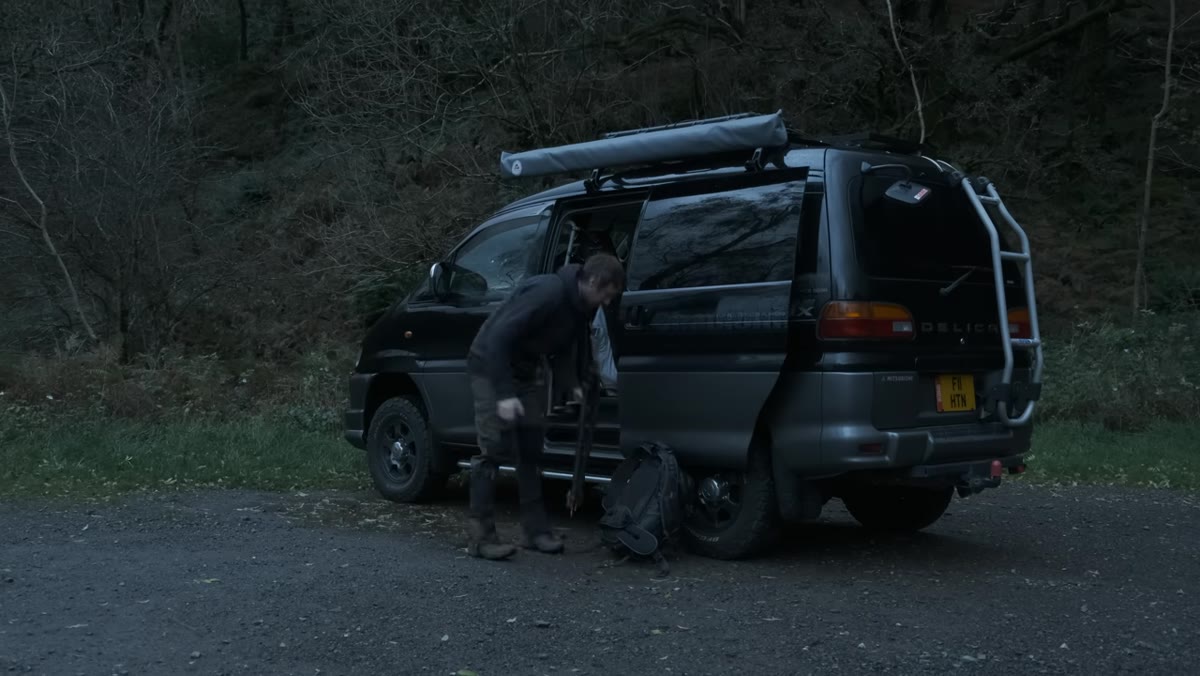 Heaton walking toward a small stand of birch trees
Heaton opens the session by heading straight to a location he’s visited many times, not somewhere new and unfamiliar. This is a move that confident photographers make and beginners often resist. When you already know a place, you stop spending mental energy on navigation and start spending it on observation. You notice what has changed.
Heaton walking toward a small stand of birch trees
Heaton opens the session by heading straight to a location he’s visited many times, not somewhere new and unfamiliar. This is a move that confident photographers make and beginners often resist. When you already know a place, you stop spending mental energy on navigation and start spending it on observation. You notice what has changed.
For autumn specifically, this matters enormously. The color and texture of foliage can shift in a matter of days. A stand of bracken that looked green two weeks ago might be the richest amber you’ve ever seen today. If you’re visiting a spot for the first time, you’re comparing it to nothing. If you know it well, you’re tracking a transformation, and that awareness shows in your images.
Step 2: Identify the Intimate Scene, Not the Grand One
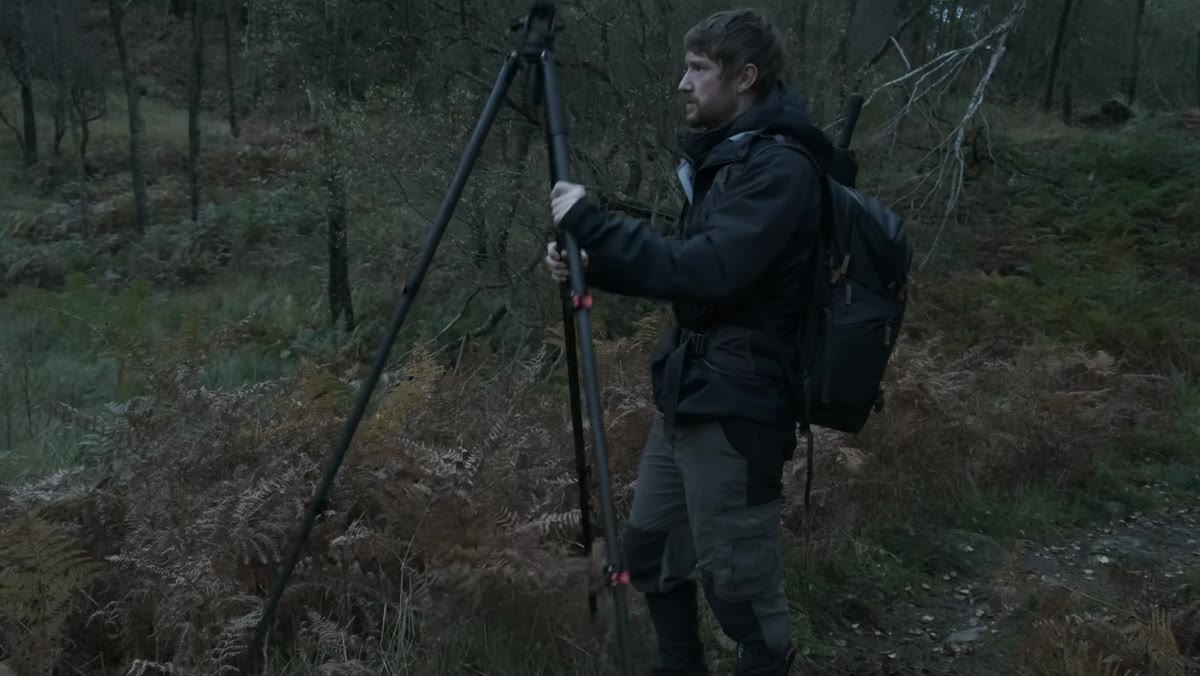 Small group of birch trees surrounded by golden bracken, tight frame
Within minutes of arriving, Heaton locks onto a small group of birch trees standing in what he calls “peak bracken” - that specific window when the ferns are fully golden but haven’t yet collapsed. He’s not looking for a sweeping vista. He’s looking at something that most hikers would pass without slowing down.
Small group of birch trees surrounded by golden bracken, tight frame
Within minutes of arriving, Heaton locks onto a small group of birch trees standing in what he calls “peak bracken” - that specific window when the ferns are fully golden but haven’t yet collapsed. He’s not looking for a sweeping vista. He’s looking at something that most hikers would pass without slowing down.
This is a trained eye at work. The scene is small, the subject is simple, and the appeal is entirely about color relationships and timing. The white bark of the birch trees against the warm rust of the bracken creates a natural contrast that doesn’t need a dramatic sky or a shaft of golden light to work. Training yourself to spot these micro-compositions takes repetition. Heaton is explicit about this: follow your curiosity, shoot what catches your eye even if you’re not sure why, and study the result afterward. Over time, that reflex sharpens into something you can rely on.
Step 3: Reach for the Long Lens
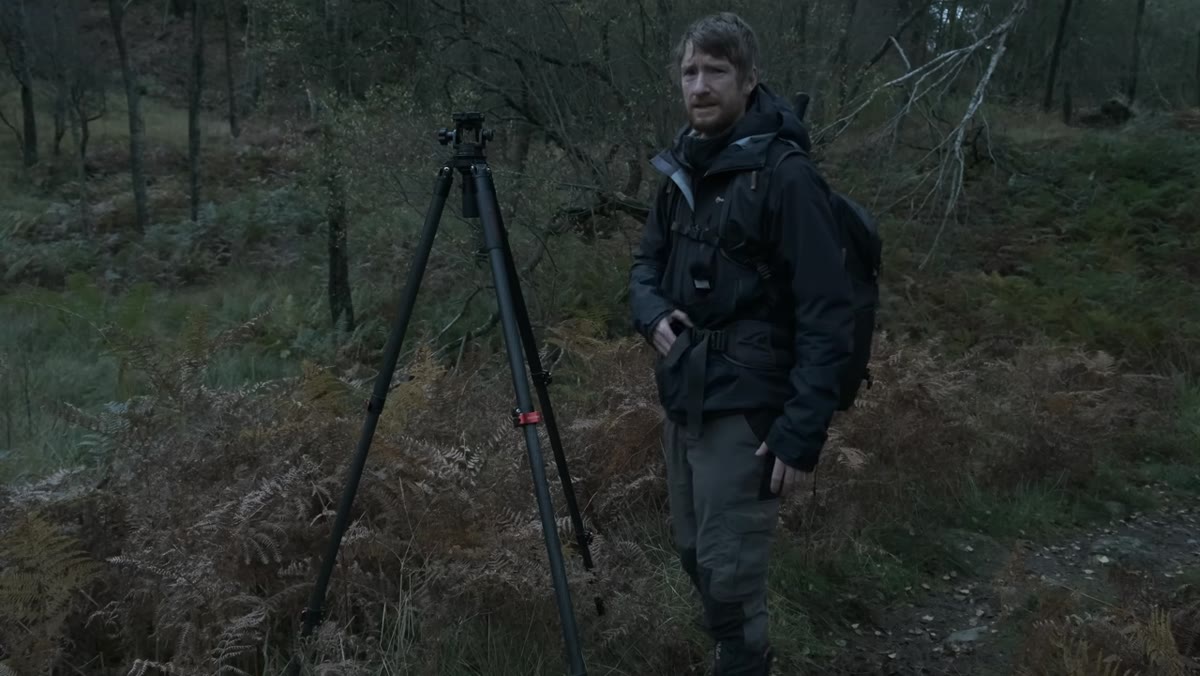 Heaton attaching a telephoto lens to the GFX50R
Once Heaton identifies the birch trees, he reaches for a long lens rather than going wide. This is a deliberate choice that changes the entire character of the image. A telephoto compresses the scene, stacks the elements closer together, and isolates the subject from a distracting background.
Heaton attaching a telephoto lens to the GFX50R
Once Heaton identifies the birch trees, he reaches for a long lens rather than going wide. This is a deliberate choice that changes the entire character of the image. A telephoto compresses the scene, stacks the elements closer together, and isolates the subject from a distracting background.
For intimate autumn scenes in particular, compression is your friend. It lets you fill the frame with color and texture without including the messy edges of a real landscape. If you’re shooting with a crop sensor or a full-frame mirrorless, something in the 100-200mm range will give you a similar effect to what Heaton achieves here with his medium format system. The focal length matters less than the intent: get close optically, simplify the frame, and let the subject breathe within the composition.
Step 4: Use a Polarizer - and Actually Dial It In
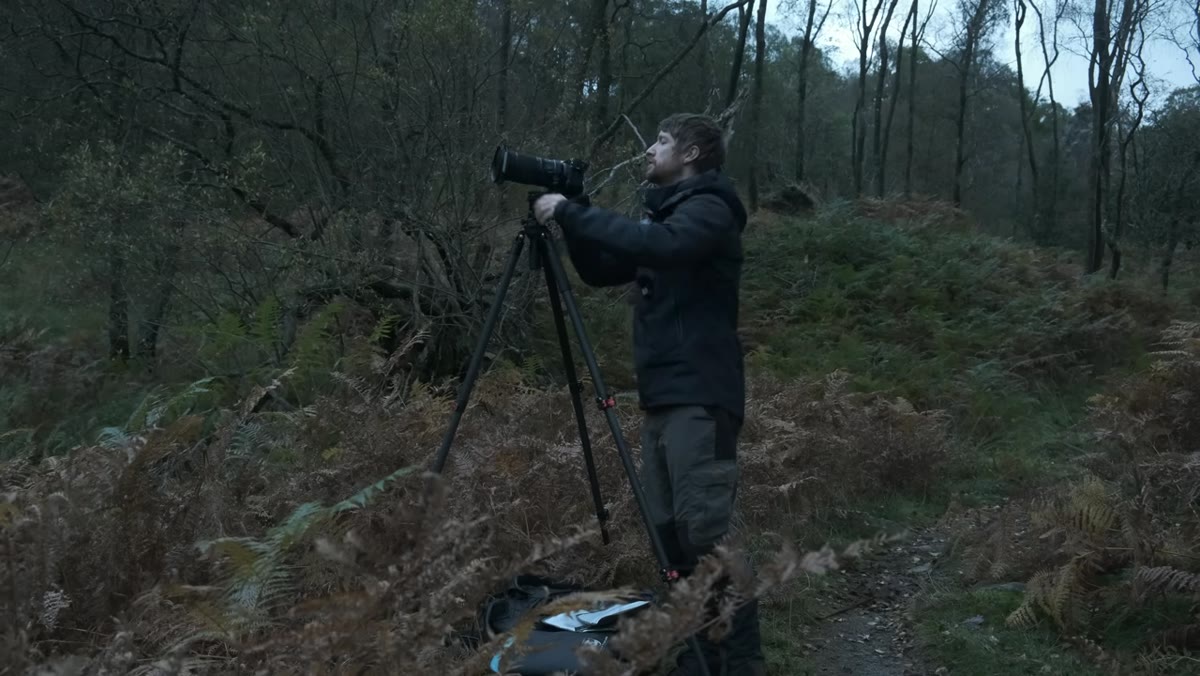 Heaton rotating a circular polarizer on the lens
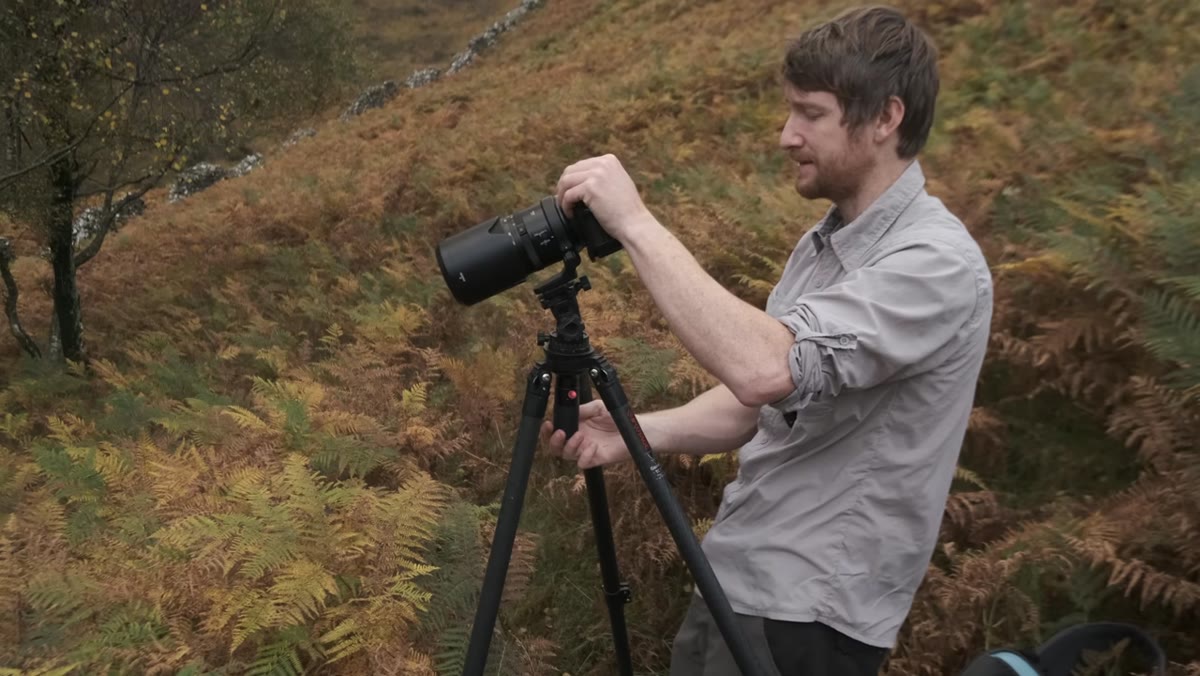
This is the step most photographers skip or half-commit to, and it’s the one that makes the biggest visible difference in autumn foliage work. Heaton fits a circular polarizer and demonstrates the effect by rotating it back and forth while the camera is aimed at the trees. The difference is immediate and striking. Without polarization, the leaves show a washed-out glare, essentially reflecting the sky back at the lens. With full polarization dialed in, the colors deepen and saturate without any post-processing.
Heaton rotating a circular polarizer on the lens
This is the step most photographers skip or half-commit to, and it’s the one that makes the biggest visible difference in autumn foliage work. Heaton fits a circular polarizer and demonstrates the effect by rotating it back and forth while the camera is aimed at the trees. The difference is immediate and striking. Without polarization, the leaves show a washed-out glare, essentially reflecting the sky back at the lens. With full polarization dialed in, the colors deepen and saturate without any post-processing.
The technical reason is simple: leaves have a waxy surface that reflects light at specific angles. A polarizer blocks that reflected light, revealing the actual pigment underneath. In practical terms, rotate the filter slowly while looking through the viewfinder or at your live view screen, and stop when the foliage colors are at their richest. Don’t just screw the filter on and forget it. The correct position changes every time you recompose or move locations, so treat it as an active tool, not a passive accessory.
Step 5: Choose Your Aperture for Feel, Not Just Sharpness
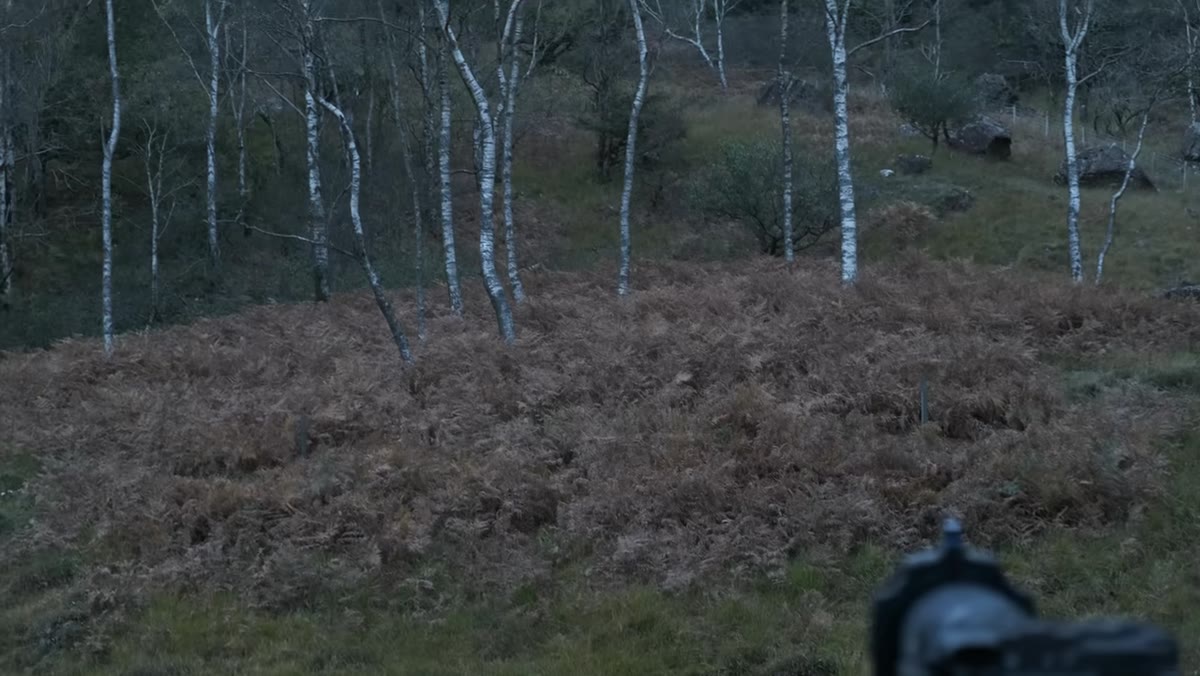 Heaton confirming focus on center birch tree, aperture at f/5.6
Heaton sets his aperture at f/5.6 and focuses on the center tree of the group. At that setting on a medium format sensor, he gets the main subject sharp while allowing the surrounding bracken and background trees to go pleasantly soft. The result is less like a document of a place and more like an impression of one.
Heaton confirming focus on center birch tree, aperture at f/5.6
Heaton sets his aperture at f/5.6 and focuses on the center tree of the group. At that setting on a medium format sensor, he gets the main subject sharp while allowing the surrounding bracken and background trees to go pleasantly soft. The result is less like a document of a place and more like an impression of one.
This is a choice worth making consciously rather than defaulting to f/8 or f/11 out of habit. Ask yourself what you want the image to feel like before you decide on depth of field. A completely sharp image of these birch trees would read as literal and clinical. A slightly soft rendering with a deliberate focus point feels quieter, more contemplative. The aperture you choose is a creative decision, not just a technical one.
Step 6: Follow Curiosity Even When You’re Unsure
 Heaton framing a wider shot of birch trees on an adjacent hillside
Later in the session, Heaton spots a grouping of birch trees across the valley that he’s less certain about. He photographs them anyway, and he’s candid that they probably won’t make his portfolio. But he shoots them because something caught his attention, and he treats that instinct as worth investigating.
Heaton framing a wider shot of birch trees on an adjacent hillside
Later in the session, Heaton spots a grouping of birch trees across the valley that he’s less certain about. He photographs them anyway, and he’s candid that they probably won’t make his portfolio. But he shoots them because something caught his attention, and he treats that instinct as worth investigating.
This habit is underrated. I’ve found that some of my best work came from stopping for something I couldn’t quite explain, and some of my worst days came from walking past scenes because I’d already decided they weren’t good enough. The practice of photographing things you’re curious about trains your compositional instincts. Over time, you get faster and more accurate at recognizing what will and won’t translate into a strong image, but only if you give yourself the reps.
From My Own Experience: Know What Season You’re Actually In
Heaton notes that the color change came later than expected that year, which is something I’ve learned to account for rather than fight. I’ve driven hours to catch peak aspen color in the Oregon Cascades only to find the trees a week past their prime. Now I check local reports, look at recent photographs from the area, and build flexibility into my schedule.
Peak autumn is a window, sometimes just a few days wide. Location knowledge helps, but so does staying loose. If you can only go on one specific weekend, go anyway, but lower your expectation that conditions will cooperate on your schedule. My old mentor used to tell me that the mountain doesn’t care about your schedule, and autumn is the same way.
The most important thing Heaton demonstrates here isn’t a camera setting or a filter technique. It’s the willingness to slow down in a familiar place and look carefully at what’s changing. That kind of attention is what autumn photography actually demands.
Watch the full tutorial on YouTube to see Heaton work through these decisions in real time in the Lake District.
Comments
Leave a Comment