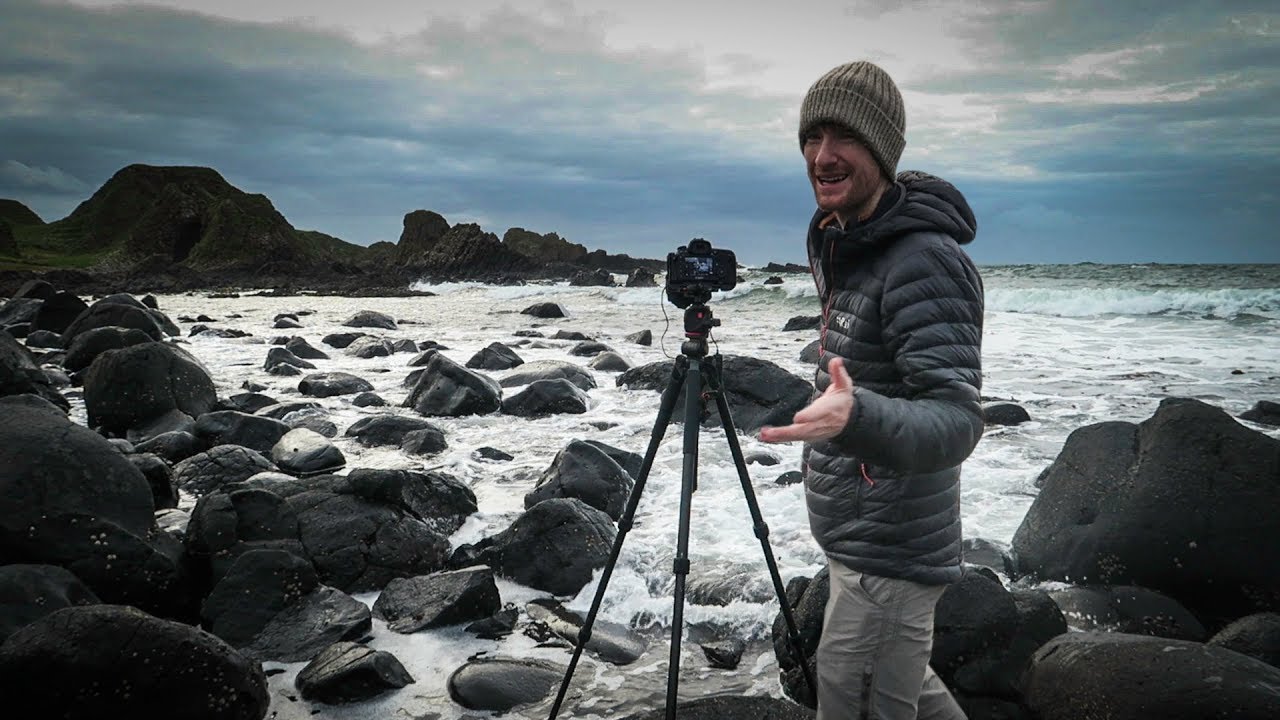
There’s a particular kind of frustration that comes with shooting somewhere new. You’ve done the research, you’ve driven hours to get there, and now you’re standing in front of genuinely spectacular scenery with a camera in your hands and not enough time to understand any of it. I’ve been making photographs for twenty years and that feeling hasn’t gone away. What has changed is how I respond to it. Instead of chasing everything, I’ve learned to slow down and ask one question: what does this scene want to be? Sometimes the answer is color. Sometimes it’s black and white. The photographers who get that answer right before they lift the camera to their eye are the ones who consistently come home with something worth printing.
That’s exactly what drew me to this Thomas Heaton tutorial from Northern Ireland. Watch the full tutorial on YouTube. Heaton is working through a classic travel photography problem: a short window of time, jaw-dropping locations, and conditions that aren’t cooperating in any conventional sense. No golden hour glow, no dramatic clouds cooperating on cue. What he does instead is a masterclass in reading a scene and committing to a vision. Here’s how he works through it, and what you can take directly into the field.
Step 1: Acknowledge the Constraints and Work Within Them
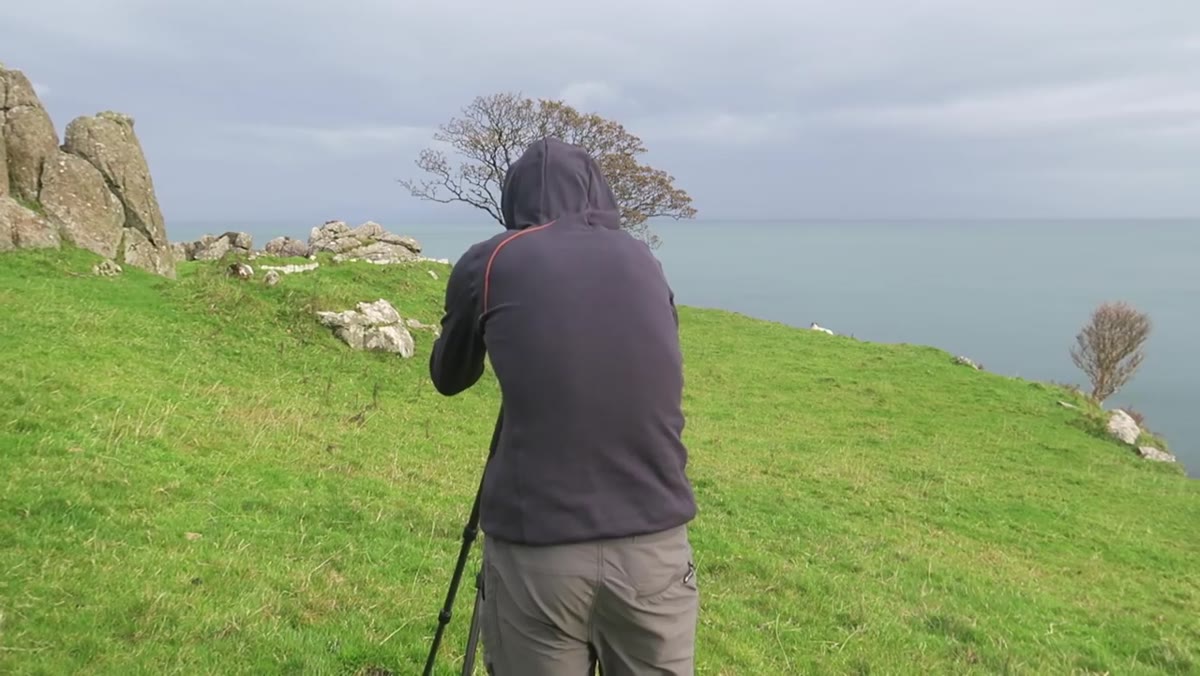
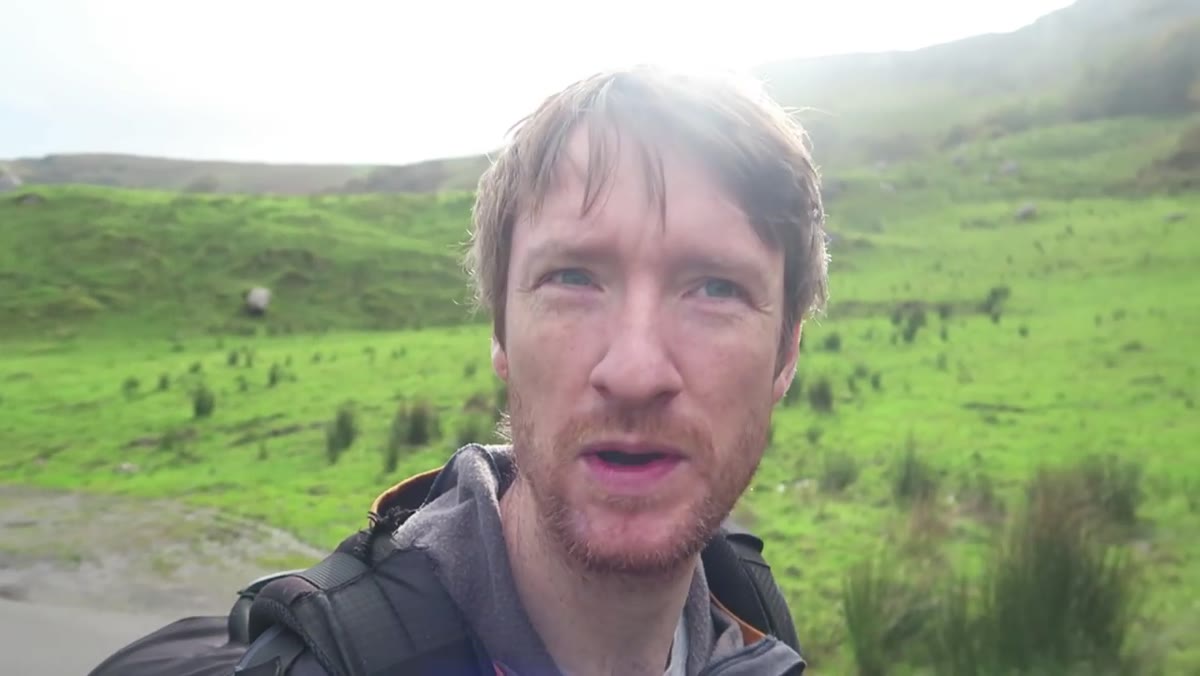 Thomas walking coastal path, moody grey sky overhead
When time is short, the instinct is to rush. Heaton resists this. He names the problem out loud: a whistle-stop schedule means you never develop the intimate knowledge of a location that comes from returning again and again across seasons. Rather than pretending the constraint doesn’t exist, he uses it to sharpen his intention. Each stop becomes deliberate. If you find yourself shooting somewhere new with limited time, treat each location like a single frame on a roll of film. Commit to understanding it before you start composing.
Thomas walking coastal path, moody grey sky overhead
When time is short, the instinct is to rush. Heaton resists this. He names the problem out loud: a whistle-stop schedule means you never develop the intimate knowledge of a location that comes from returning again and again across seasons. Rather than pretending the constraint doesn’t exist, he uses it to sharpen his intention. Each stop becomes deliberate. If you find yourself shooting somewhere new with limited time, treat each location like a single frame on a roll of film. Commit to understanding it before you start composing.
Step 2: Find the Subject That Actually Speaks to You, Not the One You’re Supposed to Shoot
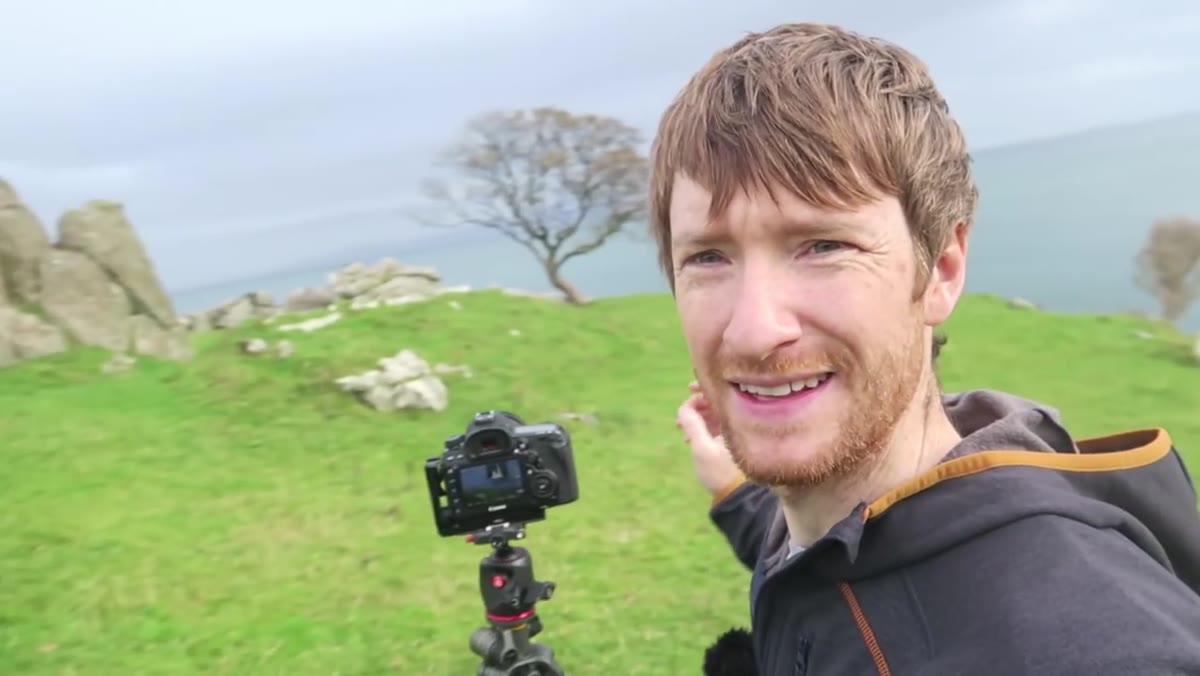 Lone tree on coastal headland, bay visible in background
At the first location, a tree made famous by a popular television series, Heaton walks up to the obvious composition: tree in the foreground, scenic bay behind. He looks at it, considers it, and walks away. Not because it’s a bad photograph, but because it doesn’t move him in that moment. This is harder than it sounds. There’s real pressure, especially when you’ve traveled to get somewhere, to take the shot you planned. But a technically correct photograph of a scene you don’t feel anything about is always going to show that indifference. Let yourself look around. The picture worth making is rarely the first one you see.
Lone tree on coastal headland, bay visible in background
At the first location, a tree made famous by a popular television series, Heaton walks up to the obvious composition: tree in the foreground, scenic bay behind. He looks at it, considers it, and walks away. Not because it’s a bad photograph, but because it doesn’t move him in that moment. This is harder than it sounds. There’s real pressure, especially when you’ve traveled to get somewhere, to take the shot you planned. But a technically correct photograph of a scene you don’t feel anything about is always going to show that indifference. Let yourself look around. The picture worth making is rarely the first one you see.
Step 3: Change Your Angle Before You Change Your Subject
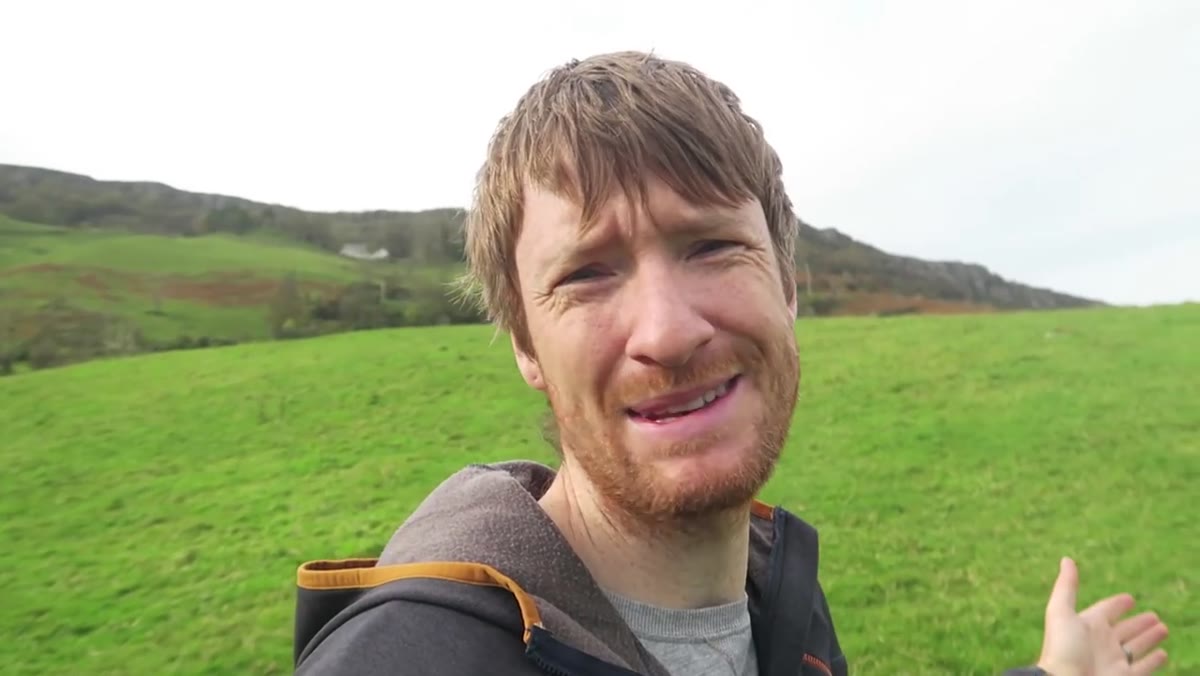 Heaton repositioning around tree, sea behind, rocks in frame
Rather than abandoning the tree entirely, Heaton walks around it. The new angle puts the dark, moody sea behind the subject instead of the bay, and immediately the scene has more tension. This is a move I use constantly. Before you conclude that a subject isn’t working, ask whether you’ve seen it from every reasonable position. A subject that feels flat from one angle can reveal genuine drama from twenty feet to the left. The rocks that initially seemed like obstacles from the front became part of the composition from the side.
Heaton repositioning around tree, sea behind, rocks in frame
Rather than abandoning the tree entirely, Heaton walks around it. The new angle puts the dark, moody sea behind the subject instead of the bay, and immediately the scene has more tension. This is a move I use constantly. Before you conclude that a subject isn’t working, ask whether you’ve seen it from every reasonable position. A subject that feels flat from one angle can reveal genuine drama from twenty feet to the left. The rocks that initially seemed like obstacles from the front became part of the composition from the side.
Step 4: Let Obstacles Become Compositional Elements
 Wide frame showing rocks, tree, and grey sea together
Heaton wanted to isolate the tree cleanly. The rocks surrounding it made that impossible. Every attempt to exclude them weakened the frame. His solution was to stop fighting them and build the composition around their presence instead. This is one of those field lessons that sounds obvious in retrospect and costs photographers years to actually internalize. If an element in your scene is too prominent to exclude, it has to become part of your intention. Ask yourself: how does this shape the story? In this case, the rocks grounded the tree and gave the frame a feeling of permanence against the sea behind.
Wide frame showing rocks, tree, and grey sea together
Heaton wanted to isolate the tree cleanly. The rocks surrounding it made that impossible. Every attempt to exclude them weakened the frame. His solution was to stop fighting them and build the composition around their presence instead. This is one of those field lessons that sounds obvious in retrospect and costs photographers years to actually internalize. If an element in your scene is too prominent to exclude, it has to become part of your intention. Ask yourself: how does this shape the story? In this case, the rocks grounded the tree and gave the frame a feeling of permanence against the sea behind.
Step 5: Pre-Visualize in Black and White at the Scene
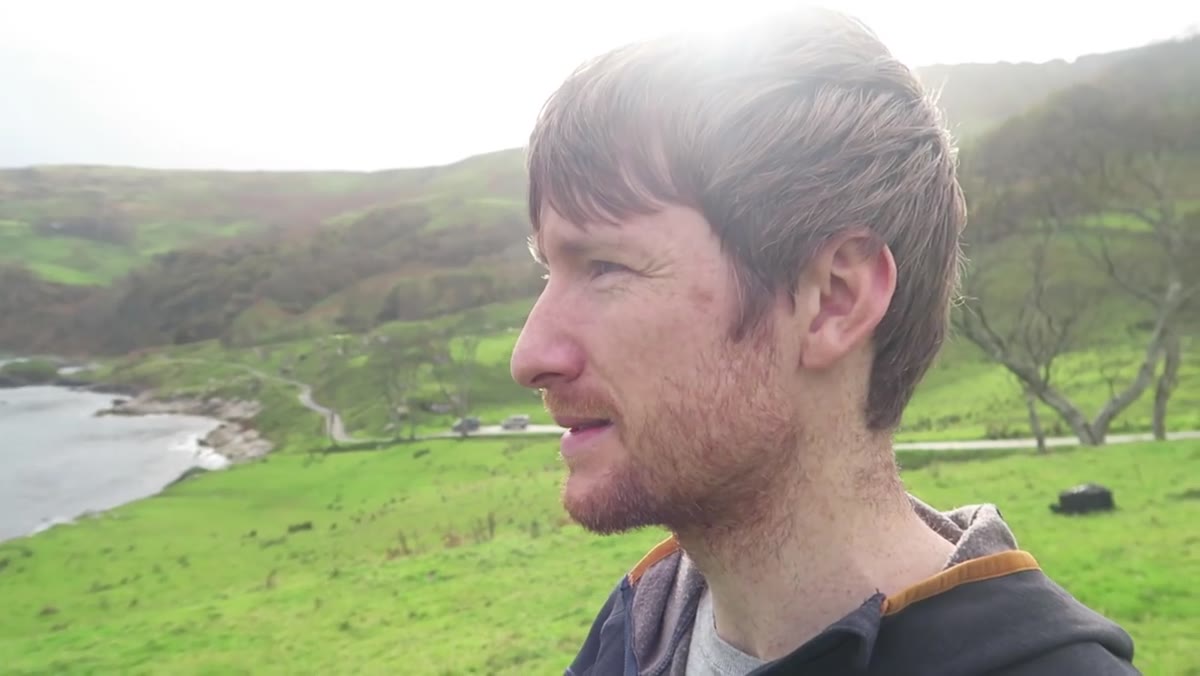 Heaton looking through viewfinder at tree and rocky coastline
Here is the technique at the center of this tutorial. While standing in front of a scene with hints of color still in the leaves and blue-green water visible, Heaton makes the decision to see it in black and white before he presses the shutter. He identifies what the conversion will give him: contrast. The light breaking through overcast sky will separate tones in a way that makes the monochrome image work. This is previsualization in practice. You’re not converting a color photograph and hoping for the best. You’re looking at the scene and asking what tonal relationships exist, how the light is separating them, and whether removing color will strengthen or flatten the image. If the scene’s energy lives in texture, tone, and light direction rather than in color contrast, it’s a black and white scene.
Heaton looking through viewfinder at tree and rocky coastline
Here is the technique at the center of this tutorial. While standing in front of a scene with hints of color still in the leaves and blue-green water visible, Heaton makes the decision to see it in black and white before he presses the shutter. He identifies what the conversion will give him: contrast. The light breaking through overcast sky will separate tones in a way that makes the monochrome image work. This is previsualization in practice. You’re not converting a color photograph and hoping for the best. You’re looking at the scene and asking what tonal relationships exist, how the light is separating them, and whether removing color will strengthen or flatten the image. If the scene’s energy lives in texture, tone, and light direction rather than in color contrast, it’s a black and white scene.
Step 6: Set Your Exposure for the Light You Have, Not the Light You Wish For
 Camera settings visible, shooting in manual mode midday
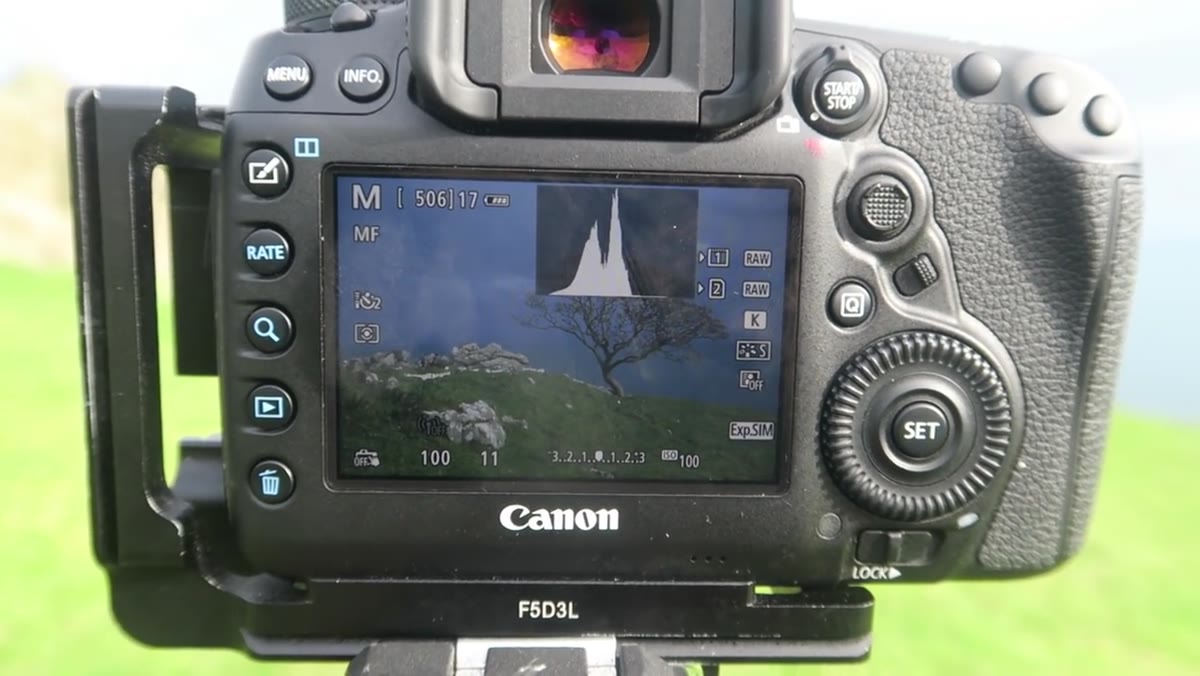
Heaton is shooting in the middle of the day, around 10am to 1pm, with overcast light and occasional breaks. He sets f/11, uses manual focus on the tree, and shoots without filters. No waiting for perfect conditions. f/11 gives him edge-to-edge sharpness across the scene, which matters when both the foreground rocks and the tree itself need to read clearly in the final print. The manual focus choice is deliberate when your subject is stationary and you want precise control over the exact focal plane. Overcast light, which many photographers dismiss, actually serves black and white work well because it reduces harsh shadows and reveals texture across the entire frame.
Camera settings visible, shooting in manual mode midday
Heaton is shooting in the middle of the day, around 10am to 1pm, with overcast light and occasional breaks. He sets f/11, uses manual focus on the tree, and shoots without filters. No waiting for perfect conditions. f/11 gives him edge-to-edge sharpness across the scene, which matters when both the foreground rocks and the tree itself need to read clearly in the final print. The manual focus choice is deliberate when your subject is stationary and you want precise control over the exact focal plane. Overcast light, which many photographers dismiss, actually serves black and white work well because it reduces harsh shadows and reveals texture across the entire frame.
Step 7: Close the Day by Exploring, Not Forcing
 Ballintoy Harbour, sea stacks and rock formations at dusk
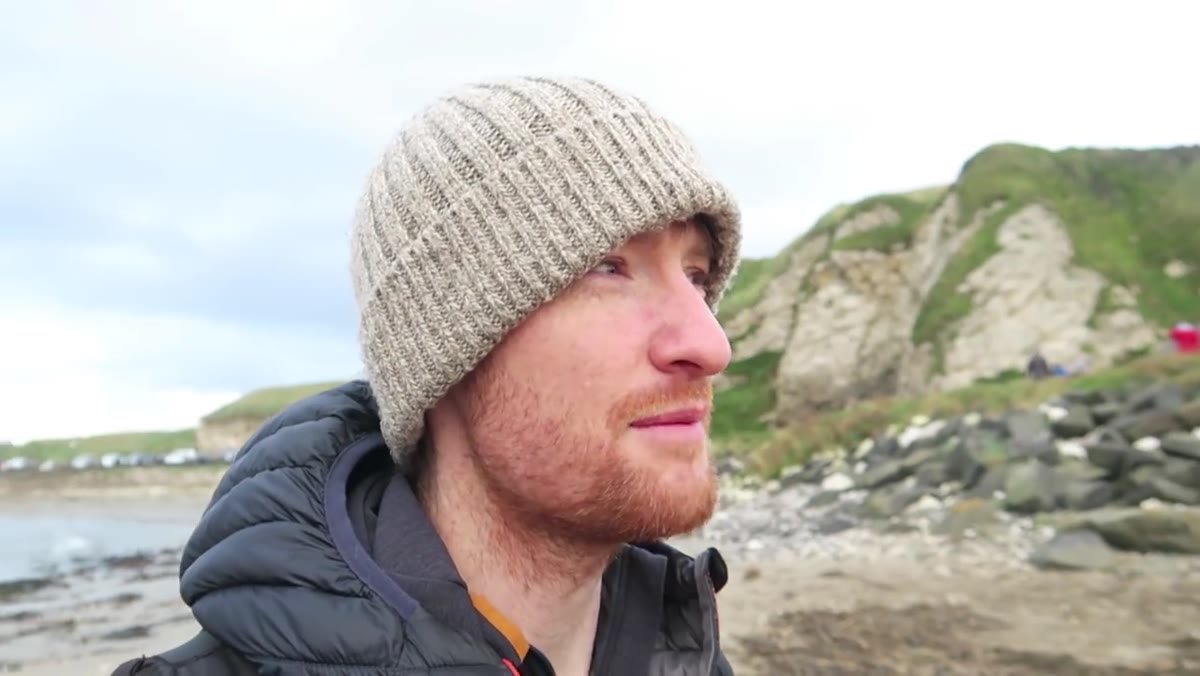
As the afternoon moves toward sunset, Heaton arrives at Ballintoy Harbour on Northern Ireland’s north coast. Rather than setting up immediately, he walks the area with no camera pressure, looking at sea stacks, black rocks, white sand, and wave patterns. This scouting period before the light changes is time most photographers waste by either shooting too early or standing in one spot waiting. Walk first. Let the location show you what it has. The image you find at the end of that walk is almost always better than the one you planned before you arrived.
Ballintoy Harbour, sea stacks and rock formations at dusk
As the afternoon moves toward sunset, Heaton arrives at Ballintoy Harbour on Northern Ireland’s north coast. Rather than setting up immediately, he walks the area with no camera pressure, looking at sea stacks, black rocks, white sand, and wave patterns. This scouting period before the light changes is time most photographers waste by either shooting too early or standing in one spot waiting. Walk first. Let the location show you what it has. The image you find at the end of that walk is almost always better than the one you planned before you arrived.
What I’d Add: The Conversion Matters as Much as the Capture
Twenty years of printing has taught me that black and white previsualization doesn’t end at the shutter. How you handle the conversion in post is where the tones you saw in the field either come to life or disappear. When I shoot a scene with Heaton’s approach in mind, I make notes on location. Which element should anchor the frame as the darkest tone? Where is the light source relative to my subject? Those notes tell me where to push the luminosity sliders later. A raw file from a grey coastal morning has more tonal range than it looks like on the histogram. Trust that and work it carefully in your raw processor before going anywhere near contrast or clarity.
The single most important idea in this tutorial is that black and white is a decision made at the scene, not a rescue applied in post. Look at your location, identify its tonal structure, and commit to it before you lift the camera. That shift in mindset is what separates a black and white landscape from a color photograph with the saturation turned off.
Watch the full tutorial on YouTube to follow Heaton across the Northern Irish coastline and see how these decisions play out across a full day of shooting.
Comments (2)
Applied this to my portfolio shots and the improvement is noticeable.
Really solid breakdown. This pairs perfectly with the compositing work I've been writing about.
Leave a Comment