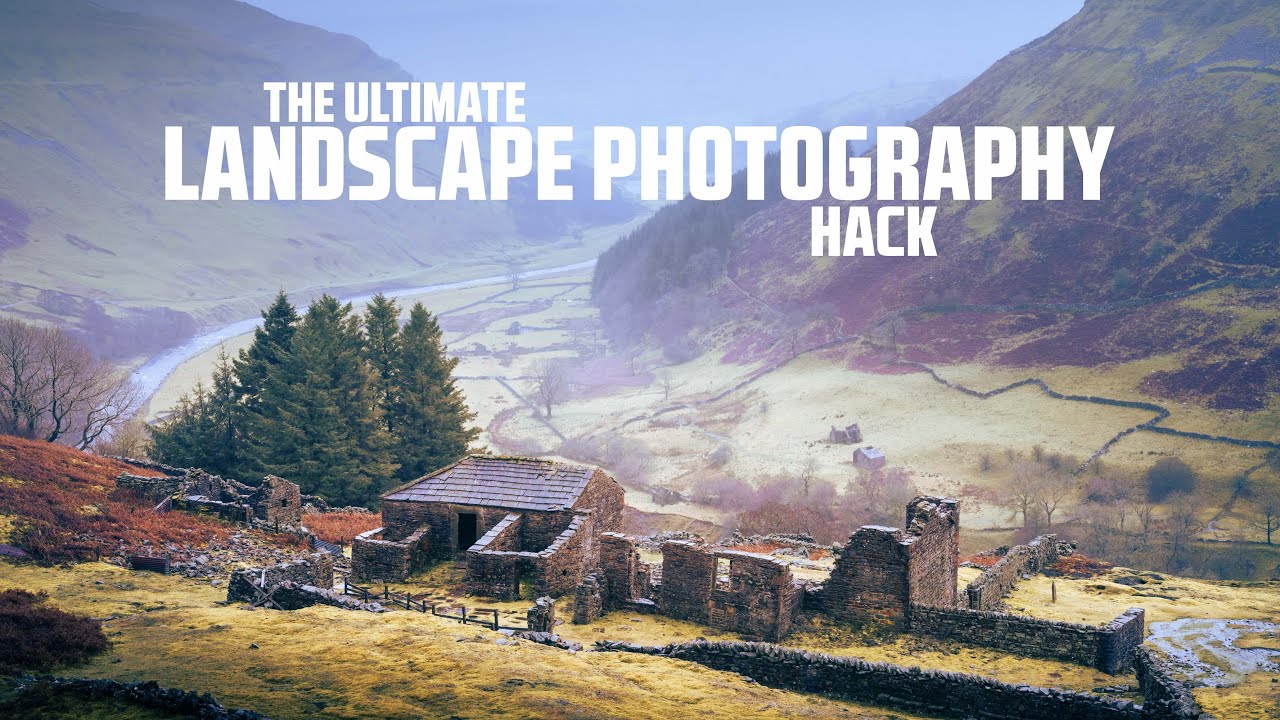
There’s a particular kind of frustration I know well. You drive out before dawn, you find decent light, you shoot for two hours, and you come home with 400 frames and nothing you actually love. Not because the location was wrong or the light failed you. Because you were collecting images instead of making them. I’ve been shooting landscapes full-time for two decades, and that trap still exists if I let it. What pulls me out of it is a mindset I’ve had to rebuild deliberately, more than once.
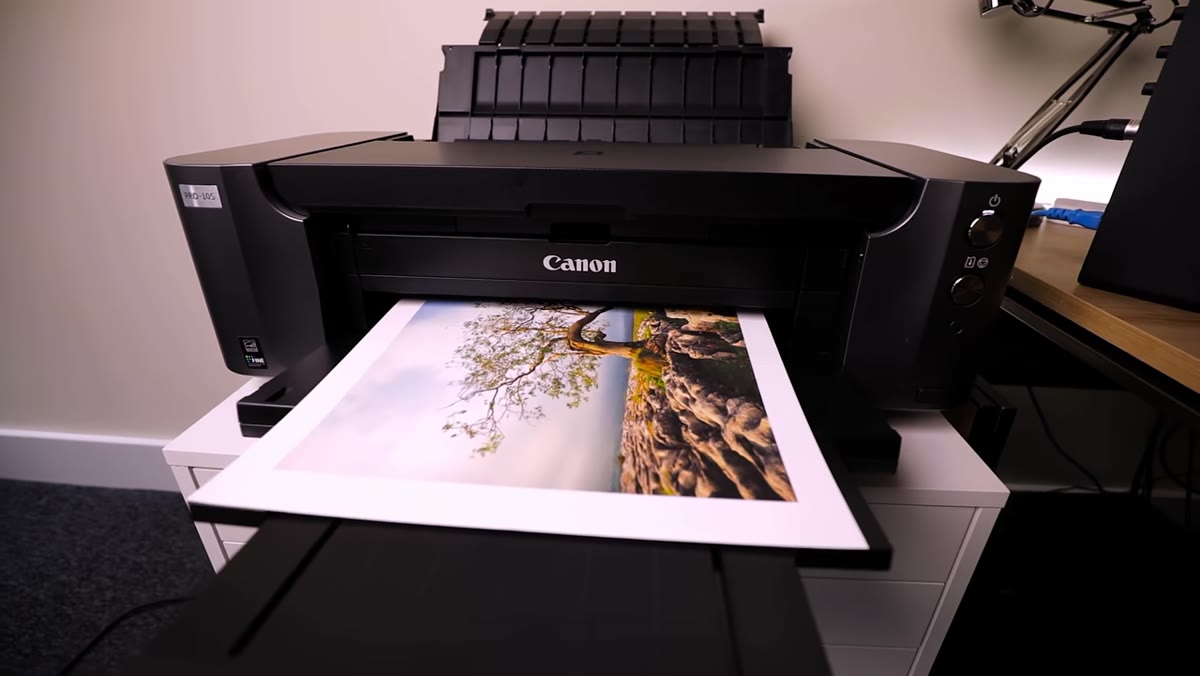
I came across this problem framed sharply in a recent tutorial from First Man Photography. Watch the full tutorial on YouTube – it’s worth your time even if you think you already know this. The creator sets out to test whether there’s such a thing as a genuine photography “hack,” and what he lands on isn’t a technique in the conventional sense. It’s a reframe. A single question you ask yourself every time you raise the camera. That question: am I making a print right now? Not snapping. Not testing. Making something that ends up on a wall.
What I want to do here is walk through the logic of that shift step by step, because there’s more practical instruction buried in it than it first appears.
Step 1: Commit to the Print Before You Leave Home
 Photographer preparing to head out for a landscape shoot
Before you touch your camera bag, decide that what you’re going out to make is a final print – not raw material to sort through later. This sounds abstract, but it has immediate practical consequences. You start thinking about aspect ratio, about large-format output sizes, about whether a scene will hold up at 24 by 36 inches or whether the interest is too thin to survive that scale. It also changes how you pack. I’ve started leaving lenses behind when I decide the print I’m after is a clean, wide environmental shot. Fewer options in the bag means more commitment at the scene.
Photographer preparing to head out for a landscape shoot
Before you touch your camera bag, decide that what you’re going out to make is a final print – not raw material to sort through later. This sounds abstract, but it has immediate practical consequences. You start thinking about aspect ratio, about large-format output sizes, about whether a scene will hold up at 24 by 36 inches or whether the interest is too thin to survive that scale. It also changes how you pack. I’ve started leaving lenses behind when I decide the print I’m after is a clean, wide environmental shot. Fewer options in the bag means more commitment at the scene.
This pre-shoot intention is the foundation everything else builds on. Without it, you arrive at a location in reactive mode, chasing whatever looks interesting. With it, you arrive with a rough brief for yourself.
Step 2: Slow Down Your Frame Rate Deliberately
 Photographer standing in field reviewing a carefully composed shot
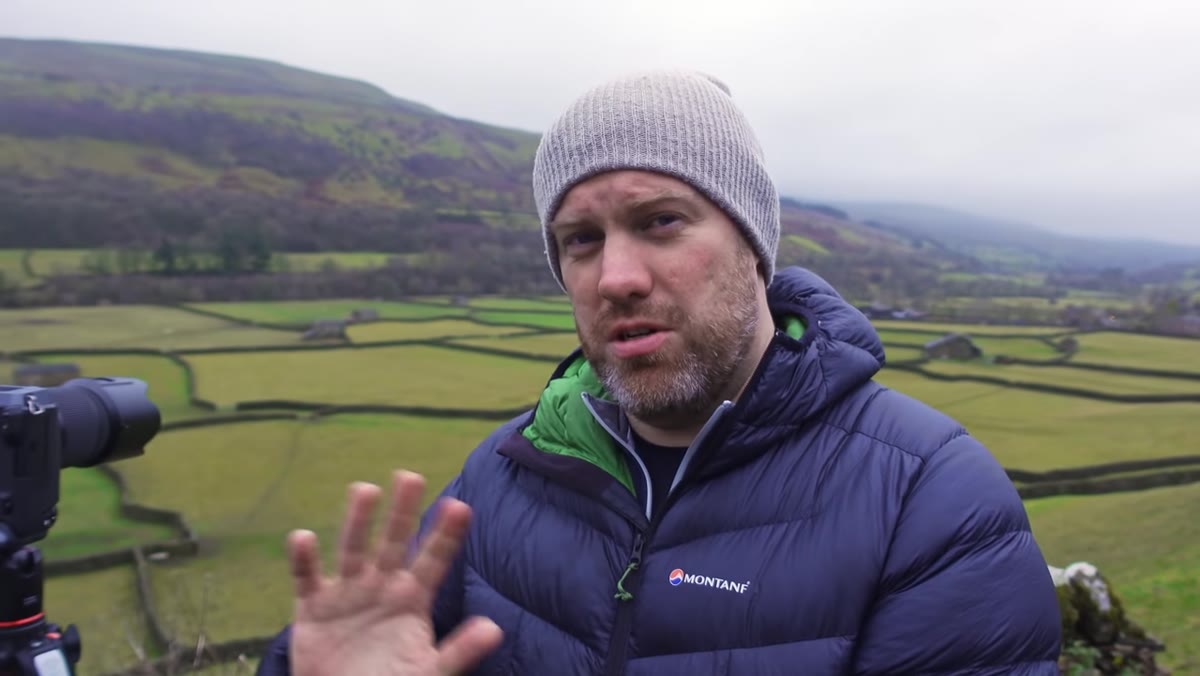
One of the more practical points in the tutorial is the comparison to shooting film. When you’re working with a medium format camera and files measured in hundreds of megabytes, you stop firing bursts. You slow down because the gear asks it of you. But you don’t need a Fujifilm GFX 100 to manufacture that discipline. You can impose it yourself. I sometimes set a rule on a shoot: no more than 20 frames at a single location. That limit forces evaluation before pressing the shutter rather than after.
Photographer standing in field reviewing a carefully composed shot
One of the more practical points in the tutorial is the comparison to shooting film. When you’re working with a medium format camera and files measured in hundreds of megabytes, you stop firing bursts. You slow down because the gear asks it of you. But you don’t need a Fujifilm GFX 100 to manufacture that discipline. You can impose it yourself. I sometimes set a rule on a shoot: no more than 20 frames at a single location. That limit forces evaluation before pressing the shutter rather than after.
Ask yourself before each frame: what is this image about? What’s the single subject? Where does the eye enter, and where does it go? These aren’t rhetorical questions. They’re the same questions a printer asks when you send them a file and ask them to make something beautiful from it.
Step 3: Think in Terms of Story and Composition, Not Coverage
 Wide landscape scene with barns and stone walls in the foreground
Coverage is what photojournalists need. For landscape work where the end goal is a print on someone’s wall, coverage is the enemy. The tutorial specifically mentions thinking about what you’re putting in the frame – telling a story, being artistic. That’s the language of someone making a finished object, not archiving a location.
Wide landscape scene with barns and stone walls in the foreground
Coverage is what photojournalists need. For landscape work where the end goal is a print on someone’s wall, coverage is the enemy. The tutorial specifically mentions thinking about what you’re putting in the frame – telling a story, being artistic. That’s the language of someone making a finished object, not archiving a location.
In practice, this means spending more time physically moving before you shoot. I’ll walk a scene for ten or fifteen minutes before I even take the camera off my shoulder. I’m looking for the frame within the frame – the natural border, the leading line, the element in the foreground that gives the viewer a place to stand. When I find it, I know it, because it already looks like a print in my head.
Step 4: Evaluate the Scene as a Final Product, Not a Starting Point
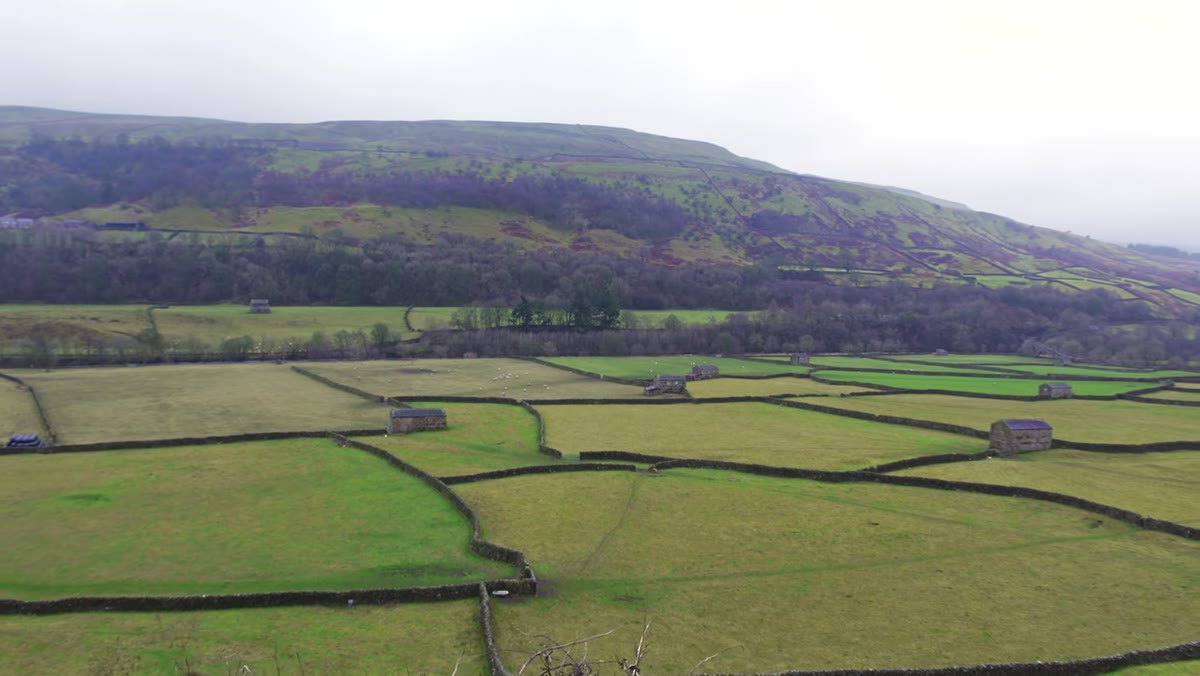 Photographer assessing scene composition at a stone barn location
Most photographers look at a scene and think about what they can do with it in post. Flip that. Look at the scene and ask whether it’s already close to what you want the finished print to look like. Light, contrast, color relationships – these should be mostly right in front of you. Post-processing refines. It shouldn’t be doing the heavy lifting of making a mediocre composition interesting.
Photographer assessing scene composition at a stone barn location
Most photographers look at a scene and think about what they can do with it in post. Flip that. Look at the scene and ask whether it’s already close to what you want the finished print to look like. Light, contrast, color relationships – these should be mostly right in front of you. Post-processing refines. It shouldn’t be doing the heavy lifting of making a mediocre composition interesting.
This is where the print-making mindset becomes a quality filter in the field. If the answer is “this will be good once I sort it out in Lightroom,” walk further or wait longer. The photographers whose prints I admire most aren’t better at editing. They’re better at standing in front of something that’s already doing the work.
Step 5: Match Your Resolution to Your Output Intention
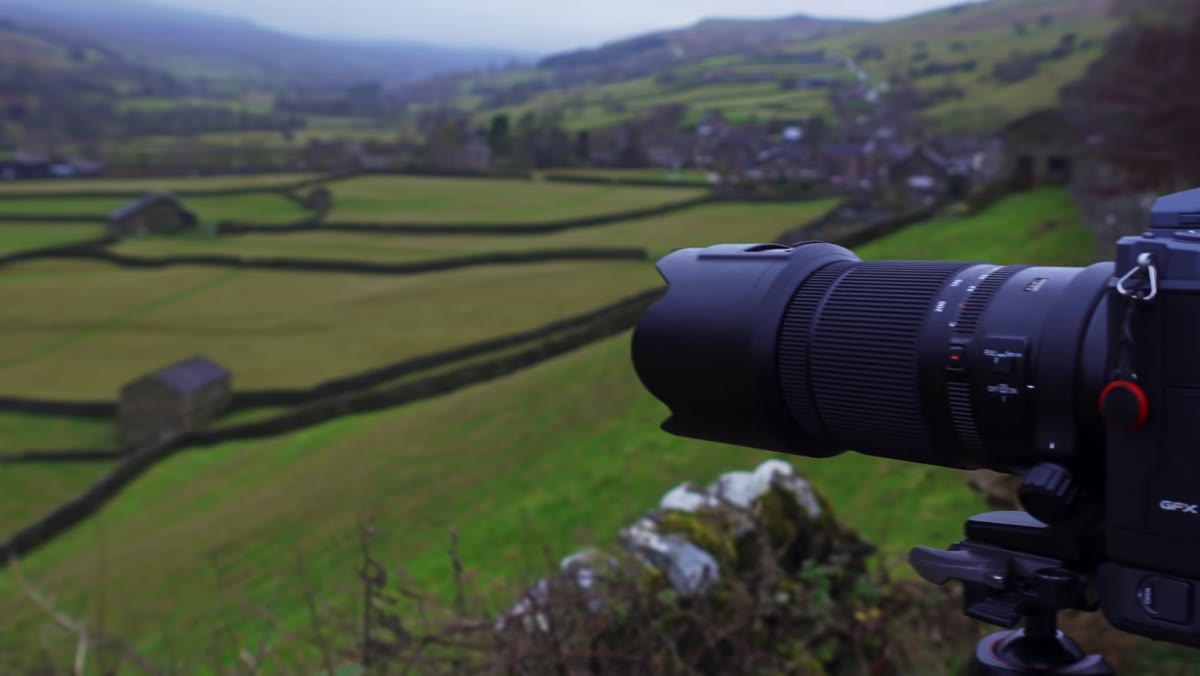 Fujifilm GFX 100 medium format camera shown in the field
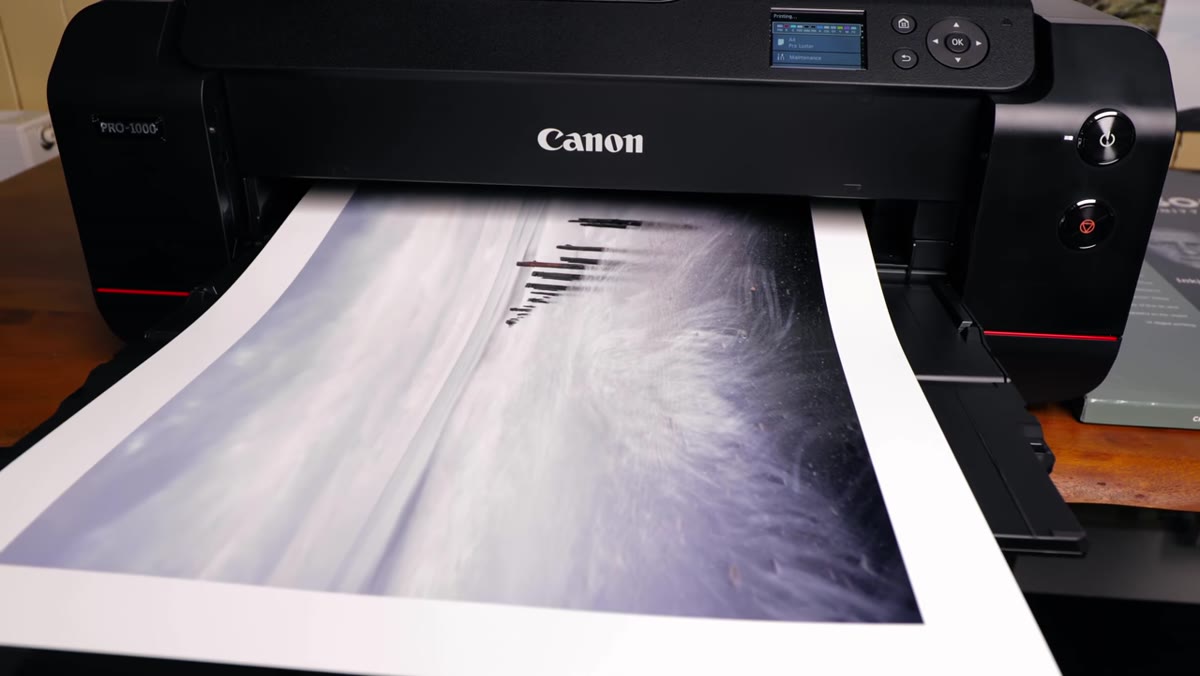
The tutorial makes a specific case for high-resolution capture as a print-focused discipline. Shooting at 100 megapixels, or using pixel-shift modes that compound that further, isn’t about having bigger files to store. It’s about having enough information in the file that a large C-type print holds its quality edge to edge. If you’re printing at A4, it matters less. If you’re printing at meter-wide gallery sizes, it matters enormously.
Fujifilm GFX 100 medium format camera shown in the field
The tutorial makes a specific case for high-resolution capture as a print-focused discipline. Shooting at 100 megapixels, or using pixel-shift modes that compound that further, isn’t about having bigger files to store. It’s about having enough information in the file that a large C-type print holds its quality edge to edge. If you’re printing at A4, it matters less. If you’re printing at meter-wide gallery sizes, it matters enormously.
You don’t need medium format to apply this thinking. What you do need is to know what your largest intended print size is before you shoot, and then verify that your chosen focal length, aperture, and shutter speed will produce a file that can sustain that output. I’ve started adding a simple note to my field journal before each shoot: target print size. It keeps the whole session honest.
What I’d Add From My Own Experience
The print-first mindset is powerful, but it needs one addition that the tutorial doesn’t explicitly cover: emotional honesty about the scene in front of you. Some mornings, the location just isn’t doing what you hoped. The light is flat, the conditions are wrong, and no amount of disciplined framing will produce something worth printing. The right call in those moments is often to put the camera down and observe, or leave entirely.
I learned this the way most lessons land – the hard way. I once drove six hours to a location and sat in dense fog for two days. I came home with one photograph. It became my best-selling print. The fog was the image. But I almost didn’t see it because I was so focused on making the shot I’d planned that I nearly missed the shot that was actually there. The print-first mindset works best when it’s paired with genuine openness to what the landscape is offering, not just what you drove out to find.
The single thing worth taking from all of this: before you raise the camera, ask whether you’d hang what you’re about to shoot on your wall. If the answer is uncertain, figure out why before you press the shutter. That question alone will do more for the quality of your work than any new piece of gear or any Lightroom preset.
Watch the full tutorial on YouTube to see the full shoot and the reasoning behind this approach in the creator’s own words.
Comments (3)
I've watched a dozen tutorials on this and yours is the clearest by far.
The tip about shoot like youre making a prin was the missing piece for me. Thank you.
This is fantastic. I've been recommending this approach to my readers too.
Leave a Comment