There’s a particular kind of creative exhaustion that comes from chasing epic locations. I know it well. I’ve driven hours into the Oregon backcountry, set up in perfect darkness, and then spent two days watching fog refuse to lift while my coffee got cold and my patience got thinner. Those trips have their place. But somewhere along the way I started giving serious weight to the opposite approach: go somewhere you already know, go quickly, and work the scene until you get something worth keeping. It sounds like settling. It isn’t.
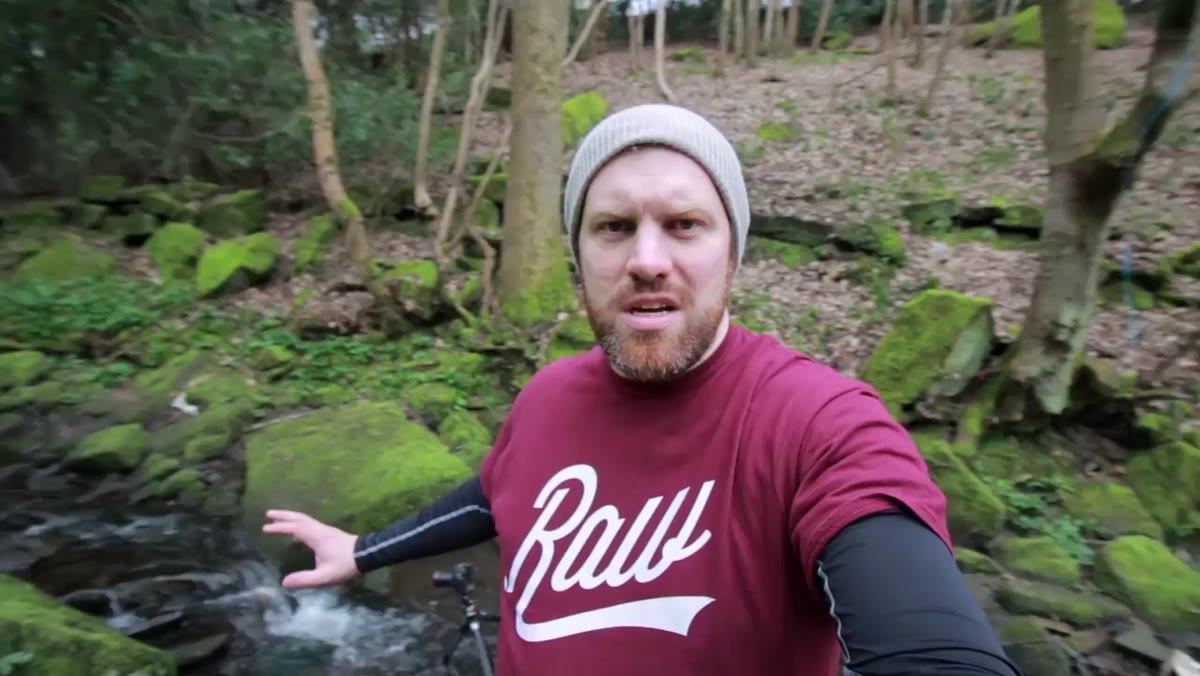
That tension between epic journeys and local intimacy is exactly what this First Man Photography tutorial puts its finger on so well. Watch the full tutorial on YouTube and you’ll see a photographer making a fast, purposeful trip to a nearby woodland stream and walking away with a composed, technically clean shot. No drama, no suffering. Just good thinking applied to a familiar place. What follows is my breakdown of how he does it, with the bits I find most useful pulled forward.
Step 1: Choose Familiarity Over Novelty When Time Is Short
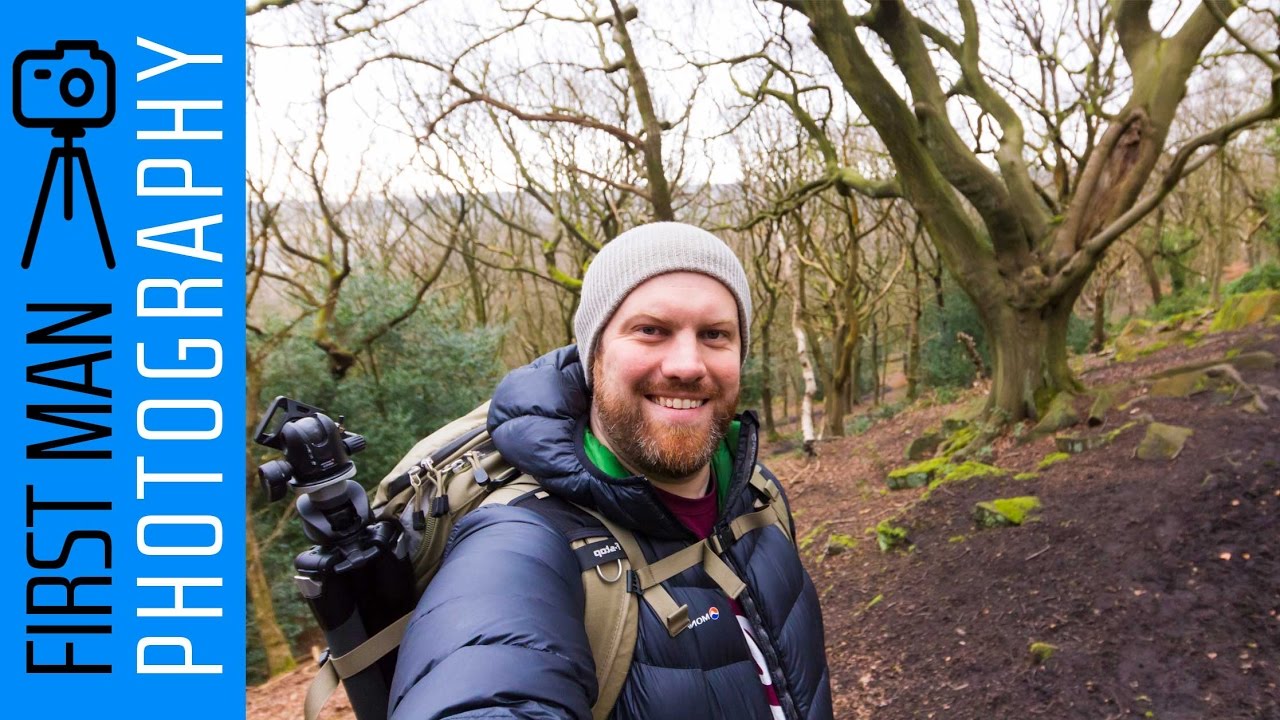
 Photographer walking toward nearby woodland on a hill
When you have limited shooting time, a familiar location is not a compromise. It’s an advantage. You already know where the light falls, where the water moves, where the mud gets deep enough to swallow a tripod leg. That prior knowledge compresses your scouting time down to almost nothing and lets you go straight into making decisions rather than getting your bearings.
Photographer walking toward nearby woodland on a hill
When you have limited shooting time, a familiar location is not a compromise. It’s an advantage. You already know where the light falls, where the water moves, where the mud gets deep enough to swallow a tripod leg. That prior knowledge compresses your scouting time down to almost nothing and lets you go straight into making decisions rather than getting your bearings.
The tutorial makes this point cleanly: distant locations demand that you get everything right in a single visit, which adds pressure and often degrades the work. A location ten minutes from your house can be revisited across every season, every weather condition, every hour of light. That kind of iterative access is how a good composition becomes a great one over time.
Step 2: Understand Why Woodland Scenes Work in Almost Any Light
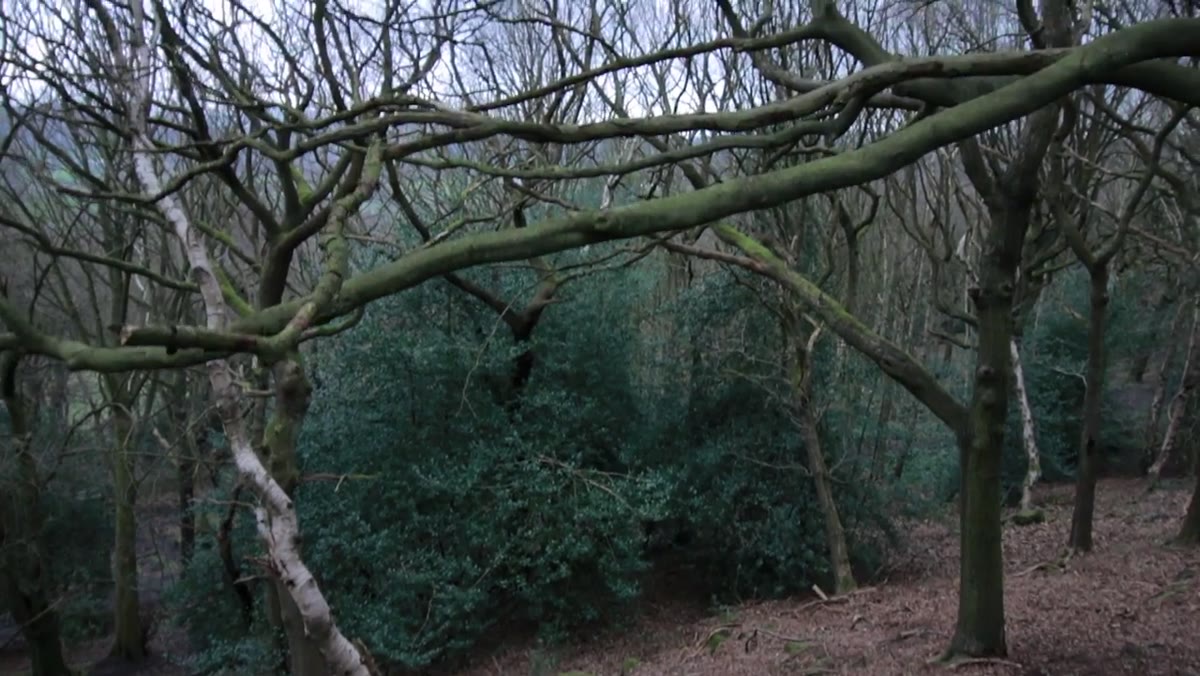 Dense woodland canopy filtering soft diffused light onto the forest floor
One of the more useful things said in this tutorial is that woodland photography is full of contradictions, and you should lean into that rather than fight it. The canopy breaks wind, which means longer exposures stay sharp even on rough days. The sky occupies little to none of the frame, so blown highlights and difficult gradients become less of a problem. Flat, overcast light that ruins an open coastal scene can actually be ideal here, cutting down on harsh contrast and letting the texture of bark, moss, and water read clearly.
Dense woodland canopy filtering soft diffused light onto the forest floor
One of the more useful things said in this tutorial is that woodland photography is full of contradictions, and you should lean into that rather than fight it. The canopy breaks wind, which means longer exposures stay sharp even on rough days. The sky occupies little to none of the frame, so blown highlights and difficult gradients become less of a problem. Flat, overcast light that ruins an open coastal scene can actually be ideal here, cutting down on harsh contrast and letting the texture of bark, moss, and water read clearly.
That said, the best woodland shots still happen in specific conditions. Fog is the one I chase hardest. On still mornings after a cold night, mist hangs between the trunks and separates the layers of a scene in a way no other light can. If you can get into the woods at dawn on a foggy morning, your odds of a genuinely strong image go up significantly.
Step 3: Position Your Camera in the Water for a Low, Engaging Foreground
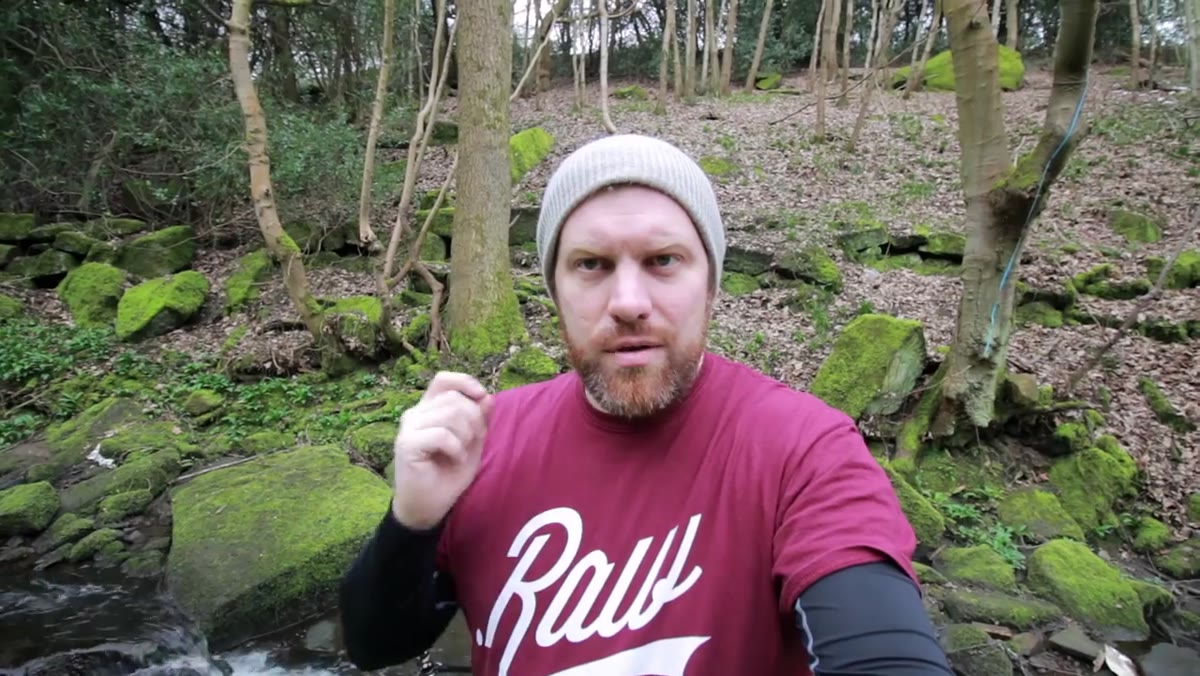 Tripod legs set in shallow stream, camera aimed at small waterfall
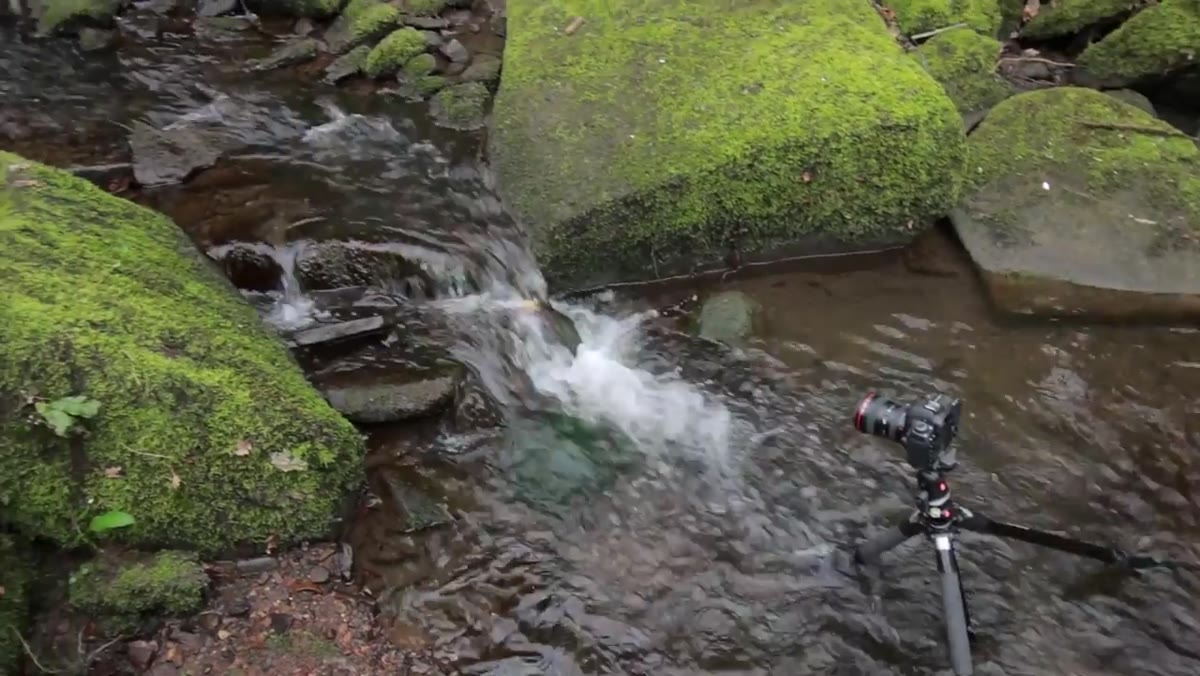
The photographer places his tripod directly in the stream, not on the bank looking in. This matters more than it might seem. A low camera position set within the water pulls the foreground into the frame as a participant rather than a border. The rocks, the moss, the movement of shallow water around the tripod feet all become part of the image’s visual structure.
Tripod legs set in shallow stream, camera aimed at small waterfall
The photographer places his tripod directly in the stream, not on the bank looking in. This matters more than it might seem. A low camera position set within the water pulls the foreground into the frame as a participant rather than a border. The rocks, the moss, the movement of shallow water around the tripod feet all become part of the image’s visual structure.
This is worth getting wet for. I’ve had my kids roll their eyes at me for standing in freezing water at sunrise, but the shots where I’ve committed to that position are almost always stronger than the careful, dry-boot alternatives. A waterproof bag for your gear, neoprene waders or simply old boots you don’t mind soaking, and a willingness to feel cold for twenty minutes will pay off in the final image.
Step 4: Use a Circular Polariser to Control Water Reflection
 Circular polariser filter being rotated, showing reflection appear and disappear on water surface
With the camera in position and the composition locked, the tutorial turns to filtration. A circular polariser is doing specific work here: it’s reducing surface glare on the water, which allows some of the detail beneath the surface to show through while keeping a controlled amount of sheen. The photographer demonstrates rotating the filter and watching the reflection appear and disappear on the water’s surface, then settles at a point where glare is reduced but not entirely gone.
Circular polariser filter being rotated, showing reflection appear and disappear on water surface
With the camera in position and the composition locked, the tutorial turns to filtration. A circular polariser is doing specific work here: it’s reducing surface glare on the water, which allows some of the detail beneath the surface to show through while keeping a controlled amount of sheen. The photographer demonstrates rotating the filter and watching the reflection appear and disappear on the water’s surface, then settles at a point where glare is reduced but not entirely gone.
That balance is the key decision. A completely glare-free surface can look flat and artificial. A small amount of shine reads as water behaving like water. Rotate slowly, watch your live view or optical viewfinder, and stop when the surface looks natural rather than either mirror-bright or matte. In polariser work, the right position is usually a few degrees away from the extreme.
Step 5: Stop Down to f/16 to Extend Exposure and Introduce Motion Blur
 Camera settings showing f/16 aperture with exposure time approaching one second
To get the silky, blurred waterfall effect, the tutorial uses a narrow aperture rather than adding neutral density filtration. Stopping down to f/16 drops the shutter speed to around one second in the available light, which is enough to smooth the falling water into a soft, continuous flow rather than freezing individual droplets.
Camera settings showing f/16 aperture with exposure time approaching one second
To get the silky, blurred waterfall effect, the tutorial uses a narrow aperture rather than adding neutral density filtration. Stopping down to f/16 drops the shutter speed to around one second in the available light, which is enough to smooth the falling water into a soft, continuous flow rather than freezing individual droplets.
One caveat worth knowing: at f/16 and beyond, diffraction begins to soften fine detail depending on your sensor. On most modern full-frame cameras, f/11 to f/16 is where you start to notice it. Test your own camera at these apertures before a critical shoot and decide where your personal sharpness threshold sits. If you need a longer exposure than f/16 gives you without sacrificing sharpness, a 3-stop ND filter gets you there. But for a one-second target in shaded woodland, a narrow aperture is often enough on its own.
Step 6: Compose With a Clear Visual Path Leading into the Scene
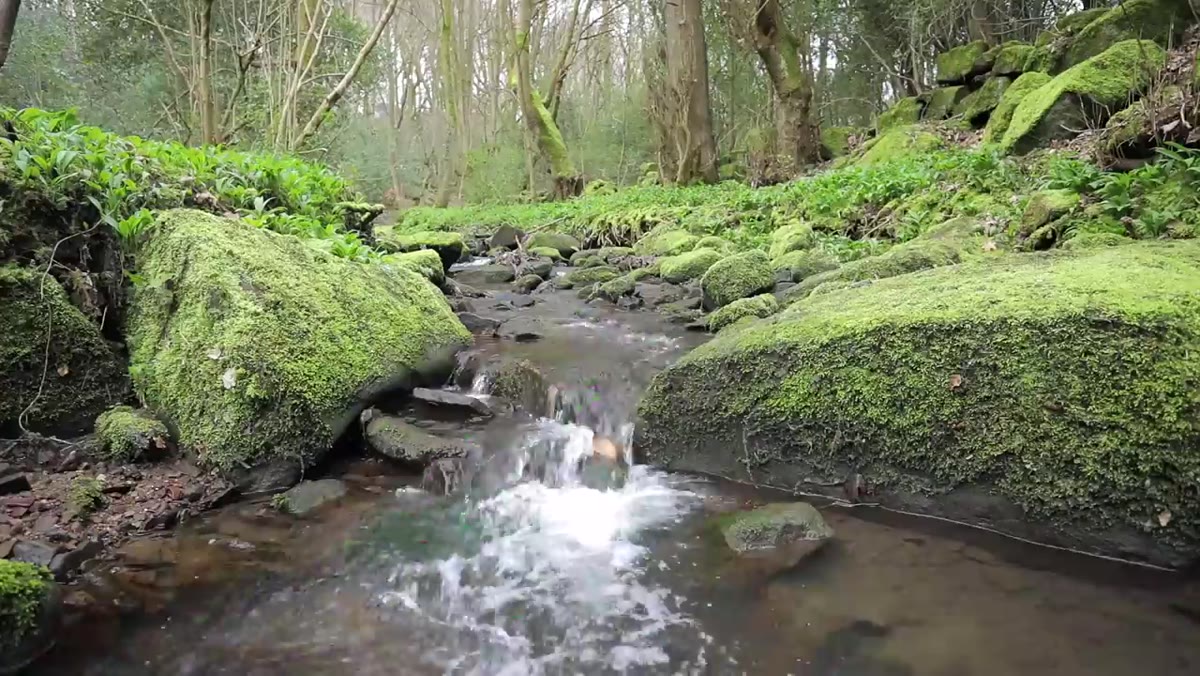
 Final composition looking up the stream into the woodland distance
The finished composition uses the stream itself as a leading line, drawing the eye from the waterfall in the foreground back into the depth of the woods. This is a structural decision made before any camera settings were considered. The line of the water, the framing of the trees, the patches of early spring green in the foreground, all of these were assessed and positioned before a single shot was taken.
Final composition looking up the stream into the woodland distance
The finished composition uses the stream itself as a leading line, drawing the eye from the waterfall in the foreground back into the depth of the woods. This is a structural decision made before any camera settings were considered. The line of the water, the framing of the trees, the patches of early spring green in the foreground, all of these were assessed and positioned before a single shot was taken.
When I’m working a scene like this, I walk the stream first without the camera. I’m looking for where the water bends, where a rock creates a visual anchor, where the light catches something worth emphasizing. The camera comes out once I have a clear idea of what the frame should contain and why.
What I’d Add From My Own Experience
The tutorial covers the practical steps cleanly, but there’s one thing I’d add: revisit the same composition across seasons and keep your records. I have a small notebook with GPS coordinates, time of year, and the weather conditions logged for every location I return to regularly. What’s a solid image with bare winter branches and no foreground interest becomes a completely different photograph when that same stream has ferns unfurling along its banks in May, or frost on the moss in November. The camera position stays fixed. The scene does all the changing. Shooting locally and repeatedly is how you collect that variation without burning a week of travel time to do it.
The single biggest lesson from this tutorial is deceptively simple: proximity and familiarity compound. The photographer knows this stream. He knows roughly where his tripod goes, knows the shot he wants to build on from a previous visit, and arrives with a clear intention. That kind of place-knowledge is built slowly, one visit at a time, and it almost always produces stronger work than arriving somewhere spectacular with no prior relationship to the land.
Watch the full tutorial on YouTube to see the composition come together in real time, including the polariser rotation demonstration, which is genuinely useful to watch in motion rather than just read about.
Comments
Leave a Comment