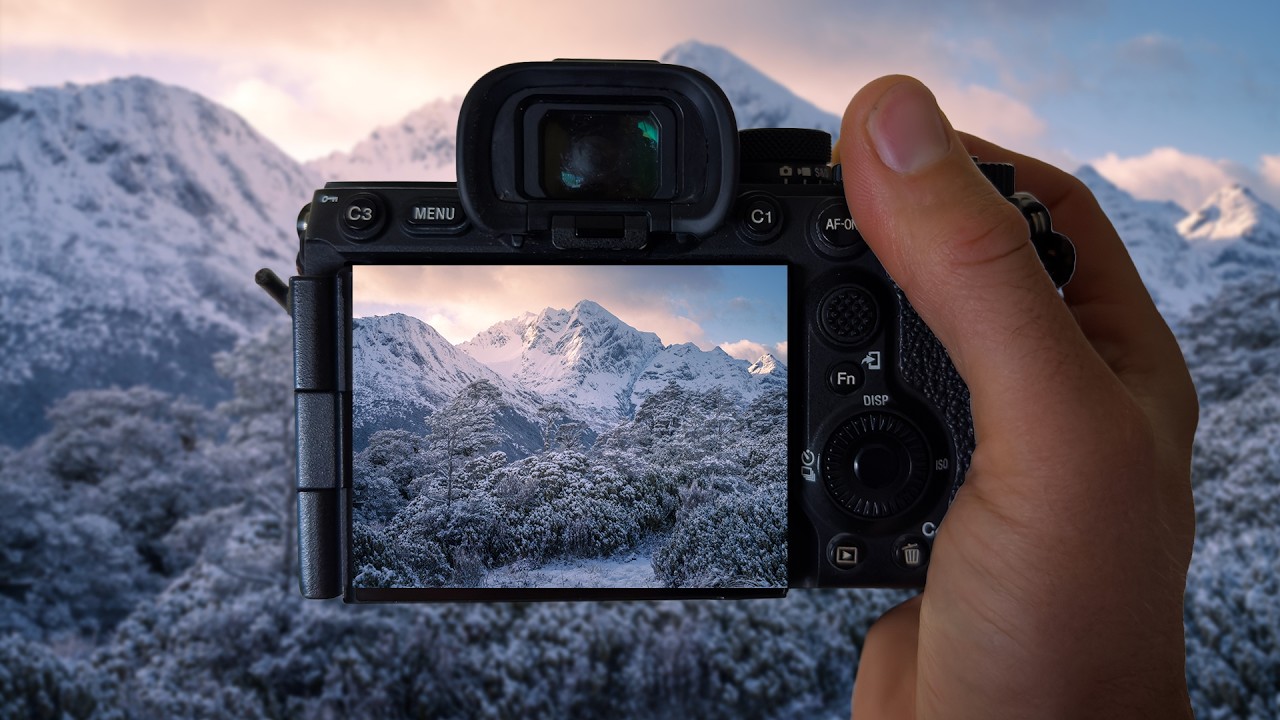
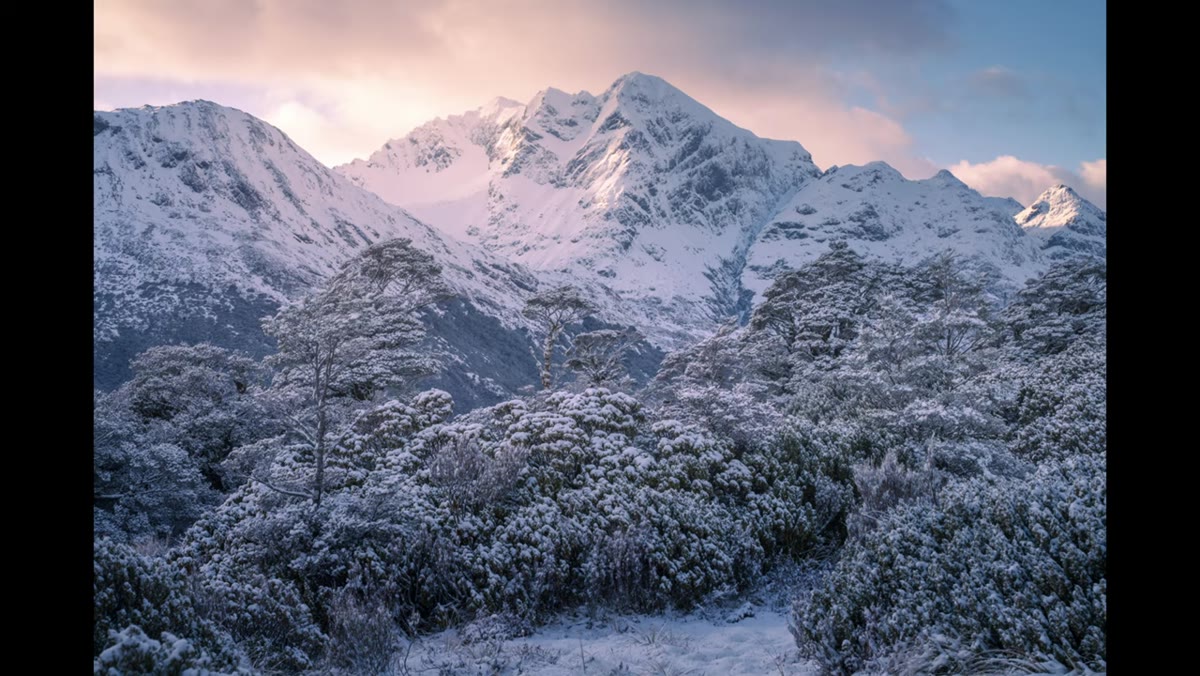
There’s a particular kind of paralysis that hits in a forest after fresh snowfall. Everything is beautiful. Every direction you turn, there’s a frame. And that abundance, counterintuitively, is what makes it one of the hardest environments to photograph well. I’ve stood in snow-covered pines in the Cascades enough times to know that the instinct to just start shooting is almost always wrong. The chaos of a white-blanketed forest demands more discipline, not less.
That’s why I keep returning to William Patino’s work. He shoots landscapes in New Zealand with a clarity of vision that cuts straight through that paralysis, and his recent tutorial documenting a private workshop in a snow-covered mountain and forest location is one of the most practically useful pieces of field instruction I’ve watched this year. Watch the full tutorial on YouTube before or after reading this breakdown. Either way, there’s a lot to unpack.
What Patino demonstrates here isn’t a technical deep-dive into gear. It’s something harder to teach: how to slow down when your senses are overwhelmed, find the single idea inside a complex scene, and then use light and shadow to communicate it. I’ve been doing this for twenty years, and I still find that lesson worth revisiting.
Step 1: Stay Flexible Before You Even Pick Up the Camera
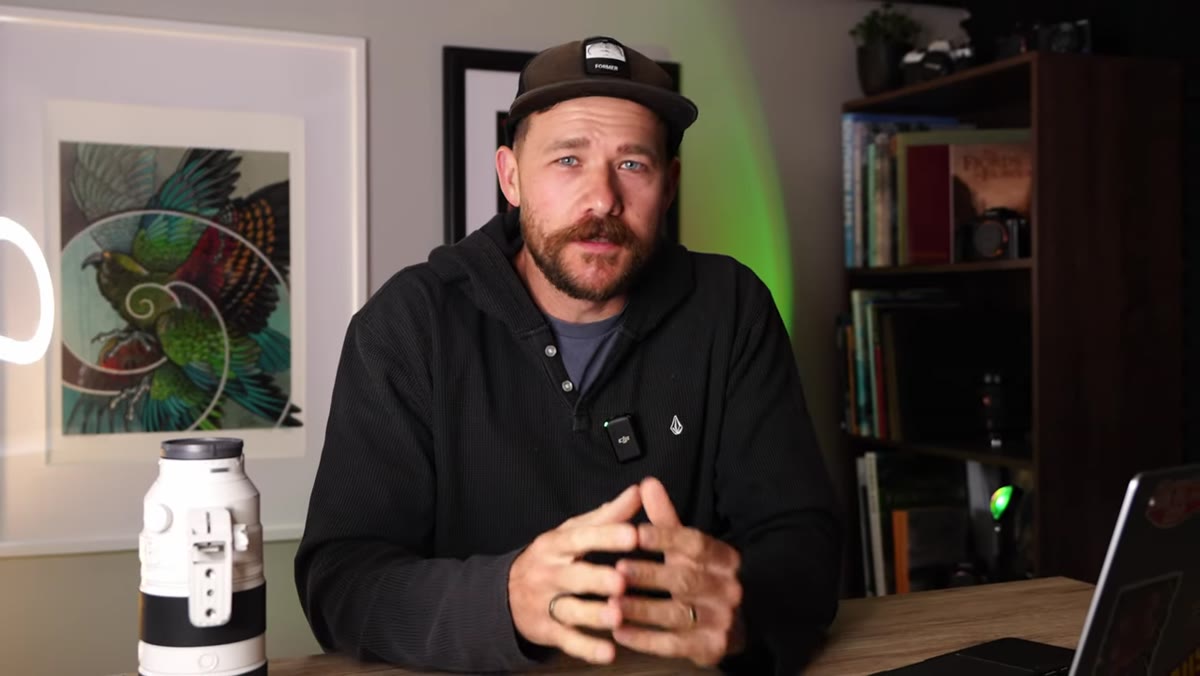 William Patino describing the flexible, reactive approach to workshop shooting
The first lesson in this tutorial happens before a single frame is captured. Patino describes his approach to running workshops in the field: stay entirely flexible, react to the weather, and adapt to whatever conditions arrive. When a snowstorm rolled in, he didn’t stick to a pre-planned itinerary. He moved his group into the mountains and then into the forest to work with what the landscape was offering.
William Patino describing the flexible, reactive approach to workshop shooting
The first lesson in this tutorial happens before a single frame is captured. Patino describes his approach to running workshops in the field: stay entirely flexible, react to the weather, and adapt to whatever conditions arrive. When a snowstorm rolled in, he didn’t stick to a pre-planned itinerary. He moved his group into the mountains and then into the forest to work with what the landscape was offering.
This sounds obvious until you’re actually standing there with a client or a workshop group and the temptation is to fall back on a familiar composition you’ve shot before. Weather events are gifts. A mentor once told me that the mountain doesn’t care about your schedule, and I’ve carried that ever since. Build flexibility into any shoot plan, and treat unexpected conditions as the assignment, not the obstacle.
Step 2: Expose to Protect the Highlights
 Camera settings displayed: f/16, 1/50s, ISO 100 in snowy mountain scene
In bright snow conditions, Patino is shooting at f/16, 1/50th of a second, and ISO 100. The priority is protecting the highlights. Snow reflects enormous amounts of light, and a histogram that blows out the right side will lose the detail that makes a snow-covered landscape feel dimensional rather than flat.
Camera settings displayed: f/16, 1/50s, ISO 100 in snowy mountain scene
In bright snow conditions, Patino is shooting at f/16, 1/50th of a second, and ISO 100. The priority is protecting the highlights. Snow reflects enormous amounts of light, and a histogram that blows out the right side will lose the detail that makes a snow-covered landscape feel dimensional rather than flat.
The key mental shift here is accepting a dark raw file. When you look at the back of the camera and the image looks underexposed, that’s usually correct for these conditions. You are preserving data in the brightest parts of the frame, knowing you’ll lift shadows in post. Don’t let the preview LCD trick you into overexposing. Shoot to the right of the histogram until you see the highlights begin to clip, then back off one stop.
Step 3: Use Shadow as a Compositional Tool
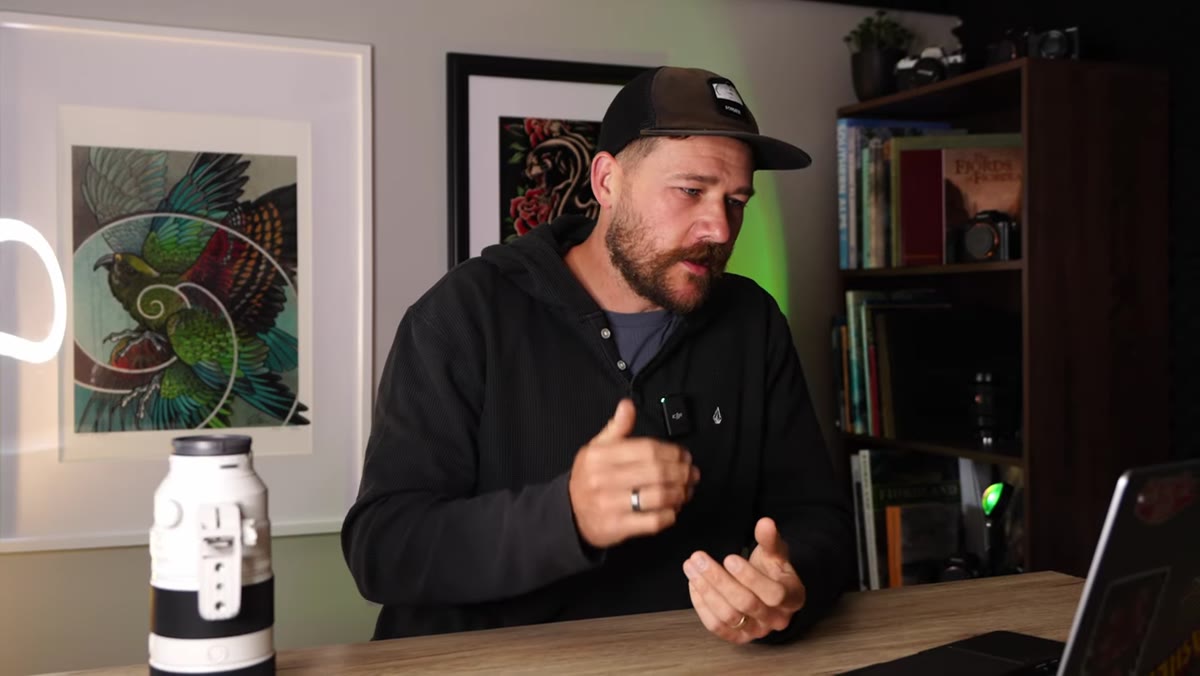 Patino explaining how shade leads the eye toward smaller bright areas
This is the most important compositional principle in the entire tutorial. Patino actively seeks out positions where shadow dominates the frame, with light appearing only in smaller, specific areas. His instruction to his workshop participants to “come where there’s less light” is the opposite of what most photographers instinctively do.
Patino explaining how shade leads the eye toward smaller bright areas
This is the most important compositional principle in the entire tutorial. Patino actively seeks out positions where shadow dominates the frame, with light appearing only in smaller, specific areas. His instruction to his workshop participants to “come where there’s less light” is the opposite of what most photographers instinctively do.
When you compose with predominantly dark areas surrounding smaller pools of light, you give the viewer’s eye a clear path. The eye is drawn to brightness. If you control where that brightness appears in the frame, you control the viewing experience. In a snow-covered forest, look for a shooting position where the sun is behind or to the side of your subject so that most of what you see is shade, with light breaking through only in the area you want to emphasize.
Step 4: Find the Simple Subject Inside the Chaos
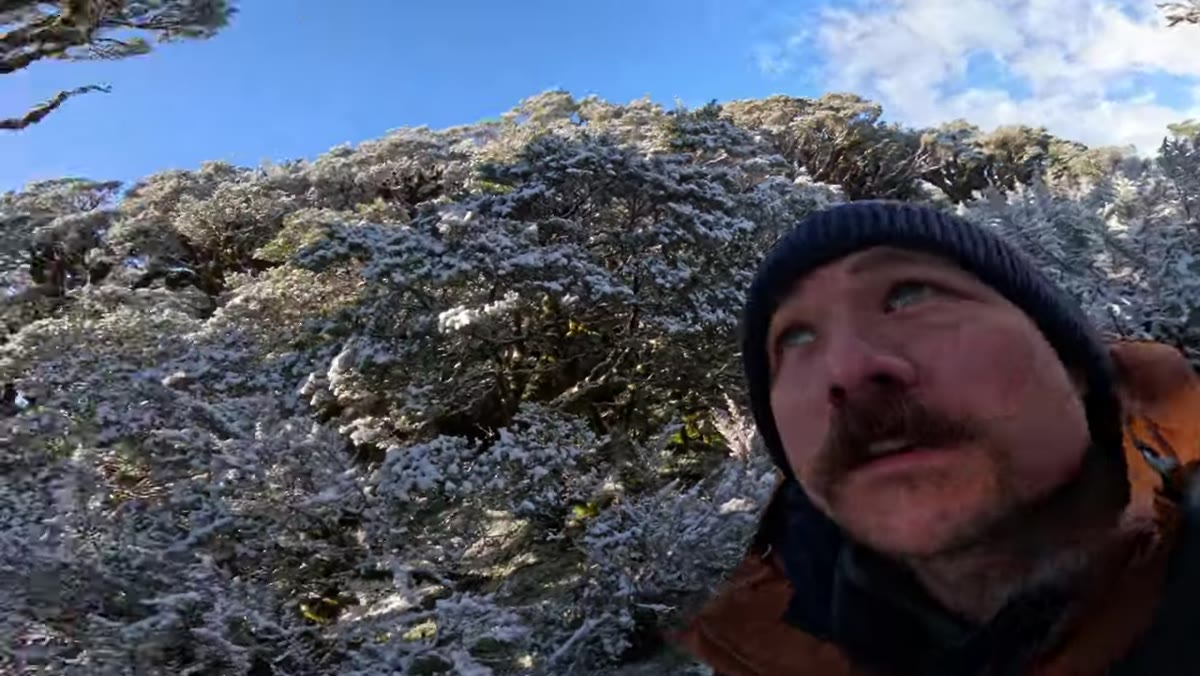 A lone snow-covered branch at center frame with natural framing elements left and right
Patino stops at a composition built around a single branch centered in the frame, with other elements on the left and right acting as a natural frame. The simplicity of the choice is deliberate. In a forest full of potential, he identifies one subject and subordinates everything else to it.
A lone snow-covered branch at center frame with natural framing elements left and right
Patino stops at a composition built around a single branch centered in the frame, with other elements on the left and right acting as a natural frame. The simplicity of the choice is deliberate. In a forest full of potential, he identifies one subject and subordinates everything else to it.
Ask yourself what specifically drew you to a spot. Not the general beauty of the scene, but the one thing. A bent tree, a gap in the canopy, a pool of light on the ground. Once you name it, build your composition around making that element unmissable. Everything else in the frame should either frame it, lead the eye toward it, or simply stay out of the way.
Step 5: Use Trees as Bookends to Control the Frame
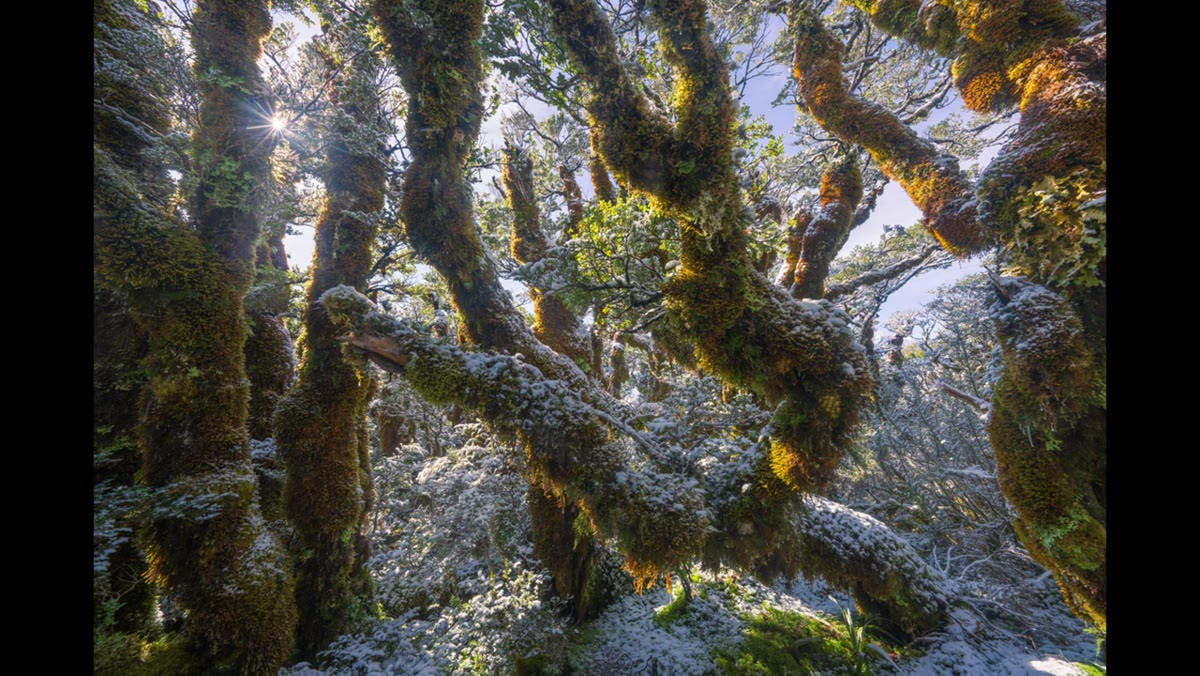 Two example compositions showing trees at frame edges preventing the eye from drifting
In both of the forest compositions Patino keeps from this session, trees sit at the edges of the frame. He describes this as a “bookend” effect: the edge trees prevent the viewer’s eye from drifting out of the image and anchor attention toward the center. The interior lines, angled branches, and curving forms all feed toward a central point.
Two example compositions showing trees at frame edges preventing the eye from drifting
In both of the forest compositions Patino keeps from this session, trees sit at the edges of the frame. He describes this as a “bookend” effect: the edge trees prevent the viewer’s eye from drifting out of the image and anchor attention toward the center. The interior lines, angled branches, and curving forms all feed toward a central point.
When you’re working in forest environments, resist the urge to shoot wide open spaces without something at the sides. An unconstrained frame in a forest usually reads as incomplete. Position yourself so that significant elements exist at the left and right edges, then use the interior of the scene to guide the eye through to your subject.
Step 6: Edit for the Natural Warm-Cool Contrast of Winter Light
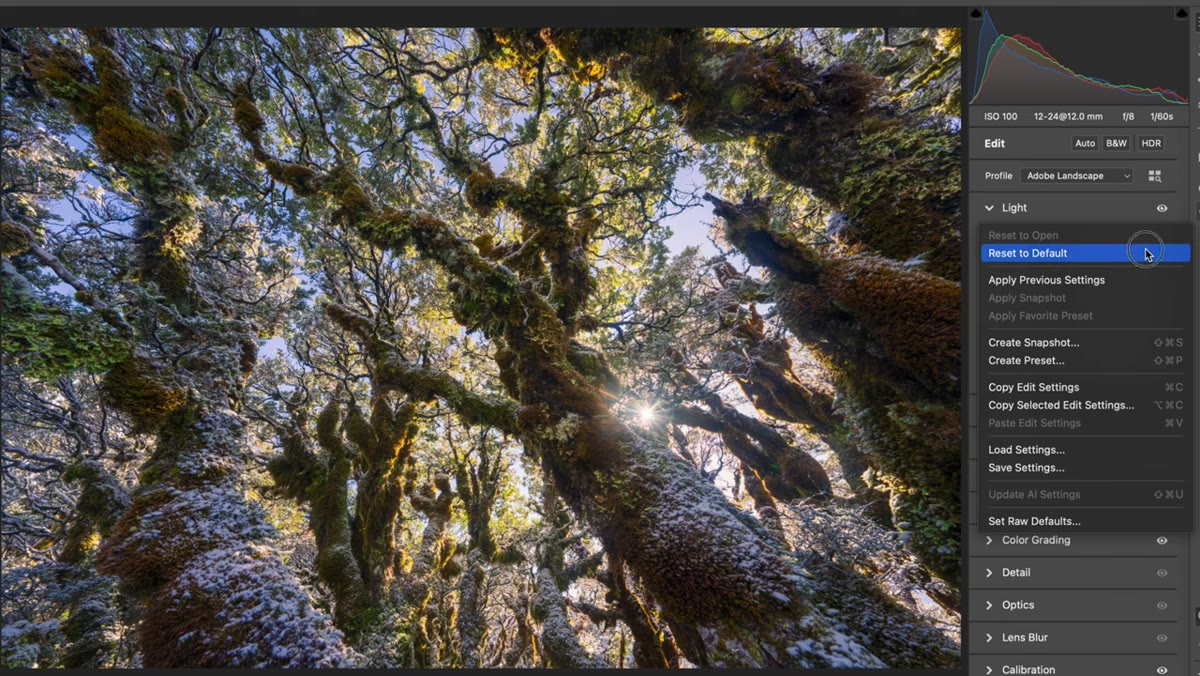 Lightroom raw file shown before and after edit, histogram visible, shadow recovery applied
Patino’s editing process on the backlit forest image follows a logical sequence: raise overall exposure, recover highlights, lift shadows, then apply color grading that keeps the warmth in the highlights while cooling the midtones. The goal is to preserve the natural contrast between warm sunlight and cool shadow that winter scenes produce on their own.
Lightroom raw file shown before and after edit, histogram visible, shadow recovery applied
Patino’s editing process on the backlit forest image follows a logical sequence: raise overall exposure, recover highlights, lift shadows, then apply color grading that keeps the warmth in the highlights while cooling the midtones. The goal is to preserve the natural contrast between warm sunlight and cool shadow that winter scenes produce on their own.
In Lightroom or your raw editor of choice, bring the highlights slider down significantly first, then raise exposure until the scene looks balanced. Use the shadows slider to open up detail in the darker areas without making them compete with the light. For color grading, apply a slight warm tone to the highlight channel and a cool, blue-leaning tone to the midtones. This replicates the quality of winter light rather than flattening it into a neutral gray.
What I’d Add From My Own Experience
Snow photography has a timing problem that no amount of compositional skill can fix: it changes fast. The window between fresh snowfall and melted or wind-blown snow on branches can be as short as an hour after sunrise, especially if temperatures are near freezing. I’ve made a habit of arriving in the dark and using a headlamp to scout positions before the light comes up. That scouting time, when I can’t actually photograph anything useful, is when I do the slow looking that Patino describes. By the time the light is right, I know exactly where I’m standing.
I also bracket more aggressively in snow than in any other environment, typically three exposures a stop apart, because the histogram behavior in bright reflective conditions is harder to read in real time. Better to have the data and not need it.
The core lesson from Patino’s tutorial is that the right response to visual abundance is restraint, not enthusiasm. The single best thing you can do in a beautiful, snow-covered landscape is slow down, name what you’re actually drawn to, and then strip everything else out. Watch the full tutorial on YouTube to see how Patino applies this in real time with a workshop group, and pay close attention to the moments where he talks rather than shoots. That’s where the real instruction is.
Comments (4)
Never thought of approaching it this way. Really creative.
Couldn't agree more. I've seen this make a huge difference in business work specifically.
Applied this to my portfolio shots and the improvement is noticeable.
Never thought of approaching it this way. Really creative.
Leave a Comment