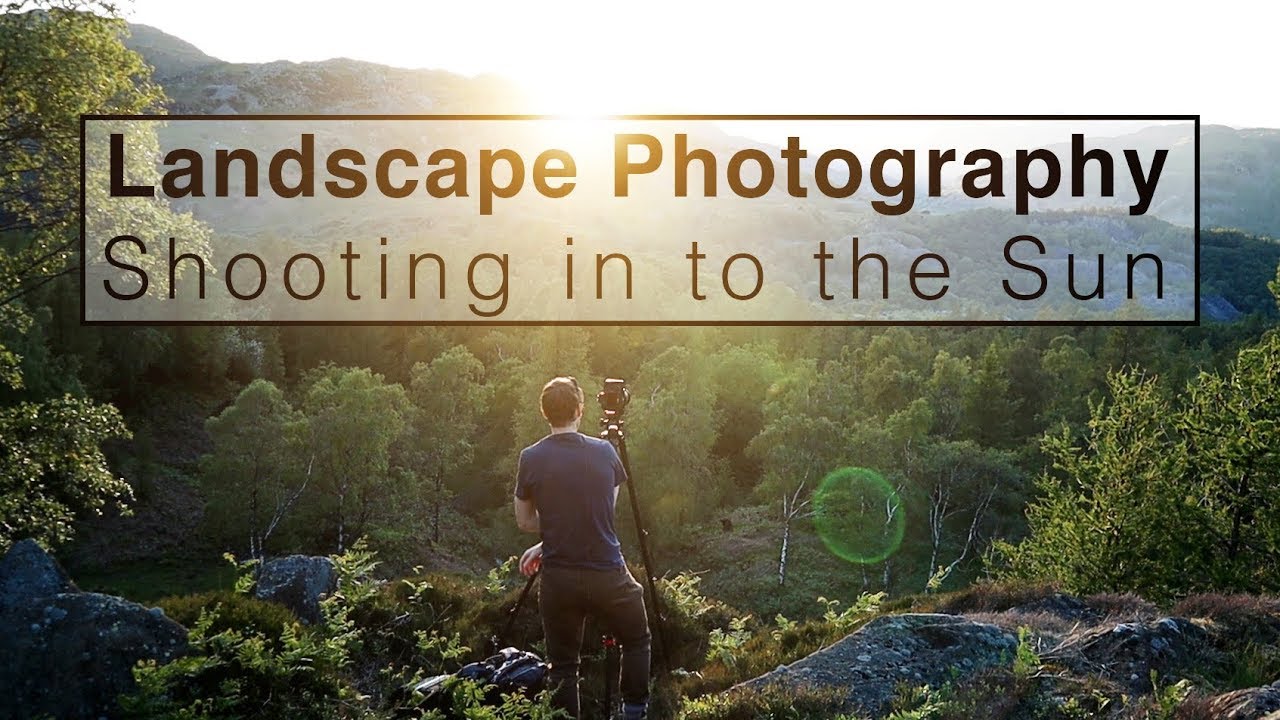
There is a version of this problem I have lived through dozens of times. You arrive at a location and the sun is doing something extraordinary, except it is doing it directly into your lens. Every instinct trained into you says turn around, find the nice soft sidelight, don’t fight the physics. For years I listened to that instinct and walked away from shots I still think about. What changed my approach was watching photographers who refused to flinch, who pointed their cameras straight at the light source and built compositions around it rather than away from it. Watch the full tutorial on YouTube
In this Thomas Heaton tutorial, filmed during a late spring evening session in England’s Lake District, Heaton and fellow photographer Gavin Hardcastle work through exactly this scenario. The sun is dropping toward the fells, backlighting a stand of silver birch trees and flooding the valley with angled golden light. Rather than repositioning to use that light conventionally, Heaton leans into it, and the process he works through on camera is as instructive as any workshop session I have attended.
What makes this tutorial worth studying is not the specific location. It is the decision-making framework he demonstrates in real time, under real pressure, with a real sunset running out on him. That is the stuff you cannot get from a studio explainer.
Step 1: Scout the Location Well Before the Light Arrives
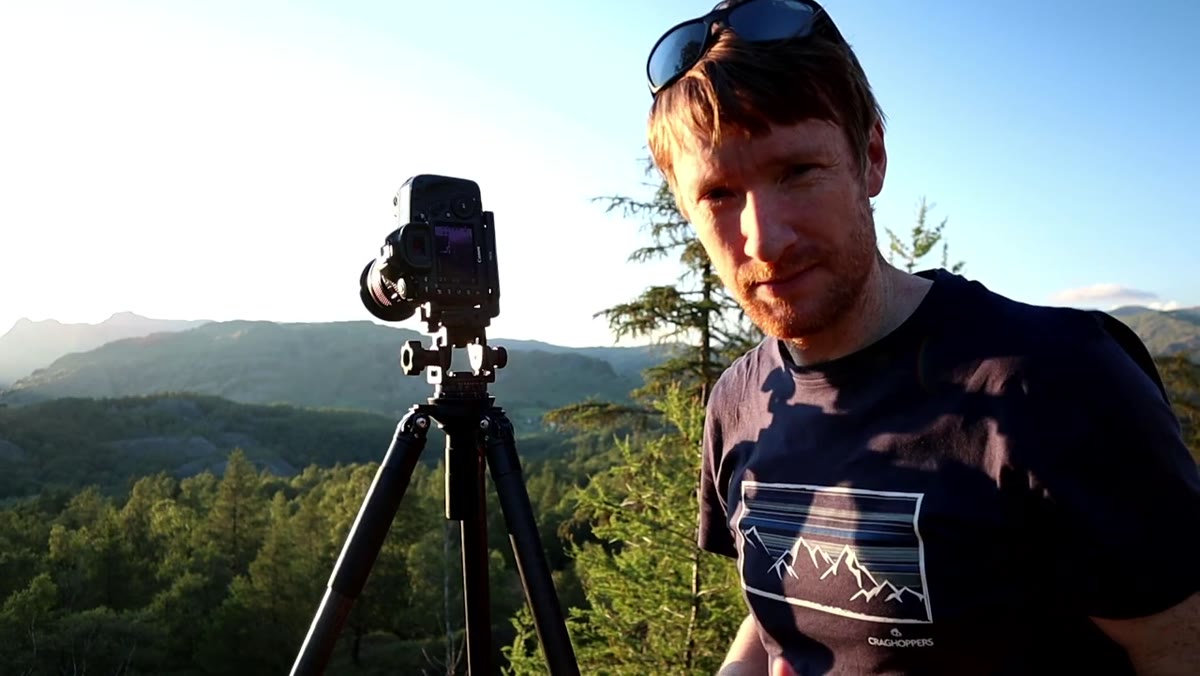
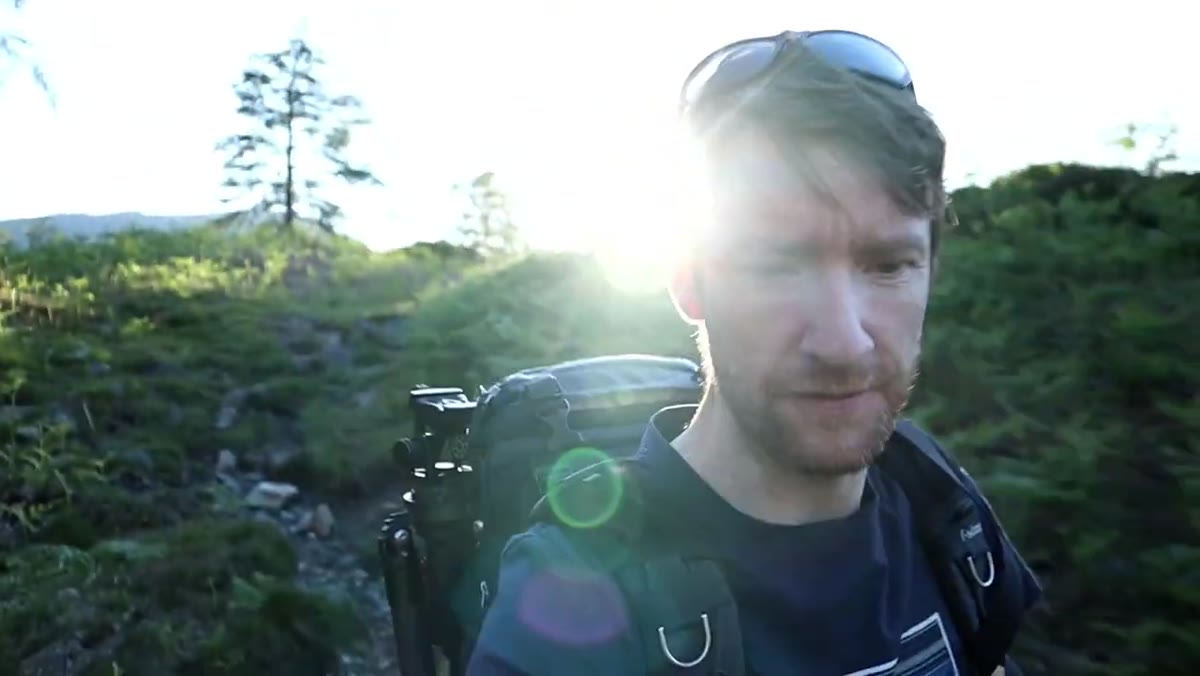 Thomas walking a river valley, evaluating composition options
Heaton makes clear early in the video that he has visited this location multiple times, though never with quality light. He knows the geography before the magic starts. That prior knowledge lets him move quickly when conditions shift. When you are shooting into the sun, timing is unforgiving. The window where backlight is dramatic rather than just blown out can be as short as ten to fifteen minutes. If you are still figuring out where to stand when that window opens, you will spend it making mistakes. Scout in flat light, in bad weather, on your lunch break if you have to. Know the place before you need to perform in it.
Thomas walking a river valley, evaluating composition options
Heaton makes clear early in the video that he has visited this location multiple times, though never with quality light. He knows the geography before the magic starts. That prior knowledge lets him move quickly when conditions shift. When you are shooting into the sun, timing is unforgiving. The window where backlight is dramatic rather than just blown out can be as short as ten to fifteen minutes. If you are still figuring out where to stand when that window opens, you will spend it making mistakes. Scout in flat light, in bad weather, on your lunch break if you have to. Know the place before you need to perform in it.
Step 2: Read the Light as a Compositional Element, Not a Problem
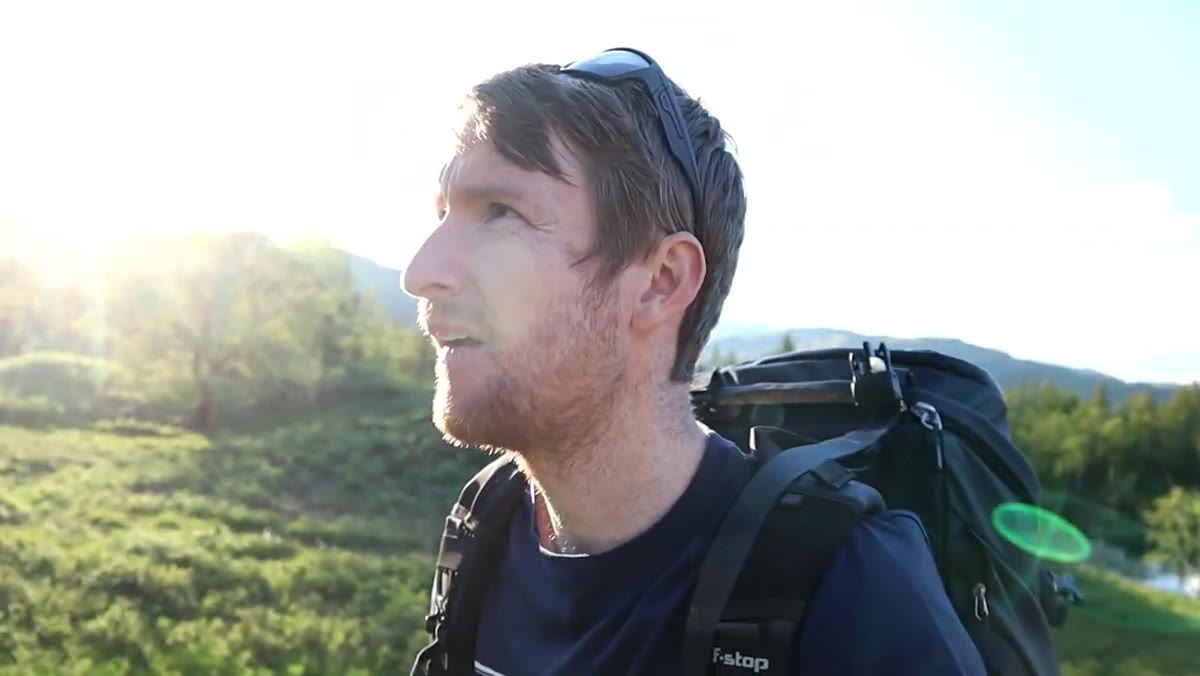 Sun cresting the fell tops, light streaming across the valley
The shift in Heaton’s energy on camera is visible the moment the light starts streaming across the landscape. He describes the sun cresting the tops of the fells and the way it catches the trees below, and he talks about it the way a painter talks about a wash of color, as something to be used, not corrected for. This is the mental reset that backlit shooting requires. Stop asking how to expose for the scene in front of you and start asking how the light’s direction creates shape, separation, and mood. Backlight gives you rim lighting on organic textures, translucency in leaves, and a sense of depth that flat or overhead light cannot touch. Train yourself to see it as a tool first.
Sun cresting the fell tops, light streaming across the valley
The shift in Heaton’s energy on camera is visible the moment the light starts streaming across the landscape. He describes the sun cresting the tops of the fells and the way it catches the trees below, and he talks about it the way a painter talks about a wash of color, as something to be used, not corrected for. This is the mental reset that backlit shooting requires. Stop asking how to expose for the scene in front of you and start asking how the light’s direction creates shape, separation, and mood. Backlight gives you rim lighting on organic textures, translucency in leaves, and a sense of depth that flat or overhead light cannot touch. Train yourself to see it as a tool first.
Step 3: Find a Foreground That Works With the Light Direction
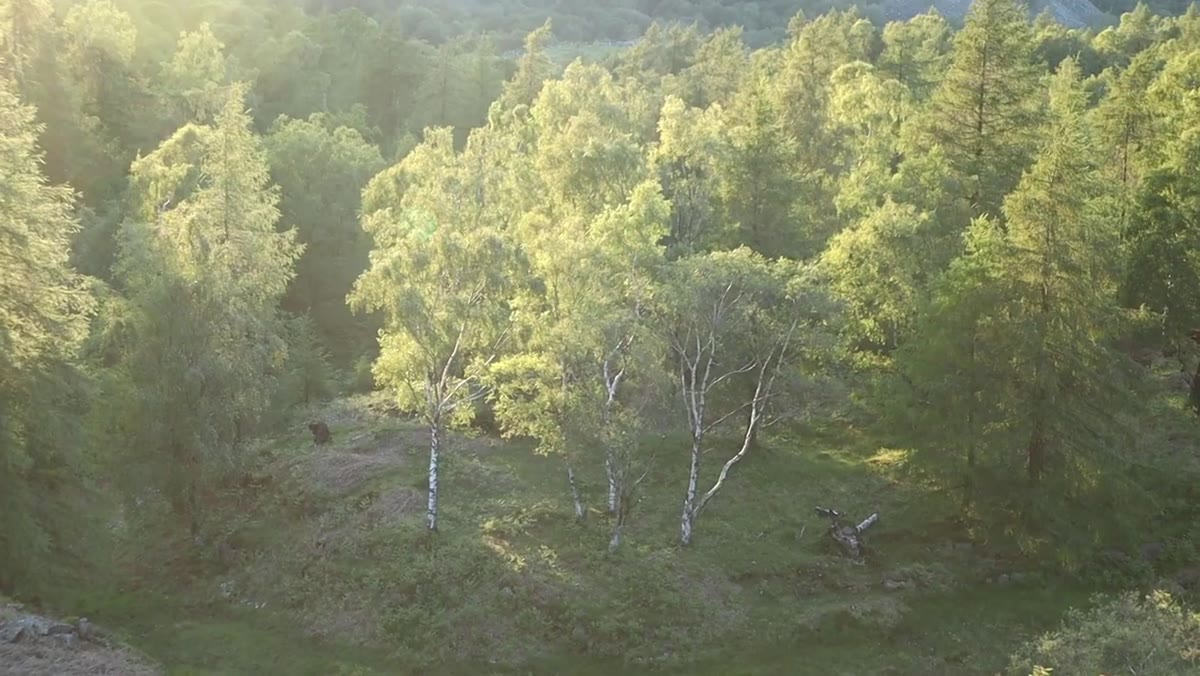
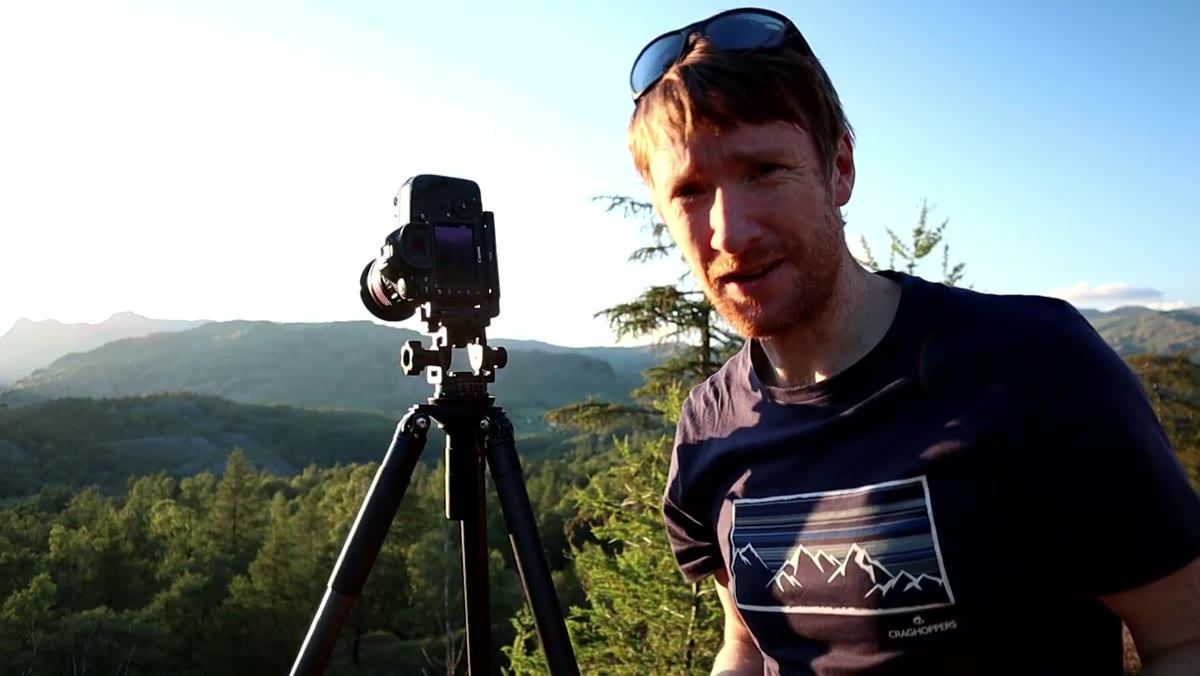 Silver birch trees backlit against the setting sun, foreground evaluation
Heaton spends considerable time walking the location before he plants his tripod, specifically looking for a foreground element that complements rather than fights the backlight. He lands on a group of silver birch trees, their pale bark glowing against the darker landscape behind. This is the critical compositional move in backlit photography. Your foreground subject needs to either transmit or reflect that back-angled light. Translucent leaves, water surfaces, pale grasses, and light-toned rocks all respond beautifully. Dense dark subjects that absorb light will just become silhouettes with no detail, which can work intentionally but rarely works by accident.
Silver birch trees backlit against the setting sun, foreground evaluation
Heaton spends considerable time walking the location before he plants his tripod, specifically looking for a foreground element that complements rather than fights the backlight. He lands on a group of silver birch trees, their pale bark glowing against the darker landscape behind. This is the critical compositional move in backlit photography. Your foreground subject needs to either transmit or reflect that back-angled light. Translucent leaves, water surfaces, pale grasses, and light-toned rocks all respond beautifully. Dense dark subjects that absorb light will just become silhouettes with no detail, which can work intentionally but rarely works by accident.
Step 4: Position the Sun Strategically Within or Just Outside the Frame
 Camera angle adjusted to place sun at frame edge behind birch canopy
One of the most practical decisions in shooting directly toward a light source is whether to include the sun in the frame or tuck it just behind an element, a tree trunk, a ridgeline, a rock. Heaton uses the birch canopy to partially obscure the sun, which does two things: it reduces raw flare while creating a starburst or glow effect that reads as intentional rather than accidental. If you place the sun fully in an open frame with nothing to interrupt it, you will fight blown highlights and green-tinged lens flare that is genuinely difficult to recover in post. Hiding it behind something solid, even partially, gives you control over the intensity of the effect while still preserving the warmth and drama of the direction.
Camera angle adjusted to place sun at frame edge behind birch canopy
One of the most practical decisions in shooting directly toward a light source is whether to include the sun in the frame or tuck it just behind an element, a tree trunk, a ridgeline, a rock. Heaton uses the birch canopy to partially obscure the sun, which does two things: it reduces raw flare while creating a starburst or glow effect that reads as intentional rather than accidental. If you place the sun fully in an open frame with nothing to interrupt it, you will fight blown highlights and green-tinged lens flare that is genuinely difficult to recover in post. Hiding it behind something solid, even partially, gives you control over the intensity of the effect while still preserving the warmth and drama of the direction.
Step 5: Expose for the Midtones and Protect the Mood
 Heaton reviewing exposure on camera LCD, adjusting settings
Backlit scenes have enormous dynamic range, and the temptation is to expose to recover every shadow. Resist it. Heaton’s images in this video retain depth in the darker areas of the frame because he is not trying to make them match the brightness of the backlit elements. Expose for the midtones, typically the illuminated foreground subject, and let the shadows sit where they fall. Shoot in RAW, use your histogram to make sure you are not clipping the brightest highlights completely, and pull back exposure compensation by one third to two thirds of a stop from what your meter suggests. The mood in backlit photography lives in that contrast. Flatten it in camera and you cannot get it back in Lightroom.
Heaton reviewing exposure on camera LCD, adjusting settings
Backlit scenes have enormous dynamic range, and the temptation is to expose to recover every shadow. Resist it. Heaton’s images in this video retain depth in the darker areas of the frame because he is not trying to make them match the brightness of the backlit elements. Expose for the midtones, typically the illuminated foreground subject, and let the shadows sit where they fall. Shoot in RAW, use your histogram to make sure you are not clipping the brightest highlights completely, and pull back exposure compensation by one third to two thirds of a stop from what your meter suggests. The mood in backlit photography lives in that contrast. Flatten it in camera and you cannot get it back in Lightroom.
Step 6: Embrace the Moment Over the Perfect Setup
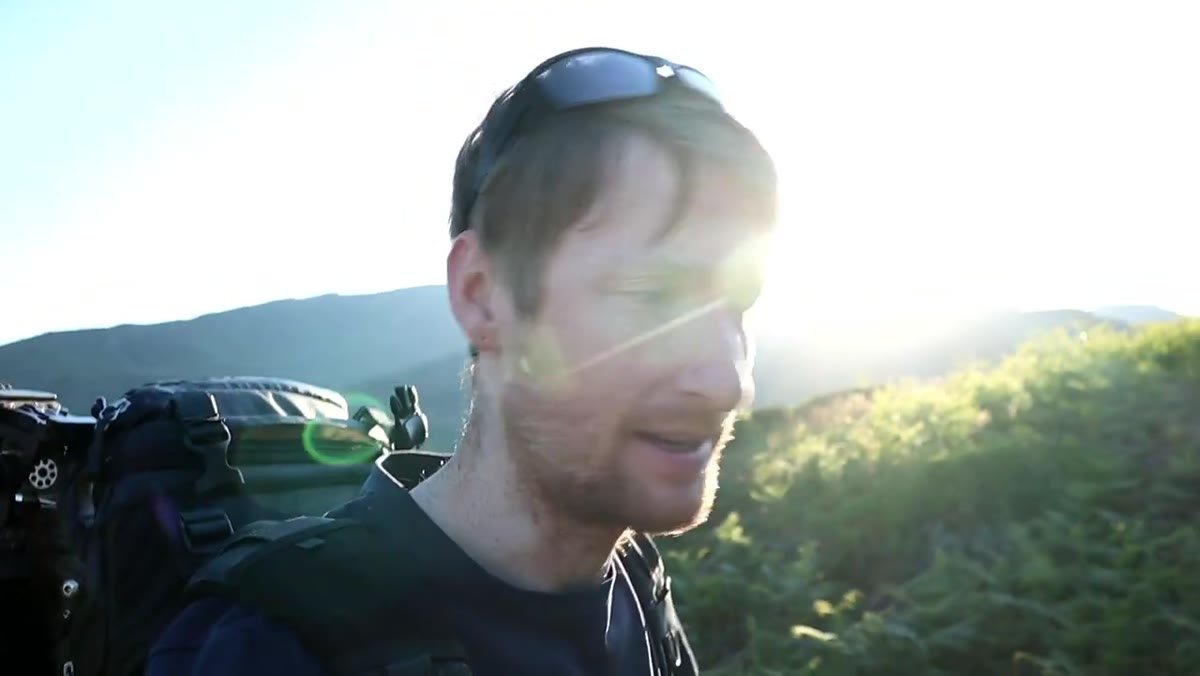 Heaton moving quickly to compose as light shifts across the fells
The Lake District being the Lake District, quality light is not something you can schedule. Heaton’s session here has urgency to it because he knows from repeated visits how rarely the conditions align. He makes compositional decisions quickly, commits to them, and starts shooting rather than endlessly refining. Backlit golden hour light moves fast. The angle changes, the intensity shifts, and the warmth fades. Get a solid composition locked in and shoot variations from it rather than chasing perfection during the window and ending up with nothing.
Heaton moving quickly to compose as light shifts across the fells
The Lake District being the Lake District, quality light is not something you can schedule. Heaton’s session here has urgency to it because he knows from repeated visits how rarely the conditions align. He makes compositional decisions quickly, commits to them, and starts shooting rather than endlessly refining. Backlit golden hour light moves fast. The angle changes, the intensity shifts, and the warmth fades. Get a solid composition locked in and shoot variations from it rather than chasing perfection during the window and ending up with nothing.
What I Would Add From My Own Experience
The one thing this tutorial does not address, because it is a real-time field video rather than a technical walkthrough, is lens choice. I have found that shooting into the sun rewards lenses you would not necessarily choose for their sharpness. Older glass with simpler coatings often produces a warmth and glow in backlit conditions that modern multi-coated lenses correct out of existence. I keep one older prime in my bag specifically for situations like the one Heaton shoots here. It is the least technically perfect lens I own and the one I reach for most often in late light. Do not be afraid to treat your lens selection as part of the exposure decision.
There is a version of patience this kind of photography demands that my early career self would have found maddening. I used to think arriving at the right place was the hard part. Now I know that arriving at the right place at the right time, having already learned the place well enough to work it quickly, that is the actual skill. Heaton demonstrates it clearly here, even if he makes it look easier than it is.
The single most important takeaway from this tutorial is that backlight is a compositional tool, not a problem to expose around. Build your shot to use it deliberately, and those into-the-sun moments become some of the strongest frames you will ever make.
Watch the full tutorial on YouTube
Comments (1)
This saved me so much time on my last edit. Wish I'd found this sooner.
Leave a Comment