There is a particular kind of dread that settles in when you arrive at a location and the sky is a flat, unbroken blue. No drama. No texture. No clouds catching the last slant of golden light. After two decades of pre-dawn alarms and long drives to places that don’t care whether you showed up, I’ve made a kind of peace with difficult conditions. But “made peace with” doesn’t mean “figured out.” It means I keep looking for better frameworks for what to do when the sky won’t cooperate.
That’s why I kept returning to this tutorial from First Man Photography, featuring landscape photographer Paul G Johnson shooting the Peak District on exactly that kind of day. Watch the full tutorial on YouTube. The two of them walk into a location with harsh, cloudless light and work through it with a practical, unsentimental eye. No complaining. No waiting for conditions that aren’t coming. Just the question every field photographer eventually has to answer: what do I do with what’s actually in front of me?
What strikes me most is that the approach isn’t a workaround. It’s a genuine compositional discipline. The techniques they use on this flat-sky day are the same ones that produce the strongest images in any conditions. Difficult light just makes them harder to ignore.
Step 1: Acknowledge the Conditions and Adjust Your Expectations
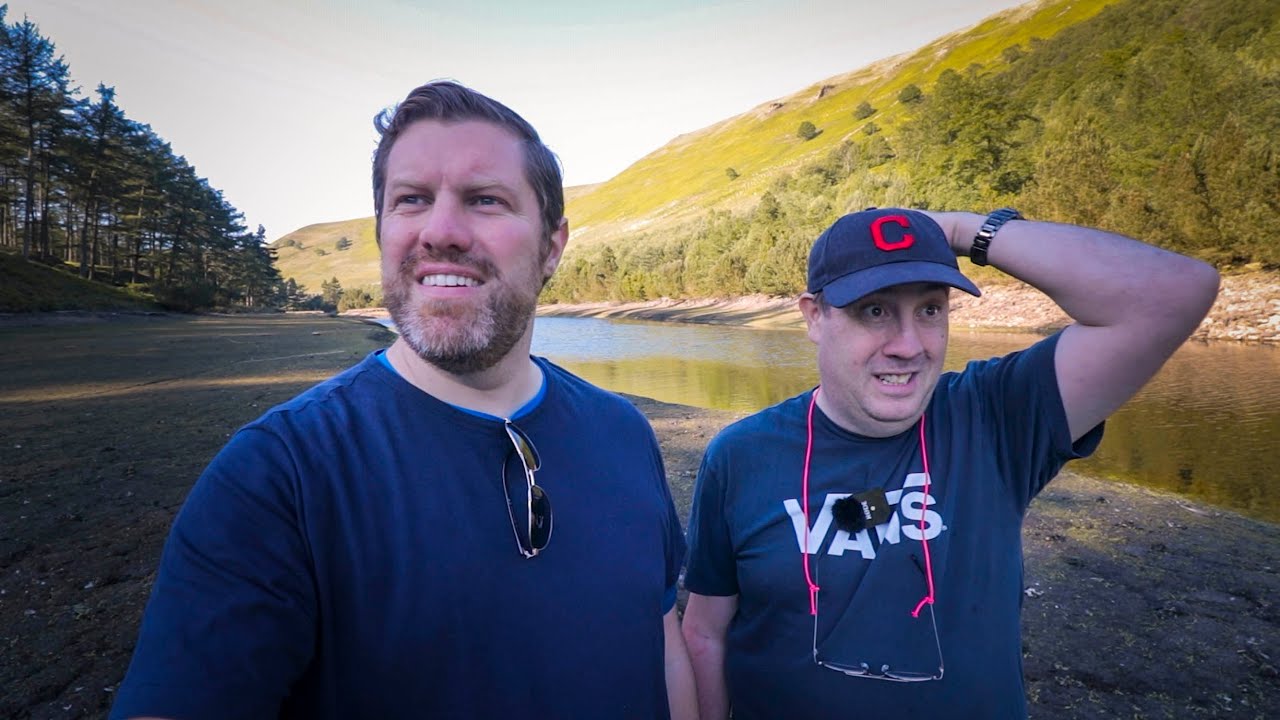
 Two photographers assessing a cloudless bright sky at a reservoir
The first thing Paul and the host do is name the problem plainly. The sky is empty. That’s not a catastrophe, but it changes the assignment. When you don’t have an interesting sky to anchor the upper half of your frame, you have to build your image from the ground up. This sounds obvious, but most photographers stand at a location and wait to feel inspired. What Paul does instead is immediately redirect his attention downward and into the middle distance, looking for what the scene actually has rather than mourning what it lacks. That mental shift is the first move.
Two photographers assessing a cloudless bright sky at a reservoir
The first thing Paul and the host do is name the problem plainly. The sky is empty. That’s not a catastrophe, but it changes the assignment. When you don’t have an interesting sky to anchor the upper half of your frame, you have to build your image from the ground up. This sounds obvious, but most photographers stand at a location and wait to feel inspired. What Paul does instead is immediately redirect his attention downward and into the middle distance, looking for what the scene actually has rather than mourning what it lacks. That mental shift is the first move.
Step 2: Lead with a Strong Foreground Element
 Photographer crouching near water’s edge examining foreground shapes
When the sky goes flat, the foreground has to carry more weight. Paul makes this point directly and then acts on it immediately, scanning the area around the reservoir for shapes that can anchor the composition. The logic is straightforward: a compelling foreground gives the viewer’s eye somewhere to enter the frame and a reason to travel through it. Without that entry point, a featureless sky just sits there like a lid on a box. He notes that the Peak District landscape works particularly well with a wide-angle lens for exactly this reason. Getting physically low and close to a foreground element exaggerates its presence and creates a sense of depth that pulls the viewer into the image. Set your aperture between f/8 and f/11 to keep both foreground and background sharp, focus roughly one third of the way into the scene, and let the geometry do the work.
Photographer crouching near water’s edge examining foreground shapes
When the sky goes flat, the foreground has to carry more weight. Paul makes this point directly and then acts on it immediately, scanning the area around the reservoir for shapes that can anchor the composition. The logic is straightforward: a compelling foreground gives the viewer’s eye somewhere to enter the frame and a reason to travel through it. Without that entry point, a featureless sky just sits there like a lid on a box. He notes that the Peak District landscape works particularly well with a wide-angle lens for exactly this reason. Getting physically low and close to a foreground element exaggerates its presence and creates a sense of depth that pulls the viewer into the image. Set your aperture between f/8 and f/11 to keep both foreground and background sharp, focus roughly one third of the way into the scene, and let the geometry do the work.
Step 3: Read the Light in Layers
 Photographer pointing toward trees with three distinct light zones visible
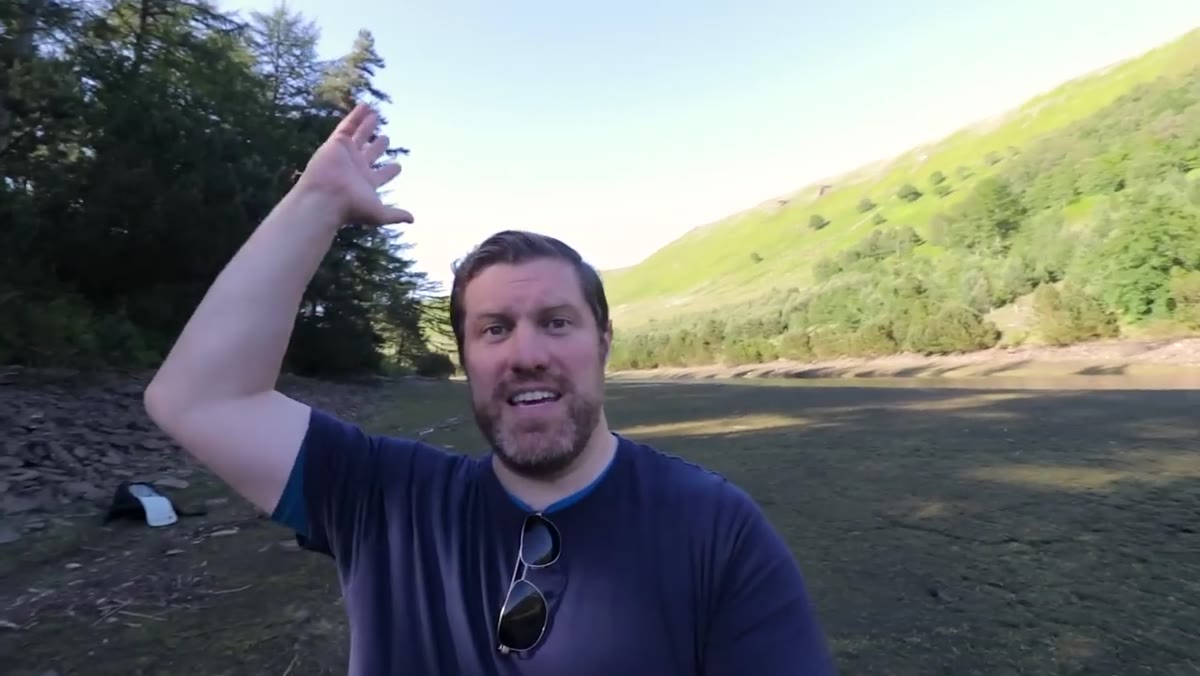
This is where Paul’s knowledge of the specific location pays off in a way that’s transferable to anywhere you shoot. Rather than reading the scene as a whole, he breaks it into distinct zones of light. In this case he identifies three: light streaking through a stand of trees on one side, warm direct light bathing a tree on the opposite bank, and a line of trees in the background sitting in shadow. Each zone has a different tonal value, and together they create visual separation and a sense of atmosphere that a flat, evenly lit scene never produces. When you arrive at a location, train yourself to do this inventory before you set up your tripod. Where is the light falling hardest? Where is it being blocked? Where is it filtering through something? Those three questions will often tell you exactly where to point the camera.
Photographer pointing toward trees with three distinct light zones visible
This is where Paul’s knowledge of the specific location pays off in a way that’s transferable to anywhere you shoot. Rather than reading the scene as a whole, he breaks it into distinct zones of light. In this case he identifies three: light streaking through a stand of trees on one side, warm direct light bathing a tree on the opposite bank, and a line of trees in the background sitting in shadow. Each zone has a different tonal value, and together they create visual separation and a sense of atmosphere that a flat, evenly lit scene never produces. When you arrive at a location, train yourself to do this inventory before you set up your tripod. Where is the light falling hardest? Where is it being blocked? Where is it filtering through something? Those three questions will often tell you exactly where to point the camera.
Step 4: Use Water Motion as a Compositional Tool
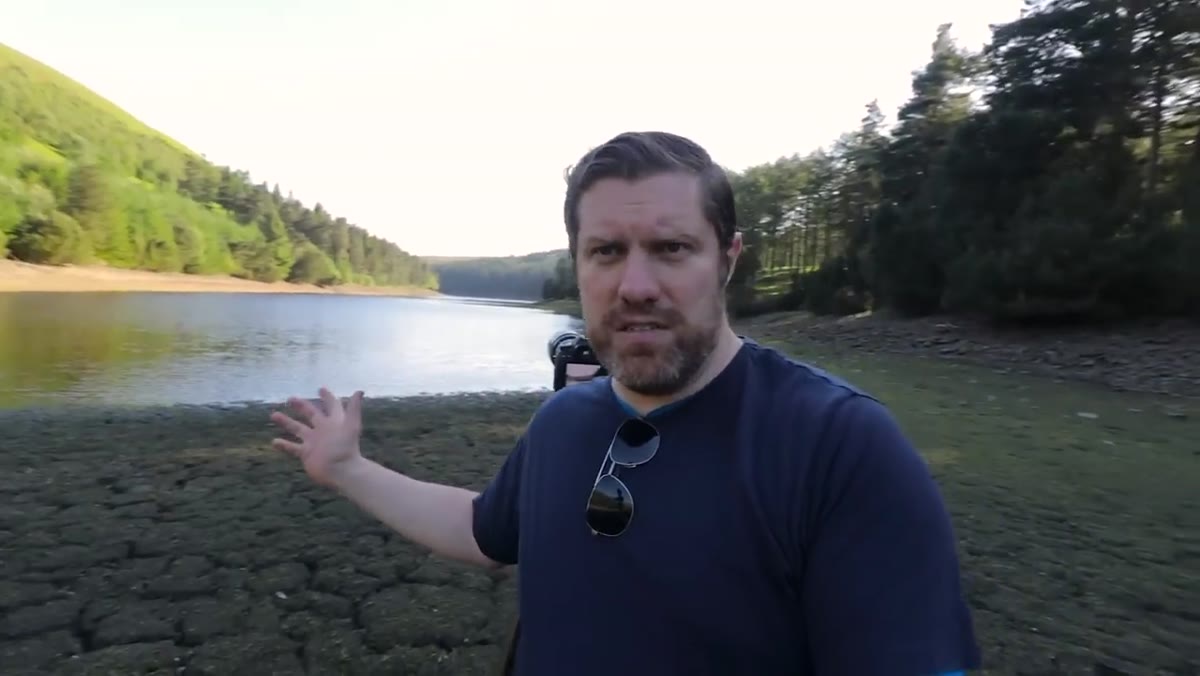 Wide shot showing wind-driven ripples moving across the reservoir surface
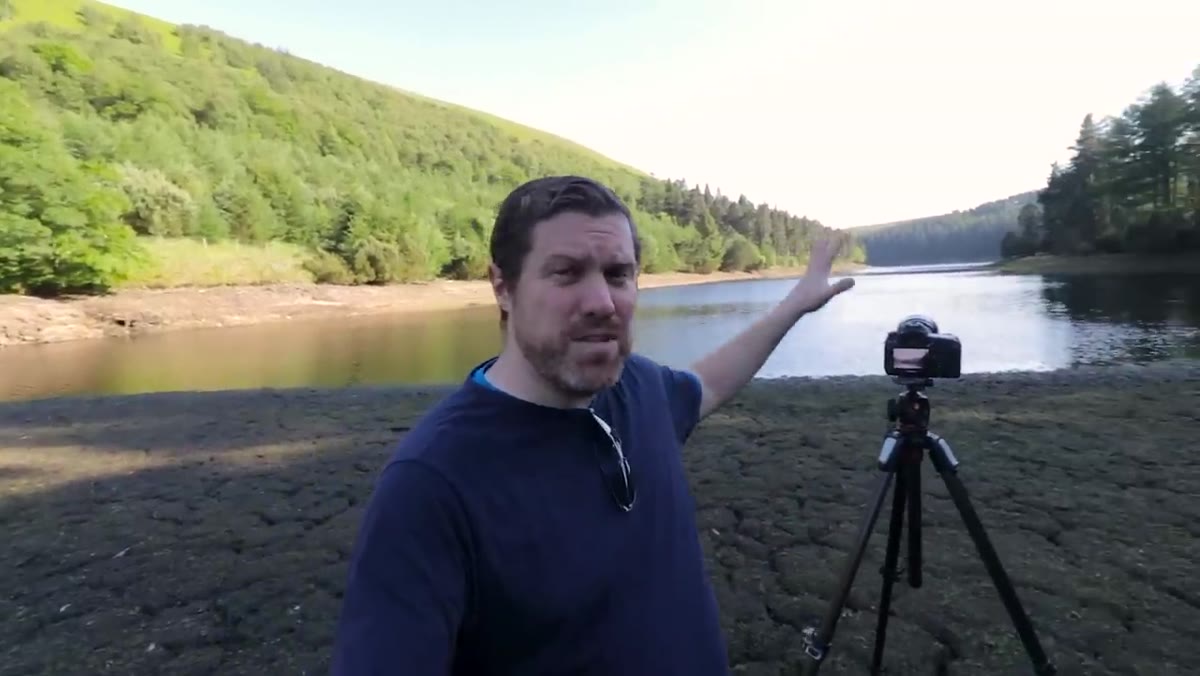
The wind was creating ripples across the reservoir surface, and Paul treats this not as an inconvenience but as a structural element. Ripples on water create leading lines that don’t require any particular angle of light to read. They move the eye from the foreground toward the background naturally, doing the work that a dramatic sky or a winding path might do in other images. For a slow-shutter effect that smooths the water into soft motion blur, you’re looking at exposures of one to four seconds depending on how fast the surface is moving. For something that preserves the texture of individual ripples, stay at or above 1/60. Neither choice is wrong. The question is whether you want the water to feel like silk or like energy.
Wide shot showing wind-driven ripples moving across the reservoir surface
The wind was creating ripples across the reservoir surface, and Paul treats this not as an inconvenience but as a structural element. Ripples on water create leading lines that don’t require any particular angle of light to read. They move the eye from the foreground toward the background naturally, doing the work that a dramatic sky or a winding path might do in other images. For a slow-shutter effect that smooths the water into soft motion blur, you’re looking at exposures of one to four seconds depending on how fast the surface is moving. For something that preserves the texture of individual ripples, stay at or above 1/60. Neither choice is wrong. The question is whether you want the water to feel like silk or like energy.
Step 5: Work the Edges of Your Frame Deliberately
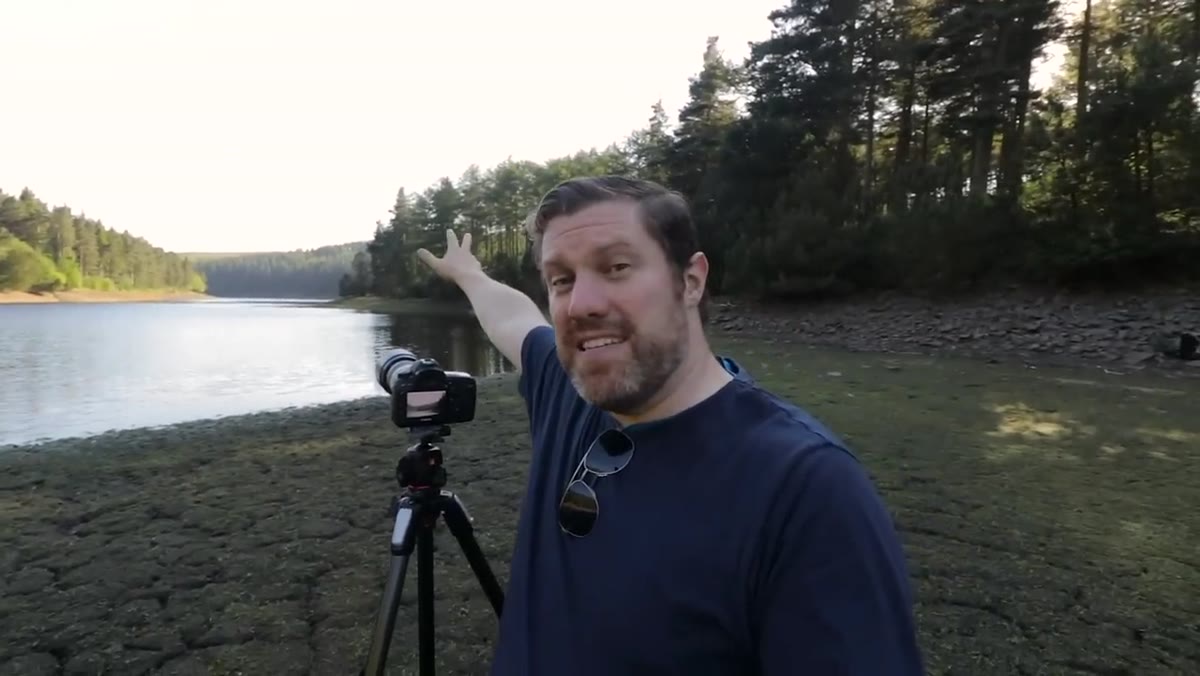 Close-up of camera viewfinder composition with tall tree at right edge of frame
One of the quieter but more useful moments in the tutorial comes when Paul describes almost missing a tall tree at the right edge of his composition. He wasn’t looking for it initially. It revealed itself only when he started paying attention to what was happening at the boundaries of the frame rather than the center. This is a discipline I still have to consciously practice. The tendency is to compose around your main subject and treat everything else as background noise. But the edges of a frame are where images often fall apart or come together. Walk your eyes around the full border of your viewfinder before you shoot. Ask whether each corner is adding to the image or leaking attention out of it. A single strong vertical element at the edge can anchor an entire composition.
Close-up of camera viewfinder composition with tall tree at right edge of frame
One of the quieter but more useful moments in the tutorial comes when Paul describes almost missing a tall tree at the right edge of his composition. He wasn’t looking for it initially. It revealed itself only when he started paying attention to what was happening at the boundaries of the frame rather than the center. This is a discipline I still have to consciously practice. The tendency is to compose around your main subject and treat everything else as background noise. But the edges of a frame are where images often fall apart or come together. Walk your eyes around the full border of your viewfinder before you shoot. Ask whether each corner is adding to the image or leaking attention out of it. A single strong vertical element at the edge can anchor an entire composition.
Step 6: Shoot Collaboratively When a Location Hasn’t Clicked for You
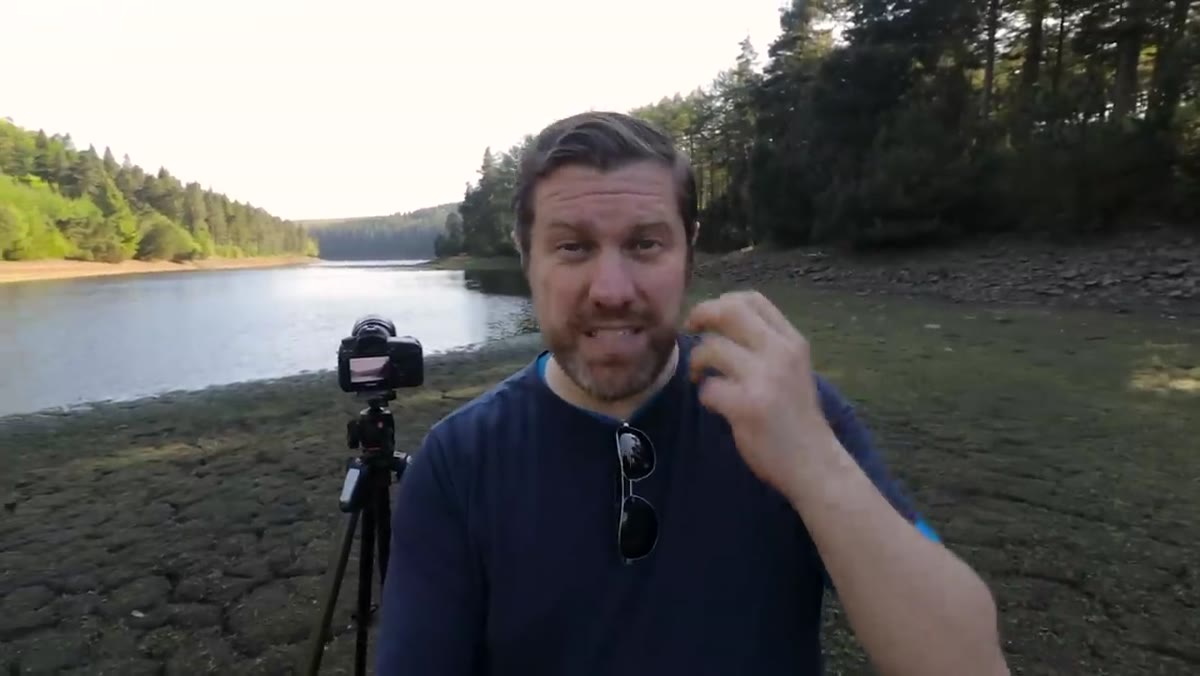 Two photographers walking together discussing the scene at reservoir edge
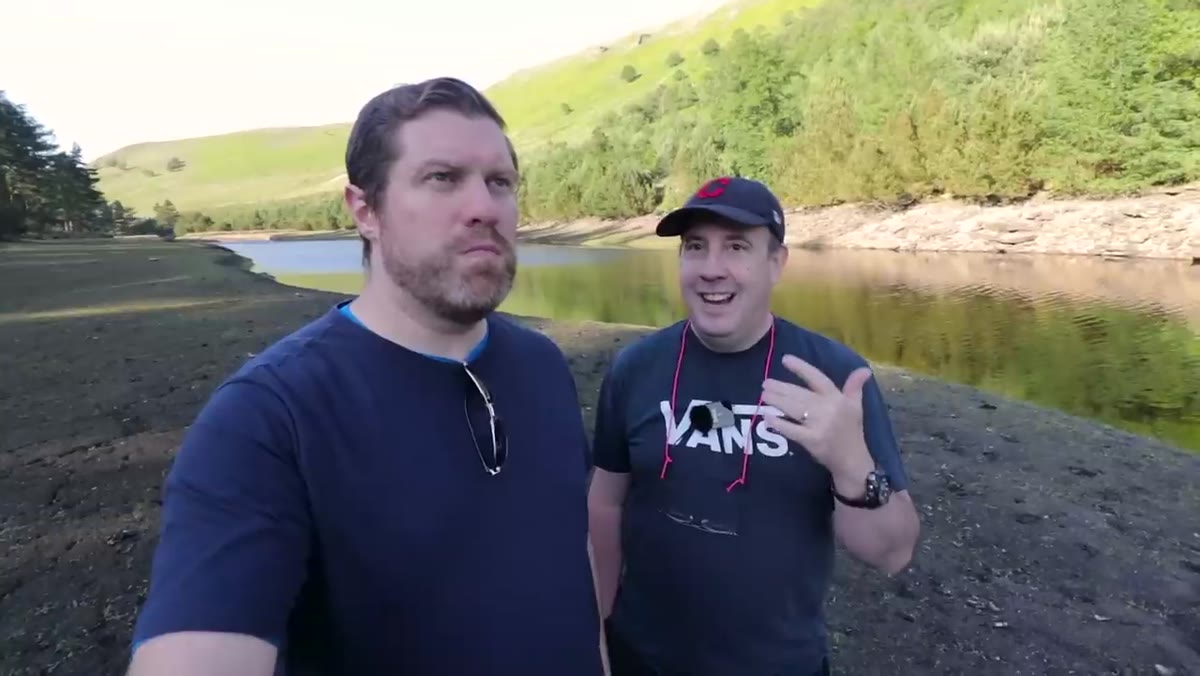
Paul mentions that the Peak District has never quite clicked for him the way other landscapes have. His solution was to reach out to someone for whom it has. This is something I’ve done myself, and I’d recommend it without reservation. When you’re shooting with someone who genuinely loves a location, their enthusiasm is contagious in a practical way. They walk faster toward certain spots. They notice things that someone unfamiliar with the landscape would pass without registering. You can absorb that knowledge faster than any amount of solo exploration would produce. Text a local photographer. Offer to return the favor somewhere you know well. The images you make on those days are often better than anything you’d have found alone.
Two photographers walking together discussing the scene at reservoir edge
Paul mentions that the Peak District has never quite clicked for him the way other landscapes have. His solution was to reach out to someone for whom it has. This is something I’ve done myself, and I’d recommend it without reservation. When you’re shooting with someone who genuinely loves a location, their enthusiasm is contagious in a practical way. They walk faster toward certain spots. They notice things that someone unfamiliar with the landscape would pass without registering. You can absorb that knowledge faster than any amount of solo exploration would produce. Text a local photographer. Offer to return the favor somewhere you know well. The images you make on those days are often better than anything you’d have found alone.
A Note on Patience as a Compositional Tool
I’ve spent mornings standing in Oregon rivers waiting for light that may or may not arrive, and a mentor once told me something I’ve never quite shaken: the mountain doesn’t care about your schedule. That sounds like a platitude until you’re actually standing in the cold, watching flat light hold for an hour. What Paul and the First Man Photography host demonstrate here is a version of that same patience, applied to composition rather than weather. They don’t force images. They look carefully at what’s available, make considered decisions about what the scene can actually support, and build from there. That’s the practice.
The single most important takeaway from this tutorial is this: a difficult sky is not permission to give up. It’s an instruction to look lower, look closer, and read what the light is actually doing rather than what you wish it would do. The tools are all still there. The foreground, the layered light, the moving water, the frame edges. Cloudless days just require you to use them more deliberately.
Watch the full tutorial on YouTube to see Paul and First Man Photography work through the full session.
Comments
Leave a Comment