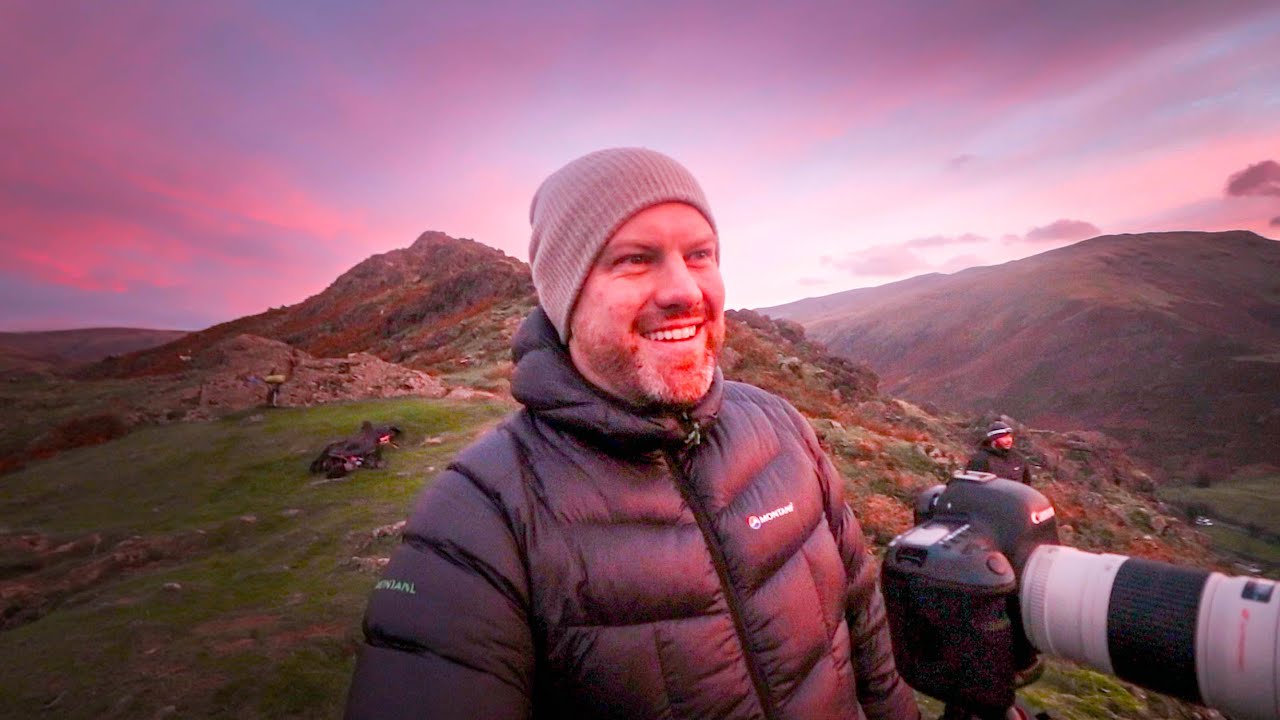
There’s a specific kind of frustration that comes with arriving at a beautiful location and watching the light refuse to cooperate. I’ve been waking up before four in the morning for twenty years, and I still haven’t made peace with it. What I have learned is that photographers who come home with strong images aren’t the ones who had better weather. They’re the ones who kept working when the light was complicated. That’s the core lesson running through this Lake District tutorial from First Man Photography, and it’s worth unpacking in detail because the decisions made in the field here are exactly the kind that separate a forgettable frame from one you actually want to print.
Watch the full tutorial on YouTube
In this First Man Photography tutorial, the photographer works a full overnight stretch in the Lake District, moving between compositions and focal lengths as conditions shift. What makes it useful isn’t the scenery, which is genuinely stunning, but the transparency about the decision-making process. He talks through why a shot isn’t working, changes his crop strategy mid-setup, and reaches for a telephoto when the obvious wide scene isn’t delivering. That’s real field thinking, and it’s worth slowing down and examining step by step.
Step 1: Gain Altitude Early and Read the Scene Before You Commit
 Photographer describing valley view with autumn trees below
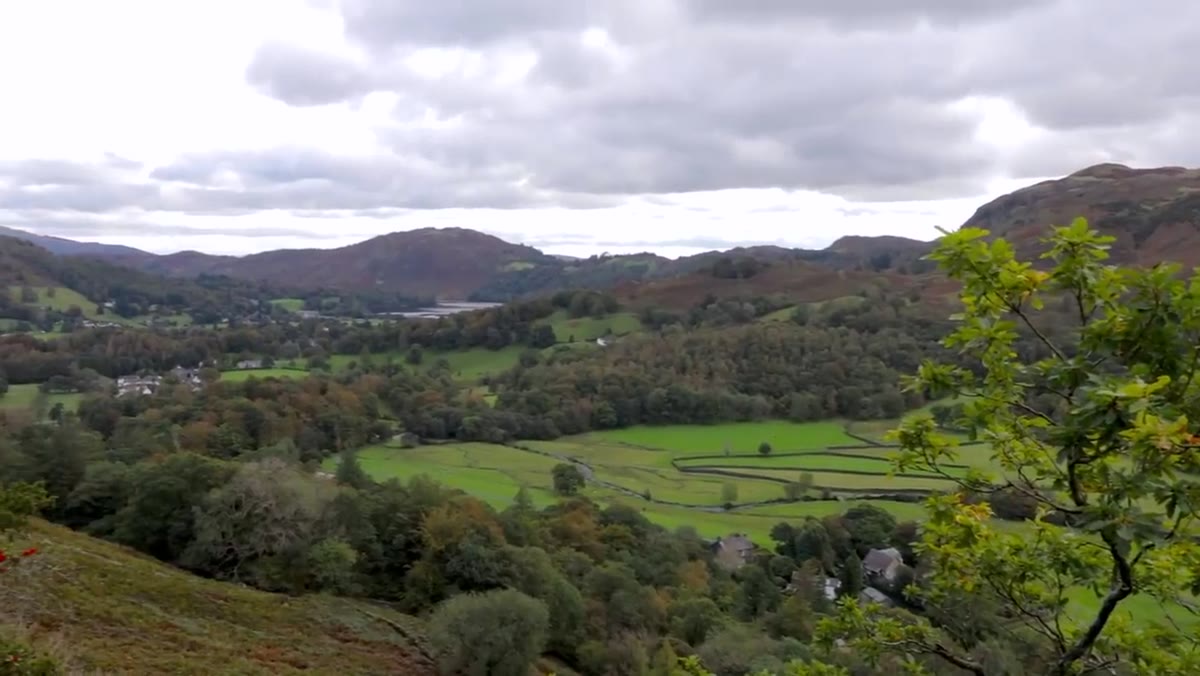
Even a small elevation gain changes everything in mountainous terrain. The tutorial opens with the photographer already positioned above the valley, and the first thing he does is describe what the scene is offering rather than immediately firing the shutter. He spots autumn color in the trees below, reads the natural S-curve leading the eye up toward Grasmere, and identifies the tonal contrast between the warm foreground and the cooler fell in the distance. This kind of scene assessment takes maybe ninety seconds but determines whether the composition works at all. When I’m scouting a new location, I walk at least fifty meters in each direction before I set the tripod down. The view that stops you first is rarely the strongest one.
Photographer describing valley view with autumn trees below
Even a small elevation gain changes everything in mountainous terrain. The tutorial opens with the photographer already positioned above the valley, and the first thing he does is describe what the scene is offering rather than immediately firing the shutter. He spots autumn color in the trees below, reads the natural S-curve leading the eye up toward Grasmere, and identifies the tonal contrast between the warm foreground and the cooler fell in the distance. This kind of scene assessment takes maybe ninety seconds but determines whether the composition works at all. When I’m scouting a new location, I walk at least fifty meters in each direction before I set the tripod down. The view that stops you first is rarely the strongest one.
Step 2: Solve Edge Problems Before You Finalize the Crop
 Trees at cliff edge visible at frame borders, discussing exclusion
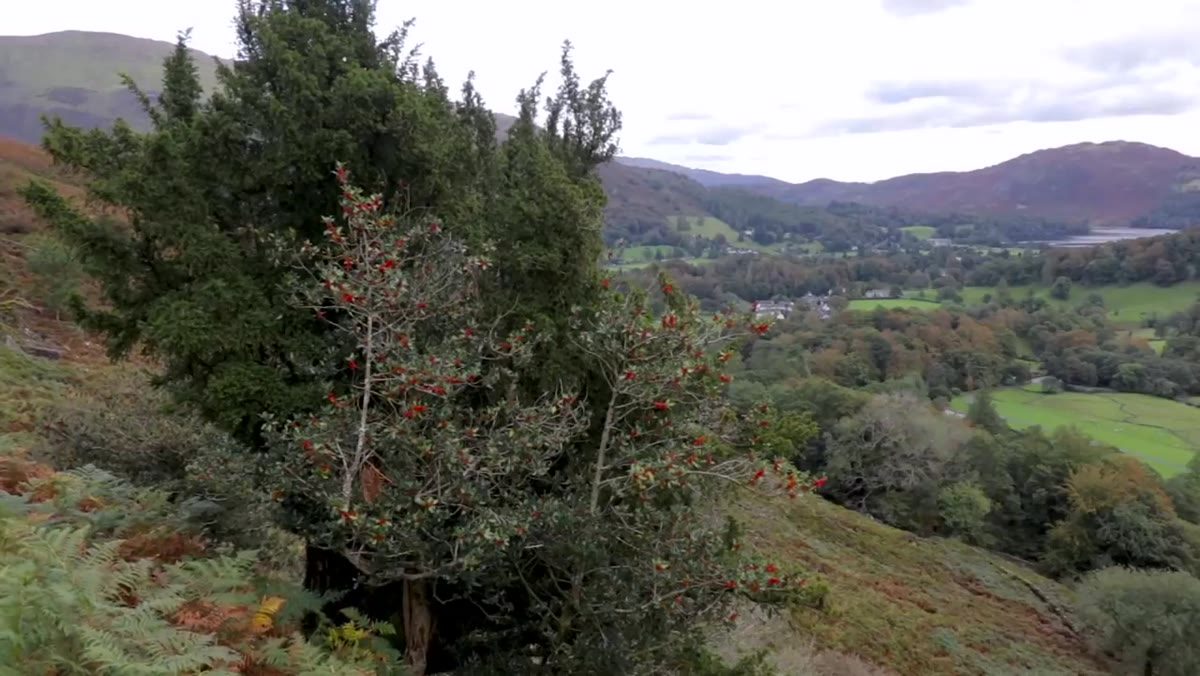
Two trees were creeping into the frame along the cliff edge. Rather than accepting them as unavoidable, the photographer switched to a vertical orientation to push them outside the composition, then evaluated what that did to the top and bottom of the frame. The top needed cropping, and eliminating one tree at the bottom meant losing some foreground, which pushed the final image toward a square crop. This is the kind of iterative framing process that beginners skip because it feels slow. It isn’t. Deciding what to exclude is just as important as deciding what to include, and working through edge problems at the capture stage saves significant time in post. Check all four corners of your frame every single time before you trigger the shutter.
Trees at cliff edge visible at frame borders, discussing exclusion
Two trees were creeping into the frame along the cliff edge. Rather than accepting them as unavoidable, the photographer switched to a vertical orientation to push them outside the composition, then evaluated what that did to the top and bottom of the frame. The top needed cropping, and eliminating one tree at the bottom meant losing some foreground, which pushed the final image toward a square crop. This is the kind of iterative framing process that beginners skip because it feels slow. It isn’t. Deciding what to exclude is just as important as deciding what to include, and working through edge problems at the capture stage saves significant time in post. Check all four corners of your frame every single time before you trigger the shutter.
Step 3: Use Bracketed Exposures When the Sky and Ground Aren’t Playing Nicely Together
 Settings displayed, discussing bracketing two stops either side
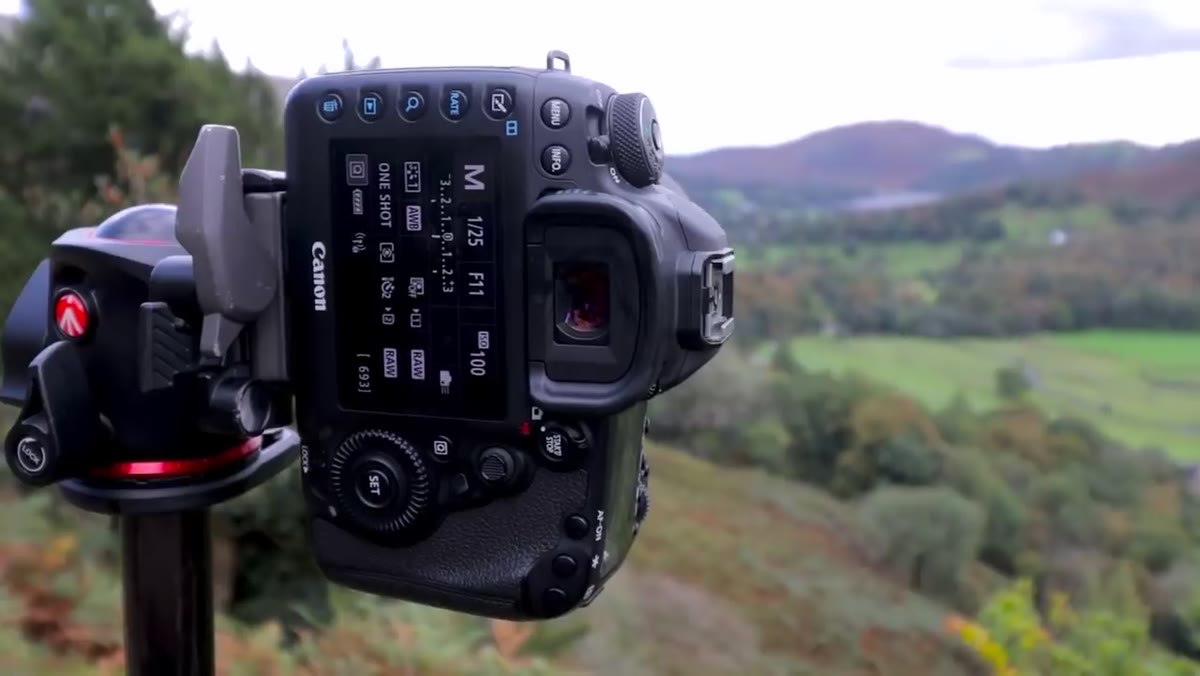
The settings here were straightforward: f/11, 1/125th of a second, ISO 100. Focus was placed on the first set of trees in the valley. The sky was running significantly brighter than the foreground, so he bracketed two stops in each direction. The critical rule he states is one I repeat in every workshop I run: check the brightest frame to confirm no highlights are blown. Blown highlights cannot be recovered in post, regardless of what you’ve read about modern raw files. Two stops of overexposure on a bright sky will clip detail you cannot get back. Bracket wide, expose carefully for the bright end, and let your shadow recovery handle the rest in editing. A two-second self-timer paired with mirror lockup keeps the tripod stable through the sequence.
Settings displayed, discussing bracketing two stops either side
The settings here were straightforward: f/11, 1/125th of a second, ISO 100. Focus was placed on the first set of trees in the valley. The sky was running significantly brighter than the foreground, so he bracketed two stops in each direction. The critical rule he states is one I repeat in every workshop I run: check the brightest frame to confirm no highlights are blown. Blown highlights cannot be recovered in post, regardless of what you’ve read about modern raw files. Two stops of overexposure on a bright sky will clip detail you cannot get back. Bracket wide, expose carefully for the bright end, and let your shadow recovery handle the rest in editing. A two-second self-timer paired with mirror lockup keeps the tripod stable through the sequence.
Step 4: When the Grand Scene Isn’t Working, Go Longer
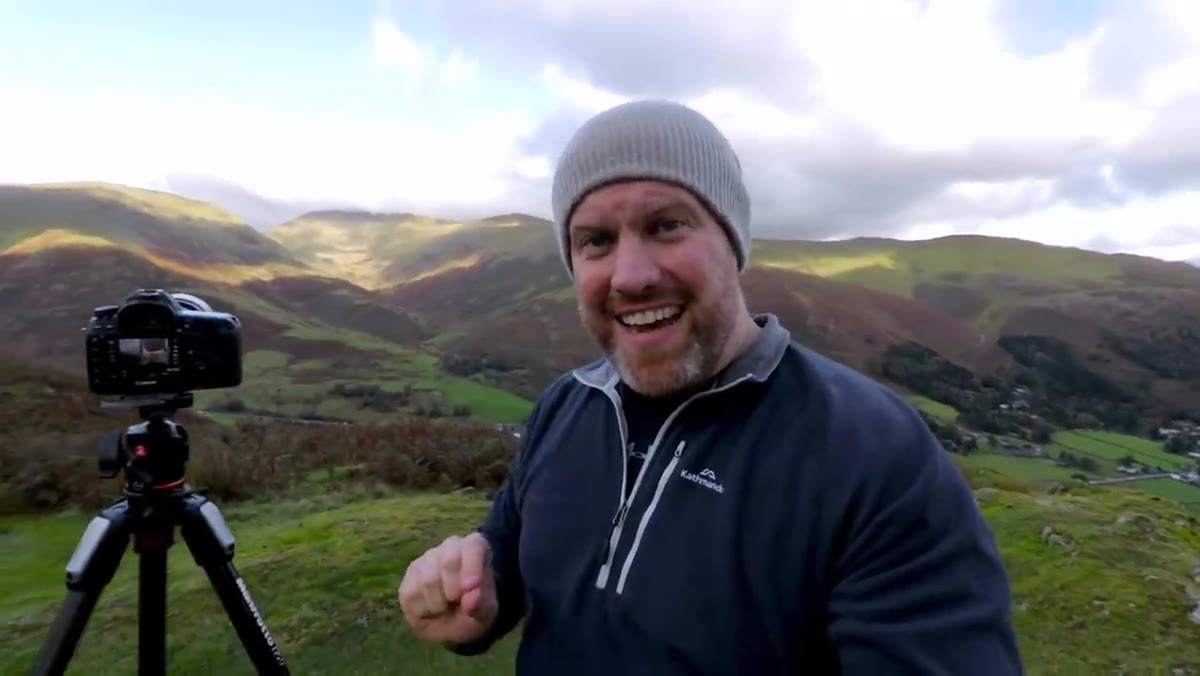 Photographer setting up with 70-200mm lens on mountain scene
This is the step most photographers skip entirely because they’ve traveled somewhere spectacular and feel obligated to shoot it as a wide landscape. The tutorial makes the case for pulling out a telephoto, here a 70-200mm, to find something more intimate inside the broader scene. A mountain that looks flat and unremarkable at 24mm can reveal extraordinary texture, light drama, and abstract form at 200mm. The key is looking for the quality of light on a specific surface, whether that’s a patch of cloud shadow crossing a ridgeline or warm light raking across a rocky face, and isolating that moment with compression. It takes practice to see this way, but once you start doing it you’ll rarely leave a location without at least one frame made with a longer lens.
Photographer setting up with 70-200mm lens on mountain scene
This is the step most photographers skip entirely because they’ve traveled somewhere spectacular and feel obligated to shoot it as a wide landscape. The tutorial makes the case for pulling out a telephoto, here a 70-200mm, to find something more intimate inside the broader scene. A mountain that looks flat and unremarkable at 24mm can reveal extraordinary texture, light drama, and abstract form at 200mm. The key is looking for the quality of light on a specific surface, whether that’s a patch of cloud shadow crossing a ridgeline or warm light raking across a rocky face, and isolating that moment with compression. It takes practice to see this way, but once you start doing it you’ll rarely leave a location without at least one frame made with a longer lens.
Step 5: Work the Changing Light Rather Than Waiting for the Perfect Moment
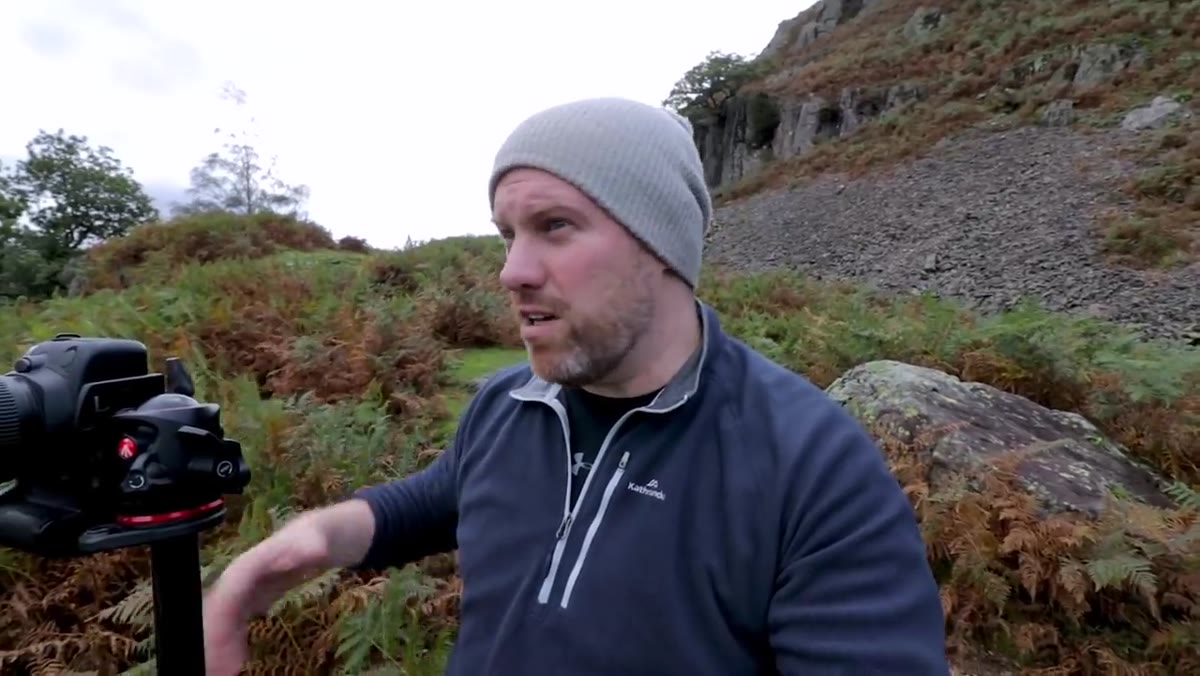 Photographer noting changeable weather could go either way
He says something early in the video that I’ve heard echoed by every photographer I respect: the light could be incredible, or this might be the best it gets all day. Either way, he shoots. A mentor told me once that the mountain doesn’t care about your schedule, and he was right. The photographers who struggle are the ones waiting for conditions to become ideal before committing to a shot. The discipline is capturing what’s in front of you now, at its current quality, and then being ready if the light breaks open into something extraordinary. You can’t reshoot the moment you sat out because you were waiting for something better.
Photographer noting changeable weather could go either way
He says something early in the video that I’ve heard echoed by every photographer I respect: the light could be incredible, or this might be the best it gets all day. Either way, he shoots. A mentor told me once that the mountain doesn’t care about your schedule, and he was right. The photographers who struggle are the ones waiting for conditions to become ideal before committing to a shot. The discipline is capturing what’s in front of you now, at its current quality, and then being ready if the light breaks open into something extraordinary. You can’t reshoot the moment you sat out because you were waiting for something better.
What I’d Add From Twenty Years of Early Mornings
The Lake District rewards patience in a specific way that differs from desert or coastal shooting. The valleys here hold mist and soft light even when the ridgelines are already in hard sun. If I’m working this kind of location, I plan two or three elevation positions in advance so I can move quickly as the light quality changes rather than scrambling to find a new composition mid-shoot. I also pay close attention to the foreground color temperature at different elevations. What reads as muddy brown at lake level can become rich amber fifty meters up, simply because of the angle to the light source. The autumn color the tutorial references is a perfect example: that tonal quality he was planning to pull out in post was already present in the scene. Post-processing should amplify what’s genuinely there, not invent something that wasn’t.
The single most transferable idea in this tutorial is that difficult light is not a reason to stop working. It’s a reason to look more carefully. Adjust your crop, reach for a different focal length, bracket your exposures, and keep your eyes on the edges of your frame. The shot exists in these conditions. Finding it is the job.
Watch the full tutorial on YouTube and pay particular attention to how quickly the framing decisions get made once the scene assessment is done. That speed comes from having a clear process, not from luck.
Comments (2)
Printing this out and pinning it next to my monitor. That good.
Tried this technique this morning. Game changer for real.
Leave a Comment