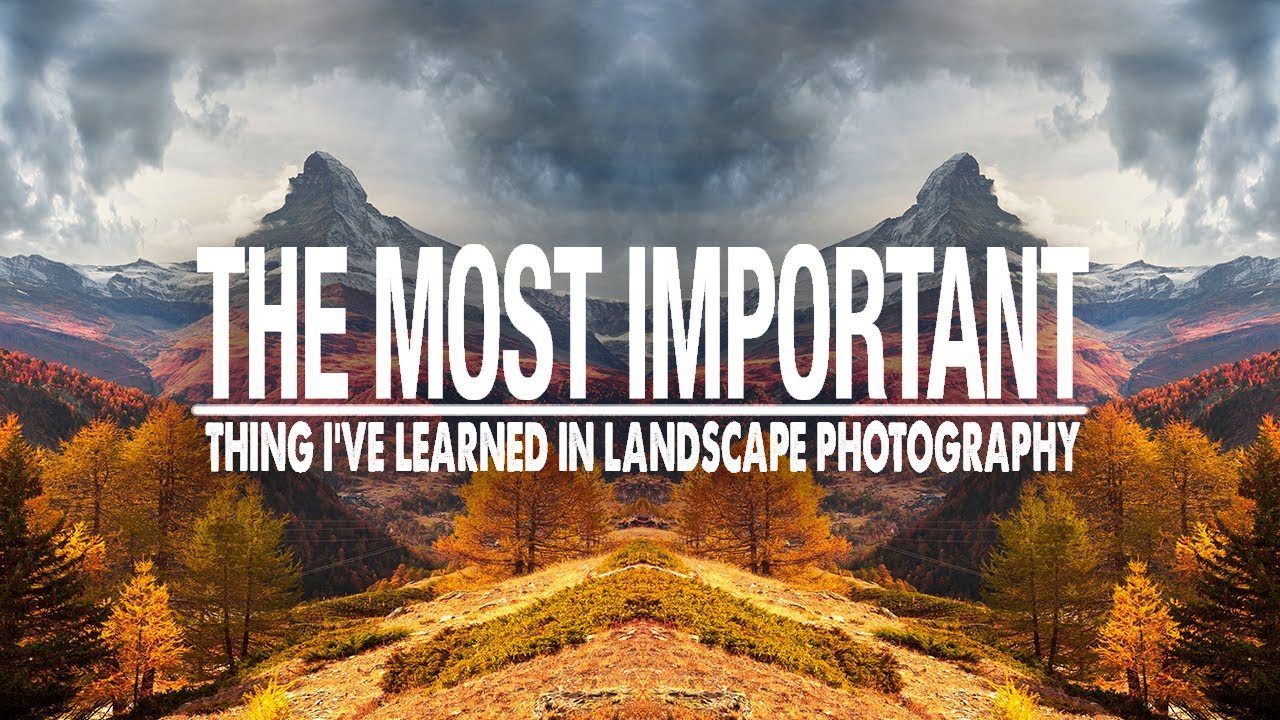
There’s a particular kind of restlessness that hits when you’ve been shooting landscapes long enough to know what you’re doing wrong but not yet how to stop doing it. Early in my career, I’d load my gear into the truck, drive toward something that looked promising, and hope the pieces would fall into place. Sometimes they did. Mostly they didn’t. I was treating landscape photography like a lottery instead of a craft, and the results showed it.
That’s why this tutorial from Mark Denney landed so squarely for me. Watch the full tutorial on YouTube - it’s one of the more honest and useful pieces of photography content I’ve come across in a while. Denney builds his answer to a deceptively simple question - what is the single most important thing you’ve learned in photography? - by walking through six ranked lessons, each one sharper than the last. What follows is my breakdown of those lessons, with some notes from twenty years of mornings that started before 4am.
Step 1: Understand That You Get Out What You Put In
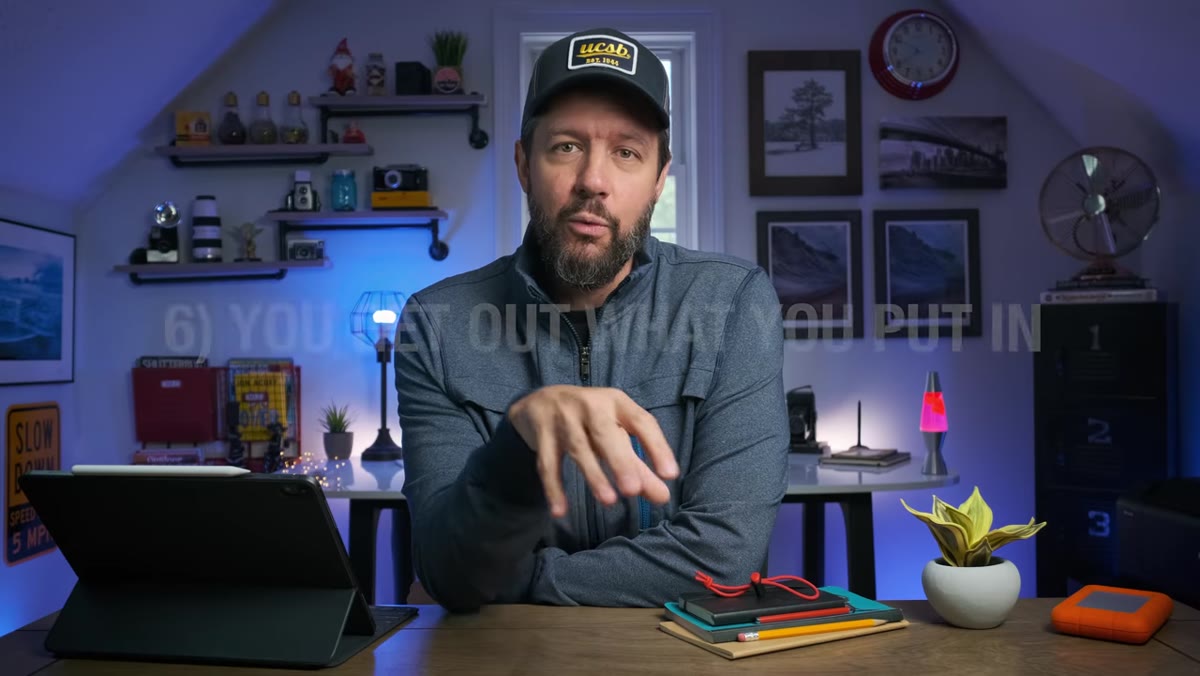 caption: Mark describing early habit of driving around hoping to find good shots
Denney’s sixth most important lesson is the one most beginners need to hear first. Early in his shooting life, he’d grab his camera after work, drive around, and hope to stumble into a great image. The hope-based workflow. I know it well. The problem isn’t effort - it’s the structure of that effort. Showing up and winging it is not the same as being present and prepared.
caption: Mark describing early habit of driving around hoping to find good shots
Denney’s sixth most important lesson is the one most beginners need to hear first. Early in his shooting life, he’d grab his camera after work, drive around, and hope to stumble into a great image. The hope-based workflow. I know it well. The problem isn’t effort - it’s the structure of that effort. Showing up and winging it is not the same as being present and prepared.
The shift happens when you start treating a shoot the way a surgeon treats a procedure: research, plan, anticipate complications. That means using tools like Google Earth to scout compositions before you ever leave your driveway, checking weather apps that can predict fog probability, and using something like PhotoPills or The Photographer’s Ephemeris to know exactly where the sun will rise relative to your subject on a specific date. Preparation doesn’t kill spontaneity - it puts you in the right place when the spontaneous moment actually arrives.
Step 2: Learn What to Leave Out of the Frame
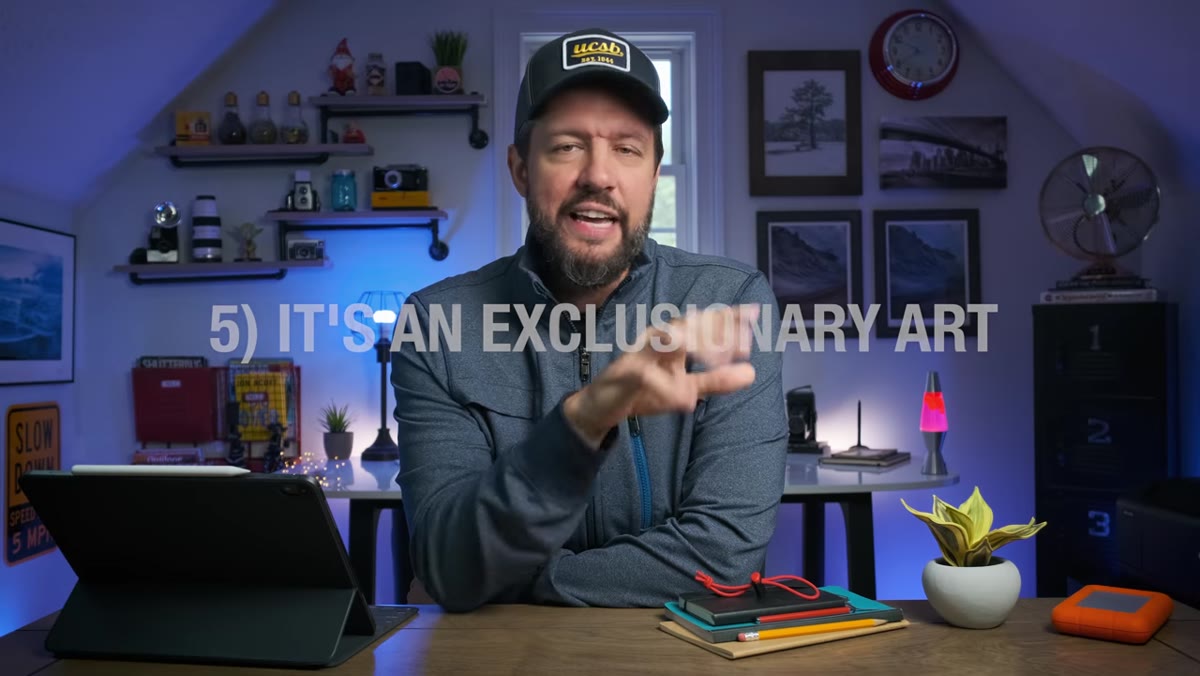 caption: Mark explaining exclusionary framing concept at a location
Denney’s fifth lesson is one that took me years to fully absorb: landscape photography is an exclusionary art. What you leave outside the frame matters as much as what you put inside it. When I first heard something similar from a mentor, I nodded and didn’t really understand it. Then I started looking at my own images and noticing how often a cluttered edge or a distracting bright spot in a corner was quietly ruining an otherwise strong photograph.
caption: Mark explaining exclusionary framing concept at a location
Denney’s fifth lesson is one that took me years to fully absorb: landscape photography is an exclusionary art. What you leave outside the frame matters as much as what you put inside it. When I first heard something similar from a mentor, I nodded and didn’t really understand it. Then I started looking at my own images and noticing how often a cluttered edge or a distracting bright spot in a corner was quietly ruining an otherwise strong photograph.
The practical application is this: when you find a composition you like, don’t stop there. Physically move. Tighten or widen. Ask yourself what the weakest element in the frame is, and then ask whether you can remove it by shifting your position or adjusting your focal length. Train yourself to scan the edges of the frame before you press the shutter, because that’s where unwanted distractions usually sneak in.
Step 3: Stop Chasing Great Light and Start Anticipating It
 caption: Mark referencing weather tools and sunrise angle planning
This connects directly to the preparation lesson, but it deserves its own step because it’s where planning becomes visceral. Great light - the low golden warmth of a long sunrise, the drama of storm light breaking through clouds, the blue silence of pre-dawn - is not random. It’s predictable, at least in broad terms. Denney points to tools that can tell you the likelihood of fog or mist, where the Milky Way’s galactic core will rise on a given night, or what angle the sun will strike a specific landmark in a specific month.
caption: Mark referencing weather tools and sunrise angle planning
This connects directly to the preparation lesson, but it deserves its own step because it’s where planning becomes visceral. Great light - the low golden warmth of a long sunrise, the drama of storm light breaking through clouds, the blue silence of pre-dawn - is not random. It’s predictable, at least in broad terms. Denney points to tools that can tell you the likelihood of fog or mist, where the Milky Way’s galactic core will rise on a given night, or what angle the sun will strike a specific landmark in a specific month.
I once drove six hours to a location in the North Cascades, sat in dense fog for two days, and drove home with exactly one usable frame. That image became my best-selling print. The fog wasn’t luck - I’d studied the elevation, the season, and the tendency of that valley to hold cloud inversions in early autumn. I was there for the fog on purpose. I just didn’t know it would cooperate on the final morning rather than the first.
Step 4: Use Research Tools as Part of Your Creative Process
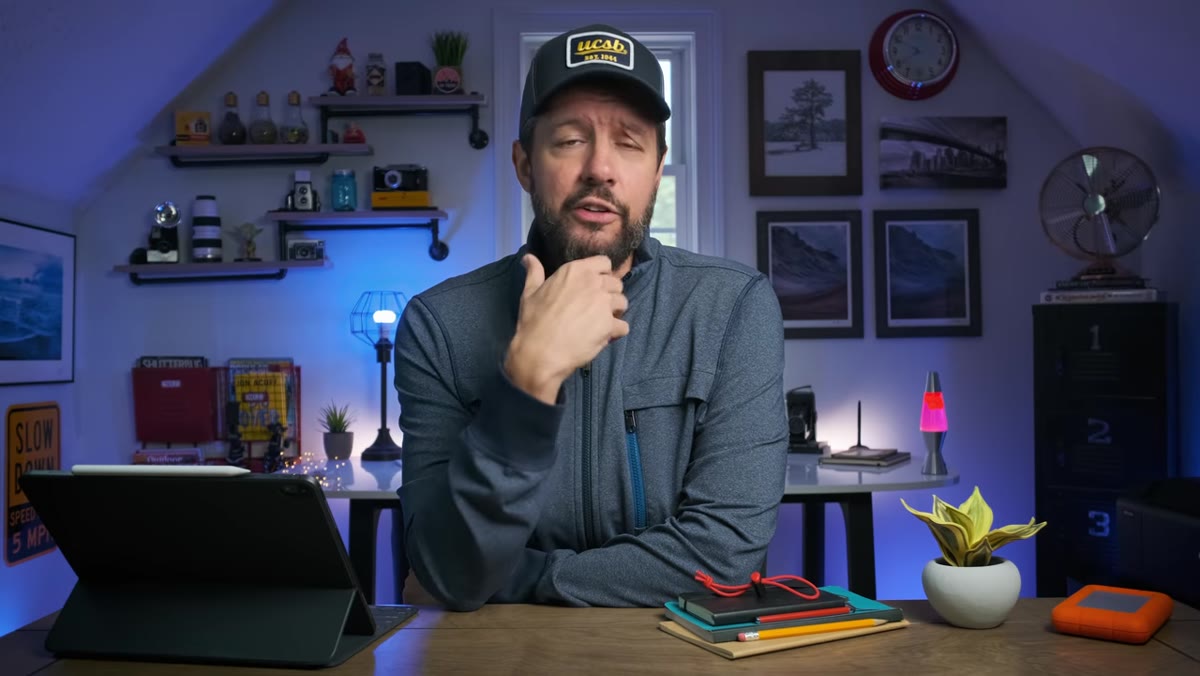 caption: Mark discussing Google Earth and weather apps for location scouting
There’s sometimes a misguided romanticism in photography circles that treats planning as antithetical to art. That’s nonsense. Using Google Earth to study a shoreline at low tide before you drive three hours to shoot it isn’t cheating - it’s professionalism. Denney is clear that the volume of available information is a genuine advantage, and experienced photographers use it without apology.
caption: Mark discussing Google Earth and weather apps for location scouting
There’s sometimes a misguided romanticism in photography circles that treats planning as antithetical to art. That’s nonsense. Using Google Earth to study a shoreline at low tide before you drive three hours to shoot it isn’t cheating - it’s professionalism. Denney is clear that the volume of available information is a genuine advantage, and experienced photographers use it without apology.
Build a pre-shoot routine. For any location I haven’t visited, I spend at least an hour on Google Earth identifying access points, sightlines, and potential foreground elements. I cross-reference that with a weather site that gives hourly cloud cover and humidity data. Then I check sunrise and sunset angles with PhotoPills. By the time I’m standing in the dark waiting for first light, I’ve already made dozens of compositional decisions. The camera work is almost the easy part.
Step 5: Accept That the Frame Is Always a Decision, Not a Default
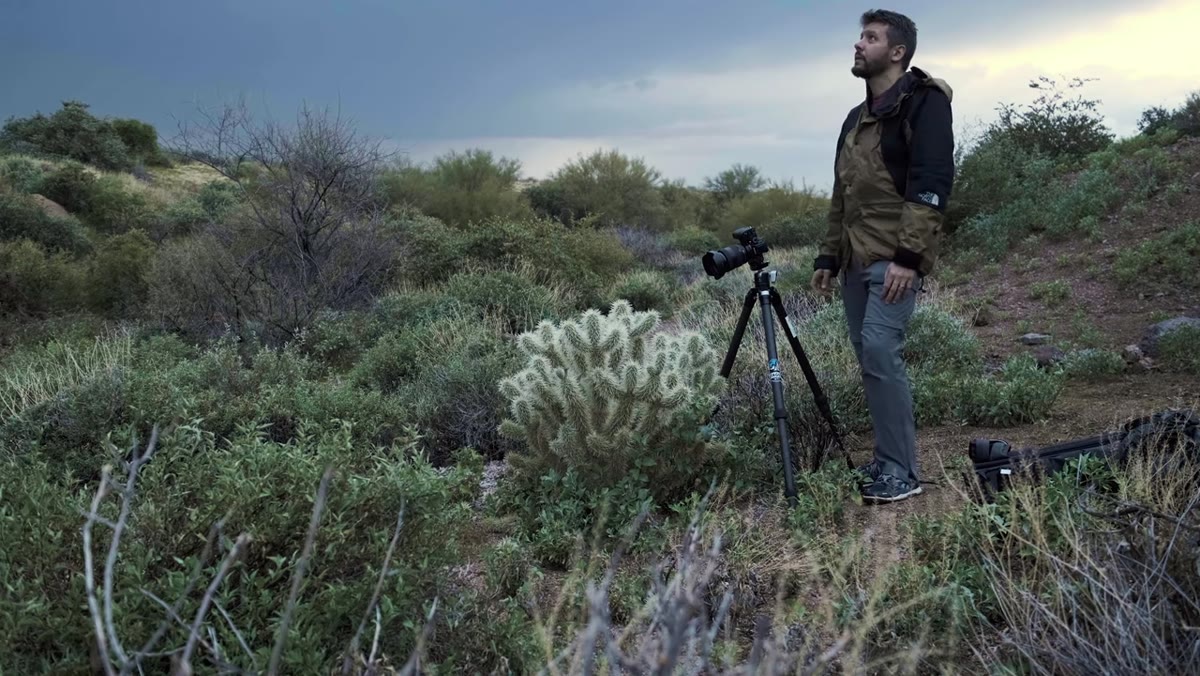 caption: Mark looking through viewfinder discussing what to include or exclude
Denney’s point about exclusion has a flip side that he touches on throughout the tutorial: everything in your frame is a choice, whether you made it deliberately or not. When you raise the camera and press the shutter without questioning what’s in the corners, you’ve still made a choice - you’ve just made it passively. Passive composition is the enemy of strong images.
caption: Mark looking through viewfinder discussing what to include or exclude
Denney’s point about exclusion has a flip side that he touches on throughout the tutorial: everything in your frame is a choice, whether you made it deliberately or not. When you raise the camera and press the shutter without questioning what’s in the corners, you’ve still made a choice - you’ve just made it passively. Passive composition is the enemy of strong images.
A useful field habit is to pause after finding a composition you like and ask three questions. What is the subject? What is the relationship between the subject and the foreground? Is there anything in this frame that pulls the eye away from that relationship? If the answer to the third question is yes, solve it before you shoot. Reposition. Change your focal length. Lower your tripod. The answer is almost always physical movement rather than cropping in post.
What Twenty Years in the Field Adds to This
Denney’s framework is sound, and I’d add one thing from experience: the lessons compound. Preparation makes your exclusionary instincts sharper because you arrive with a mental image of what the shot should look like. That mental image makes it easier to identify what doesn’t belong in the frame. And when you’ve done that enough times, anticipating great light stops feeling like planning and starts feeling like intuition.
I still shoot a roll of film occasionally, not for nostalgia but because the cost per frame forces me to slow down and commit. It’s a reset mechanism. When I load a roll of Velvia and know I’ve got 36 frames, every compositional decision gets weighed a little more carefully. Digital is forgiving in ways that can become a crutch. Deliberately removing that forgiveness a few times a year keeps the eye sharp.
The single takeaway from Denney’s tutorial is this: intentionality, applied at every stage from research to the moment you press the shutter, is the foundation everything else is built on. Talent helps. Gear helps. But showing up prepared, in the right place, with a clear eye for what belongs in the frame and what doesn’t - that’s what separates images people remember from images that get scrolled past.
Watch the full tutorial on YouTube - Denney’s delivery is calm and specific, and the full ranking of all six lessons is worth your time.
Comments
Leave a Comment