There’s a particular kind of weekend I know well. The one where you’re technically off duty, but the light starts doing something extraordinary and you’re standing there with your family, watching it happen, trying to decide how much goodwill you have left in the bank. My wife has a name for the look I get. She calls it “the drift.” My eyes go somewhere else, and she knows I’m already calculating angles. Over twenty years of doing this full time, I’ve had to develop a system for exactly these moments, not just the emotional negotiation with the people you love, but the actual photographic decisions you have to make fast when time is short and conditions are unpredictable.
That’s why I found this Thomas Heaton tutorial so immediately recognizable. Watch the full tutorial on YouTube and you’ll see a photographer doing something deceptively simple: making the most of stolen hours during a weekend away with his partner and dog in the Peak District. No elaborate pre-dawn scouting mission, no multi-day permit process. Just a window of time, a camera, and the willingness to read conditions on the fly. What looks casual on screen is actually a tight set of decisions that any landscape photographer can apply directly.
Step 1: Make the Social Contract First
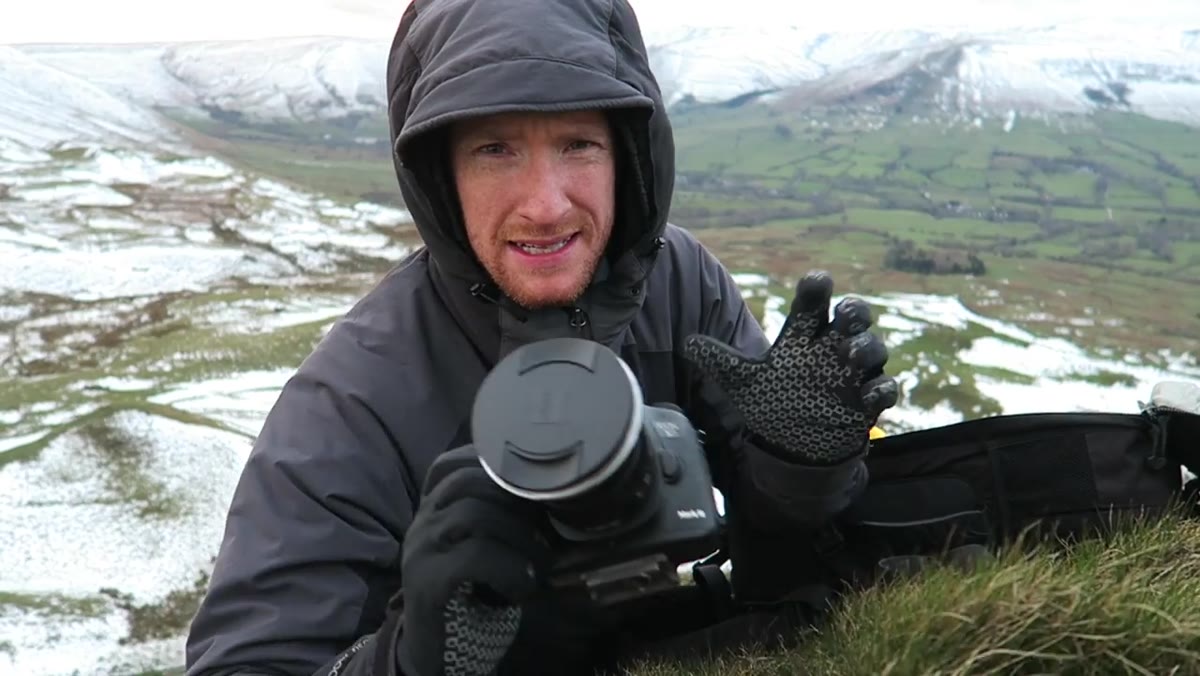
 Thomas explaining the sneaking-out plan to camera
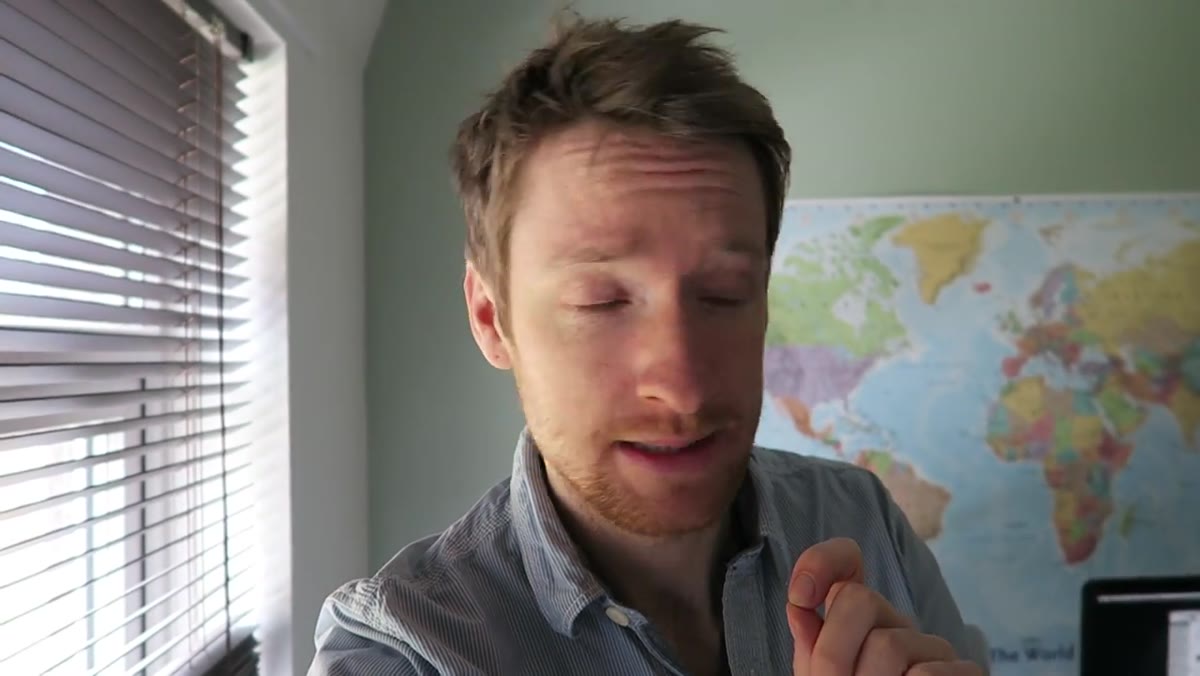
Before any of this works photographically, it has to work logistically. Heaton is upfront about the arrangement he’s made: good meals, family activities, genuine investment in the non-photography part of the trip. The photography comes after. This might sound like it has nothing to do with technique, but it absolutely does. When you’ve honored the real purpose of the trip, you can leave for a shoot without the mental drag of guilt, and that clarity shows up in your work. I’ve come home with garbage images from technically perfect locations because my head was somewhere else. Set up the social contract first, then go make pictures.
Thomas explaining the sneaking-out plan to camera
Before any of this works photographically, it has to work logistically. Heaton is upfront about the arrangement he’s made: good meals, family activities, genuine investment in the non-photography part of the trip. The photography comes after. This might sound like it has nothing to do with technique, but it absolutely does. When you’ve honored the real purpose of the trip, you can leave for a shoot without the mental drag of guilt, and that clarity shows up in your work. I’ve come home with garbage images from technically perfect locations because my head was somewhere else. Set up the social contract first, then go make pictures.
Step 2: Read the Sky Before You Commit to a Spot
 Thomas scanning horizon, describing cloud break at sunset
Heaton arrives at his evening location about 45 minutes before sunset, and the first thing he does is read the horizon, not the foreground. He spots a break in the cloud layer low on the horizon and reasons that when the sun drops into that gap, it will backlight the clouds above and produce dramatic warm light. This is speculative thinking, and he says so plainly. But it’s informed speculation. The key habit here is to arrive early enough to observe the relationship between the sun’s trajectory and the cloud structure. A clear sky at golden hour often produces flat, underwhelming light. A broken, stormy sky with a low gap is where the drama lives. If you can’t identify a potential light source on the horizon 30-45 minutes out, reconsider your position before you set up.
Thomas scanning horizon, describing cloud break at sunset
Heaton arrives at his evening location about 45 minutes before sunset, and the first thing he does is read the horizon, not the foreground. He spots a break in the cloud layer low on the horizon and reasons that when the sun drops into that gap, it will backlight the clouds above and produce dramatic warm light. This is speculative thinking, and he says so plainly. But it’s informed speculation. The key habit here is to arrive early enough to observe the relationship between the sun’s trajectory and the cloud structure. A clear sky at golden hour often produces flat, underwhelming light. A broken, stormy sky with a low gap is where the drama lives. If you can’t identify a potential light source on the horizon 30-45 minutes out, reconsider your position before you set up.
Step 3: Let a Known Image Point You to the Location
 Thomas noting he recognized the composition from a photo he’d seen before
Heaton mentions that he recognizes the composition from a photograph he’d seen previously, without having known where it was taken. Once he’s standing in the landscape, the pieces connect. This is worth pausing on. Studying other photographers’ work is not just inspiration, it’s location intelligence. When you internalize strong compositions from a region, your eye starts pattern-matching when you’re actually in the field. I keep a folder of reference images for every area I shoot regularly, including here in central Oregon. It’s not about copying. It’s about knowing what the landscape is capable of showing you.
Thomas noting he recognized the composition from a photo he’d seen before
Heaton mentions that he recognizes the composition from a photograph he’d seen previously, without having known where it was taken. Once he’s standing in the landscape, the pieces connect. This is worth pausing on. Studying other photographers’ work is not just inspiration, it’s location intelligence. When you internalize strong compositions from a region, your eye starts pattern-matching when you’re actually in the field. I keep a folder of reference images for every area I shoot regularly, including here in central Oregon. It’s not about copying. It’s about knowing what the landscape is capable of showing you.
Step 4: Use a Wide Lens and a Strong Foreground Line
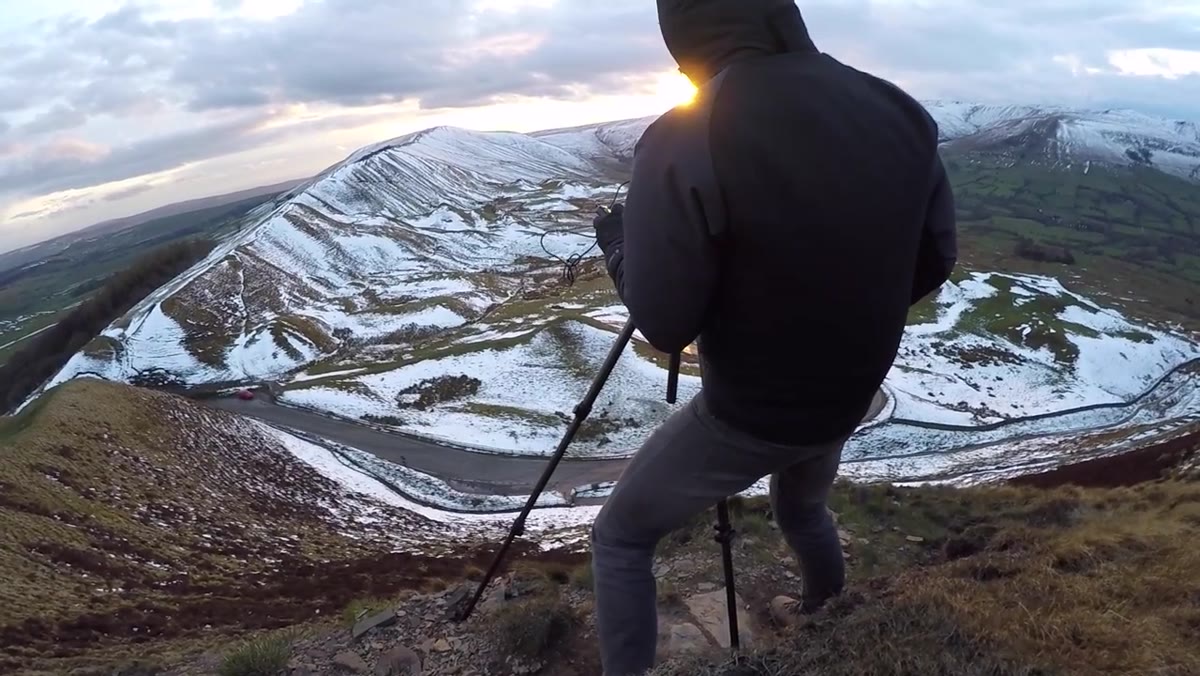
 Thomas describing 21mm Zeiss lens choice and road as leading line
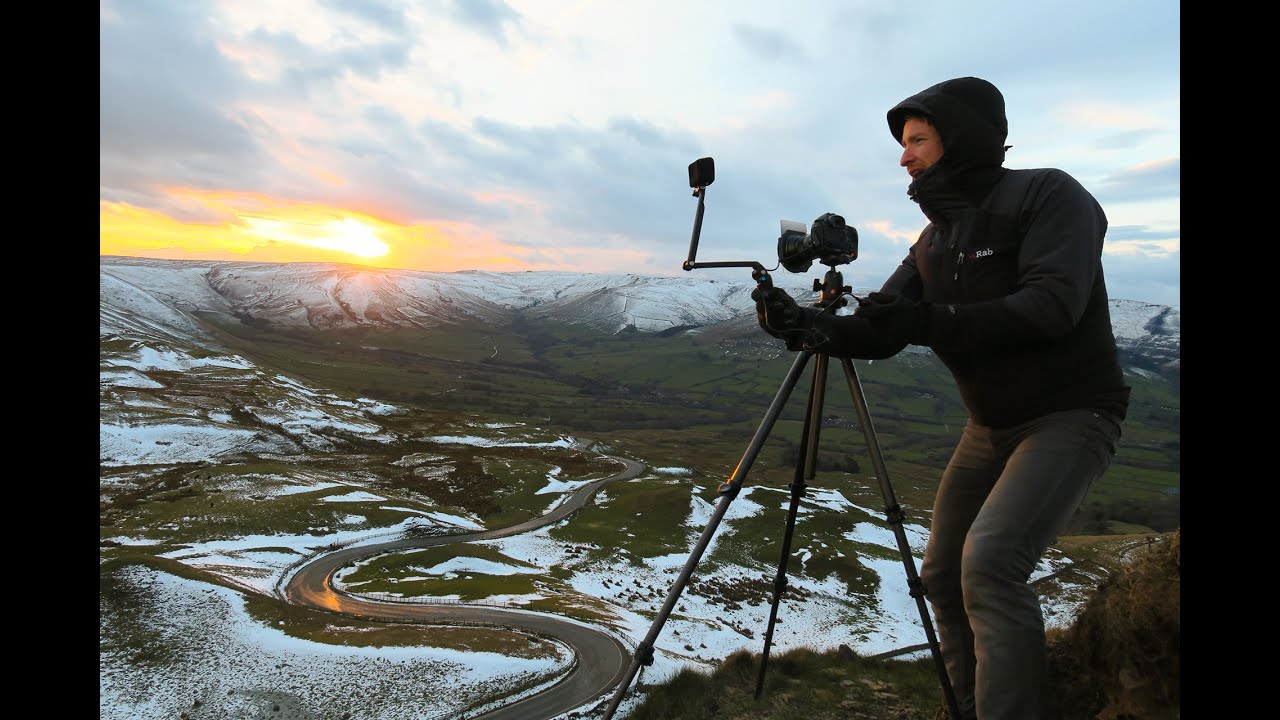
For this shot, Heaton is using a 21mm lens specifically because the scene includes a road below him that functions as a leading line. The wide focal length lets him include both the road in the foreground and the full drama of the sky and snow-covered hills beyond. His logic is direct: the road earns its place because it pulls the eye through the frame. If you’re working a wide lens in a landscape, ask yourself what the foreground element is doing. If it’s just filling space, you probably want to reframe or step back. The leading line has to go somewhere worth going.
Thomas describing 21mm Zeiss lens choice and road as leading line
For this shot, Heaton is using a 21mm lens specifically because the scene includes a road below him that functions as a leading line. The wide focal length lets him include both the road in the foreground and the full drama of the sky and snow-covered hills beyond. His logic is direct: the road earns its place because it pulls the eye through the frame. If you’re working a wide lens in a landscape, ask yourself what the foreground element is doing. If it’s just filling space, you probably want to reframe or step back. The leading line has to go somewhere worth going.
Step 5: Dial in Your Exposure for a Backlit Scene
 Thomas stating f/11 at one-fifth of a second with reverse ND grad filter
Shooting directly toward a setting sun through dramatic clouds is one of the highest-contrast situations in landscape photography. Heaton’s settings here are f/11 at one-fifth of a second, with a three-stop hard-edge reverse graduated neutral density filter. The reverse grad is the important detail. A standard grad darkens from the top down. A reverse grad is darkest in the middle, which is exactly where the sun sits on the horizon. This prevents the horizon from blowing out while still allowing the sky above and the foreground below to retain detail. If you don’t own a reverse grad, this is the scenario that justifies buying one.
Thomas stating f/11 at one-fifth of a second with reverse ND grad filter
Shooting directly toward a setting sun through dramatic clouds is one of the highest-contrast situations in landscape photography. Heaton’s settings here are f/11 at one-fifth of a second, with a three-stop hard-edge reverse graduated neutral density filter. The reverse grad is the important detail. A standard grad darkens from the top down. A reverse grad is darkest in the middle, which is exactly where the sun sits on the horizon. This prevents the horizon from blowing out while still allowing the sky above and the foreground below to retain detail. If you don’t own a reverse grad, this is the scenario that justifies buying one.
Step 6: Shoot Midday Only When the Storm Earns It
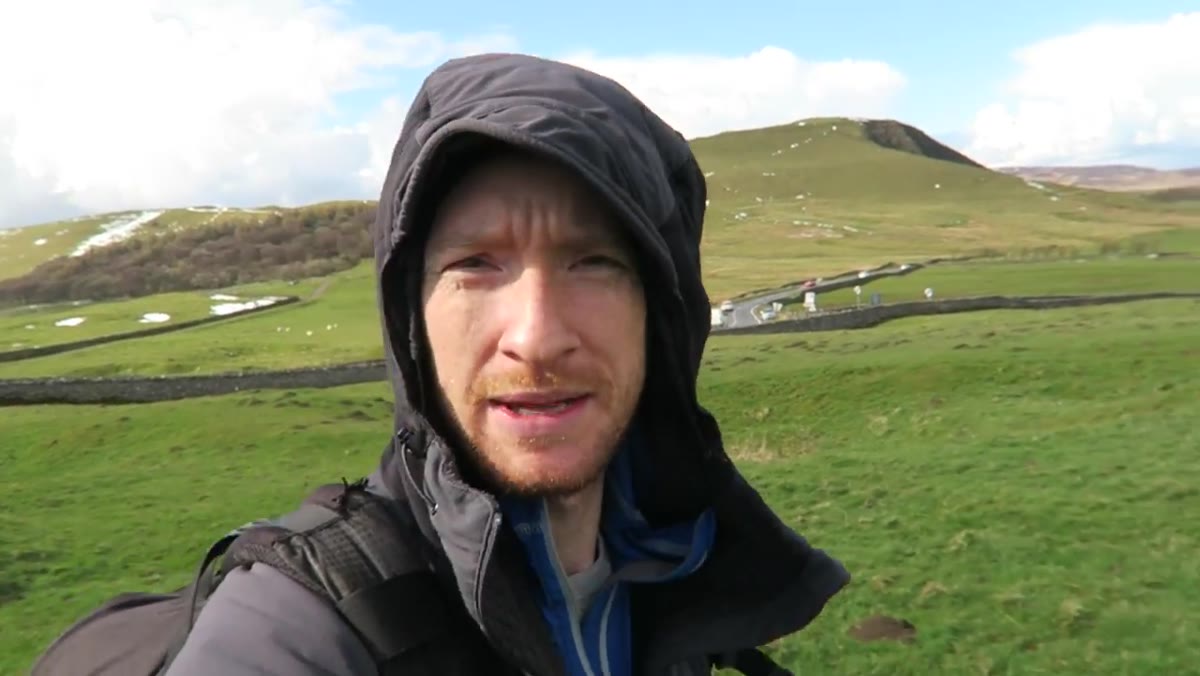 Thomas walking Hope Valley, explaining midday shooting rationale
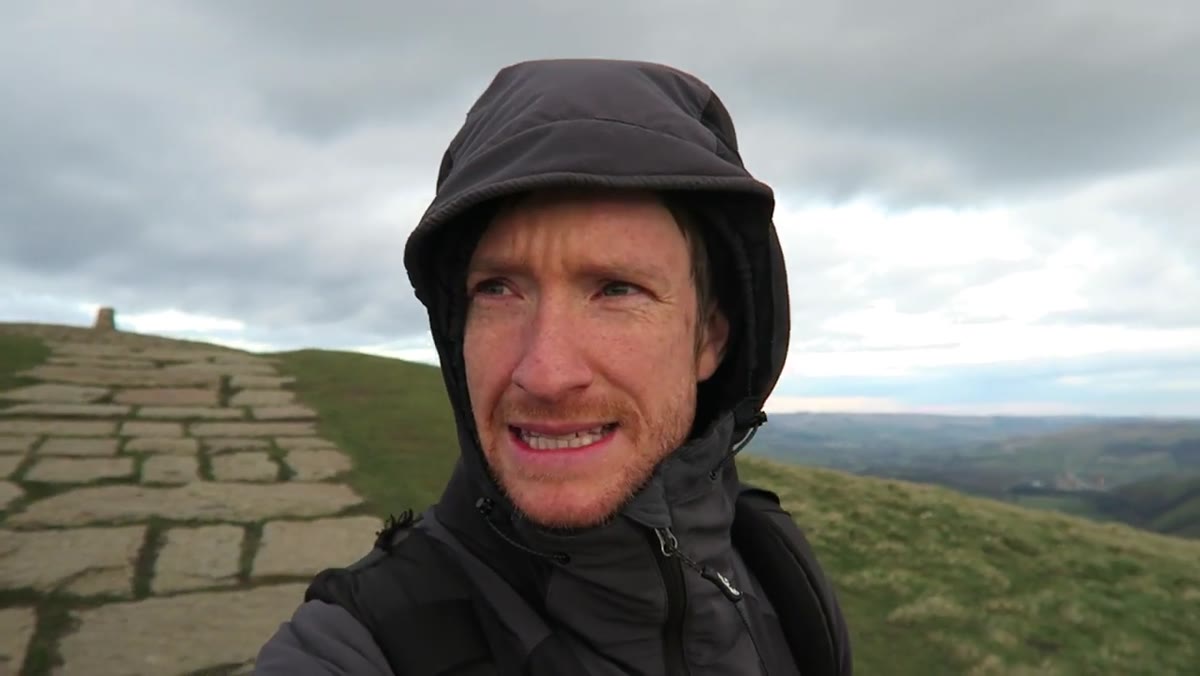
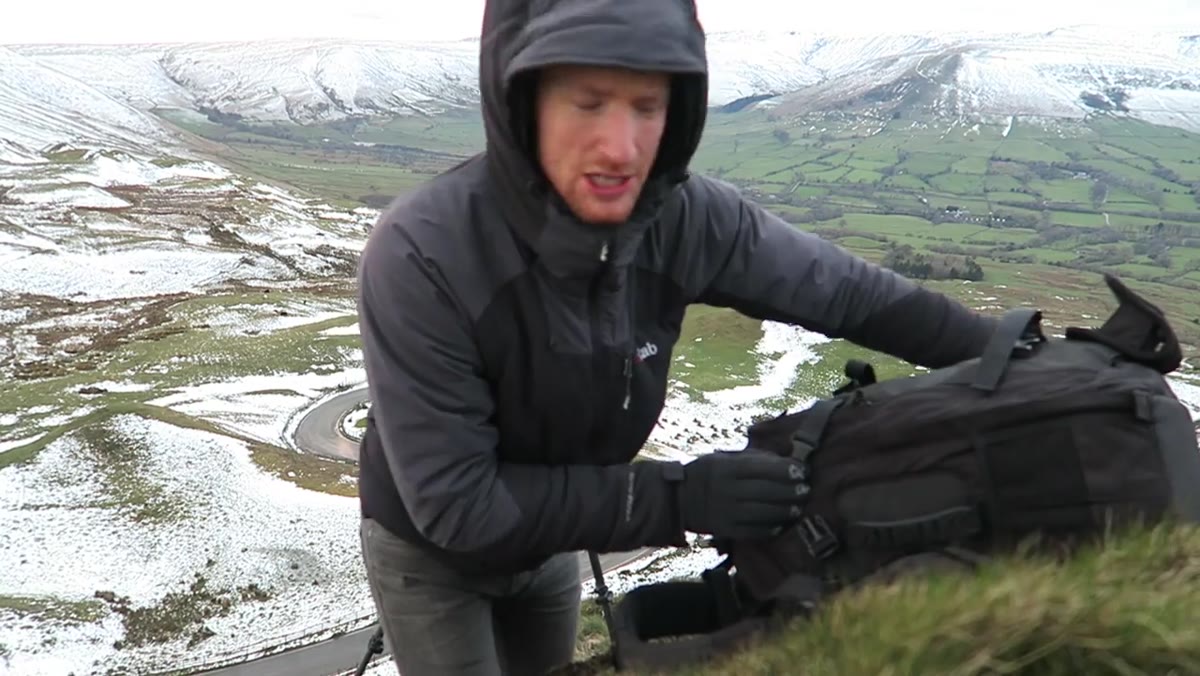
The next day, Heaton heads out midday, something he rarely does, but he frames the decision clearly: stormy conditions change the calculation. Hard midday light on a clear day is flat and uninteresting. But a storm system moving through creates rainbow potential, dramatic cloud formations, and rapidly shifting contrast. The rule isn’t “never shoot midday.” The rule is “midday needs a reason.” If the sky is doing something extraordinary, the clock doesn’t matter. This is a mental unlock I had to earn the hard way, spending too many years sitting out good light because it arrived at the wrong time of day.
Thomas walking Hope Valley, explaining midday shooting rationale
The next day, Heaton heads out midday, something he rarely does, but he frames the decision clearly: stormy conditions change the calculation. Hard midday light on a clear day is flat and uninteresting. But a storm system moving through creates rainbow potential, dramatic cloud formations, and rapidly shifting contrast. The rule isn’t “never shoot midday.” The rule is “midday needs a reason.” If the sky is doing something extraordinary, the clock doesn’t matter. This is a mental unlock I had to earn the hard way, spending too many years sitting out good light because it arrived at the wrong time of day.
What I’d Add From My Own Experience
There’s a version of this approach I’ve refined after years of working around family trips and workshop schedules: build a ten-minute location audit into every drive. Any time you’re in a new landscape, even on a motorway, note the ridge lines, the water bodies, the road curves that might be viewpoints. I keep a voice memo running sometimes just to capture observations I can return to. Heaton finds his evening location almost accidentally, by walking the dog. That serendipity is real, but you can stack the odds. The more geographic awareness you carry around, the faster you recognize a shot when the conditions line up.
The single most transferable idea in this tutorial is that opportunistic shooting requires a different mental mode than a planned expedition, but not a lower standard. You’re working faster, with less scouting and more improvisation, but the fundamental decisions about light, lens choice, and composition still apply fully. Treat the stolen hour like the planned shoot and you’ll be surprised what you bring home.
Watch the full tutorial on YouTube to see Heaton’s actual images from the trip and follow the real-time decision-making as the light changes.
Comments
Leave a Comment