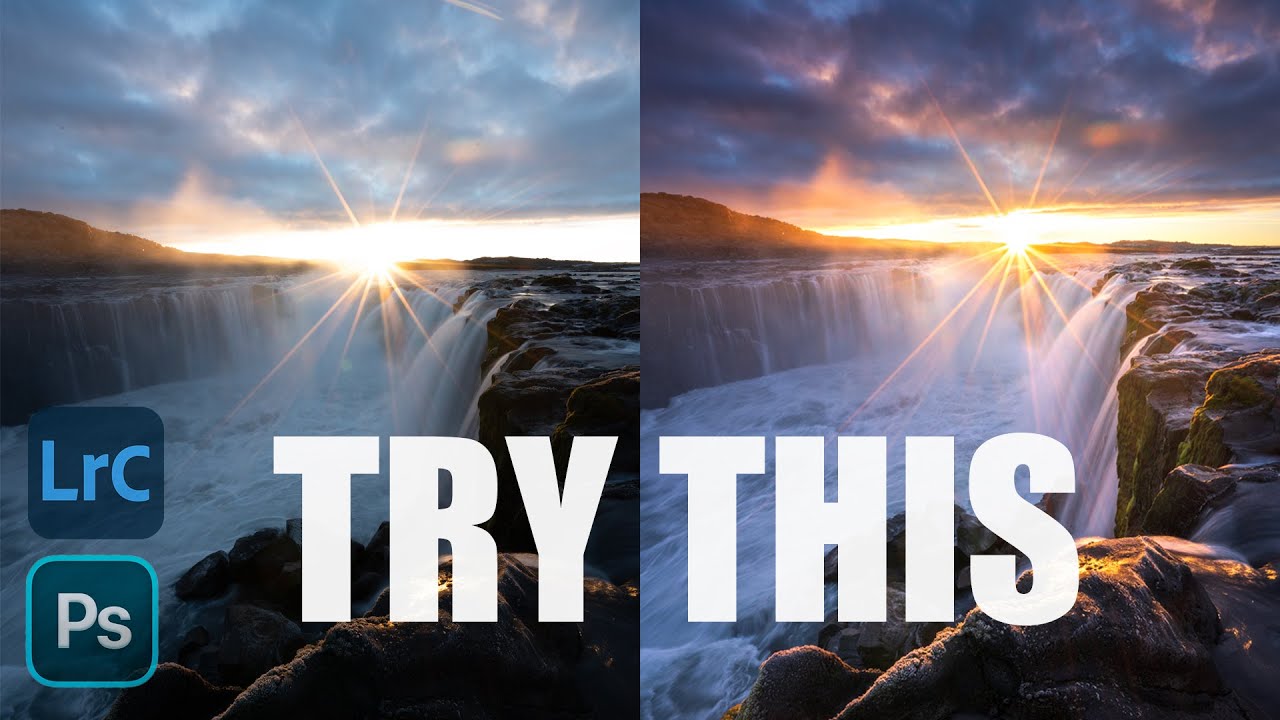
There’s a particular kind of flat, lifeless RAW file that every landscape photographer knows. You’ve dragged yourself out of a warm bed at 4am, driven a dark road to a location you’ve been thinking about for weeks, and you caught the light. You know you caught it. But when you open that file on your screen, it looks like a mistake. The colors are muddy, the highlights are blown, and the whole thing feels like a betrayal. That’s the RAW file problem, and it trips up beginners and experienced shooters alike.
I’ve been editing landscape images for two decades, and I still find myself refining my process. So when I came across Watch the full tutorial on YouTube - William Patino’s step-by-step walkthrough for editing sunrise and sunset photographs - I paid attention. He’s working through a RAW file from Iceland, a sunrise scene with extreme dynamic range, blown highlights near the sun, and the kind of flat default rendering that makes new photographers panic. The workflow he lays out is clean, logical, and corrects some habits that I recognize from my own early years of fumbling through sliders. Here’s the full breakdown.
Step 1: Develop a Game Plan Before You Touch a Slider
 RAW sunrise file open in Camera Raw, flat and unedited
Before you reach for the exposure slider, stop. Look at the image and write a short mental list of what it needs. In Patino’s example, he identifies three clear goals: brighten the overall file so shadow detail becomes visible, recover the blown highlight area near the horizon so it reads as warm yellow rather than white, and bring out the colors already present in the sky. He also notes specific problems to fix later - a dust spot and a couple of lens flares.
RAW sunrise file open in Camera Raw, flat and unedited
Before you reach for the exposure slider, stop. Look at the image and write a short mental list of what it needs. In Patino’s example, he identifies three clear goals: brighten the overall file so shadow detail becomes visible, recover the blown highlight area near the horizon so it reads as warm yellow rather than white, and bring out the colors already present in the sky. He also notes specific problems to fix later - a dust spot and a couple of lens flares.
This sounds obvious, but it’s the step most people skip. I spent my first few years doing exactly what Patino warns against: grabbing sliders at random, pushing them to extremes to “see what they do,” and then losing all sense of what a natural version of the image should look like. When your reference point becomes a hyper-saturated, over-contrasted version of the file, the original RAW starts to look wrong even when it isn’t. A game plan keeps you anchored to your actual vision for the photograph.
Step 2: Apply a Landscape Profile First
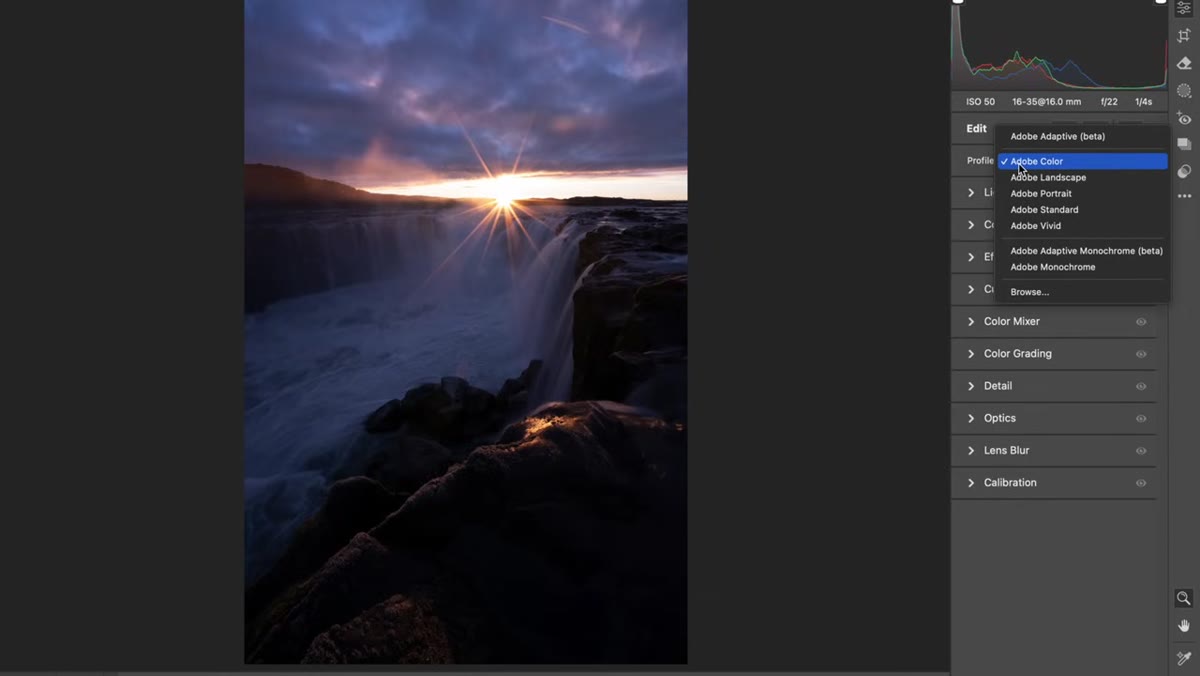 Profile tab open with Landscape profile selected
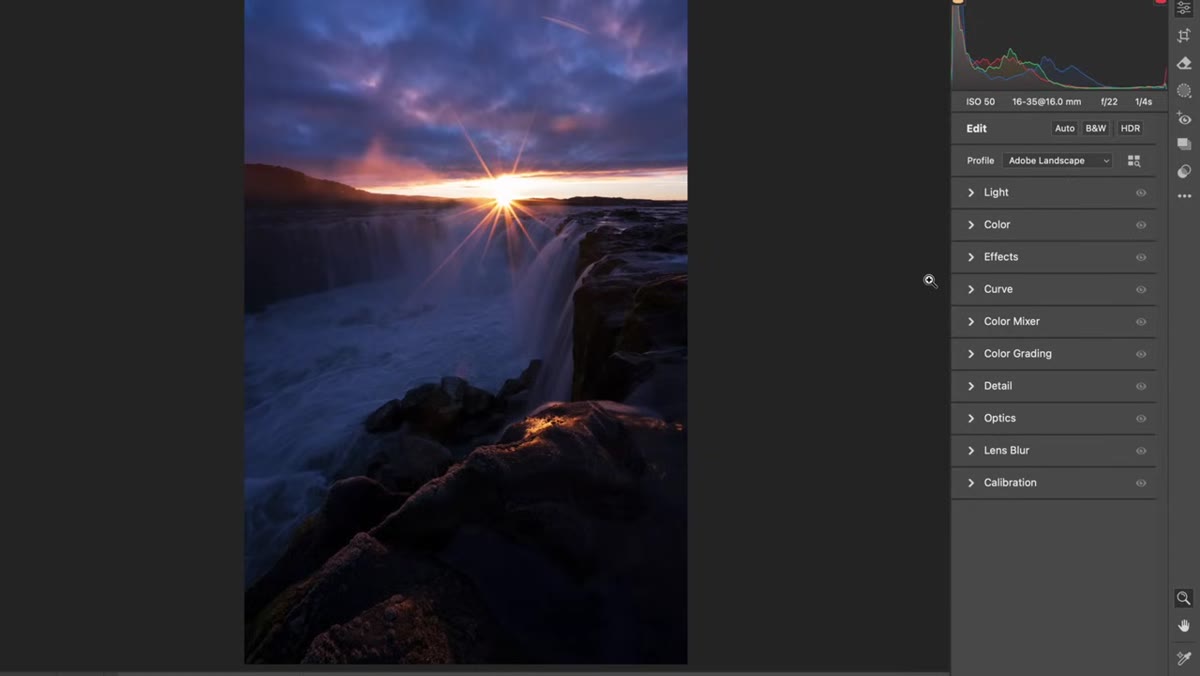
In Camera Raw or Lightroom, navigate to the Profile tab at the top of the right-hand panel. Apply the built-in Landscape profile. It’s a small but meaningful starting point. Patino notes that the profile adds a boost of vibrance and saturation, and it does some light compression of highlights and shadows - essentially giving you a more workable base before you’ve adjusted a single slider.
Profile tab open with Landscape profile selected
In Camera Raw or Lightroom, navigate to the Profile tab at the top of the right-hand panel. Apply the built-in Landscape profile. It’s a small but meaningful starting point. Patino notes that the profile adds a boost of vibrance and saturation, and it does some light compression of highlights and shadows - essentially giving you a more workable base before you’ve adjusted a single slider.
He acknowledges that the odd image might look over-saturated with this applied, but calls it a nine-out-of-ten decision. I agree. Think of it as setting the table before the meal rather than seasoning at the end.
Step 3: Raise Exposure to Reveal the File
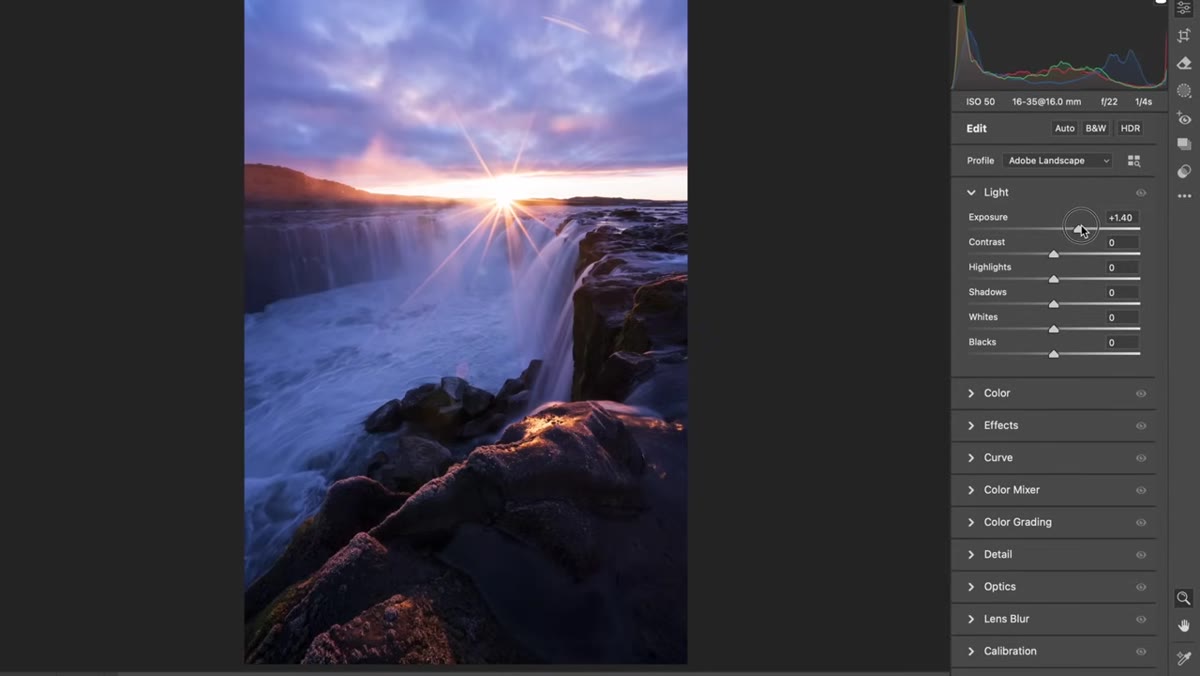
 Exposure slider being raised in the Light panel
Work on tonality before color - this is the right order and it matters. With the Light panel open, bring the Exposure slider up to lift the overall brightness of the image. You’ll immediately see the shadow areas in the water and the midtones in the sky come to life.
Exposure slider being raised in the Light panel
Work on tonality before color - this is the right order and it matters. With the Light panel open, bring the Exposure slider up to lift the overall brightness of the image. You’ll immediately see the shadow areas in the water and the midtones in the sky come to life.
The trade-off is that raising exposure also brightens the highlight area near the sun, which is already close to clipping. Patino addresses this directly: you could try lifting just the shadows, but that only helps the darkest areas. There are midtones across the sky and the water that also need lifting, and those won’t respond well to the Shadows slider alone. So you raise exposure knowing it creates a temporary problem near the horizon, and you solve that problem in the next steps. It’s a deliberate sequence, not a mistake.
Step 4: Pull Back Highlights and Open Shadows
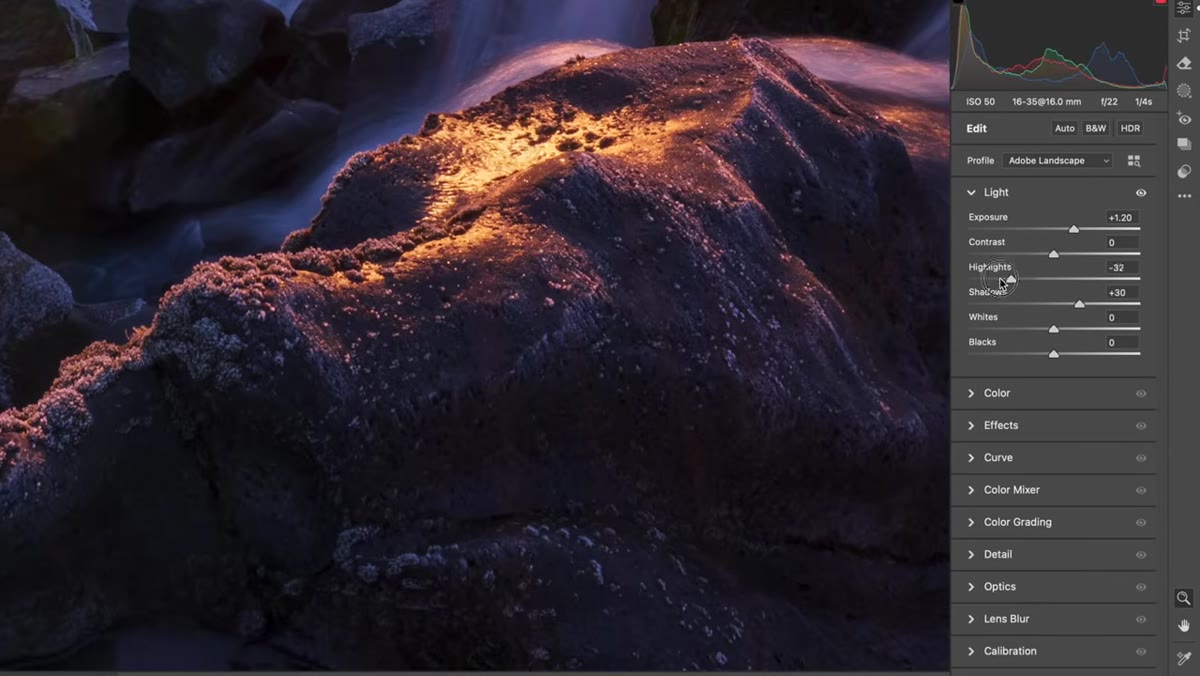
 Highlights slider pulled down, Shadows slider raised
Once exposure is set, use the Highlights slider to pull back the brightness in the brightest parts of the frame - specifically around the sun and the horizon. The goal is to move those blown-out whites back toward a warm yellow-orange, revealing texture and color that was hiding beneath the overexposure. Drop the Highlights well into negative territory and watch the histogram’s right edge pull back from the wall.
Highlights slider pulled down, Shadows slider raised
Once exposure is set, use the Highlights slider to pull back the brightness in the brightest parts of the frame - specifically around the sun and the horizon. The goal is to move those blown-out whites back toward a warm yellow-orange, revealing texture and color that was hiding beneath the overexposure. Drop the Highlights well into negative territory and watch the histogram’s right edge pull back from the wall.
Then bring the Shadows slider up to open the darker areas further. At this stage you’re compressing the dynamic range in a controlled way: the brightest tones come down, the darkest tones come up, and the overall image becomes more balanced and readable. Don’t chase a perfectly even histogram - chase what looks true to what you saw standing in that location.
Step 5: Address Color - Vibrance and Targeted Hues
 Color panel open, Vibrance slider being adjusted
With your tonal foundation in place, move to the color adjustments. Patino recommends working with Vibrance rather than Saturation as a starting point. Vibrance is smarter - it protects skin tones and already-saturated colors while lifting the colors that need the boost. For a sunrise scene, this typically means the magentas, pinks, and oranges in the sky respond well while other areas stay controlled.
Color panel open, Vibrance slider being adjusted
With your tonal foundation in place, move to the color adjustments. Patino recommends working with Vibrance rather than Saturation as a starting point. Vibrance is smarter - it protects skin tones and already-saturated colors while lifting the colors that need the boost. For a sunrise scene, this typically means the magentas, pinks, and oranges in the sky respond well while other areas stay controlled.
If specific colors need individual attention - say the sky looks too green or the warm tones in the water look off - use the HSL panel to target individual hue ranges. Adjust Hue to shift a color toward what you actually saw, Saturation to control its intensity, and Luminance to control how light or dark that color range appears. These targeted adjustments are what separate a technically correct edit from one that actually feels like the moment.
Step 6: Fix Dust Spots and Lens Flares Last
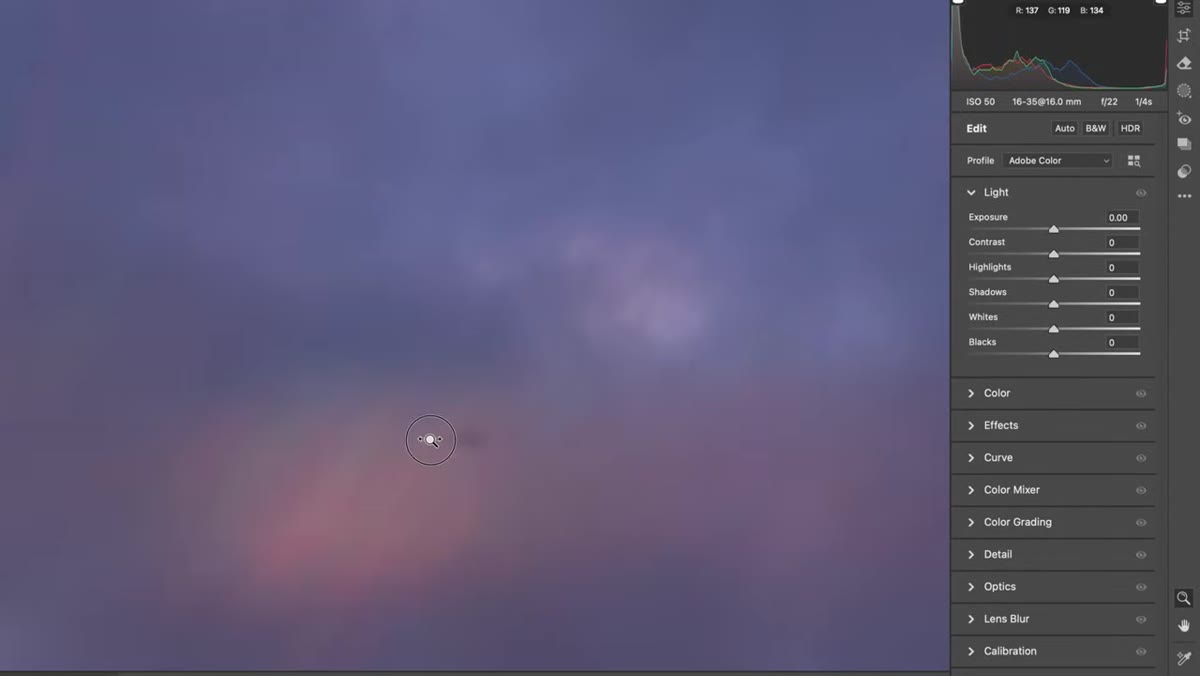 Dust spot and lens flare visible on the RAW file
Retouching work, including dust spots and lens flares, comes after all your global adjustments are done. The reason is simple: as you change exposure and color, problem areas shift in visibility. A dust spot that’s invisible at default exposure might become obvious once you’ve lifted the shadows. Wait until the image looks close to finished, then use the Healing or Clone tool in Camera Raw to remove distractions.
Dust spot and lens flare visible on the RAW file
Retouching work, including dust spots and lens flares, comes after all your global adjustments are done. The reason is simple: as you change exposure and color, problem areas shift in visibility. A dust spot that’s invisible at default exposure might become obvious once you’ve lifted the shadows. Wait until the image looks close to finished, then use the Healing or Clone tool in Camera Raw to remove distractions.
Patino flags a dust spot and two lens flares in his image. These kinds of artifacts are common when shooting directly into or near the sun at sunrise. Clean them up at the end rather than chasing them throughout the edit.
One Thing I’d Add: Watch Your Whites on a Calibrated Display
Everything Patino covers here is solid and I’d follow it shot for shot. The one thing I’d layer on top, especially for photographers preparing files for print, is to check your edit on a calibrated display before calling it done. Sunrise and sunset files are heavily weighted in the warm spectrum, and an uncalibrated monitor will often make them look more saturated than they actually are. I’ve printed files that looked perfect on screen and came out muddy and over-orange on paper. Calibrate your display, and do a final check with your monitor profile set correctly.
The deeper lesson from Patino’s tutorial is the same one I’ve tried to pass along in my own workshops: editing is not random experimentation. It’s a sequence of intentional decisions made against a clear vision of what the final image should be. The slider is just a tool. The game plan is the work.
Watch the full tutorial on YouTube and follow along with your own sunrise or sunset RAW file open. The combination of seeing Patino’s hands on the sliders and working through your own image at the same time is the fastest way to make this workflow stick.
Comments
Leave a Comment