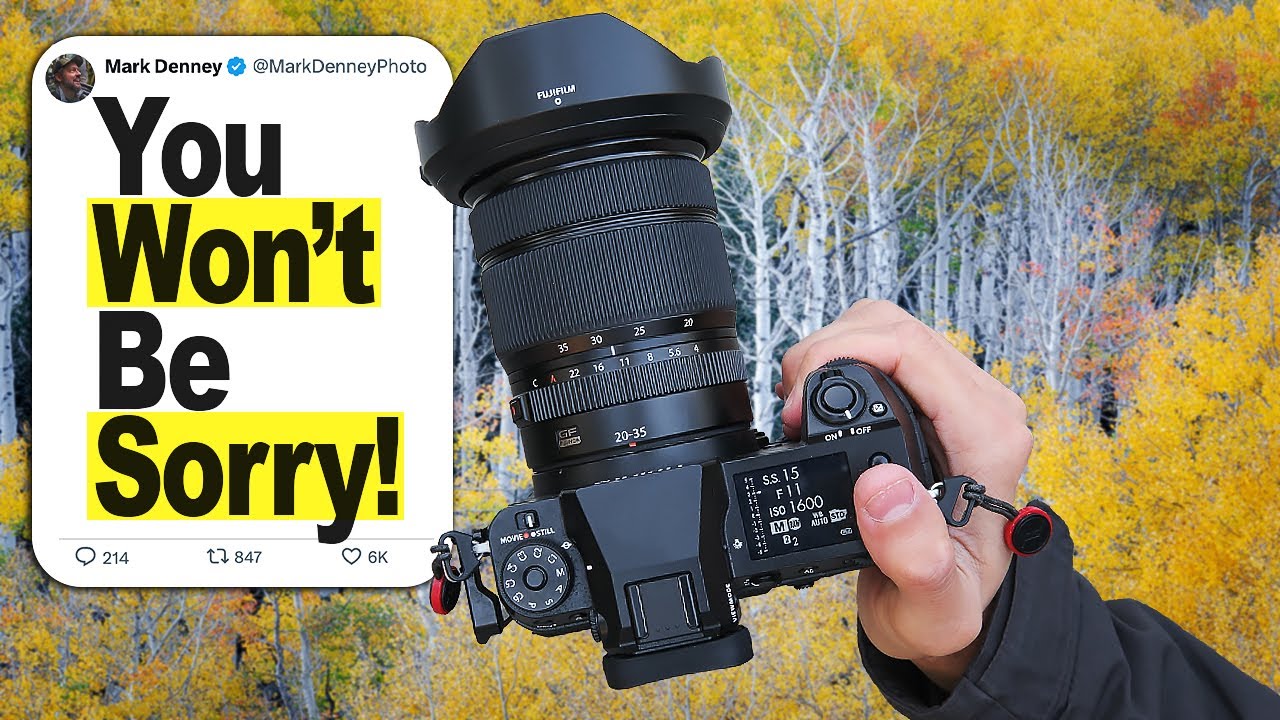
There’s a version of every shoot that lives in your head before you ever leave the house. You’ve studied the location on Google Earth, checked the weather three times, set two alarms, and packed the right filters. I’ve been doing this for twenty years and I still show up to locations with a mental image so specific it might as well be a contract with the landscape. The problem is, the landscape never signed it.
That tension, between the shot you planned and the shot that’s actually available, is exactly what Mark Denney unpacks in this tutorial drawn from his recent trip to the Italian Dolomites. Watch the full tutorial on YouTube. It’s one of those videos that isn’t really about camera settings at all. It’s about the quality of attention you bring to a location, and what happens when you’re willing to let go of your original idea long enough to see what’s actually in front of you.
What struck me watching it is how honestly Denney describes the failure mode. Not a bad shot, but a good photographer so locked onto one vision that they nearly miss something better standing right beside them. That’s not a beginner’s problem. That’s a seasoned photographer’s problem, and recognizing it is the first step toward fixing it.
Step 1: Arrive with an intention, not a blueprint
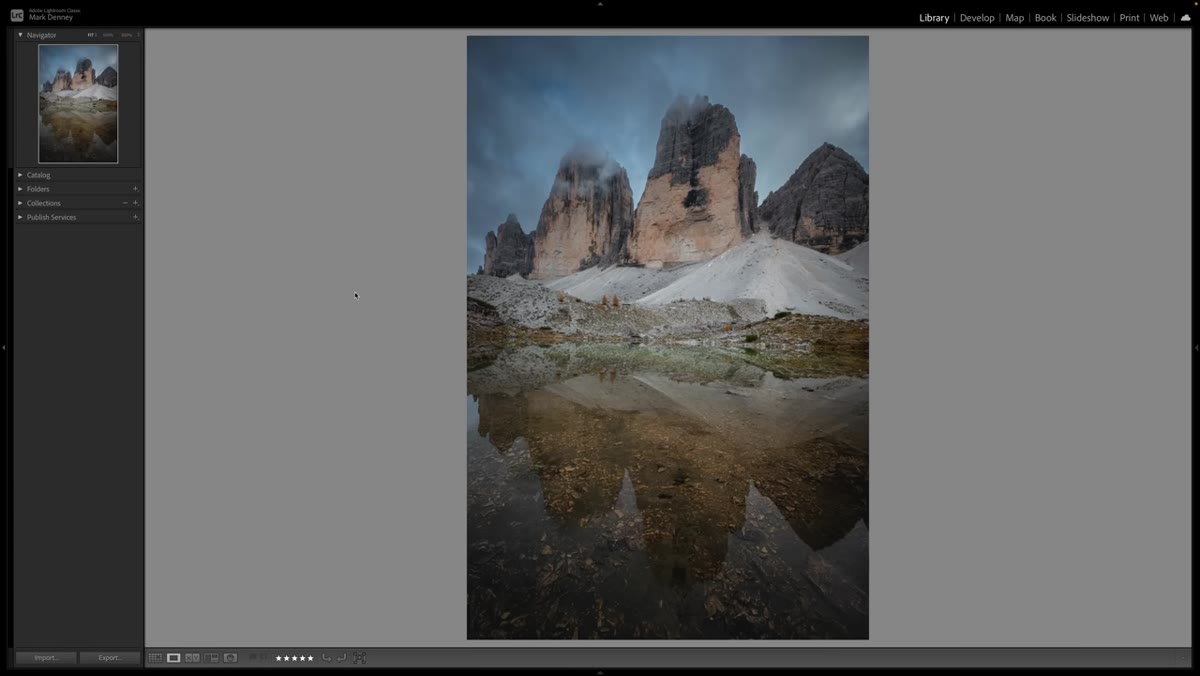 Photographer approaching iconic Tre Cime reflection location in Italy
Before you pull the camera out, know why you came. Denney hiked to Tre Cime specifically for a reflection shot, and that intention focused his energy and got him to the location early. Having a purpose is good. The mistake is treating that purpose as the only acceptable outcome. Arrive knowing what you’re looking for, but hold it loosely. Think of it as a starting point for the conversation with the scene, not the final word.
Photographer approaching iconic Tre Cime reflection location in Italy
Before you pull the camera out, know why you came. Denney hiked to Tre Cime specifically for a reflection shot, and that intention focused his energy and got him to the location early. Having a purpose is good. The mistake is treating that purpose as the only acceptable outcome. Arrive knowing what you’re looking for, but hold it loosely. Think of it as a starting point for the conversation with the scene, not the final word.
In practice, this means doing your location research but building in mental flexibility before you leave home. Ask yourself: if the water is low, if the light is flat, if the thing I came for simply isn’t there, what else might this location offer? Even just asking the question primes your eye to look wider once you’re standing there.
Step 2: Work the scene even when conditions disappoint
 Photographer low to the ground experimenting with composition at the shoreline
Denney spent close to two hours at that shoreline when the reflection wasn’t cooperating. The water level was low, the light was flat, the image he’d imagined wasn’t materializing. He didn’t pack up. He got high, got low, moved laterally, waited for atmosphere to shift around the peaks. None of those frames became his favorite from the trip, but the process of working them kept him present and physically warm to the location.
Photographer low to the ground experimenting with composition at the shoreline
Denney spent close to two hours at that shoreline when the reflection wasn’t cooperating. The water level was low, the light was flat, the image he’d imagined wasn’t materializing. He didn’t pack up. He got high, got low, moved laterally, waited for atmosphere to shift around the peaks. None of those frames became his favorite from the trip, but the process of working them kept him present and physically warm to the location.
This is a discipline you can practice deliberately. Give yourself a rule: before you decide a location isn’t working, you must try at least five distinct compositions. Change your height. Change your horizontal position. Change your focal length. You’re not fishing for a lucky accident. You’re training your eye to read the scene on its own terms rather than against the template you brought with you.
Step 3: Notice the moment your focus becomes a tunnel
 Photographer packing up gear after extended session at Tre Cime
There’s a specific mental state Denney describes that I recognize immediately from my own shooting: the point where you’re no longer seeing the location, you’re only seeing the problem. You’re so focused on making the original idea work that your peripheral awareness shuts down. He describes this as the condition he was in when he finally gave up, packed his bag, and started the walk back.
Photographer packing up gear after extended session at Tre Cime
There’s a specific mental state Denney describes that I recognize immediately from my own shooting: the point where you’re no longer seeing the location, you’re only seeing the problem. You’re so focused on making the original idea work that your peripheral awareness shuts down. He describes this as the condition he was in when he finally gave up, packed his bag, and started the walk back.
The practice here is self-monitoring. Check in with yourself every twenty or thirty minutes on a long shoot. Are you still seeing, or are you just trying? If your jaw is tight and you’re reviewing the same frame for the fourth time hoping it changed, that’s a signal. Put the camera down. Walk ten meters in any direction. Look up. Reset your attention before the scene goes flat in your mind.
Step 4: Stay visually active during transitions
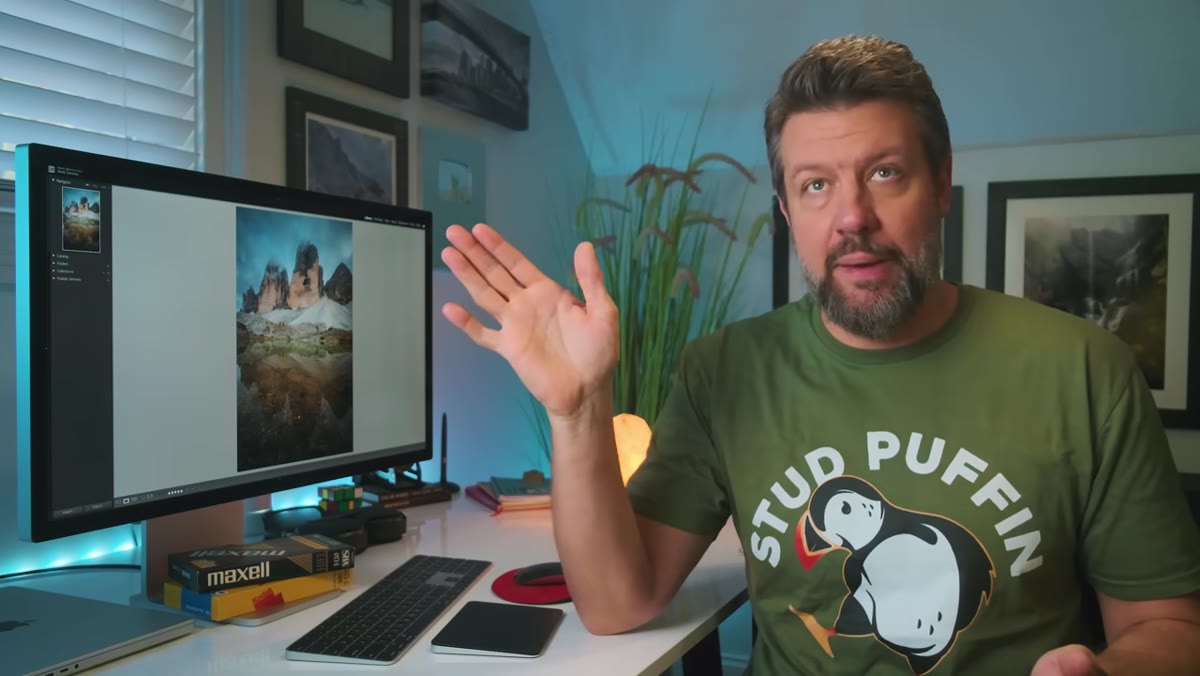 Photographer taking a rest break on the uphill trail back to the car park
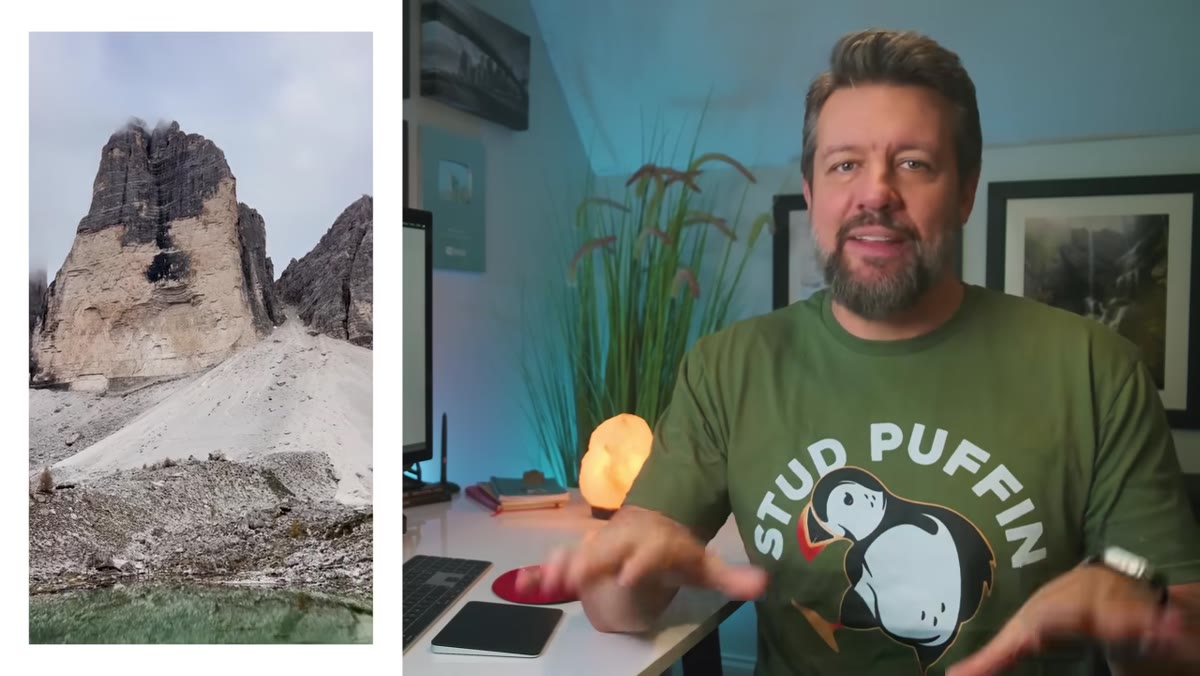
The best image from Denney’s entire two weeks in the Dolomites wasn’t captured at a planned location. It happened on the hike out, when he stopped to rest on the uphill trail back to the car park. He looked back toward the peaks, noticed the clouds breaking, saw the light hitting a single rock at a compelling angle, and had the whole thing captured in a matter of seconds. Handheld. No tripod setup. The light lasted only moments.
Photographer taking a rest break on the uphill trail back to the car park
The best image from Denney’s entire two weeks in the Dolomites wasn’t captured at a planned location. It happened on the hike out, when he stopped to rest on the uphill trail back to the car park. He looked back toward the peaks, noticed the clouds breaking, saw the light hitting a single rock at a compelling angle, and had the whole thing captured in a matter of seconds. Handheld. No tripod setup. The light lasted only moments.
Most photographers treat the walk in and the walk out as dead time. They’re thinking about what’s ahead or processing what just happened. Denney’s story is a reminder that transition moments carry real photographic potential, especially in mountain environments where light changes fast and often improves after what looked like a failed session. Keep your camera accessible. Keep your eyes scanning. The commute to and from the location is still time in the field.
Step 5: Let urgency work for you
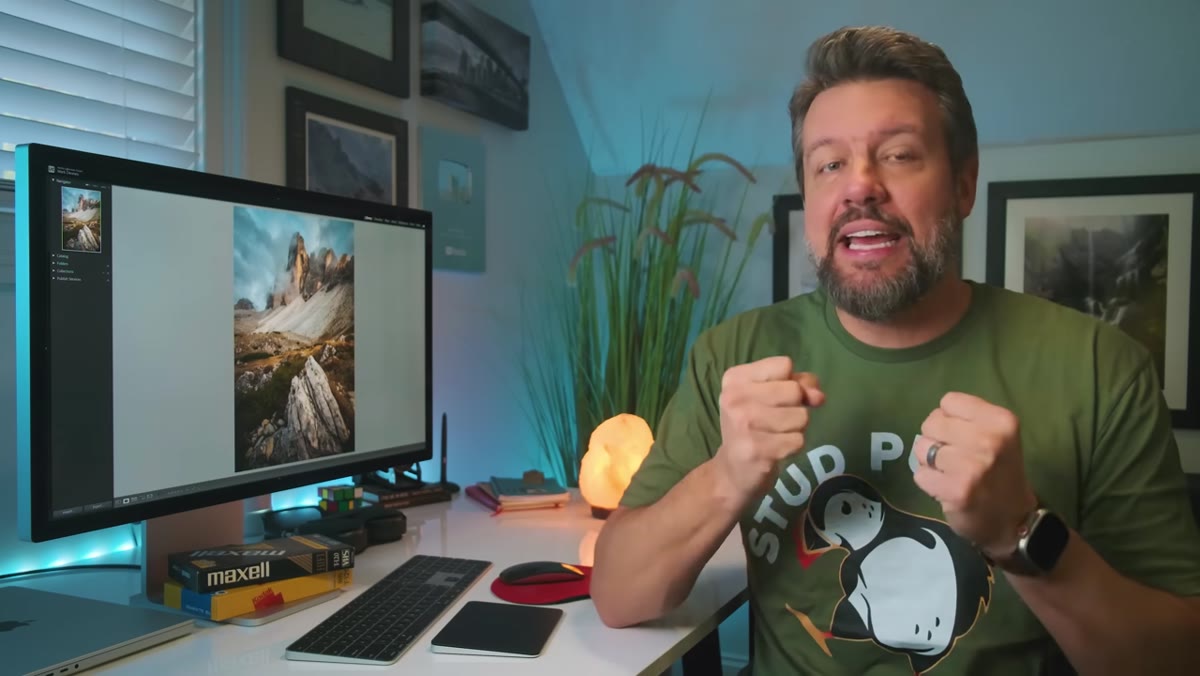
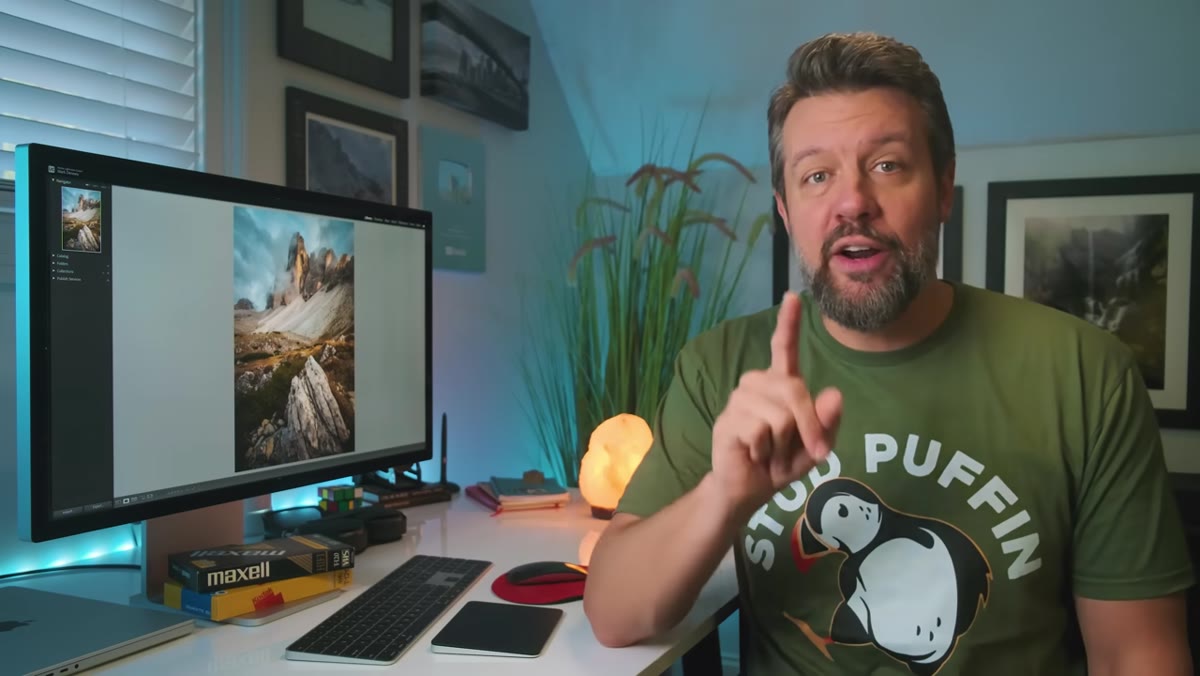 Single handheld frame captured quickly as light breaks over mountain peaks
When Denney saw that light on the hike out, he didn’t set up a tripod or dial in his ideal settings. He moved fast, worked handheld, and got two frames before the light was gone. One of them is among his best work from the trip. There’s something worth examining in that. The absence of deliberate setup forced pure compositional instinct. He saw a strong line in the rock, he saw the light on the peaks, he put them together.
Single handheld frame captured quickly as light breaks over mountain peaks
When Denney saw that light on the hike out, he didn’t set up a tripod or dial in his ideal settings. He moved fast, worked handheld, and got two frames before the light was gone. One of them is among his best work from the trip. There’s something worth examining in that. The absence of deliberate setup forced pure compositional instinct. He saw a strong line in the rock, he saw the light on the peaks, he put them together.
Urgency strips out overthinking. You can practice this intentionally by occasionally giving yourself a time limit. Arrive at a composition and allow yourself only sixty seconds to capture it before moving on. It’s uncomfortable and it produces failures, but it also trains you to make faster, more decisive choices about what actually matters in a frame.
What I’d add from twenty years of getting it wrong
My mentor used to say the mountain doesn’t care about your schedule, and I’ve stood in enough pre-dawn cold to know he was right. But there’s a corollary nobody tells you early enough: the mountain also doesn’t care about your expectations.
I drove six hours to the Oregon coast once for a specific sea stack shot at golden hour. Sat in thick fog for two full days. Came home with one frame, a long exposure of fog rolling over kelp-covered rocks that I almost didn’t take because it wasn’t what I’d planned. It’s been my best-selling print for three years. I’ve started thinking of imperfect conditions not as obstacles but as the scene negotiating with me. The locations that hand you exactly what you imagined rarely produce the images that matter.
The practical habit Denney is really teaching here is a form of visual humility: showing up prepared, working hard, and then staying genuinely open to whatever the location is actually offering. Not as a consolation prize, but as the real work.
The single thing to take into your next shoot: after you’ve worked your planned composition for a while, physically turn around and look in the opposite direction. Not metaphorically. Literally turn around. Some of the best frames I’ve ever made were directly behind where I was stubbornly pointing my camera.
Watch the full tutorial on YouTube to hear Denney walk through all three moments from the Italy trip where this lesson hit him. Hearing the same principle repeat across different locations in the same trip makes it land harder than any single example could.
Comments (2)
Bookmarked. Coming back to this one for sure.
The before and after really sells it. Incredible difference.
Leave a Comment