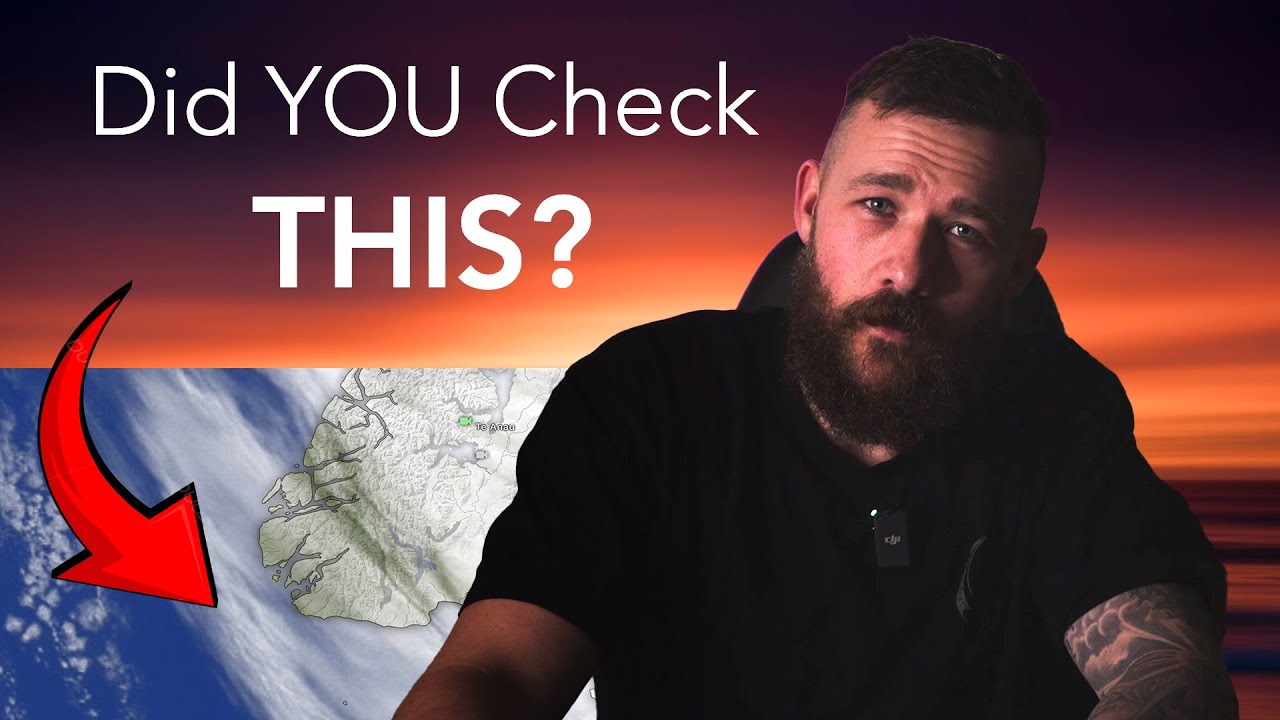
There’s a comment I’ve heard more times than I can count, standing next to someone at a trailhead while I’m packing up my gear after a good shoot. “You were just in the right place at the right time.” I smile, nod, and move on. But the truth is, I was at that location because I’d spent two hours the night before studying satellite loops and cloud-layer maps, then woke up before 4am to drive there in the dark. Right place, right time. Sure. It’s also 200 decisions made before the shutter ever opened.
That’s exactly what I appreciated about this William Patino tutorial on landscape photography weather forecasting. Watch the full tutorial on YouTube. Patino lays out a practical, repeatable system for reading the sky and choosing your position before you ever leave the house. What he teaches isn’t luck. It’s method.
I’ve been doing some version of this for twenty years out of Bend, Oregon, where the weather can flip completely between the time you leave home and the time you hit the trailhead. But watching Patino walk through his process, I picked up some specifics I’d been handling loosely, and tightened them up. Here’s how the whole system works, step by step.
Step 1: Understand What Actually Creates Sunrise and Sunset Color
 Diagram showing sun angle at midday versus near horizon
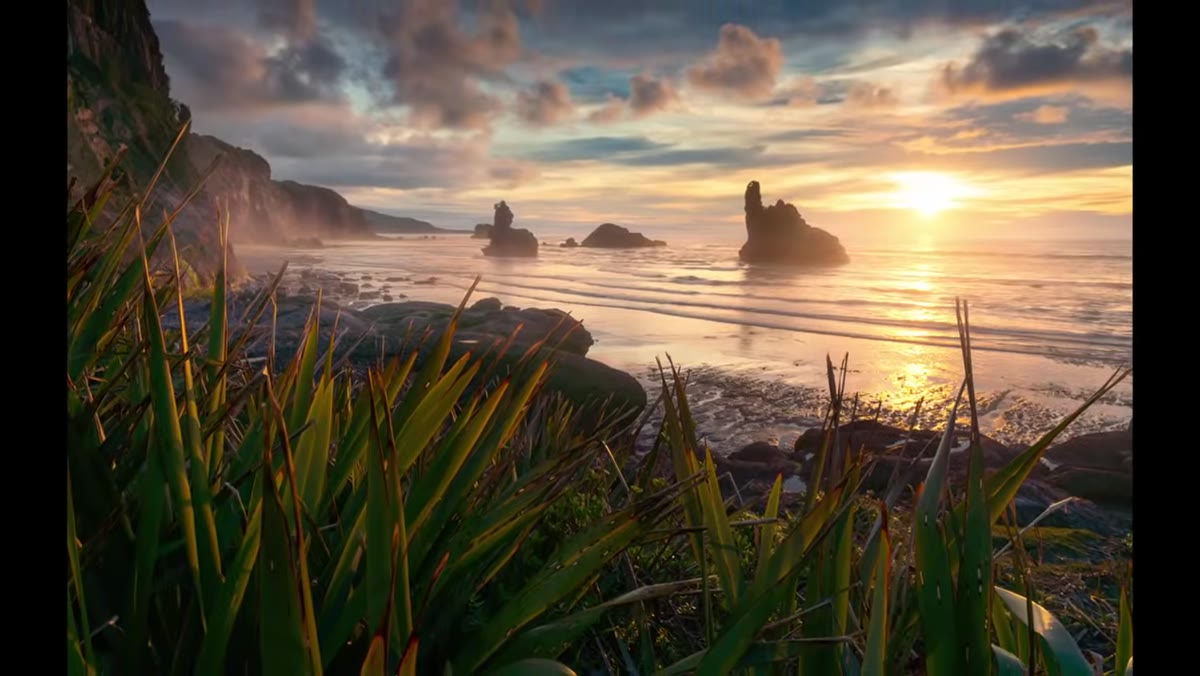
Most photographers know clouds matter for golden hour. Fewer understand exactly why, or how to use that knowledge to predict what the sky will do. Patino explains it clearly. At midday, sunlight comes nearly straight down. Hard light, heavy shadows, flat color. As the sun drops toward the horizon, those rays angle upward across the landscape and eventually stop illuminating the ground altogether. At that point, the light is angled upward into the sky itself. If there’s nothing up there to catch it, you get a plain blue-to-orange gradient and not much else.
Diagram showing sun angle at midday versus near horizon
Most photographers know clouds matter for golden hour. Fewer understand exactly why, or how to use that knowledge to predict what the sky will do. Patino explains it clearly. At midday, sunlight comes nearly straight down. Hard light, heavy shadows, flat color. As the sun drops toward the horizon, those rays angle upward across the landscape and eventually stop illuminating the ground altogether. At that point, the light is angled upward into the sky itself. If there’s nothing up there to catch it, you get a plain blue-to-orange gradient and not much else.
Clouds are the canvas. When the sun’s low-angle rays hit cloud formations, that’s where the dramatic reds, pinks, and purples come from. No clouds means no show. A sky completely socked in with low cloud means the light never punches through at all. The sweet spot, as Patino explains it, is somewhere in between.
Step 2: Learn to Identify the Cloud Conditions That Produce Color
 Clear sky versus partly cloudy sky comparison for sunset
The single most important concept Patino introduces is the idea of a clearing on the horizon. For sunset, you need a gap between the horizon to the west and the cloud base above it. That gap is where the sun’s rays will pass through and light up everything overhead. A wall of cloud sitting right on the western horizon will block that light completely. The sun sets behind the cloud bank and the sky just goes gray.
Clear sky versus partly cloudy sky comparison for sunset
The single most important concept Patino introduces is the idea of a clearing on the horizon. For sunset, you need a gap between the horizon to the west and the cloud base above it. That gap is where the sun’s rays will pass through and light up everything overhead. A wall of cloud sitting right on the western horizon will block that light completely. The sun sets behind the cloud bank and the sky just goes gray.
For sunrise, you’re looking for the same thing to the east. Before I head out for a dawn shoot, I physically look at the horizon in the relevant direction and ask: can I see sky down near the ground? If the answer is yes, there’s potential. If cloud is sitting hard on the horizon, I either wait and watch it move or I call it and go back to sleep. Patino’s framing here helped me articulate something I’d been doing intuitively for years.
Step 3: Use Windy.com to View Cloud Cover by Altitude Layer
 Windy.com interface showing cloud layer overlay options
Patino’s go-to forecasting tool is Windy.com, and for good reason. The interface lets you isolate cloud cover into three separate layers: low, medium, and high. That granularity matters more than most photographers realize. Low cloud can block your foreground views entirely, particularly in mountain terrain. It also catches the sun’s light earlier in the sequence and often produces flatter, less saturated color.
Windy.com interface showing cloud layer overlay options
Patino’s go-to forecasting tool is Windy.com, and for good reason. The interface lets you isolate cloud cover into three separate layers: low, medium, and high. That granularity matters more than most photographers realize. Low cloud can block your foreground views entirely, particularly in mountain terrain. It also catches the sun’s light earlier in the sequence and often produces flatter, less saturated color.
For the richest sunrise and sunset color, Patino recommends targeting medium to high cloud. High cloud, like cirrus and altocumulus, tends to catch and hold color longer as the sun moves through its final arc. On Windy.com, you can toggle between these layers and see exactly what’s forecast to be sitting over your target location at the time of golden hour. Combined with wind direction overlays, you can start to predict whether a cloud system is moving in, clearing out, or holding steady.
Step 4: Cross-Reference with Satellite Imagery for Real-Time Accuracy
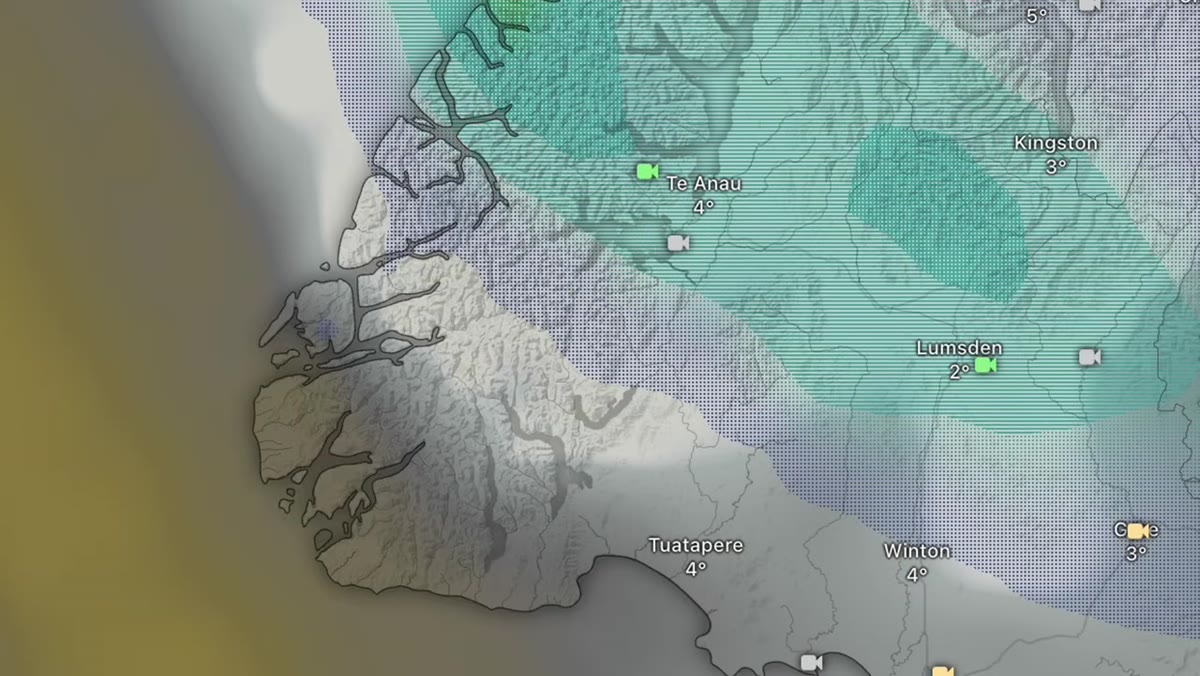 Live satellite loop showing cloud movement over a region
Forecasts are estimates. Satellite imagery is what’s actually happening. Patino emphasizes checking live satellite loops as a second layer of verification, especially close to the shoot window. A forecast might show clearing by 6pm, but the satellite loop will show you whether that clearing is actually moving in the right direction and at the right pace.
Live satellite loop showing cloud movement over a region
Forecasts are estimates. Satellite imagery is what’s actually happening. Patino emphasizes checking live satellite loops as a second layer of verification, especially close to the shoot window. A forecast might show clearing by 6pm, but the satellite loop will show you whether that clearing is actually moving in the right direction and at the right pace.
I use the GOES satellite imagery for the Pacific Northwest, which updates frequently enough to be genuinely useful when I’m making a go or no-go call within a one to two hour window. The loop is what you want, not a static frame. Motion tells you whether that cloud edge is sliding east and opening up the horizon, or stalling out and sitting on top of you.
Step 5: Make the Go or No-Go Call and Commit to a Location
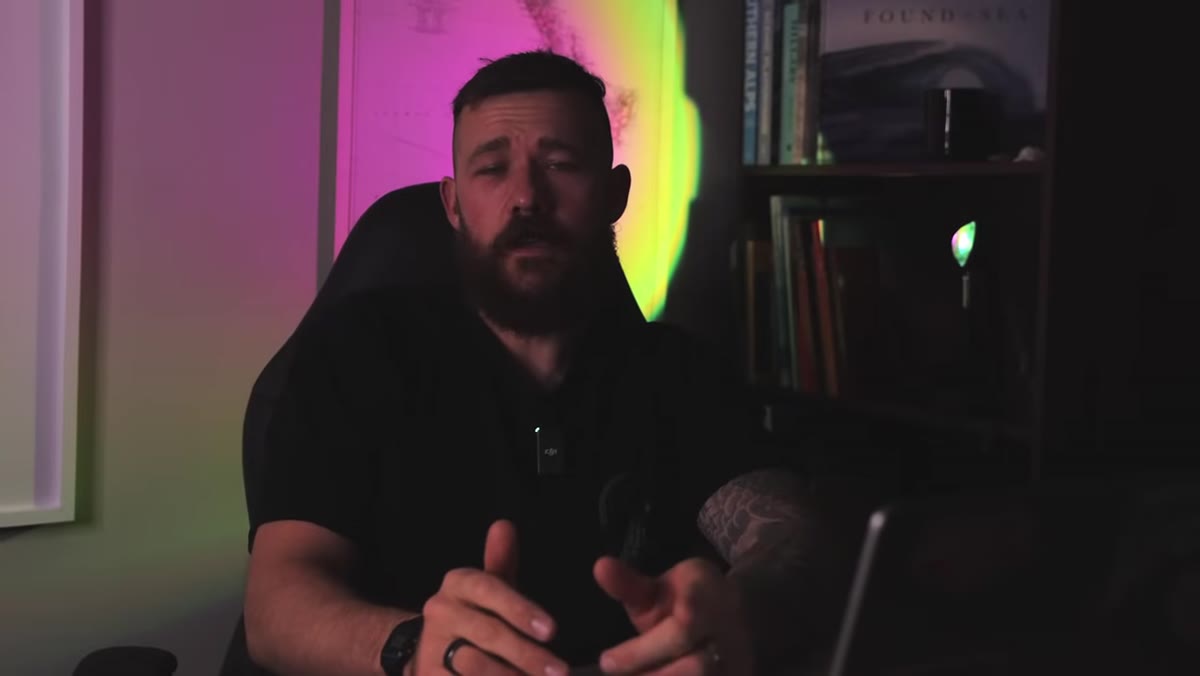 Patino pointing to a target zone on a forecast map
All the forecasting in the world means nothing if you can’t pull the trigger on a decision. Patino’s video follows him working through a real-time call on a day that doesn’t look particularly promising on paper. He reads the satellite, checks cloud layers on Windy, identifies a potential clearing window, and then commits to a location that puts him in position to catch it.
Patino pointing to a target zone on a forecast map
All the forecasting in the world means nothing if you can’t pull the trigger on a decision. Patino’s video follows him working through a real-time call on a day that doesn’t look particularly promising on paper. He reads the satellite, checks cloud layers on Windy, identifies a potential clearing window, and then commits to a location that puts him in position to catch it.
This is where experience starts to add up. You begin to recognize the patterns. A certain kind of broken cloud moving in from the northwest over the Cascades, with a thin clearing sitting on the western horizon, is a pattern I’ve seen produce extraordinary color. I’ve also seen it produce nothing. But I’d rather be out there and wrong than home and comfortable.
A Field Note from Twenty Years of Chasing Light
Patino’s system is solid, and I’d add one thing to it from my own experience: check your forecasting tools the night before, but don’t finalize your decision until one hour out. Conditions shift faster than any model predicts, and I’ve had nights where a complete overcast cleared in forty minutes right at golden hour, producing some of the most dramatic skies I’ve ever photographed. My best-selling print came from a trip where I drove six hours to a location and sat in fog for two days straight. On the morning I was planning to leave, the fog broke at 6:14am. I had about twenty minutes of the most extraordinary light I’ve ever seen. Patience and positioning are the whole game.
Keep watching conditions through the shoot itself. Patino demonstrates this in the video. The sky at minus-thirty minutes to sunset is not the sky you’ll be shooting. Stay attentive, keep moving if you need to, and trust what you see over what you expected.
The core lesson here is that epic light is predictable, not accidental. You need clouds for color, a clearing on the relevant horizon for the light to pass through, and the right altitude layer to catch and hold that color. Windy.com and satellite imagery together give you a two-source verification system that’s accurate enough to plan shoots around. Start using both the night before and the hour before every golden hour shoot.
Watch the full tutorial on YouTube to see Patino work through a live forecasting session and chase a real sunset in real time. It’s one of the clearest demonstrations of this process I’ve seen.
Comments (1)
This saved me so much time on my last edit. Wish I'd found this sooner.
Leave a Comment