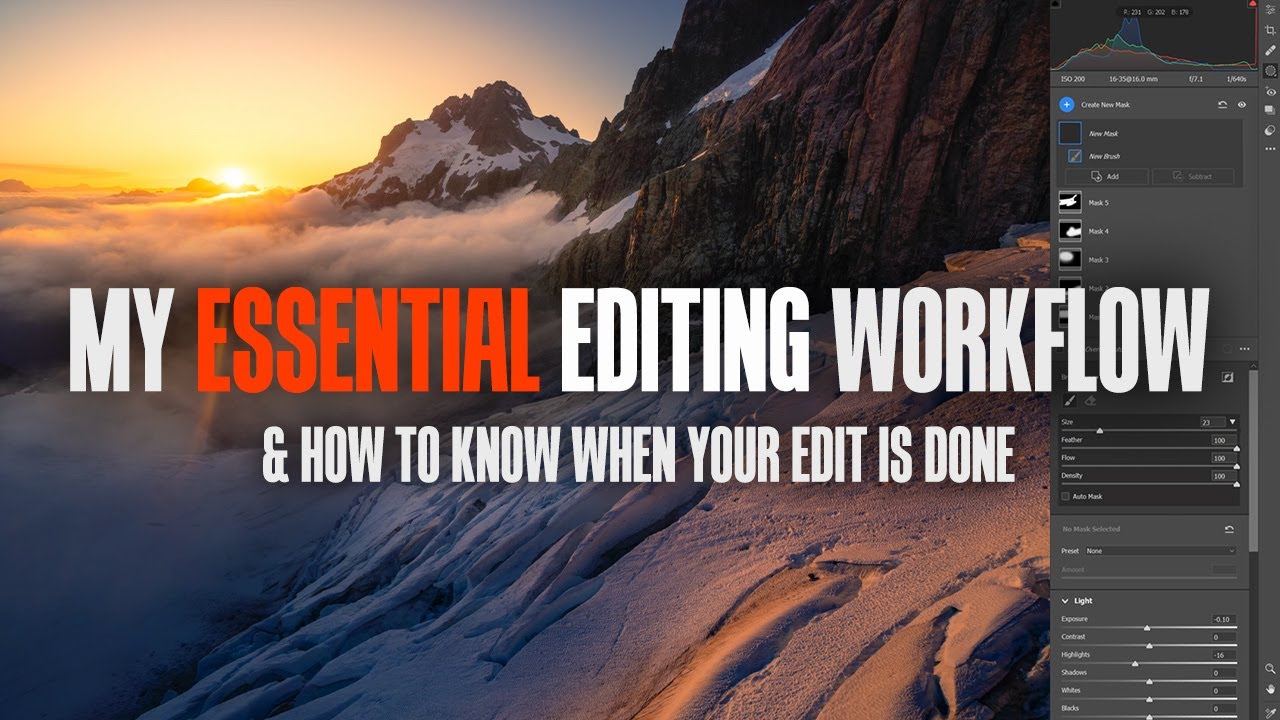
There’s a particular kind of dread that hits around 11pm. You’ve spent the evening pushing sliders, the image finally looks the way you wanted it to, and you share it before the feeling passes. Then morning comes. You pull it up on your phone over coffee and the colors look radioactive, the shadows are muddy, and you can’t figure out what you were seeing the night before. I’ve been doing this for twenty years and that feeling still finds me when I let it.
What I’ve come to understand is that the problem usually isn’t skill. It’s timing. We finish an edit while we’re still emotionally inside the image, still excited about the morning we spent in the field, still attached to the work we put into it. That attachment blinds us. In this William Patino tutorial, Watch the full tutorial on YouTube, he lays out a systematic approach to finishing landscape edits that builds in distance by design. It’s deceptively simple, and it works. Here’s how to actually apply it.
Step 1: First Pass - Handle the Heavy Lifting
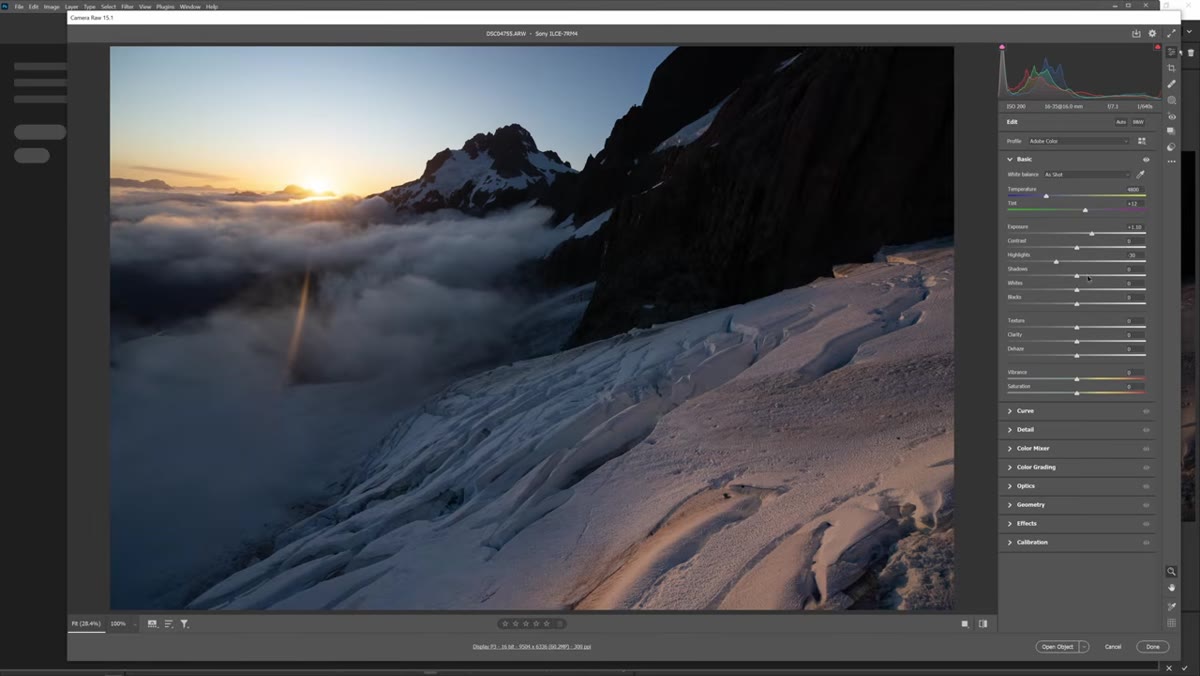 First pass adjustments applied to a flat raw file
Your first pass is a single focused session and it should account for roughly 80 percent of the total edit. This is where you work on dynamic range, overall exposure and contrast, and broad color adjustments. You’re taking a flat raw file and making it read as a photograph. Pull your highlights, lift your shadows if the scene calls for it, correct your white balance, and push the overall tone until the image feels alive.
First pass adjustments applied to a flat raw file
Your first pass is a single focused session and it should account for roughly 80 percent of the total edit. This is where you work on dynamic range, overall exposure and contrast, and broad color adjustments. You’re taking a flat raw file and making it read as a photograph. Pull your highlights, lift your shadows if the scene calls for it, correct your white balance, and push the overall tone until the image feels alive.
Set a time limit. Patino suggests five to ten minutes, which I think is right for most images. The goal isn’t perfection here. It’s momentum. You’re making big decisions without overthinking them, which is often when your instincts are most accurate.
Step 2: Let the Image Rest Before the Second Pass
 Timeline gap shown between first and second editing pass
This is the step most photographers skip, and skipping it is exactly why regrettable edits get shared. After your first pass, close the file and leave it alone for a few days. Not a few hours. Days.
Timeline gap shown between first and second editing pass
This is the step most photographers skip, and skipping it is exactly why regrettable edits get shared. After your first pass, close the file and leave it alone for a few days. Not a few hours. Days.
The reasoning is straightforward. When you’re deep in an edit, your eyes adapt to what’s on screen. You stop seeing the image accurately and start seeing what you want it to look like. Distance resets that. Coming back after several days, you’ll immediately notice things that were invisible to you before - a color cast you chased too hard, a sky that’s been pushed past credibility, a foreground that’s sitting in unnatural darkness. Treat this rest period as part of the workflow, not a delay.
Step 3: Second Pass - Refinements and Local Adjustments
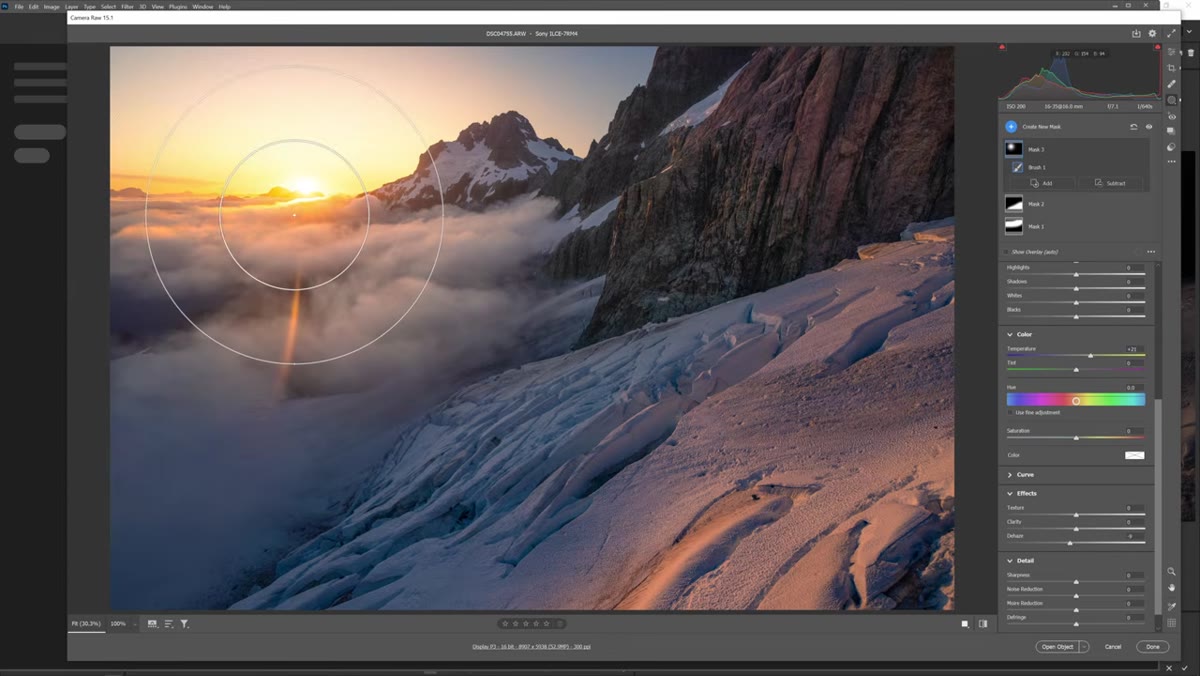 Adjustment brush being applied to specific areas of the image
When you return to the file with fresh eyes, you’ll likely find the overall edit is solid but needs refinement. This is where local adjustments earn their place. Use your adjustment brush, radial filters, or graduated filters to create depth and separation within the frame rather than just adjusting the image as a flat whole.
Adjustment brush being applied to specific areas of the image
When you return to the file with fresh eyes, you’ll likely find the overall edit is solid but needs refinement. This is where local adjustments earn their place. Use your adjustment brush, radial filters, or graduated filters to create depth and separation within the frame rather than just adjusting the image as a flat whole.
Think specifically about how light behaves in three dimensions. Darken foreground edges to pull the eye inward. Add subtle brightness to a midground ridge to separate it from what’s behind it. Deepen shadows in areas that need to recede. You’re not adding drama for its own sake. You’re directing attention through tonal contrast. By the end of this pass, the image should feel nearly complete - but “nearly” is doing real work in that sentence.
Step 4: Third Pass - Fine Tuning with Critical Eyes
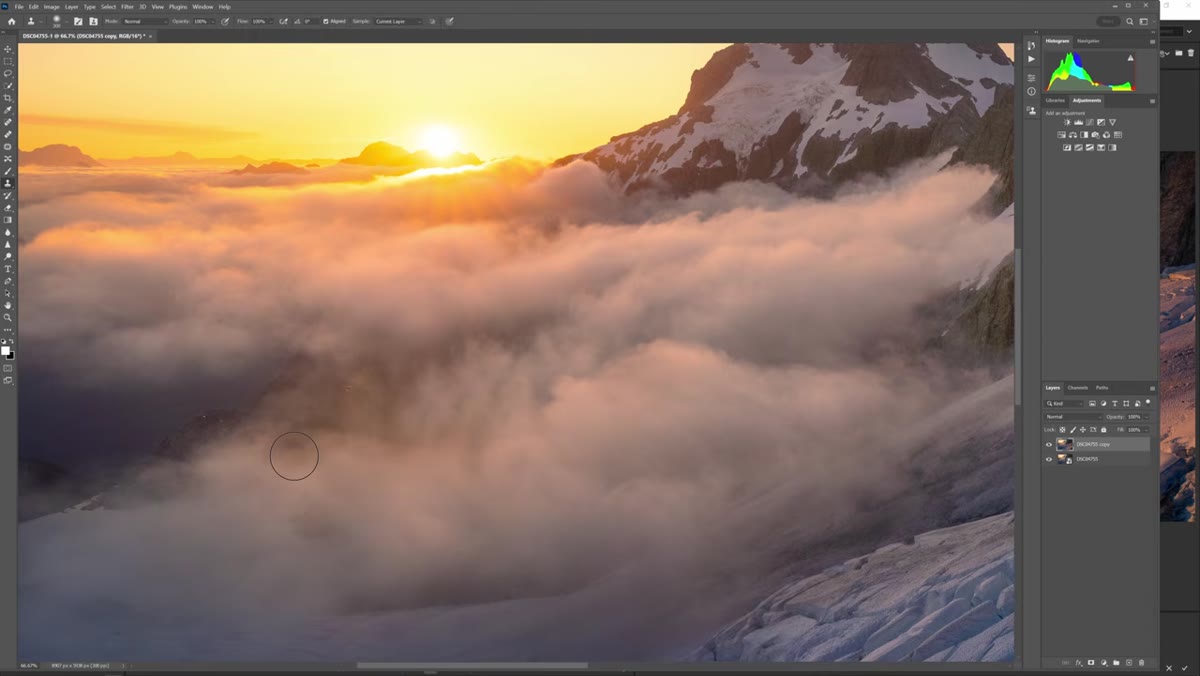 Final minor adjustments made to an almost-complete edit
Wait again before the third pass. When you return, approach the image as if you’re looking at someone else’s work. Your only job is to identify anything that still pulls you out of the scene. This pass is for small corrections - a slightly heavy vignette, a color that’s reading wrong on a neutral monitor, a local adjustment that went a hair too far.
Final minor adjustments made to an almost-complete edit
Wait again before the third pass. When you return, approach the image as if you’re looking at someone else’s work. Your only job is to identify anything that still pulls you out of the scene. This pass is for small corrections - a slightly heavy vignette, a color that’s reading wrong on a neutral monitor, a local adjustment that went a hair too far.
Sometimes this pass produces no changes at all. That’s a good sign, not a sign that you wasted a session. Other times you’ll catch something obvious that you somehow missed twice before. Either outcome is the point. The third pass is about objectivity, not volume of edits.
Step 5: The Marination Stage - Let the Image Prove Itself
 Completed file sitting in a drafts folder awaiting review
After all three passes, move the file into what Patino calls the marination stage. This means dropping it into a dedicated drafts folder and revisiting it periodically, every few days or once a week, without opening it to edit. Just look at it. Full screen, a few feet from your monitor, no tools open.
Completed file sitting in a drafts folder awaiting review
After all three passes, move the file into what Patino calls the marination stage. This means dropping it into a dedicated drafts folder and revisiting it periodically, every few days or once a week, without opening it to edit. Just look at it. Full screen, a few feet from your monitor, no tools open.
The marination stage has a specific purpose. It removes your emotional connection to the image, which is the single largest source of posting decisions you’ll regret. If you open the file four or five times over the course of two weeks and it still holds up, you’re done. If something keeps nagging at you, that’s useful information. Fix the obvious things. If the unease isn’t about the processing at all, that points to something deeper.
Step 6: Use the Four Pillars to Diagnose What’s Actually Wrong
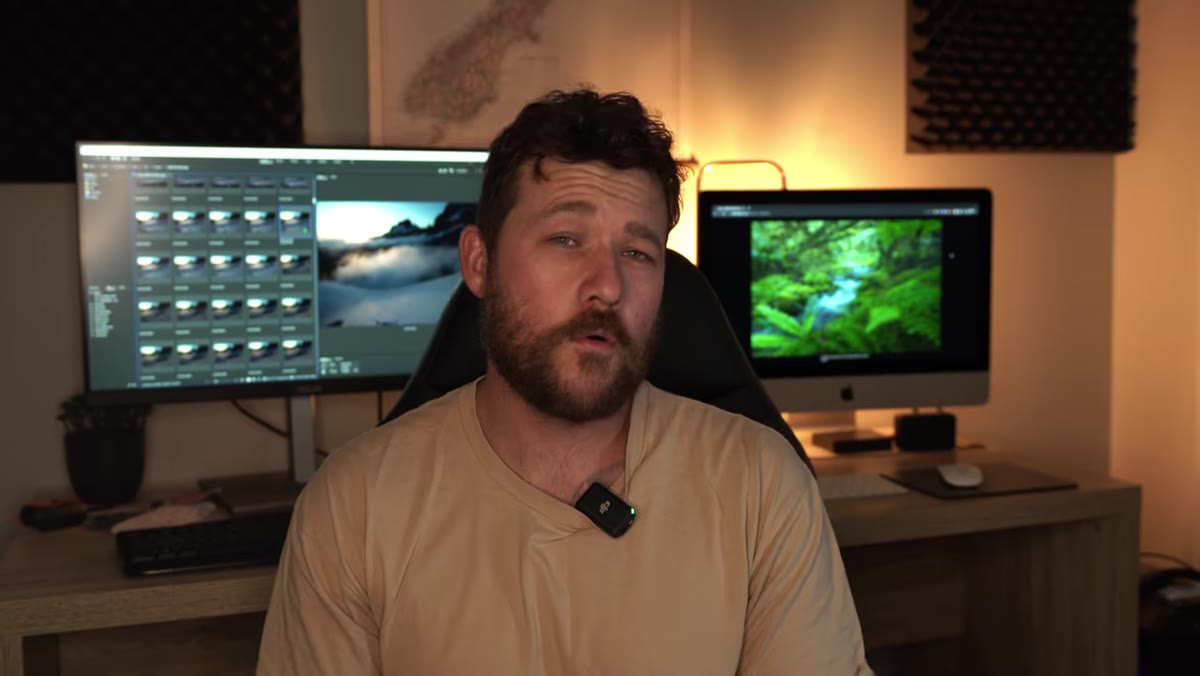 The four pillars of landscape photography outlined on screen
Patino outlines four pillars that together determine whether an image is genuinely strong: location and subject matter, composition, light, and post-processing. All four have to hold. If something still feels off after marination and you can’t find a processing fix, work through each pillar as a diagnostic checklist.
The four pillars of landscape photography outlined on screen
Patino outlines four pillars that together determine whether an image is genuinely strong: location and subject matter, composition, light, and post-processing. All four have to hold. If something still feels off after marination and you can’t find a processing fix, work through each pillar as a diagnostic checklist.
Is the subject matter actually compelling, or did you fall in love with the experience of being there? Is the composition doing its job, or is the eye wandering without a clear landing point? Was the light actually interesting, or are you trying to manufacture atmosphere that wasn’t present? These are hard questions. But answering them honestly before you post is the entire difference between a portfolio image and one you quietly delete six months later.
What I’d Add From Two Decades in the Field
The mental model I’d layer onto this workflow is what I think of as the “stranger test.” Before I finalize anything, I ask whether this image would stop someone who has never been to this place and has no idea I took it. That removes my attachment to the memory entirely.
I also keep a notes file for each marination-stage image, just a line or two about what I was uncertain about during each revisit. Over time, patterns show up. I consistently over-saturate greens in Pacific Northwest shots. I push shadows too hard when I’m tired. Knowing your specific tendencies means you can watch for them before they become problems, not after you’ve already shared the image to an audience.
The single most important idea in this entire approach is that slowing down is a production decision, not a creative weakness. Every image you’ve posted and then quietly hated could have been caught by this system. Build the pauses in deliberately and they stop feeling like waiting. They start feeling like the work itself.
Watch the full tutorial on YouTube and see Patino walk through this on an actual raw file. Watching the editing decisions happen in real time makes the pacing of each pass much clearer than any written breakdown can.
Comments (2)
Been doing this wrong for years apparently. Thanks for the wake-up call.
This saved me so much time on my last edit. Wish I'd found this sooner.
Leave a Comment