
For years, I did what most landscape photographers do when they know they need a foreground but can’t find one: I wandered. Head down, shuffling around in the pre-dawn dark, increasingly frustrated, increasingly aware that the light was getting better while my position was getting worse. I knew the rule. Put something in the foreground. What nobody ever explained to me clearly was how to actually find that something, and how to recognize it when it was right under my boots.
That’s exactly the gap that Watch the full tutorial on YouTube – this Mark Denney tutorial fills. Denney has built a reputation for making compositional thinking practical rather than abstract, and this video is one of his sharpest pieces of instruction. He lays out five techniques for identifying foreground interest quickly and confidently when you’re standing in the field with limited time and a lot of pressure.
What struck me most watching this is how much of the problem is a physics problem before it’s an aesthetic one. Wide angle lenses, which most of us reach for in the field, flatten a scene aggressively when every element sits at roughly the same distance from the camera. The result is an image that looks like a postcard rather than a place you can step into. Foreground isn’t decoration. It’s the mechanism by which a wide angle lens creates depth, separation, and dimension. Once you understand that, finding foreground stops being a creative mystery and starts being a spatial problem you can actually solve.
Step 1: Understand What You’re Actually Looking For
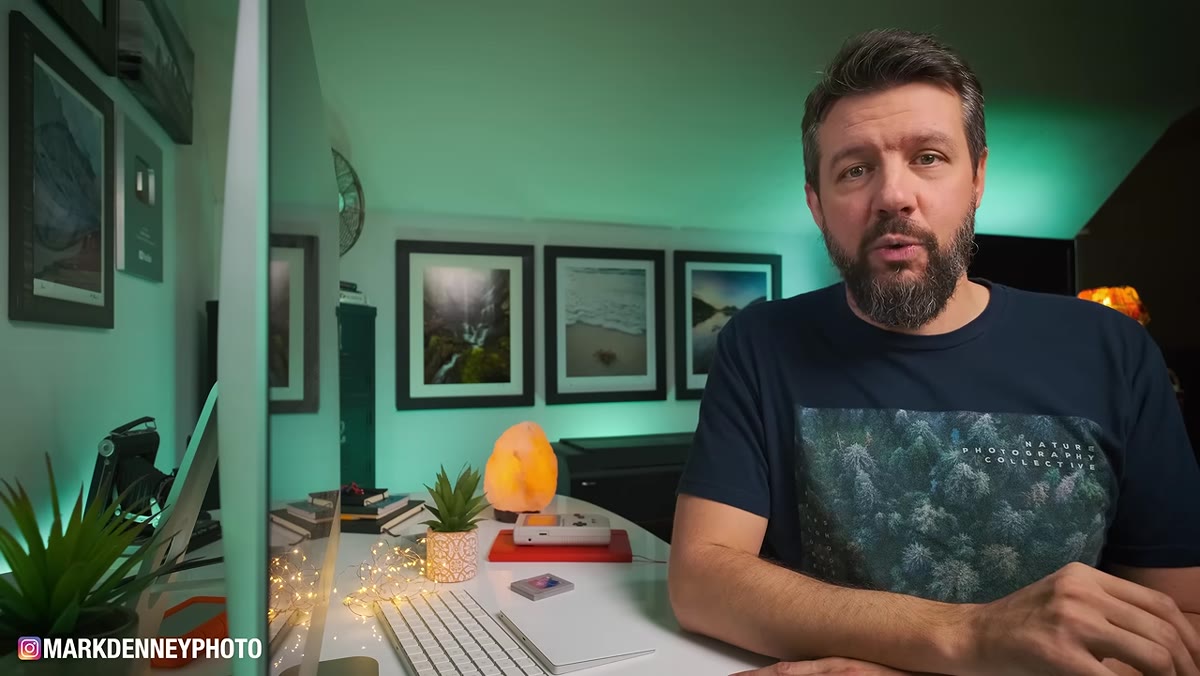 Photographer explaining what foreground elements should accomplish
Before you can find foreground interest, you need a working definition that goes beyond “something close to the camera.” Denney frames it as any element near your position that creates visual separation between itself, a mid-ground, and a background. The goal is three distinct zones of apparent distance and size within a single frame. When a viewer’s eye moves from the near rocks or grasses through to a distant mountain or sky, the image reads as three-dimensional rather than flat. That’s the target. You’re not looking for something pretty in the foreground. You’re looking for something that does a structural job.
Photographer explaining what foreground elements should accomplish
Before you can find foreground interest, you need a working definition that goes beyond “something close to the camera.” Denney frames it as any element near your position that creates visual separation between itself, a mid-ground, and a background. The goal is three distinct zones of apparent distance and size within a single frame. When a viewer’s eye moves from the near rocks or grasses through to a distant mountain or sky, the image reads as three-dimensional rather than flat. That’s the target. You’re not looking for something pretty in the foreground. You’re looking for something that does a structural job.
Step 2: Stop Searching and Start Positioning
 Wide angle lens demonstration showing flat vs. layered scene
The biggest shift Denney suggests is moving from a searching mindset to a positioning mindset. Rather than walking around looking for a foreground element to present itself, you identify your background and mid-ground first, then ask what exists near your feet that could anchor the near plane. Get low, move laterally, and pay attention to what changes as your camera position changes. A patch of pebbles that looks meaningless at standing height can become a compelling textured foreground when you drop to knee level and move three feet to the left. The foreground was always there. The question is whether your position reveals it.
Wide angle lens demonstration showing flat vs. layered scene
The biggest shift Denney suggests is moving from a searching mindset to a positioning mindset. Rather than walking around looking for a foreground element to present itself, you identify your background and mid-ground first, then ask what exists near your feet that could anchor the near plane. Get low, move laterally, and pay attention to what changes as your camera position changes. A patch of pebbles that looks meaningless at standing height can become a compelling textured foreground when you drop to knee level and move three feet to the left. The foreground was always there. The question is whether your position reveals it.
Step 3: Train Your Eye on Texture Before Shape
 Example image showing foreground texture leading into the scene
Denney makes a useful observation about what kinds of foreground elements tend to work. Texture reads well at close range under wide angle compression, especially when light is raking across a surface at a low angle. Rocks, wet sand, fallen leaves, frost on grass, cracked mud, root systems – these aren’t dramatic subjects on their own, but they carry texture that creates visual weight in the near frame. Shape matters too, but texture is often more forgiving because it doesn’t require a specific silhouette or form to work. Training yourself to scan for surface quality rather than recognizable objects opens up a much wider range of foreground candidates.
Example image showing foreground texture leading into the scene
Denney makes a useful observation about what kinds of foreground elements tend to work. Texture reads well at close range under wide angle compression, especially when light is raking across a surface at a low angle. Rocks, wet sand, fallen leaves, frost on grass, cracked mud, root systems – these aren’t dramatic subjects on their own, but they carry texture that creates visual weight in the near frame. Shape matters too, but texture is often more forgiving because it doesn’t require a specific silhouette or form to work. Training yourself to scan for surface quality rather than recognizable objects opens up a much wider range of foreground candidates.
Step 4: Use Natural Lines to Connect the Zones
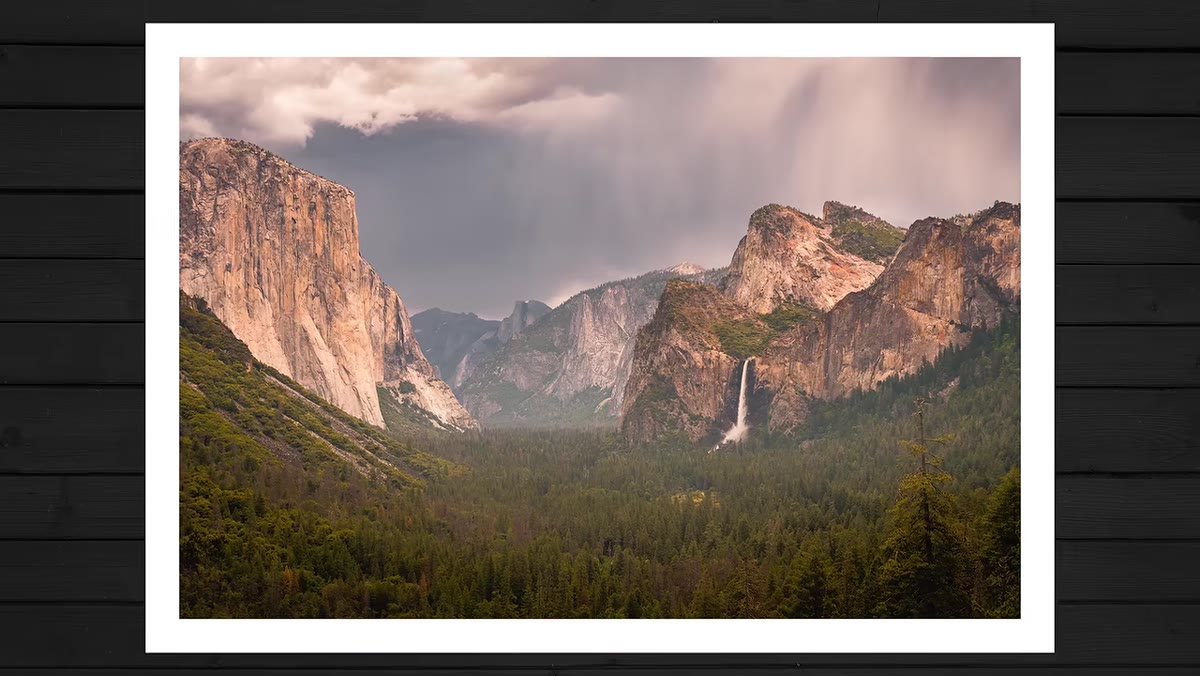 Diagram or image showing leading lines moving from foreground to background
One of the most reliable foreground techniques Denney covers is using linear elements to physically connect the foreground to the rest of the scene. A shoreline, a fence, a row of stones, a crack in ice, the edge of a shadow – any of these can serve as a visual pathway that draws the eye from the near plane through the mid-ground toward the background. When you find a potential foreground element, ask whether it has directionality. Does it point somewhere? Does it move the eye, or does it just sit there? The elements that both anchor the near frame and guide the eye deeper into the scene are doing double compositional work, and they’re worth prioritizing.
Diagram or image showing leading lines moving from foreground to background
One of the most reliable foreground techniques Denney covers is using linear elements to physically connect the foreground to the rest of the scene. A shoreline, a fence, a row of stones, a crack in ice, the edge of a shadow – any of these can serve as a visual pathway that draws the eye from the near plane through the mid-ground toward the background. When you find a potential foreground element, ask whether it has directionality. Does it point somewhere? Does it move the eye, or does it just sit there? The elements that both anchor the near frame and guide the eye deeper into the scene are doing double compositional work, and they’re worth prioritizing.
Step 5: Work the Scene Before You Set the Tripod
 Photographer moving around location before committing to a position
Denney is direct about process here, and it matches what I’ve learned the hard way over two decades of early mornings. Don’t plant the tripod the moment you arrive at a location. Walk the scene. Crouch down. Look through your viewfinder or live view from several different positions before you commit. What reads as a dead foreground from the obvious shooting position sometimes reveals a strong anchor from a spot 20 feet away that nobody else would think to use. The tripod, once it goes down, has a psychological finality to it. Resist that. Stay mobile until you’ve actually found something worth committing to.
Photographer moving around location before committing to a position
Denney is direct about process here, and it matches what I’ve learned the hard way over two decades of early mornings. Don’t plant the tripod the moment you arrive at a location. Walk the scene. Crouch down. Look through your viewfinder or live view from several different positions before you commit. What reads as a dead foreground from the obvious shooting position sometimes reveals a strong anchor from a spot 20 feet away that nobody else would think to use. The tripod, once it goes down, has a psychological finality to it. Resist that. Stay mobile until you’ve actually found something worth committing to.
Step 6: Build a Mental Library Between Shoots
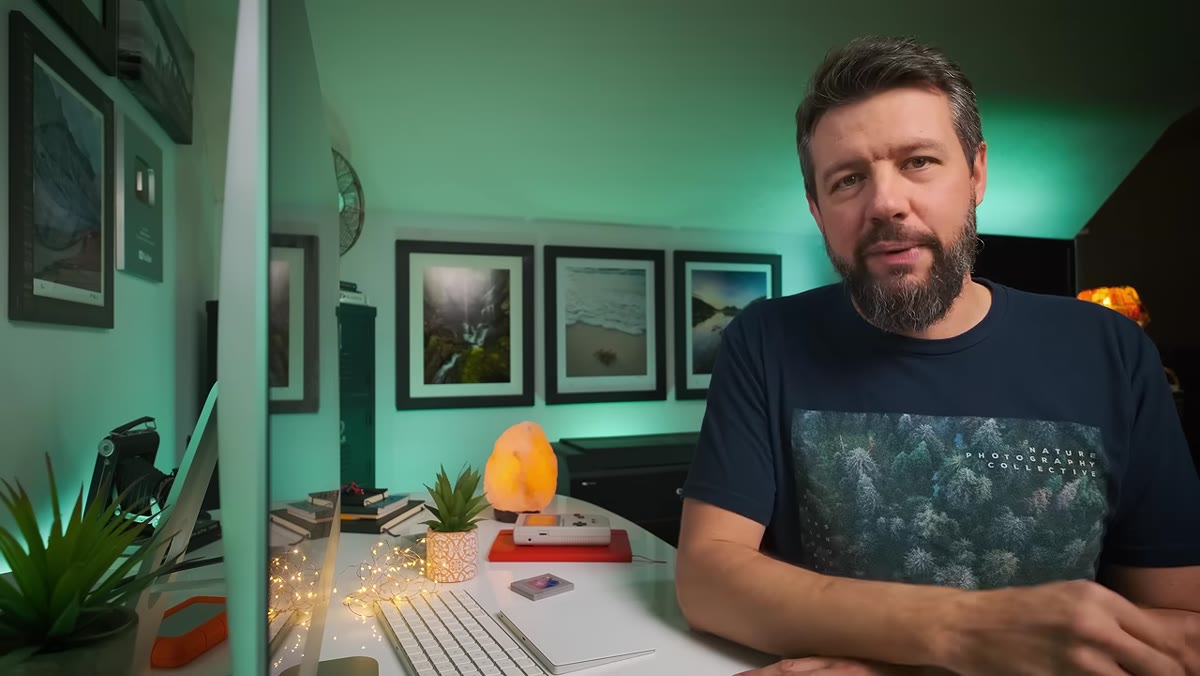 Discussion of developing compositional instincts over time
The longer-term technique Denney closes on is developing what amounts to pattern recognition. Every time you’re out in the field, whether you’re shooting or not, notice what’s at your feet. Notice how light hits different surface types. Notice which ground-level elements have scale and weight when placed against a wide background. Over time, you stop searching because you’ve catalogued enough visual information that you can recognize a strong foreground candidate almost instantly. This is less a technique than a habit, but it’s the habit that separates photographers who wander from photographers who arrive and work efficiently.
Discussion of developing compositional instincts over time
The longer-term technique Denney closes on is developing what amounts to pattern recognition. Every time you’re out in the field, whether you’re shooting or not, notice what’s at your feet. Notice how light hits different surface types. Notice which ground-level elements have scale and weight when placed against a wide background. Over time, you stop searching because you’ve catalogued enough visual information that you can recognize a strong foreground candidate almost instantly. This is less a technique than a habit, but it’s the habit that separates photographers who wander from photographers who arrive and work efficiently.
One Thing I’d Add From the Field
Denney’s framework is sound, and I’d apply all of it without hesitation. The one thing I’d layer on is the value of arriving early enough to assess foreground in full light before committing to a position for sunrise or golden hour. I’ve made the mistake more times than I’d like to admit of locking in a composition in pre-dawn darkness, only to realize when the light arrived that the foreground I thought was textured and interesting was actually a flat, featureless patch of mud. If the location allows it, scout in midday light the day before, or give yourself time on arrival to read the ground before the clock runs out. The mountain doesn’t care about your timeline, but your foreground does.
The single most important idea in this tutorial is also the simplest: foreground interest is not something you find. It’s something you create through positioning. Shift where you stand, change your height, change your angle, and an ordinary patch of ground becomes the anchor your composition was missing. That’s a more empowering way to think about it, and it’s why this video is worth your time.
Watch the full tutorial on YouTube to see Denney walk through each technique with real images and specific examples from his own shoots.
Comments (3)
Finally someone explains this in a way that actually makes sense.
Tried this technique this morning. Game changer for real.
Applied this to my portfolio shots and the improvement is noticeable.
Leave a Comment