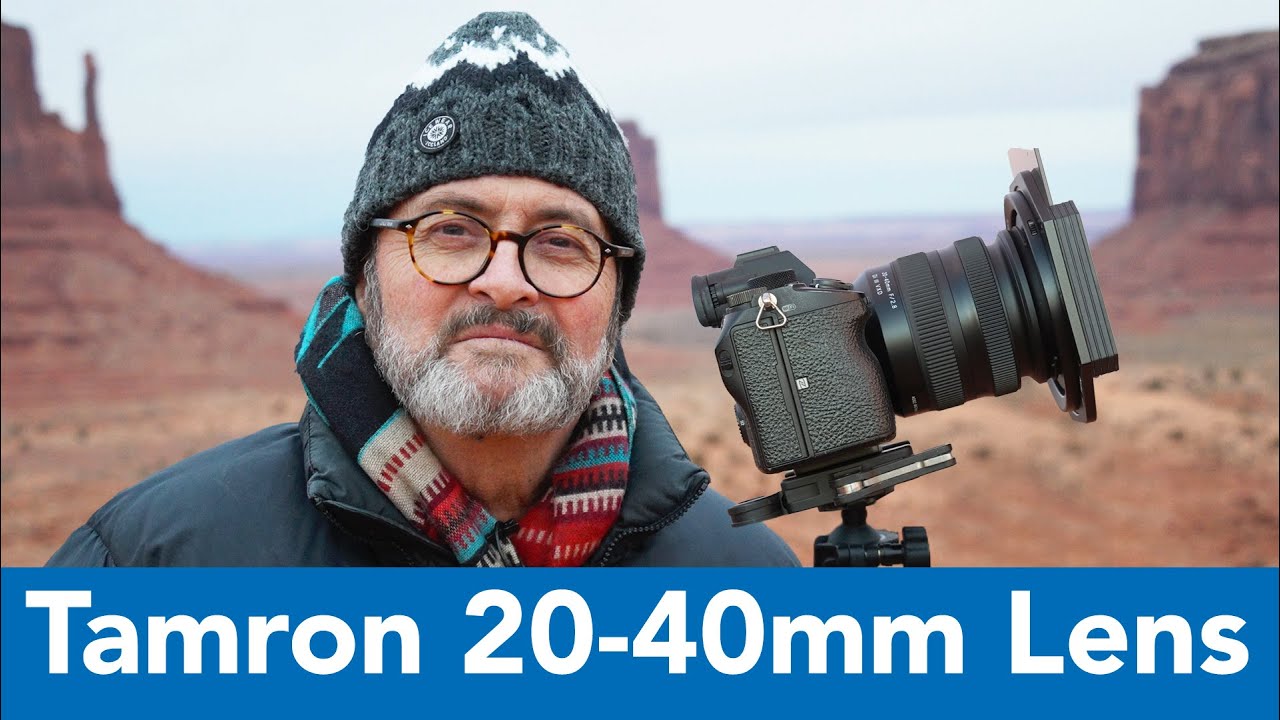
There’s a specific kind of frustration I know well: standing at the edge of a vast landscape at first light, knowing that my 24-70mm is just a touch too long at the wide end to pull everything in, but also knowing I’d left my 16-35mm at home because I didn’t want to carry two zoom lenses up a trail in the dark. Gear decisions made the night before always feel different at 4am when the light is doing something extraordinary and you’re one focal length short.
That tension is exactly what made me pay close attention when Jay P. Morgan over at The Slanted Lens took the new Tamron 20-40mm f/2.8 out to Monument Valley for a real field test. This isn’t a lens that fits the obvious categories. It’s not a dedicated ultra-wide, and it’s not a standard zoom. But in Watch the full tutorial on YouTube, what Jay P. actually demonstrates is something more interesting: a lens designed around the specific problems landscape and travel photographers face every single day.
I’ve spent time with this review closely enough to break it down step by step, because the focal range logic alone is worth understanding before you dismiss this as a niche product. Let me walk through what Jay P. covers and what it means in practice.
Step 1: Understand Why This Focal Range Exists
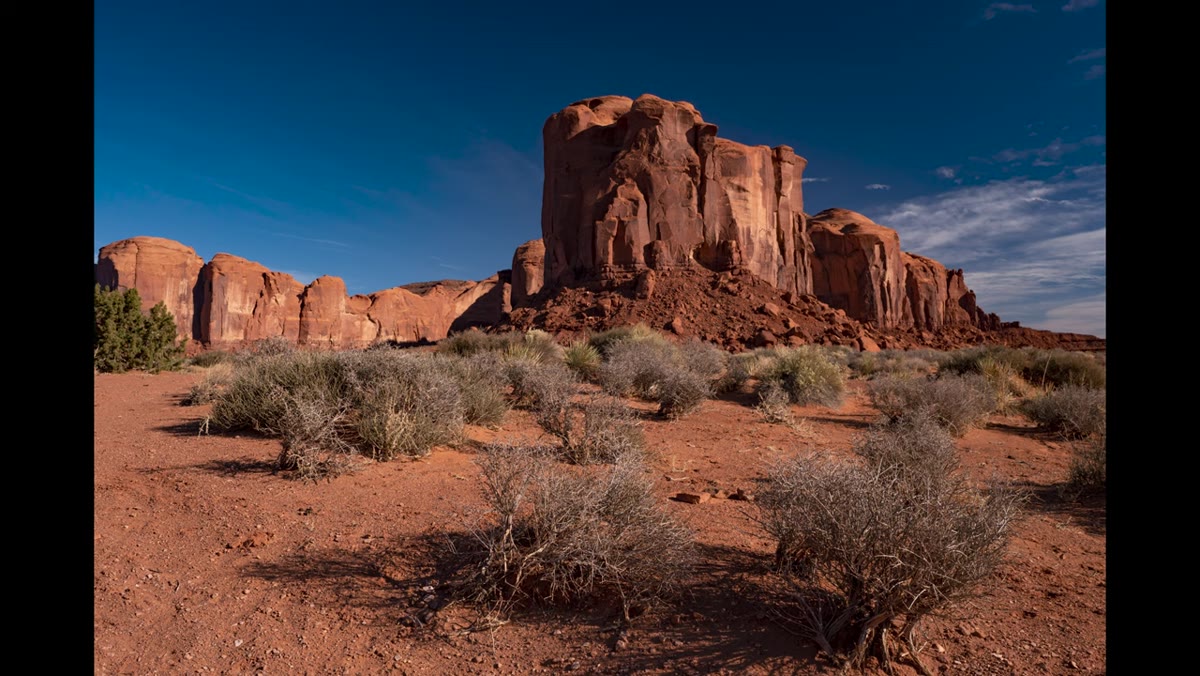
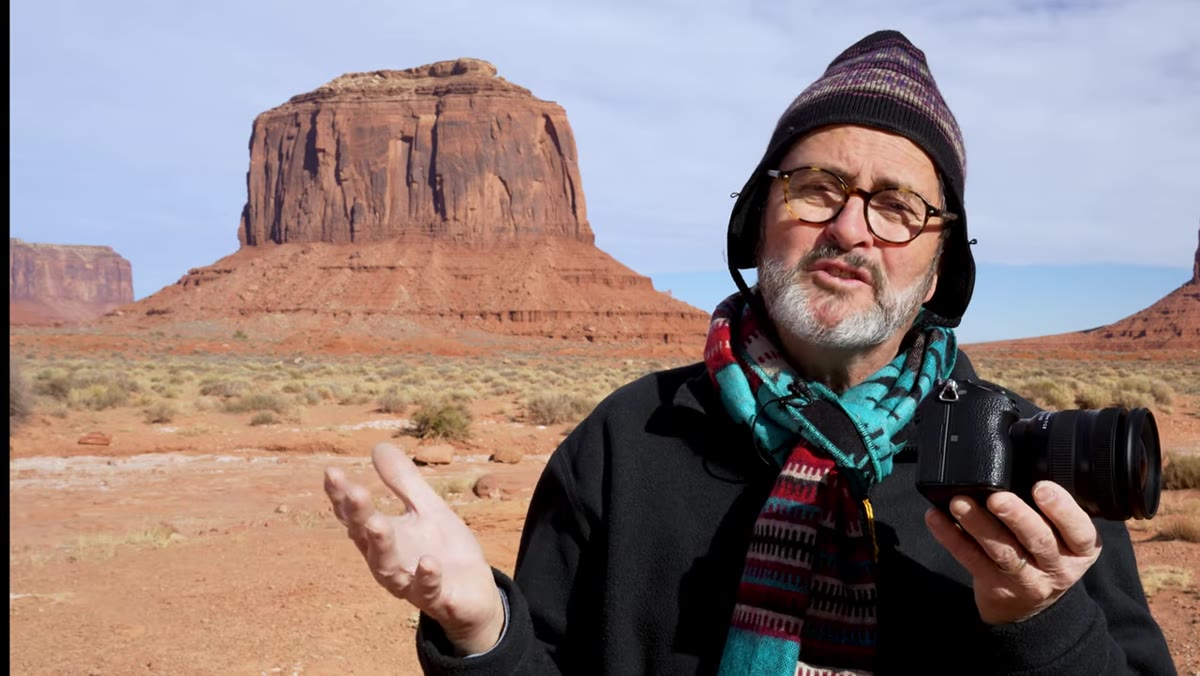 Wide view of Monument Valley with three buttes in frame
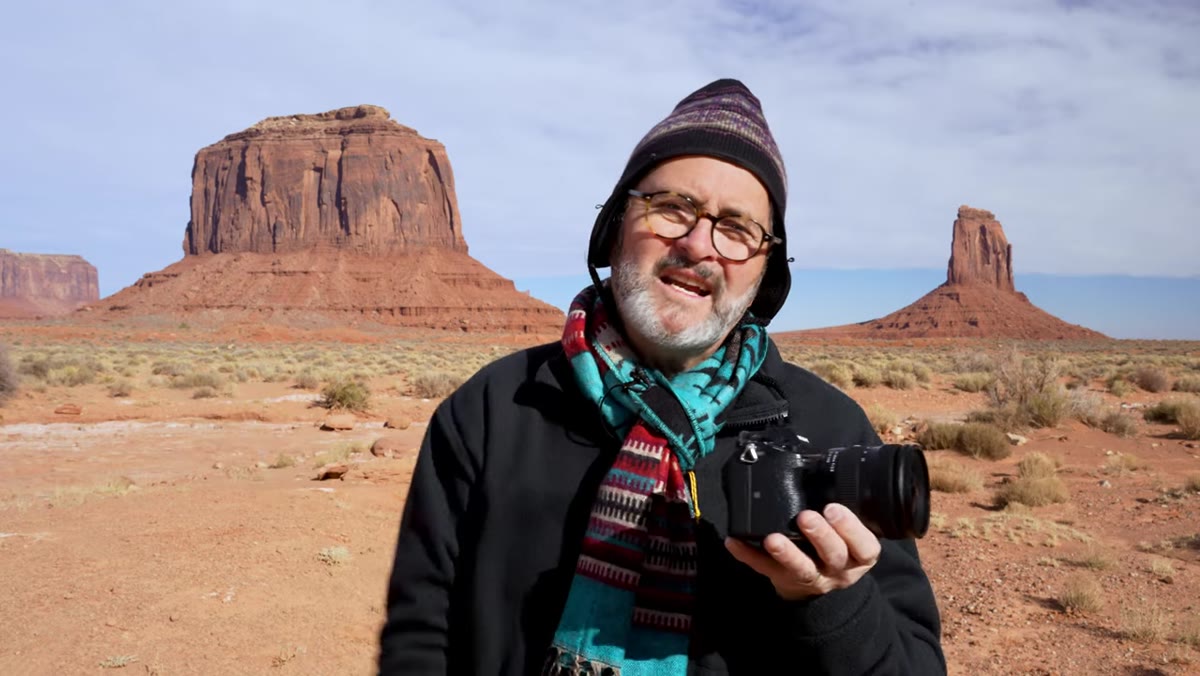
The pairing of 20mm and 40mm sounds odd until you think about it as two distinct tools in one barrel. At 20mm, you’re capturing the full sweep of a landscape, the kind of shot where foreground, midground, and sky all have a role to play. Jay P. shoots Monument Valley’s three mitten buttes in a single frame from this end. At 40mm, you’re sitting close to the classic “normal” focal length, the perspective that most closely mirrors how human vision reads a scene without distortion. That’s not an accident. Tamron built this range to cover the two moments every landscape shooter encounters most: the grand vista and the composed, compressed panoramic segment.
Wide view of Monument Valley with three buttes in frame
The pairing of 20mm and 40mm sounds odd until you think about it as two distinct tools in one barrel. At 20mm, you’re capturing the full sweep of a landscape, the kind of shot where foreground, midground, and sky all have a role to play. Jay P. shoots Monument Valley’s three mitten buttes in a single frame from this end. At 40mm, you’re sitting close to the classic “normal” focal length, the perspective that most closely mirrors how human vision reads a scene without distortion. That’s not an accident. Tamron built this range to cover the two moments every landscape shooter encounters most: the grand vista and the composed, compressed panoramic segment.
If you shoot stitched panoramics at all, the 40mm end becomes particularly valuable. Ultra-wide lenses introduce enough barrel distortion at the edges that stitching panels together becomes a headache in post. At 40mm, perspective distortion is minimal and panels blend cleanly. This range isn’t a compromise. It’s a deliberate choice.
Step 2: Evaluate the Aperture for Low-Light and Depth-of-Field Work
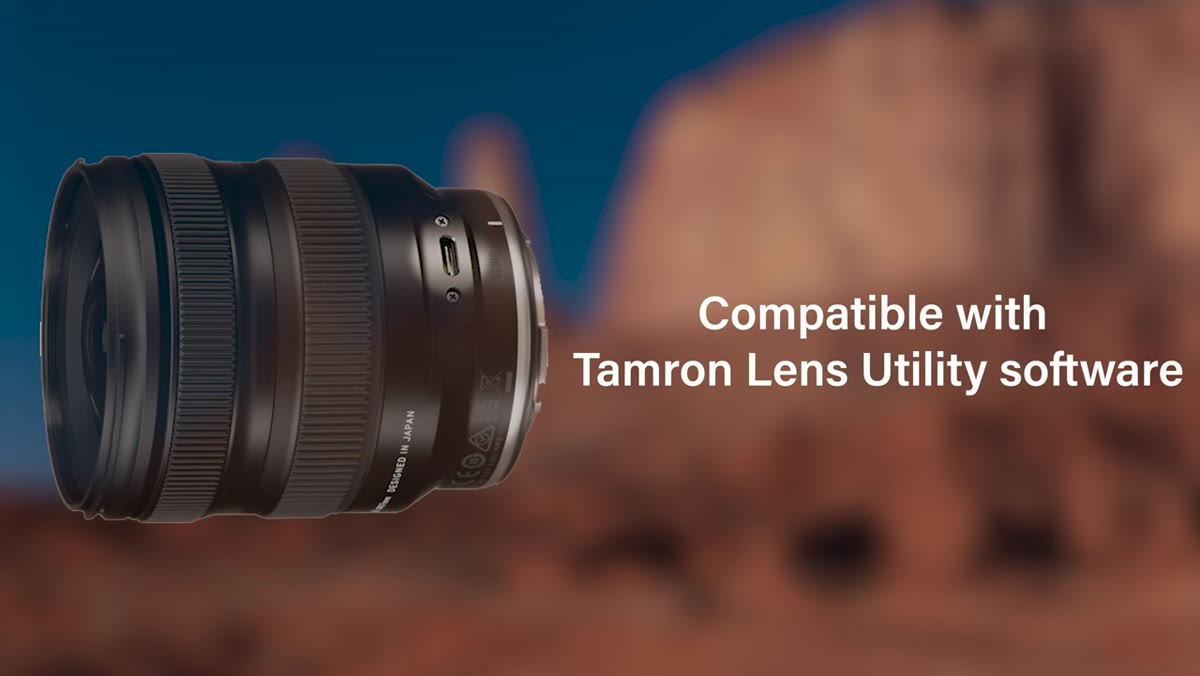
 Close-up of lens body showing f/2.8 aperture marking
An f/2.8 constant aperture across the full zoom range matters more than most reviewers explain. At 20mm f/2.8, you’re collecting serious light at blue hour without pushing ISO into ranges that degrade your shadow detail. Jay P. notes this directly, and I’d add that the depth-of-field characteristics at this aperture give you creative options that f/4 or f/5.6 zooms simply don’t. You can isolate a foreground element, a rock, a wildflower, a piece of peeling paint, against a softened background even at the wide end. That’s not something most landscape photographers think to use, but it changes the vocabulary of what a wide lens can do.
Close-up of lens body showing f/2.8 aperture marking
An f/2.8 constant aperture across the full zoom range matters more than most reviewers explain. At 20mm f/2.8, you’re collecting serious light at blue hour without pushing ISO into ranges that degrade your shadow detail. Jay P. notes this directly, and I’d add that the depth-of-field characteristics at this aperture give you creative options that f/4 or f/5.6 zooms simply don’t. You can isolate a foreground element, a rock, a wildflower, a piece of peeling paint, against a softened background even at the wide end. That’s not something most landscape photographers think to use, but it changes the vocabulary of what a wide lens can do.
The key field habit here: resist the instinct to always stop down to f/11 for maximum depth of field. Shoot a frame at f/2.8 before you do anything else. You might be surprised what you come home with.
Step 3: Assess the Build and Ergonomics for Field Conditions
 Hands gripping lens with gloves in cold morning light
Jay P. mentions this briefly but it deserves more attention. Tamron has standardized a lot of their recent Sony-mount lenses around a 67mm filter thread and a shared physical platform that prioritizes low weight without sacrificing weather resistance. He was shooting in cold morning temperatures with gloves on and found the grip texture on the zoom and focus rings usable without having to remove them. That detail is small in a studio review and enormous on a freezing ridgeline.
Hands gripping lens with gloves in cold morning light
Jay P. mentions this briefly but it deserves more attention. Tamron has standardized a lot of their recent Sony-mount lenses around a 67mm filter thread and a shared physical platform that prioritizes low weight without sacrificing weather resistance. He was shooting in cold morning temperatures with gloves on and found the grip texture on the zoom and focus rings usable without having to remove them. That detail is small in a studio review and enormous on a freezing ridgeline.
Weight is the other factor. A lighter lens means you’ll actually bring it. The best lens for a shoot is the one that makes it into your bag. If this fits a 67mm filter thread and stays light enough to leave on the camera body all day, that changes how you think about it as a walk-around option rather than a specialty tool you pull out for specific shots.
Step 4: Test the Autofocus System in Real Conditions
 Camera tracking subject with VXD autofocus active on Sony body
The VXD linear motor autofocus in this lens is built to pair with Sony’s phase-detection system, and when Jay P. runs it against the a7R V, it performs without hesitation. For landscape photographers who think autofocus is irrelevant because they’re shooting static scenes, consider video. More landscape photographers are incorporating video into their workflow, and smooth, responsive autofocus during a slow gimbal move across a canyon at golden hour is the difference between usable footage and something you throw away.
Camera tracking subject with VXD autofocus active on Sony body
The VXD linear motor autofocus in this lens is built to pair with Sony’s phase-detection system, and when Jay P. runs it against the a7R V, it performs without hesitation. For landscape photographers who think autofocus is irrelevant because they’re shooting static scenes, consider video. More landscape photographers are incorporating video into their workflow, and smooth, responsive autofocus during a slow gimbal move across a canyon at golden hour is the difference between usable footage and something you throw away.
For still photography, fast autofocus matters most in unpredictable conditions: wildlife that wanders into your frame, a person hiking into a landscape shot, or simply the speed of confirming focus on a dark foreground element before the light changes. Set your camera to use eye-tracking or subject recognition and let the lens-camera combination do the heavy lifting so you can concentrate on composition.
Step 5: Exploit the Minimum Focus Distance for Forced Perspective
 Lens focused extremely close to foreground bolts with tower behind
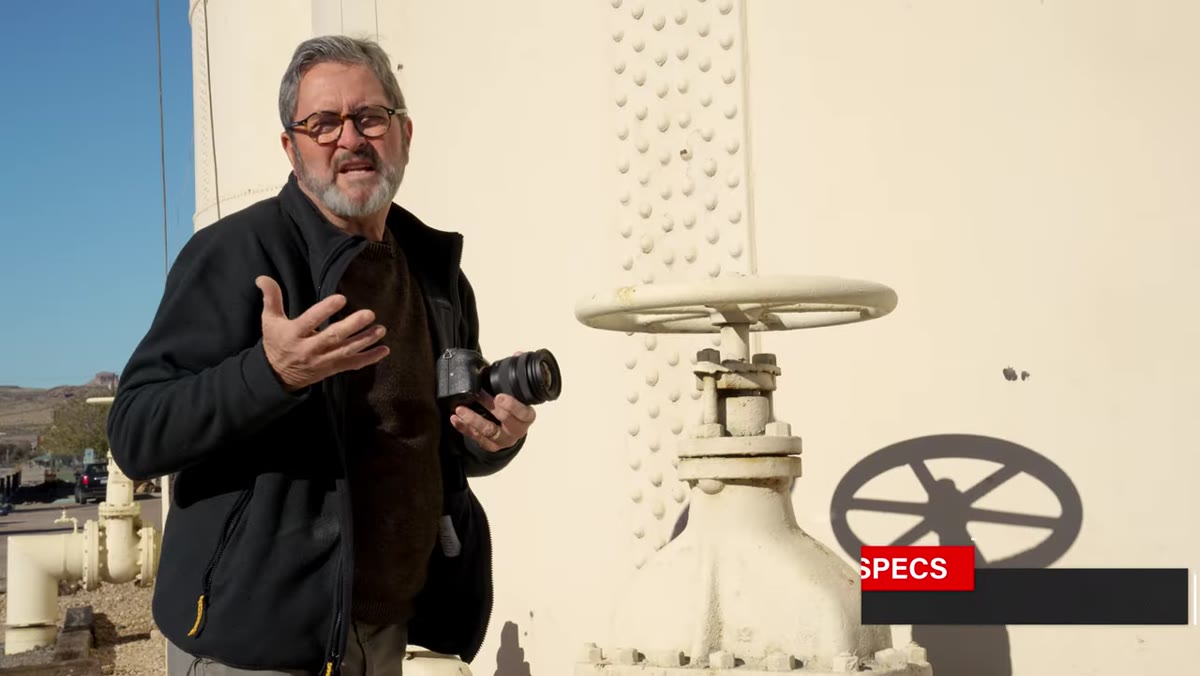
This is the step most reviews gloss over. At 20mm, this lens focuses as close as 6.7 inches from the front element. That is close. What it means practically is that you can place the lens almost on top of a foreground subject, a stone, a flower, a boot, and have that object fill a significant portion of the frame while the background landscape stretches away behind it. This is forced perspective, and it’s one of the most powerful compositional tools in wide-angle landscape work.
Lens focused extremely close to foreground bolts with tower behind
This is the step most reviews gloss over. At 20mm, this lens focuses as close as 6.7 inches from the front element. That is close. What it means practically is that you can place the lens almost on top of a foreground subject, a stone, a flower, a boot, and have that object fill a significant portion of the frame while the background landscape stretches away behind it. This is forced perspective, and it’s one of the most powerful compositional tools in wide-angle landscape work.
Get low. Get close. Let the geometry of the wide focal length do the exaggerating for you. The compressed background and the looming foreground create a sense of depth and scale that no telephoto or standard focal length can replicate.
What Twenty Years of Field Work Adds to This
I’ve shot with a lot of wide-to-standard zooms over the years, and the ones that survive in my bag are the ones that don’t make me think about them. The best gear disappears. What I appreciate about the logic behind the 20-40mm range is that it’s built around editorial decisions photographers actually make, not around covering the widest possible spec sheet numbers. My mentor once told me the mountain doesn’t care about your schedule. He was talking about patience, but it applies to gear too. The mountain doesn’t care what’s in your bag. What matters is whether you were there, ready, with something capable. A light, fast, versatile lens that you actually bring is worth more than a heavier, more impressive one sitting in your truck.
The single most important takeaway from Jay P.’s review is this: stop thinking about focal length ranges as a spectrum from wide to normal and start thinking about what each end actually enables. At 20mm you’re capturing relationships between large elements. At 40mm you’re compressing a scene for stitching or for a more considered, less distortion-heavy composition. Knowing which mode you’re in before you raise the camera is what separates a deliberate shot from a lucky one.
Watch the full tutorial on YouTube and pay close attention to the Monument Valley sequences. Seeing the same location shot across this focal range back to back is worth more than any spec comparison.
Comments
Leave a Comment