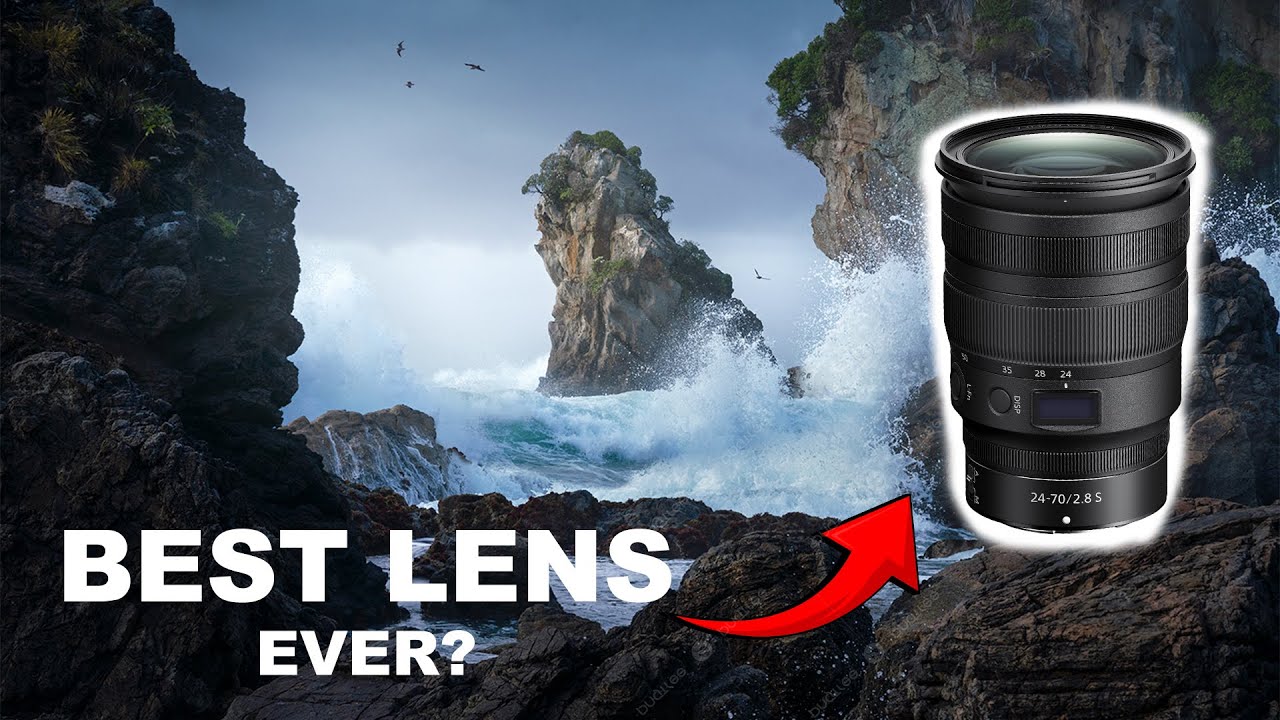
There’s a lens sitting in my bag that I probably reach for more than I’d care to admit, given how long I spent ignoring it. For years I worked almost exclusively between two extremes: the ultra-wide for sweeping foreground drama, and the telephoto for compression and isolation. The mid-range zoom felt like a compromise. Neither fish nor fowl. I was wrong, and it took me an embarrassingly long time to figure that out.
Recently I came across a tutorial from William Patino that put into words a lot of what I’ve slowly learned through trial and error over the past two decades. Watch the full tutorial on YouTube before or after reading this. What struck me was how precisely he describes the way a mid-range focal length, roughly 24-70mm, renders a landscape in a way that feels familiar to the viewer. That’s not a small thing. In landscape photography, relatability is trust. When a viewer feels like they could be standing in that frame, they stay with the image longer. The mid-range earns that response more naturally than either extreme.
What follows is my field-guide breakdown of Patino’s core ideas, expanded with specifics you can take directly to your next shoot.
Step 1: Understand What “Mid-Range” Actually Means for Landscapes
 Patino explaining the 24-100mm mid-range focal length range
The mid-range covers roughly 24mm to 100mm, with the 24-70mm being the most common configuration. Within that range, the 40-50mm sweet spot is where things start to behave the way your eye does. Not the way your eye literally works, with all its peripheral sweep and constant adjustment, but the way your brain processes a scene when you’re standing still and paying attention. That correspondence between focal length and perceived natural vision is the core selling point of this lens category for landscapes.
Patino explaining the 24-100mm mid-range focal length range
The mid-range covers roughly 24mm to 100mm, with the 24-70mm being the most common configuration. Within that range, the 40-50mm sweet spot is where things start to behave the way your eye does. Not the way your eye literally works, with all its peripheral sweep and constant adjustment, but the way your brain processes a scene when you’re standing still and paying attention. That correspondence between focal length and perceived natural vision is the core selling point of this lens category for landscapes.
In practical terms, this means your background won’t miniaturize the way it does on an ultra-wide, and your foreground won’t flatten and compress the way it does on a long telephoto. You’re working in a middle register that allows both foreground and background to coexist with something close to their real proportional relationship.
Step 2: Recognize When the Mid-Range Fits the Scene
 Patino describing early preference for ultra-wide and telephoto lenses
Patino is honest that he came to this lens late, originally favoring ultra-wides and long glass. That track mirrors a lot of photographers’ journeys, including mine. The shift comes when you encounter scenes where neither extreme is quite right. A scene with a moderate subject, say a cluster of boulders, a lone tree, a bend in a river, where you want the subject to have real presence without dominating every pixel of the frame, is exactly where a mid-range lens earns its keep.
Patino describing early preference for ultra-wide and telephoto lenses
Patino is honest that he came to this lens late, originally favoring ultra-wides and long glass. That track mirrors a lot of photographers’ journeys, including mine. The shift comes when you encounter scenes where neither extreme is quite right. A scene with a moderate subject, say a cluster of boulders, a lone tree, a bend in a river, where you want the subject to have real presence without dominating every pixel of the frame, is exactly where a mid-range lens earns its keep.
If you’re heading into the field and aren’t sure which lens to pull, ask yourself one question: do I need extreme inclusion or extreme isolation? If the answer is neither, the mid-range is probably your starting point. Leave the 14mm at home for mornings when you know you’ll be working with a dominant foreground element close to the ground.
Step 3: Build Compositions with Layered Depth
 Patino describing foreground-to-background layering in composition
This is where Patino’s advice gets genuinely useful. The temptation with a mid-range is to point it at the thing you find interesting and shoot. The result is often a flat image that feels like a snapshot. The technique he recommends is building depth through progressive layers: something close, something mid-distance, something far. Each layer should be readable at its own scale, with the closest element showing the most detail and texture, and each subsequent layer slightly less resolved as it recedes.
Patino describing foreground-to-background layering in composition
This is where Patino’s advice gets genuinely useful. The temptation with a mid-range is to point it at the thing you find interesting and shoot. The result is often a flat image that feels like a snapshot. The technique he recommends is building depth through progressive layers: something close, something mid-distance, something far. Each layer should be readable at its own scale, with the closest element showing the most detail and texture, and each subsequent layer slightly less resolved as it recedes.
In practice, this means moving your feet before you move your zoom ring. If your foreground layer is weak, get lower or get closer until it becomes genuinely interesting. A line of river stones, the curve of a hillside, a stand of grasses in the near field – all of these can anchor a mid-range composition in a way that gives the eye a clear entry point and a natural path into the frame.
Step 4: Use Diminishing Scale to Create a Sense of Space
 Patino explaining diminishing perspective and progressive detail loss
Closely related to layering is the principle of diminishing scale. When objects of similar size appear progressively smaller as they move deeper into the frame, the brain reads that as distance. The mid-range is particularly well-suited to this because it doesn’t distort that scale relationship the way a wide-angle can, and it doesn’t collapse it the way a telephoto does.
Patino explaining diminishing perspective and progressive detail loss
Closely related to layering is the principle of diminishing scale. When objects of similar size appear progressively smaller as they move deeper into the frame, the brain reads that as distance. The mid-range is particularly well-suited to this because it doesn’t distort that scale relationship the way a wide-angle can, and it doesn’t collapse it the way a telephoto does.
Concrete application: look for repeating elements. Fence posts, trees along a ridgeline, rocks along a creek bed. Place the nearest one in the lower third of the frame and let the sequence carry the eye back toward the horizon. You don’t need a complicated scene. A simple progression, executed well, reads as far more immersive than a technically complex image that lacks spatial logic.
Step 5: Know the Lens’s Limits Before You’re Standing in the Field
 Patino discussing mid-range feeling restrictive in certain situations
Patino doesn’t oversell the lens, which is one of the reasons his tutorial is worth your time. He’s clear that the mid-range can feel restrictive in two specific situations: when you want to pull in a large, dramatic foreground (where the ultra-wide wins), and when your subject is distant and you want meaningful compression (where the telephoto wins). Knowing this before you drive two hours to a location means you don’t end up standing there frustrated, zooming back and forth and never committing.
Patino discussing mid-range feeling restrictive in certain situations
Patino doesn’t oversell the lens, which is one of the reasons his tutorial is worth your time. He’s clear that the mid-range can feel restrictive in two specific situations: when you want to pull in a large, dramatic foreground (where the ultra-wide wins), and when your subject is distant and you want meaningful compression (where the telephoto wins). Knowing this before you drive two hours to a location means you don’t end up standing there frustrated, zooming back and forth and never committing.
My rule: I carry the mid-range as my primary when the light is uncertain and I’m not sure what the scene will give me. It’s flexible enough to adapt. But if I know I’ll be shooting a specific foreground-heavy composition at sunrise, the ultra-wide goes on the camera before I leave the truck.
What I’ve Learned After Twenty Years of Getting This Wrong
Patino’s tutorial describes what the mid-range does. Here’s what I’d add from the field: the mid-range punishes lazy composition more honestly than either extreme. The ultra-wide can paper over weak composition with sheer visual drama. The telephoto can make almost any compressed abstract scene look considered. The mid-range shows you exactly what you did, and nothing else.
I started carrying mine more consistently about six years ago, and it forced me to think harder about what I was actually trying to say with each image. I stopped relying on visual spectacle to carry photographs and started thinking about spatial logic, about leading the viewer through a frame rather than dumping them into one. If you want a lens that sharpens your compositional thinking rather than compensating for weak thinking, the mid-range is it.
The single most important lesson from Patino’s tutorial: your composition is not complete when you’ve included your main subject. It’s complete when you’ve built a foreground, a mid-ground, and a background that work together to move the viewer’s eye naturally through the frame. The mid-range gives you the spatial range to do all three simultaneously. Use it.
Watch the full tutorial on YouTube to see Patino demonstrate these ideas with actual footage from the field.
Comments (1)
Would love to see a follow-up going deeper into this topic.
Leave a Comment