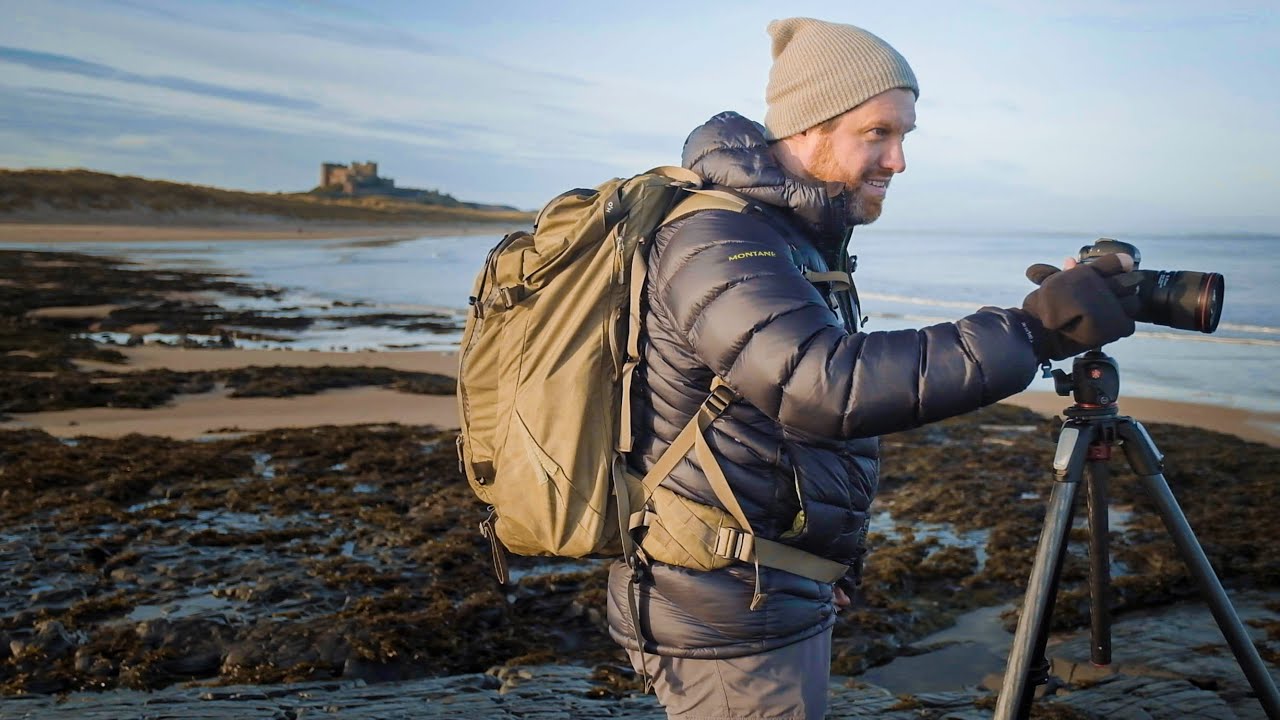
Some shoots just fall apart. You drive out with high expectations, the light is decent, the location is solid, and somehow you come home with nothing you’d show anyone. It happens to every photographer, including the pros making tutorials on YouTube. What separates a useful creative slump from a wasted one is whether you take the time afterward to understand what actually went wrong.
That’s exactly what drew me to this First Man Photography tutorial on common landscape photography mistakes. Watch the full tutorial on YouTube — because the creator does something rare here: he went out to shoot the heather bloom in North Yorkshire, had a genuinely rough session, and then came home and dissected why. No polished success story. Just an honest field report from someone who knows better and still got it wrong. After twenty years shooting landscapes in places like the high desert outside Bend, I recognized every single mistake he described. That recognition is the point.
Step 1: Stop Letting Self-Doubt Run the Session
 Photographer reflecting on a failed shoot at golden hour
Self-doubt is not the enemy. Blind confidence is. There is a version of self-criticism that sharpens your eye and pushes you to work harder, and there is a version that locks you up in the field until the light is gone and you have nothing to show for it. The mistake the video identifies is letting the internal critic tip from useful to paralyzing. When you start feeling like every frame you’re making is wrong, the instinct is to move faster, change subjects, try a different angle every thirty seconds. That instinct makes everything worse.
Photographer reflecting on a failed shoot at golden hour
Self-doubt is not the enemy. Blind confidence is. There is a version of self-criticism that sharpens your eye and pushes you to work harder, and there is a version that locks you up in the field until the light is gone and you have nothing to show for it. The mistake the video identifies is letting the internal critic tip from useful to paralyzing. When you start feeling like every frame you’re making is wrong, the instinct is to move faster, change subjects, try a different angle every thirty seconds. That instinct makes everything worse.
The correction is simple and genuinely hard: slow down on purpose. Stop, breathe, and look at the scene without putting the camera to your eye. Ask yourself what you actually find interesting about this place right now, not what you expected to find when you drove here. The image you planned at home is not the image the landscape is offering you today. The sooner you let go of the plan, the sooner you start seeing clearly.
Step 2: Put the Phone Away When You’re Shooting
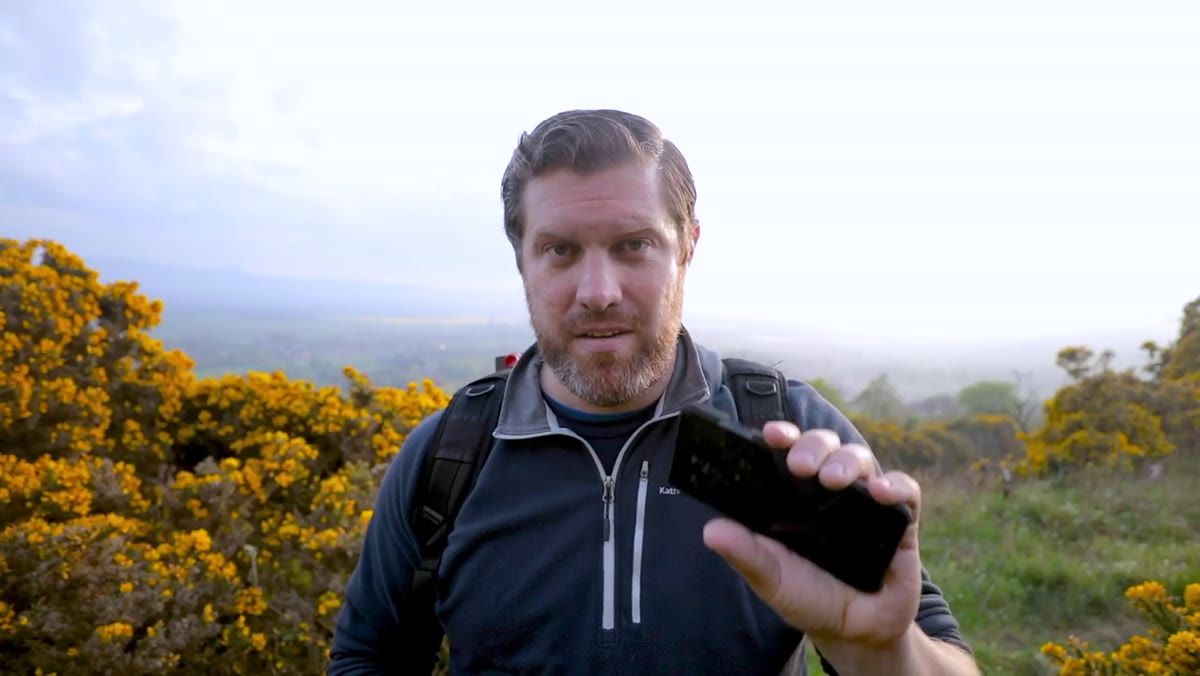 Comparing phone screen image to DSLR viewfinder in bright conditions
Modern phone cameras are remarkable, and that is precisely the problem. When you use your phone to scout a composition in bright conditions, the screen shows you a processed, saturated, contrast-boosted version of the scene. It looks beautiful. Then you look through your DSLR viewfinder at the raw capture and it looks flat by comparison, and suddenly you feel like your camera is failing you. It is not. Your phone just ran a processing algorithm and showed you a finished image before you did any work.
Comparing phone screen image to DSLR viewfinder in bright conditions
Modern phone cameras are remarkable, and that is precisely the problem. When you use your phone to scout a composition in bright conditions, the screen shows you a processed, saturated, contrast-boosted version of the scene. It looks beautiful. Then you look through your DSLR viewfinder at the raw capture and it looks flat by comparison, and suddenly you feel like your camera is failing you. It is not. Your phone just ran a processing algorithm and showed you a finished image before you did any work.
The trap here is composing with the phone and then trying to recreate that frame with your main camera. You end up chasing a processed look in-camera and getting frustrated when you can’t match it. Use the phone for one thing: checking rough composition options quickly when the light is moving fast. Then put it in your bag and shoot with your camera. Trust that the raw file you’re capturing contains more dynamic range and detail than the phone image, even when the phone screen looks more impressive.
Step 3: Scout With Intention, Not With Hope
 Wide view of heather moorland location during afternoon light
Arriving at a location and wandering until something catches your eye is not scouting. It is hoping. Good location work means knowing before you arrive where the light will fall, which foreground elements might anchor a composition, and what time the sun will clear or drop behind the horizon. Apps like PhotoPills or The Photographer’s Ephemeris exist for exactly this reason. Use them at home the night before, not in the field while the light is changing around you.
Wide view of heather moorland location during afternoon light
Arriving at a location and wandering until something catches your eye is not scouting. It is hoping. Good location work means knowing before you arrive where the light will fall, which foreground elements might anchor a composition, and what time the sun will clear or drop behind the horizon. Apps like PhotoPills or The Photographer’s Ephemeris exist for exactly this reason. Use them at home the night before, not in the field while the light is changing around you.
When I drove six hours to shoot a foggy ridge in the Cascades and sat there for two days with almost nothing to work with, the one frame I came home with, my best-selling print, came because I had studied that ridge enough to know exactly where to stand when the fog broke for twelve minutes on the second morning. That preparation was not wasted by the fog. It made the fog irrelevant, because I knew my position before the moment arrived.
Step 4: Calm Down and Actually Read the Light
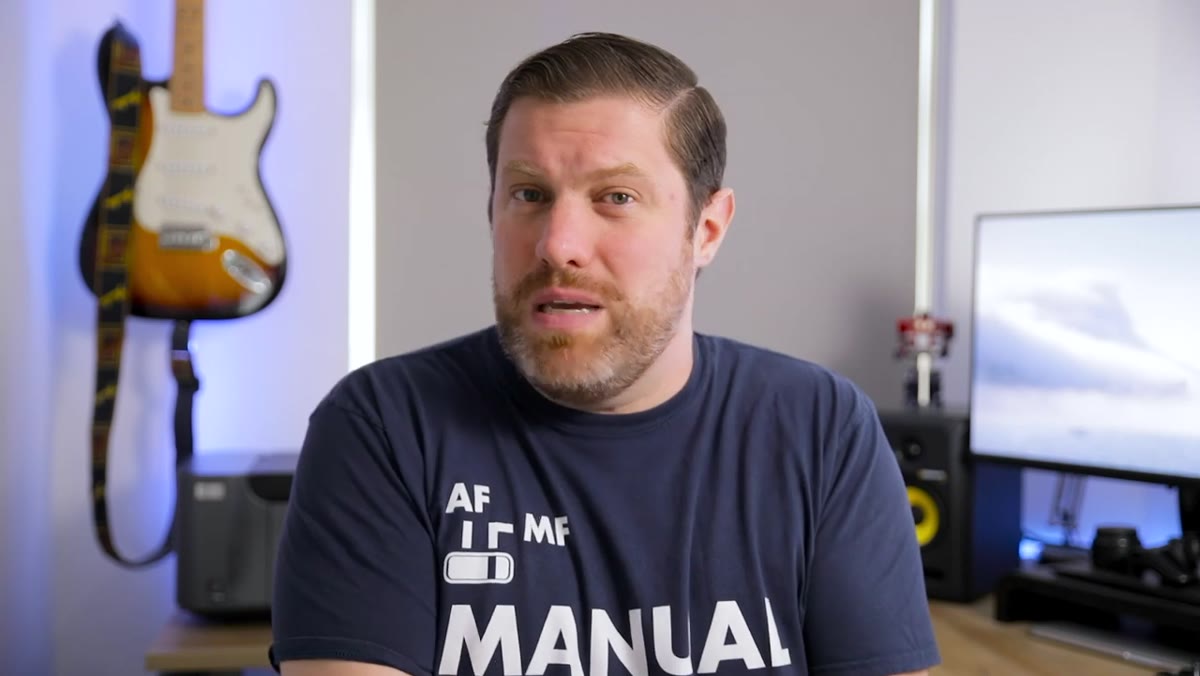 Photographer pausing on moorland, golden light across heather
Panic and good photography do not coexist. When a session feels like it is falling apart, the reflex is to shoot more, cover more ground, try more focal lengths. What the video recommends, and what I have learned the hard way across two decades, is the opposite. Stop shooting entirely for ten minutes. Sit down if you have to. Watch where the light is landing, where the shadows are moving, and what the scene is actually doing rather than what you want it to do. A mentor told me years ago that the mountain doesn’t care about your schedule. That line has saved more sessions than any piece of gear I own.
Photographer pausing on moorland, golden light across heather
Panic and good photography do not coexist. When a session feels like it is falling apart, the reflex is to shoot more, cover more ground, try more focal lengths. What the video recommends, and what I have learned the hard way across two decades, is the opposite. Stop shooting entirely for ten minutes. Sit down if you have to. Watch where the light is landing, where the shadows are moving, and what the scene is actually doing rather than what you want it to do. A mentor told me years ago that the mountain doesn’t care about your schedule. That line has saved more sessions than any piece of gear I own.
After that pause, move deliberately. Pick one composition and commit to it long enough to see how the light changes across it. The mistake most photographers make is treating a landscape session like a street shoot, moving constantly, reacting. Landscapes reward patience in a way almost no other genre does.
Step 5: Reframe Failure Before You Leave the Field
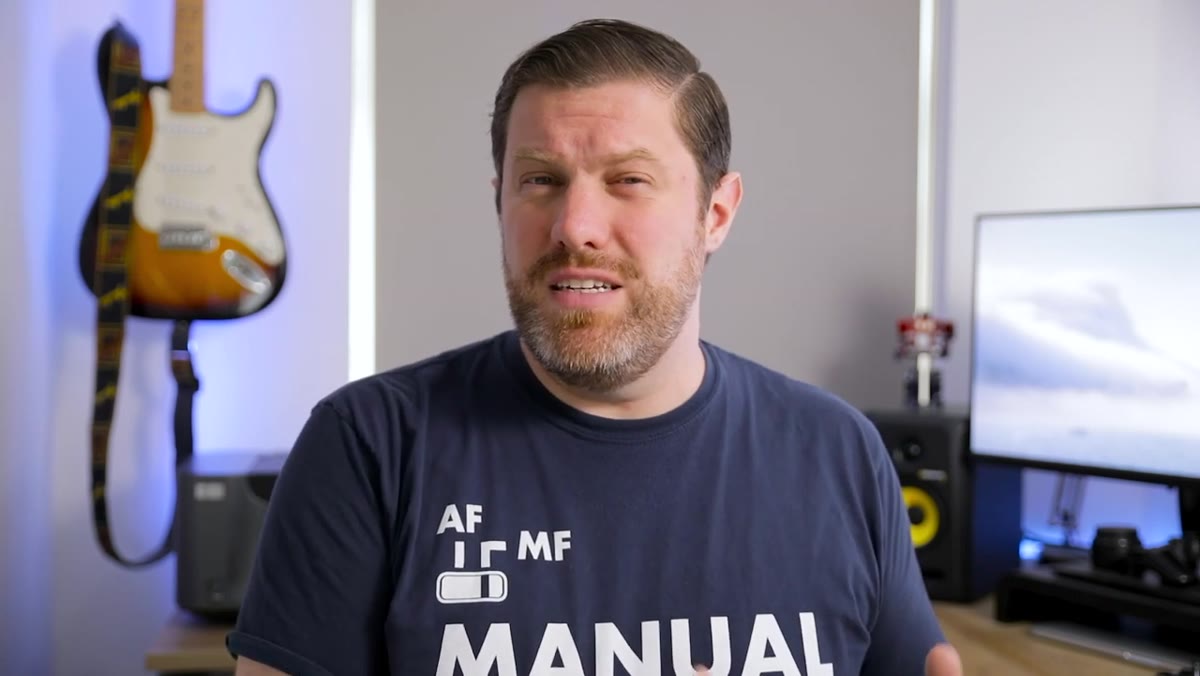 Creator reviewing disappointing images on camera screen in field
One of the most underrated field skills is knowing how to mentally reset mid-session rather than carrying frustration from one composition to the next. If you spend an hour in the wrong headspace, those feelings transfer directly into your framing decisions. You start cutting corners. You stop looking at the edges of your frame. You accept focus or exposure that you would have rejected if you were calm.
Creator reviewing disappointing images on camera screen in field
One of the most underrated field skills is knowing how to mentally reset mid-session rather than carrying frustration from one composition to the next. If you spend an hour in the wrong headspace, those feelings transfer directly into your framing decisions. You start cutting corners. You stop looking at the edges of your frame. You accept focus or exposure that you would have rejected if you were calm.
The video is honest that this is hard to do in practice. The fix is to consciously separate the evaluation from the making. Do not review and critique images while the light is still good. Shoot, move, shoot again. Review back home, or at least after the prime light window has closed. Keeping the making and the judging in different mental compartments protects both.
One Thing the Video Doesn’t Cover
I would add one caveat from my own practice: the days that feel like failures in the field often look different at the desk. I still occasionally shoot a roll of film specifically because it forces me to commit to each frame without immediate feedback. That discipline has a way of producing images that surprise me. The sessions where I was certain I had nothing were sometimes the ones where I had stripped away my habits and shot with more instinct than usual. Let the images sit for a day before you write off the whole outing.
The single most important lesson from this video is the one that sounds the simplest: self-doubt is a tool, not a verdict. Use it to ask better questions, not to close the session early. Give yourself permission to struggle through a difficult shoot without deciding it means you’ve lost your eye. You haven’t. You’re just having a Tuesday.
Watch the full tutorial on YouTube and pay attention to how the creator frames his own frustration. There is more practical wisdom in his honesty about what went wrong than in most polished success tutorials you’ll find.
Comments
Leave a Comment