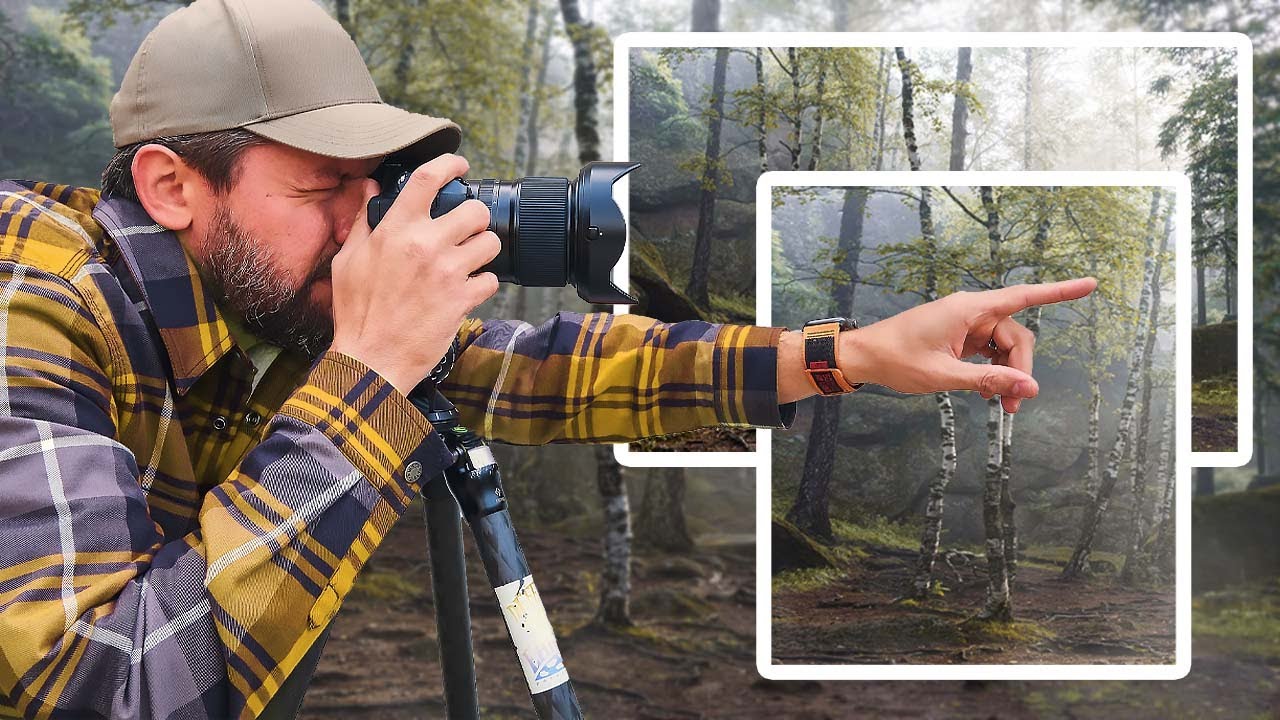
There’s a habit I carried for years that cost me more good light than I’d like to admit. I’d arrive at a location before dawn, find a composition I liked, lock in my tripod, and then just… stay there. Same frame, same angle, same focal length, shooting variations of the same image until the light died. I told myself I was being disciplined. Really, I was being afraid. Afraid that if I moved, I’d miss the shot. That the one frame I’d committed to would be the one that mattered, and everything else would be a distraction.
It took me longer than it should have to realize that approach was producing technically decent images that told almost nothing about the places I was visiting. One composition, one perspective, one lens. Not a story. A postcard.
Watch the full tutorial on YouTube
That’s exactly the problem Mark Denney tackles in this tutorial, and the way he frames the solution shifted something in how I approach a shoot. The title promises a conversation about focal lengths, and it delivers that. But the deeper lesson is about how focal length variety forces you to see a location differently, not just photograph it from different distances. Here’s how to put his method to work in the field.
Step 1: Recognize the Single-Composition Trap
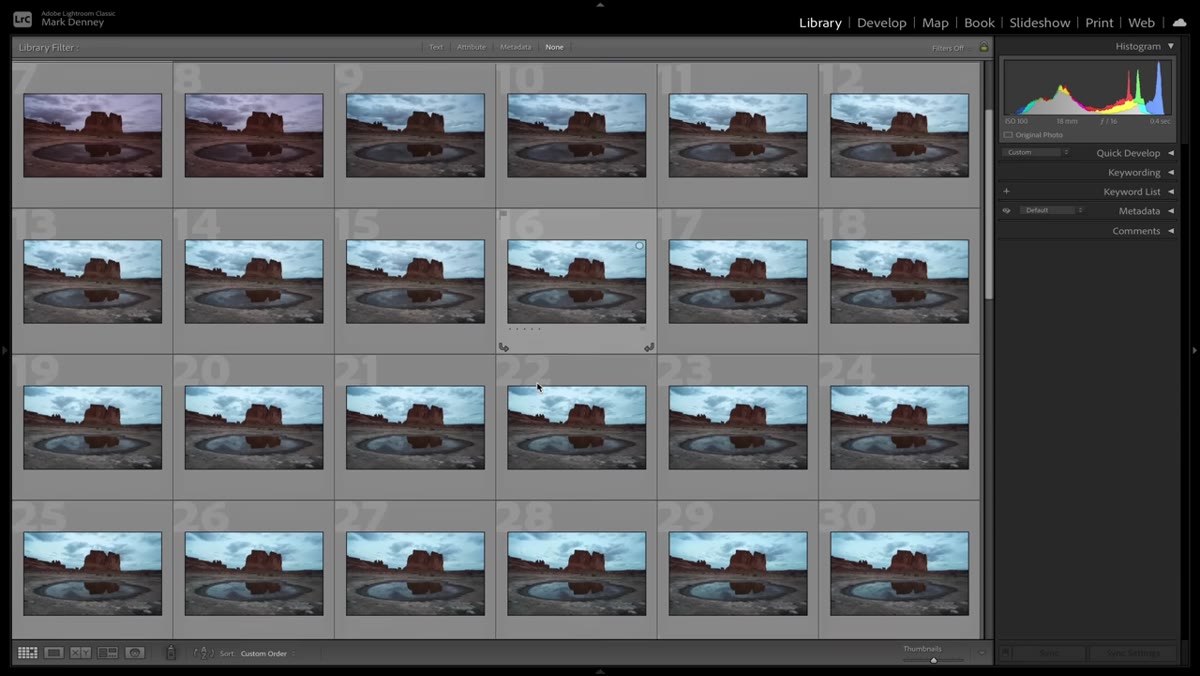 Side-by-side near-identical Moab images on screen
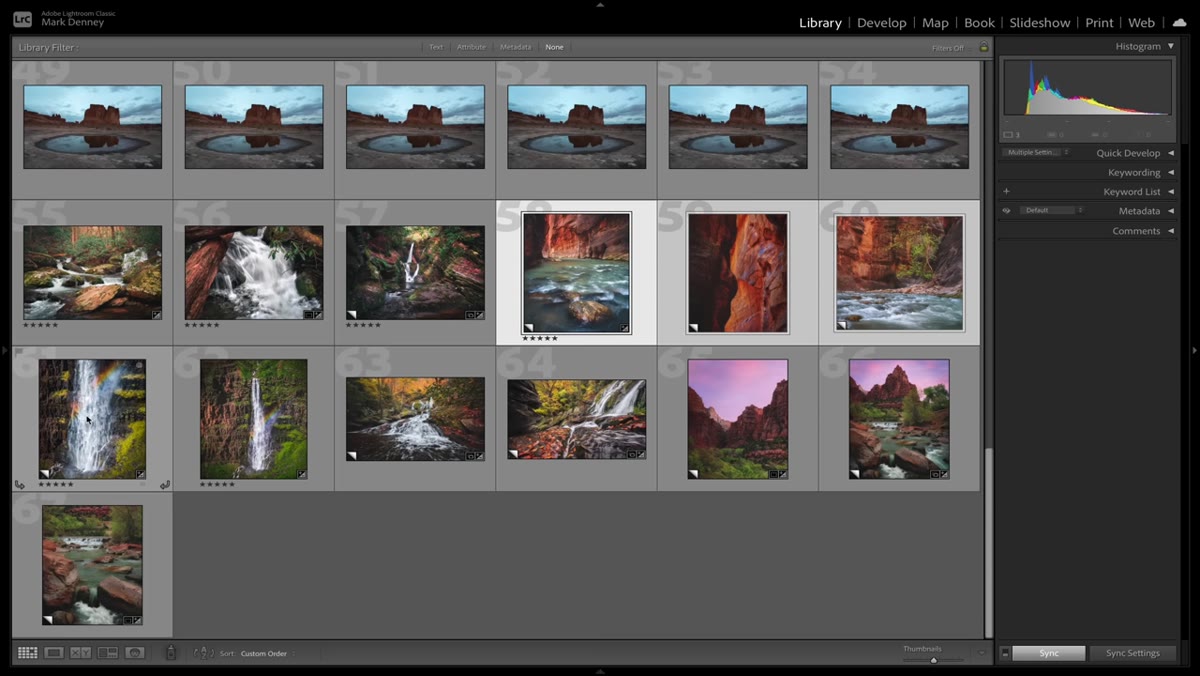
Before you can fix a problem, you have to see it clearly. Denney shows a series of images from a trip to Moab, all shot from the same spot, same lens, moments apart. They’re nearly identical. It’s a striking visual argument: if you can’t tell your frames apart, you weren’t really working the scene, you were waiting at it.
Side-by-side near-identical Moab images on screen
Before you can fix a problem, you have to see it clearly. Denney shows a series of images from a trip to Moab, all shot from the same spot, same lens, moments apart. They’re nearly identical. It’s a striking visual argument: if you can’t tell your frames apart, you weren’t really working the scene, you were waiting at it.
Ask yourself honestly how many of your recent shoots produced images that could be sorted into one tight cluster of nearly identical compositions. If the answer is most of them, the fix isn’t a new lens. It’s a new approach to how you use the glass you already have.
Step 2: Reframe Your Goal From “The Shot” to “The Story”
 Storyboard concept introduced with Hollywood production analogy
Denney borrows an idea from film production: the storyboard. A movie pitch doesn’t rest on a single image. It builds a narrative through a sequence of frames that each do a different job. Wide establishing shots. Medium shots that place characters in context. Close-up detail shots that reveal texture and emotion.
Storyboard concept introduced with Hollywood production analogy
Denney borrows an idea from film production: the storyboard. A movie pitch doesn’t rest on a single image. It builds a narrative through a sequence of frames that each do a different job. Wide establishing shots. Medium shots that place characters in context. Close-up detail shots that reveal texture and emotion.
Apply that structure to your next location. Before you set up your tripod, ask: if I were pitching this place to someone who had never been here, what sequence of images would actually communicate what it feels like to be standing here? That question immediately opens up the scene and tells you what focal lengths you actually need to bring.
Step 3: Use Your Wide Angle to Establish the Scene
 Wide angle shot demonstrating foreground-to-horizon composition
Your wide angle, typically something in the 16-24mm range on a full-frame body, is your establishing shot. It earns its place by showing the relationship between the foreground and the sky, placing the viewer inside the environment rather than in front of it. Used well, it creates a sense of presence.
Wide angle shot demonstrating foreground-to-horizon composition
Your wide angle, typically something in the 16-24mm range on a full-frame body, is your establishing shot. It earns its place by showing the relationship between the foreground and the sky, placing the viewer inside the environment rather than in front of it. Used well, it creates a sense of presence.
The mistake most photographers make with a wide angle is using it because it fits everything in, not because the foreground deserves to be in the frame. Before you shoot wide, find a foreground element worth including. Rocks, water, grasses, frost patterns. If nothing in the foreground earns its place, zoom in or walk to a different spot.
Step 4: Use Your Telephoto to Isolate and Compress
 Telephoto shot demonstrating compression of distant layers
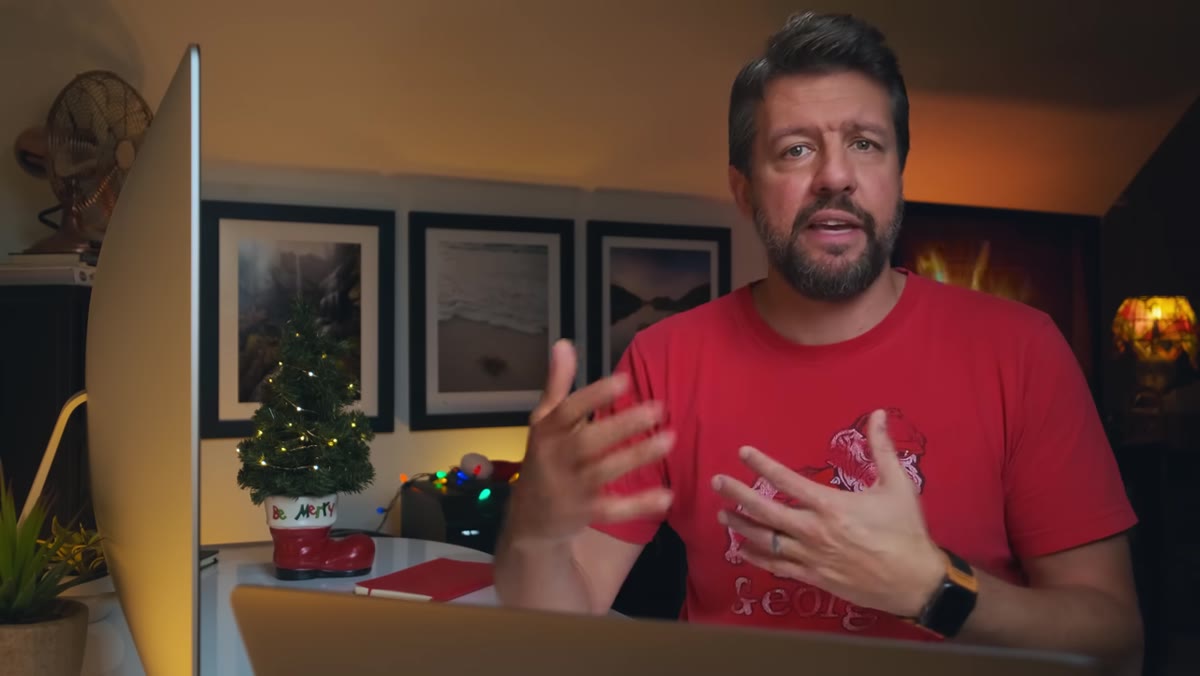
This is where Denney’s argument gets interesting. The second focal length he emphasizes isn’t a standard mid-range. It’s a telephoto, something in the 70-200mm range or longer. And the reason matters: telephoto compression changes how a landscape reads entirely. Layers of hills, ridgelines, or forest canopy that look separated to the naked eye get stacked together, creating a different kind of depth and graphic weight.
Telephoto shot demonstrating compression of distant layers
This is where Denney’s argument gets interesting. The second focal length he emphasizes isn’t a standard mid-range. It’s a telephoto, something in the 70-200mm range or longer. And the reason matters: telephoto compression changes how a landscape reads entirely. Layers of hills, ridgelines, or forest canopy that look separated to the naked eye get stacked together, creating a different kind of depth and graphic weight.
Switch to your telephoto after you’ve made your wide-angle frames and physically look for the hidden images inside the scene. Scan the middle distance and the far distance for patterns, color contrasts, and shapes that the wide angle was too busy to isolate. You’ll often find your strongest image of the day is hiding in there.
Step 5: Vary Your Focal Length to Force Yourself to Move
 Demonstration of changing position with different focal lengths
This is the part that reshapes the whole session. Swapping focal lengths isn’t just a technical choice, it’s a physical one. A different lens forces you off your tripod and onto your feet. You have to move to make the composition work, and moving is where you discover angles you never would have found by staying planted.
Demonstration of changing position with different focal lengths
This is the part that reshapes the whole session. Swapping focal lengths isn’t just a technical choice, it’s a physical one. A different lens forces you off your tripod and onto your feet. You have to move to make the composition work, and moving is where you discover angles you never would have found by staying planted.
Denney is clear that the specific focal lengths matter less than the commitment to variety. The discipline is in refusing to spend an entire session at one focal length. If you’ve been shooting wide for thirty minutes, put on the telephoto. If you’ve been compressing distant layers, step back and find a foreground. The switching is the practice.
Step 6: Leave a Location With a Sequence, Not a Frame
 Review of a coherent multi-focal-length set from one session
At the end of a session, review your work with this question: do these images work together as a set? A wide establishing shot, a mid-range or telephoto detail, and a compressed landscape layer from the same location at the same light should feel like they belong to each other without being repetitive.
Review of a coherent multi-focal-length set from one session
At the end of a session, review your work with this question: do these images work together as a set? A wide establishing shot, a mid-range or telephoto detail, and a compressed landscape layer from the same location at the same light should feel like they belong to each other without being repetitive.
This matters practically if you ever want to sell prints as a collection, build a cohesive portfolio series, or simply tell a richer story about a place on your website or social channels. A single hero shot is powerful. A coherent set of three or four images from one location is a narrative.
What I’d Add From the Field
After twenty years of doing this, the thing I’d layer on top of Denney’s framework is this: make your telephoto frames before the light peaks, not after. When golden hour arrives, the instinct is to go wide and catch everything. But the best telephoto light, especially for that compression effect across layered terrain, often happens in the ten minutes before the main event, when the light is still raking low and the contrast between lit and shadow ridgelines is at its sharpest. By the time you’ve finished your wide-angle sequence and think to pick up the telephoto, that window can be gone. Build your session plan around shooting both focal lengths during the good light, not treating the telephoto as an afterthought once the drama has passed.
The single most important idea in this tutorial is deceptively simple: variety of focal length forces variety of vision. You cannot shoot a telephoto from the same spot with the same body position as your wide angle. The lens change makes you move, and moving makes you see. That’s the whole thing.
Watch the full tutorial on YouTube and pay particular attention to the Moab image comparison early in the video. It’s the kind of honest self-critique that’s rare, and it’s the clearest possible illustration of what staying locked into one composition actually costs you.
Comments
Leave a Comment