Twenty years into this work, I still have seasons where I grind through a hundred frames and come home with nothing worth printing. Not because the light was bad or the location was wrong, but because I showed up without a real plan and tried to photograph everything at once. Both are quiet killers of a good shoot, and they tend to feed each other. When you haven’t planned, you panic at the scene. When you panic, you go wide, you go desperate, and the image loses its center of gravity before you even press the shutter.
That’s why I kept coming back to this video from Mark Denney, where he breaks down what actually moved the needle for his landscape photography over the course of a year. Watch the full tutorial on YouTube – it’s worth your time before or after reading this. What struck me wasn’t that the lessons were new. It’s that he named two specific, actionable things and explained exactly how they changed his results. Not abstract advice. Not gear talk. Process. That’s the part most photographers skip over, and it costs them.
Here’s how I’d translate what he covers into practical steps you can actually follow on your next shoot.
Step 1: Audit What Went Wrong in Your Recent Shoots
 Mark speaking to camera reflecting on his year of shooting
Before you change anything about how you shoot, spend twenty minutes being honest about the last five or six outings that didn’t produce a keeper. Not the ones where the weather wrecked you – the ones where conditions were fine and you still came home disappointed. For most photographers, including me at certain points, the pattern is the same: no clear vision before arrival, no sense of what the light was going to do, and no fallback plan when the primary composition didn’t work.
Mark speaking to camera reflecting on his year of shooting
Before you change anything about how you shoot, spend twenty minutes being honest about the last five or six outings that didn’t produce a keeper. Not the ones where the weather wrecked you – the ones where conditions were fine and you still came home disappointed. For most photographers, including me at certain points, the pattern is the same: no clear vision before arrival, no sense of what the light was going to do, and no fallback plan when the primary composition didn’t work.
Write it down. A physical list, not a mental note. You’re looking for the moment the shoot went sideways, and usually it happened before you left the house.
Step 2: Build a Pre-Shoot Planning Routine Around Specific Tools
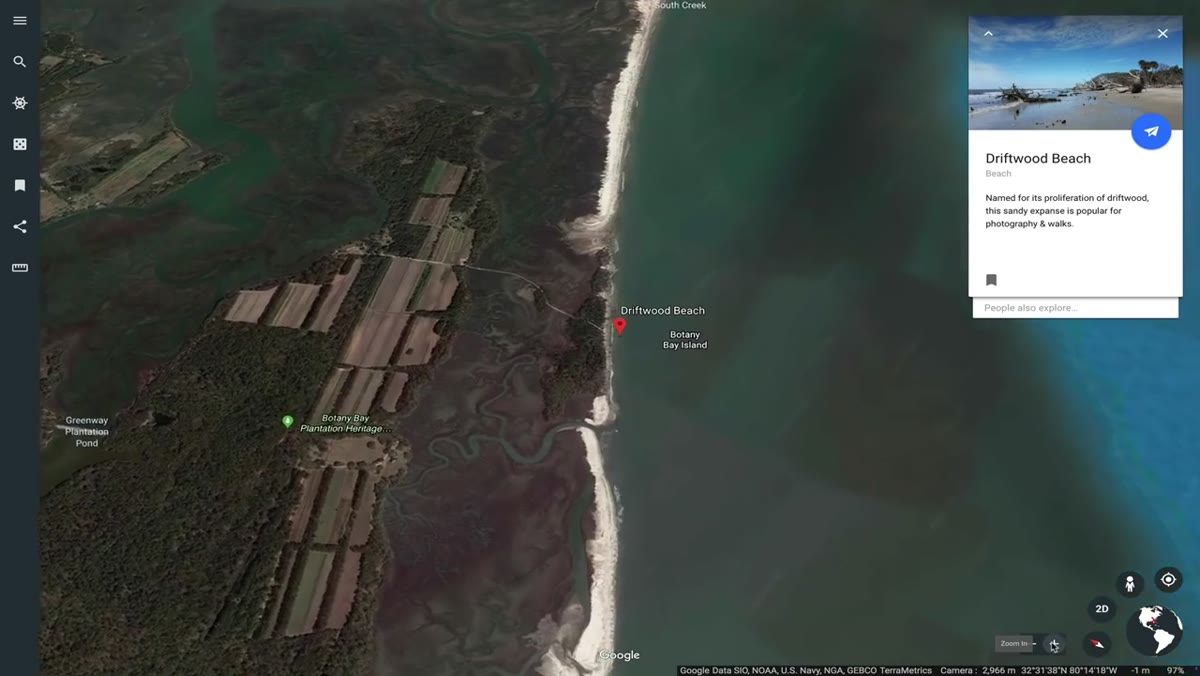 Discussing virtual scouting tools like Google Earth and weather apps
Mark uses Google Earth for virtual scouting, and it’s one of the most underused tools in landscape photography. Before I visit any location, I spend time in Google Earth’s 3D view rotating around the terrain, identifying where the sun will clear a ridgeline, where water pools after rain, where a foreground element might anchor a composition. I pair that with The Photographer’s Ephemeris or PhotoPills to get exact sunrise and sunset angles for the specific date I’m planning to shoot.
Discussing virtual scouting tools like Google Earth and weather apps
Mark uses Google Earth for virtual scouting, and it’s one of the most underused tools in landscape photography. Before I visit any location, I spend time in Google Earth’s 3D view rotating around the terrain, identifying where the sun will clear a ridgeline, where water pools after rain, where a foreground element might anchor a composition. I pair that with The Photographer’s Ephemeris or PhotoPills to get exact sunrise and sunset angles for the specific date I’m planning to shoot.
From there, I check weather apps that give me cloud layer height, not just cloud cover percentage. High, thin clouds at golden hour can be spectacular. A solid low ceiling just means flat light. I also check tide charts if I’m shooting coastline, and I look at recent trip reports or even geotagged images on apps like Flickr or Instagram to see what the location actually looks like at ground level. By the time I drive to a location, I’ve already made several compositional decisions in my head. The shoot becomes a refinement, not a search.
Step 3: Set a Precise Time Window for Each Location
 Talking about being laser focused on timing at a specific location
Most photographers think about which location they want to visit. Fewer think precisely about the thirty-minute window within a shoot that matters most. If you’re shooting a sunrise, the interesting light usually starts ten to fifteen minutes before the sun breaks the horizon and fades within twenty to thirty minutes after. That’s your window. Everything before and after is scouting time or packing up time.
Talking about being laser focused on timing at a specific location
Most photographers think about which location they want to visit. Fewer think precisely about the thirty-minute window within a shoot that matters most. If you’re shooting a sunrise, the interesting light usually starts ten to fifteen minutes before the sun breaks the horizon and fades within twenty to thirty minutes after. That’s your window. Everything before and after is scouting time or packing up time.
Plan your arrival so you’re in position, exposure dialed in, and composition locked before that window opens. I aim to be standing at my shooting spot at least forty-five minutes before sunrise. That’s enough time to discover that my planned foreground is completely underwater, reassess, and move without rushing. The worst compositions I’ve ever made were rushed ones – when I was still moving my tripod legs when the light went gold.
Step 4: Resist the Impulse to Photograph the Whole Scene
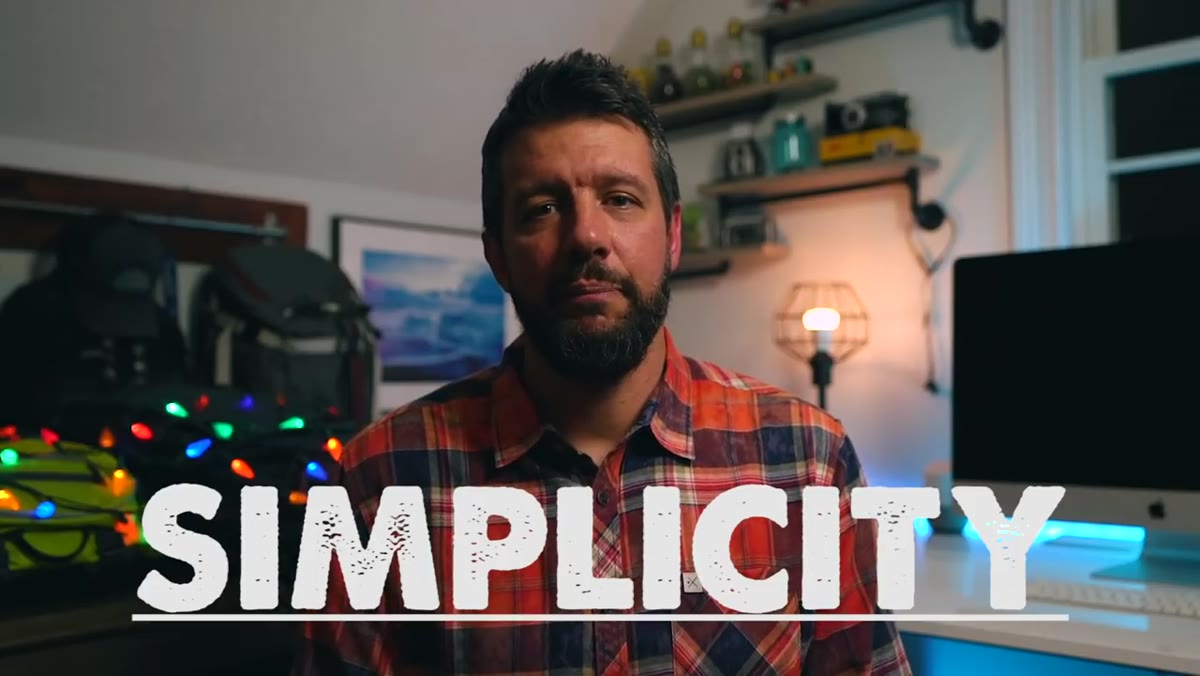 Explaining how landscape subjects are vast and easy to over-capture
This is the one that stings, because the impulse comes from a real place. You’re standing in front of something enormous and beautiful and your instinct is to capture all of it. Wide angle, everything in frame, the full sweep of it. But that approach almost always produces an image that has no subject. It has everything, which means it has nothing pulling the eye.
Explaining how landscape subjects are vast and easy to over-capture
This is the one that stings, because the impulse comes from a real place. You’re standing in front of something enormous and beautiful and your instinct is to capture all of it. Wide angle, everything in frame, the full sweep of it. But that approach almost always produces an image that has no subject. It has everything, which means it has nothing pulling the eye.
Force yourself to ask one question before you shoot: what is the one element in this scene that made me stop? A single boulder catching the last light. A band of mist cutting across the middle distance. The curve of a river leading toward a peak. That element is your subject. Everything else in the frame should exist to support it, not compete with it.
Step 5: Simplify the Frame Before You Shoot, Not in Post
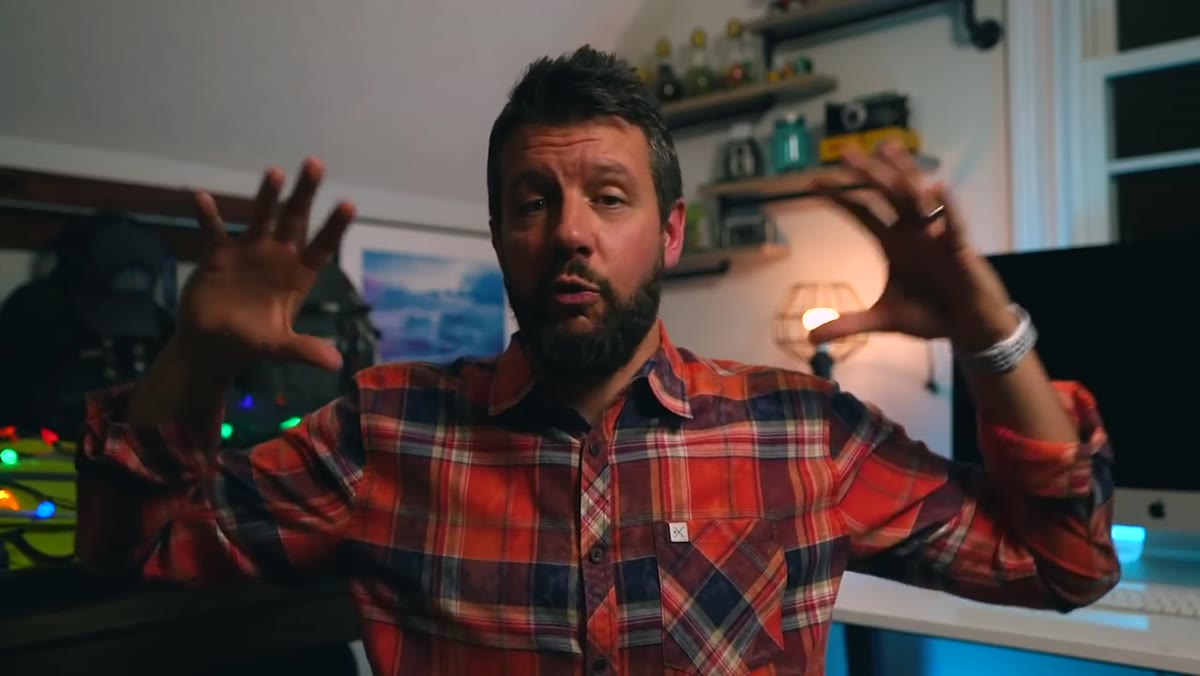 Discussing losing focus when trying to capture too much of the landscape
Once you’ve identified your subject, physically move – with your feet, not with your zoom – until the frame is clean. Get closer to your foreground. Change your angle so a distracting tree falls outside the frame. Drop lower so the sky becomes a smaller part of the composition, or stand higher to eliminate a messy middle ground. These are decisions made in the field, not fixes applied in Lightroom later.
Discussing losing focus when trying to capture too much of the landscape
Once you’ve identified your subject, physically move – with your feet, not with your zoom – until the frame is clean. Get closer to your foreground. Change your angle so a distracting tree falls outside the frame. Drop lower so the sky becomes a smaller part of the composition, or stand higher to eliminate a messy middle ground. These are decisions made in the field, not fixes applied in Lightroom later.
I still shoot film occasionally, partly to force this discipline. When you have twelve frames on a roll, you think differently before you press the shutter. You simplify. You commit. You don’t assume you’ll fix it in post, because you won’t – not really. The habit of slowing down and editing the scene before the shot translates directly into stronger digital work.
A Note From the Field: Planning Is Not the Enemy of Spontaneity
There’s a version of this advice that can make photography feel like a logistics exercise, and I want to push back on that. The planning I’m describing isn’t about controlling the outcome. It’s about showing up prepared enough that you can be present when something unexpected happens. My best-selling print came from a trip where everything I planned for was completely obscured by fog for two full days. I almost left. Instead, I stayed, wandered the location on foot, and found a composition I never would have scouted on Google Earth. I could only afford to be patient and curious because the practical groundwork was already done.
The mountain doesn’t care about your schedule. But your schedule, when built right, can give you enough slack to let the mountain surprise you.
The single most transferable idea in Mark’s tutorial is that improvement in landscape photography is almost never about gear – it’s about the decisions you make before and during a shoot, not the ones you make in post-processing. Plan more specifically. Simplify more aggressively. Those two habits compound faster than any camera upgrade.
Watch the full tutorial on YouTube and pay attention to how he talks about planning not as a chore but as something he’s learned to genuinely enjoy. That shift in relationship to the process is worth sitting with.
Comments (5)
I keep coming back to this article. It's that useful.
Clear and practical. No fluff. Appreciate that.
Clear and practical. No fluff. Appreciate that.
Shared this with my photography group. Everyone loved it.
This is fantastic. I've been recommending this approach to my readers too.
Leave a Comment